A Homeowner's Guide To Kitchen Plumbing

We may receive a commission on purchases made from links.
While it may look complicated and overwhelming, your kitchen plumbing is probably a lot simpler than you'd expect. Believe it or not, kitchen plumbing is far less complicated than your bathroom plumbing. This is because bathroom fixtures all have separate drain lines — one for the sink (or sinks), one for the shower, one for the tub and one for the toilet. In a kitchen, everything ties together and drains into one pipe, even if you have a dishwasher and a garbage disposal.
If you are thinking about installing a new dishwasher or sink in your kitchen, you'll need to have some knowledge of kitchen plumbing. Whether upgrading just one appliance or all of the plumbing fixtures in the kitchen, a handy homeowner can often do much or all of the work himself with some tools and a bit of knowledge. However, a major remodel with fixtures being moved to a different location will often require the skills of a professional plumber for at least part of the work.
 Stephen Paul for Hunker
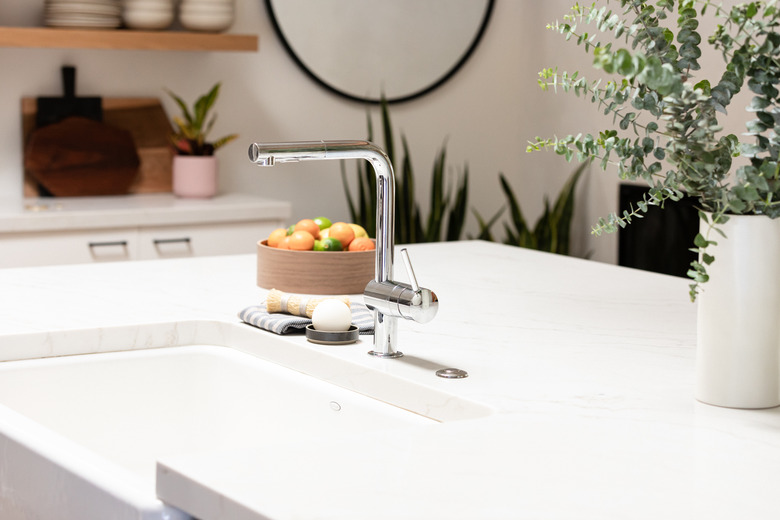
Kitchen Sink and Faucet Connections
Kitchen Sink and Faucet Connections
Kitchen sinks come in many sizes and materials. One thing you'll want to keep in mind when choosing a sink for a kitchen remodel is that the sink should be at least 3 inches narrower than the cabinet in order to fit correctly. For example, a cabinet of at least 36 inches will be needed for a 33-inch-wide sink. If you are changing the sink but keeping the same cabinets, be sure to not purchase a larger sink and measure the size of your cabinet just to be sure.
Because sinks come in so many varieties, you'll most likely need to change the drain piping. Going from a single-bowl to a double-bowl sink will require a continuous waste fitting so that both bowls can drain into one pipe. The drain pipe may need to be cut, and a new trap may need to be installed to fit the new location. Even with a similar-sized sink with the same amount of bowls, some changes may have to be made to the drain pipes.
Connecting the water lines from the shut-off valve under the sink to the faucet will be much easier than connecting the drain pipes because you can use flexible faucet supply tubes. These are usually made of braided stainless steel and are flexible enough to be bent and looped. They come in several sizes, allowing you to run them from the water supply to the faucet even if the distance to the new faucet is different from the old one.
Water Filter Overview
Water Filter Overview
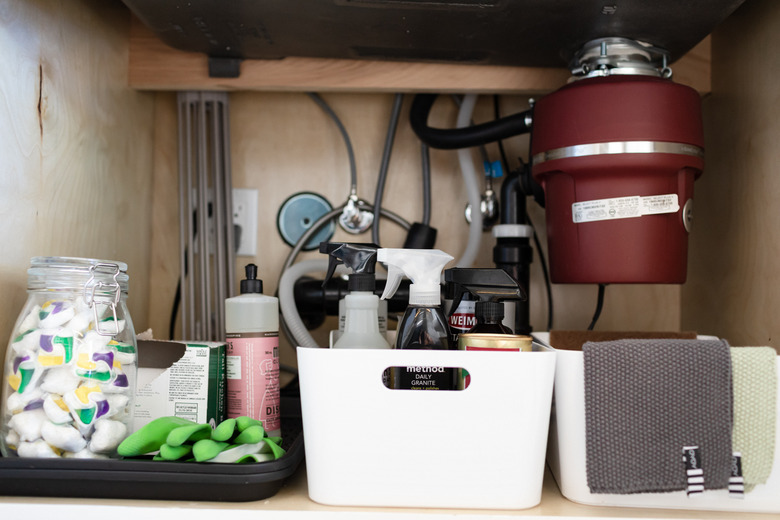
Installing a water filtration unit in the cold water line under the kitchen sink is a great way to have cleaner, better-tasting drinking water from the kitchen faucet. These filters will remove sediment, rust and metals from the water and are quite easy to install. Some filters have an inlet tube that connects to the cold water line above the shut-off and an outlet tube that connects to the faucet with push-fit fittings, making installation even easier.
Filters installed beneath the sink come with cartridges that need to be changed every few months and that are easy to install or remove. There are water filters that fit onto the end of the faucet spout, but these tend to be bulky and unappealing and don't work as well as the in-line filters. Homes with hard water and other more serious water issues will sometimes require a whole-house water filtration system, and installation of these systems is a job best left to the professionals.
 Stephen Paul for Hunker
Installing a Garbage Disposal
Installing a Garbage Disposal
Many homeowners who have a garbage disposal can't imagine ever again living without one. A disposal is connected to the sink with a flange fitting that is similar to a basket strainer and can be installed on both single-bowl and double-bowl sinks. It is connected to the drain line with a discharge tube that is attached to the drain nipple located on the side of the disposal. A disposal also requires electrical hookup, either with a hard-wire connection or a power cord that plugs into an outlet installed under the sink.
A handy homeowner should be able to install the plumbing to a disposal, but lifting and securing the unit may require two people, especially if it is a larger, heavier disposal. There are several items that should not be run through a disposal. Among the items on this list are grease, rice and bones. Disposals are not recommended for use in homes with a septic system. If you have a septic system and don't feel that you can live without a disposal, a septic-safe disposal is recommended.
 Stephen Paul for Hunker
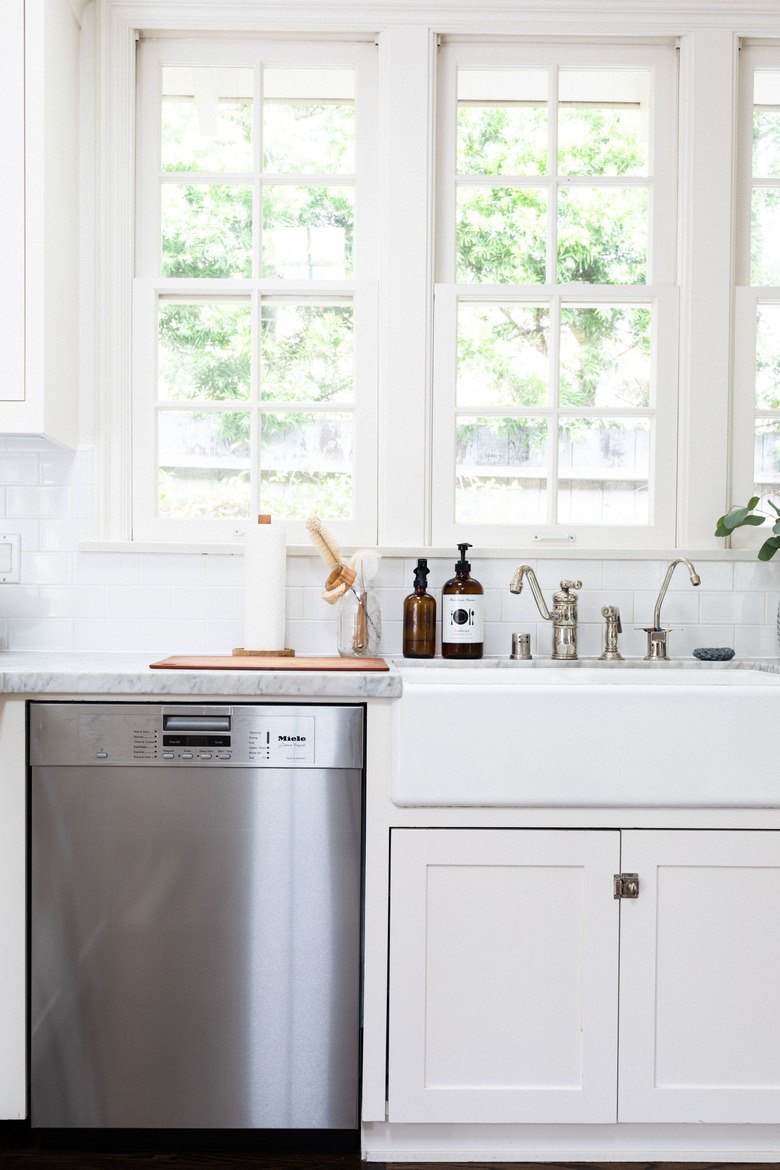
Dishwasher Water and Drain Connections
Dishwasher Water and Drain Connections
Although a dishwasher is located inside a cabinet space near the kitchen sink, the water and drain lines are run through a hole in the cabinets, and the connections for it are made under the sink. Both the drain and the water are connected through flexible hoses, which makes hooking up the plumbing to a dishwasher quite simple. The drain line can be fastened with a clamp to either a dishwasher drain fitting in the drain line or to a fitting on the garbage disposal.
For the water supply, a tee fitting is installed in the hot water pipe under the sink along with a shut-off valve and a fitting to connect the braided flexible dishwasher water line. If you plan to install a new dishwasher, the drain hose is connected with a clamp to the bottom of the dishwasher, and a threaded dishwasher fitting is connected at the bottom of the dishwasher for the water supply. According to Energy Star, a standard Energy Star dishwasher costs an average of only $35 a year to run, which means that installing a new dishwasher can save you money in the long run.
Ice Maker and Water Dispenser
Ice Maker and Water Dispenser
A refrigerator does not produce water by itself for an ice maker and water dispenser. If your refrigerator has a water dispenser, a water line will need to be run from a cold water pipe to a connection on the back of the refrigerator. The size of the water line is usually 1/4 inch, and the pipe can be made of copper, poly or braided stainless steel. Installing an ice maker is a good DIY project, and all of the necessary materials can be purchased in a kit.
For the basic installation, a saddle valve is installed on the closest accessible water pipe, usually requiring that a hole be drilled in the floor or the cabinet. Water pipes under the sink might be closer but can require drilling through several cabinets, so it's often easier to drill a small hole in the floor behind the refrigerator and attach the saddle valve to a cold water pipe in the basement. The flexible tubing is connected to the saddle valve, run through the hole and connected to the back of the fridge.