Design
Rooms
Bathroom
Bedroom
Kitchen
Living Room
All Rooms
Styles
Bohemian
Desert
Farmhouse
Midcentury
All Styles
all design stories
Spotlight
How To
Topics
DIY
Cleaning
Home Hacks
Outdoors
Organizing
Paint
Repair
Spotlight
Lifestyle
Topics
Entertaining
Food
Wellness
Real Estate
Travel
Spotlight
News & Shopping
Topics
News
Shopping
Spotlight
Features
Series
Tours
Architects of Impact
The Hometeliers
Neighborhood Watch
More Features
Spotlight
Join Our Newsletter
Home Hacks & Answers
Home Design & Decor
Art & Home Accessories
Candles & Candle Holders
Decor Styles
Decorating Colors & Patterns
Decorating Materials & Supplies
Faux Finishing
Floors & Ceilings
Floral Designs
Holidays Decorating
Home Decor Planning
Home Decor
Home Design
Lighting
Paint & Wallpaper
Pillows & Throws
Room by Room Home Design
Rugs
Stamping & Stenciling
Vases
Windows, Doors & Walls
By
Jill Harness
How to Create the Best Sleep Environment for Your Child, According to Sleep Experts
Home Hacks & Answers
By
Chris Deziel
Expert Reviewed
How to Install Recessed Lighting: Step-by-Step Instructions
Home Hacks & Answers
By
Deane Biermeier
Expert Reviewed
How to Install a Ceiling Light Without Wiring
Home Hacks & Answers
By
Deane Biermeier
Expert Reviewed
How to Change a Light Fixture: A DIY Guide for Beginners
Home Hacks & Answers
By
Chris Deziel
Expert Reviewed
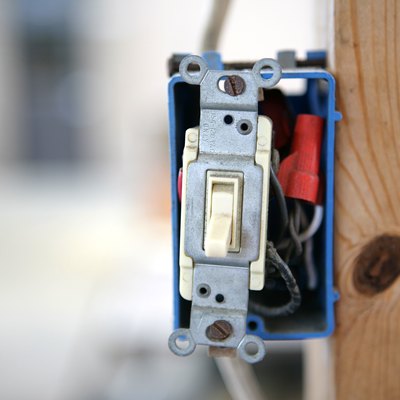
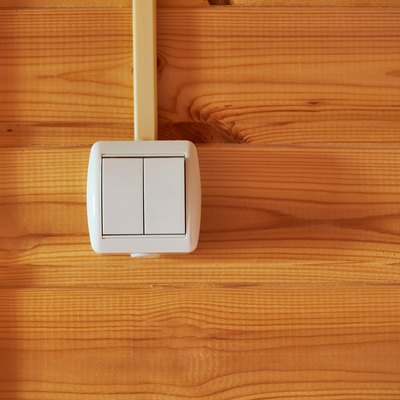
How to Wire a Single-Pole Switch: An Easy DIY Guide
Home Hacks & Answers
By
Fran J. Donegan
Expert Reviewed
Light Switch Not Working? Here Are 4 Common Problems and Fixes
Home Hacks & Answers
By
Chris Deziel
Expert Reviewed
What Is an IC Rating? (And Why It's Necessary for Recessed Lighting)
Home Hacks & Answers
By
Shelley Frost
Expert Reviewed
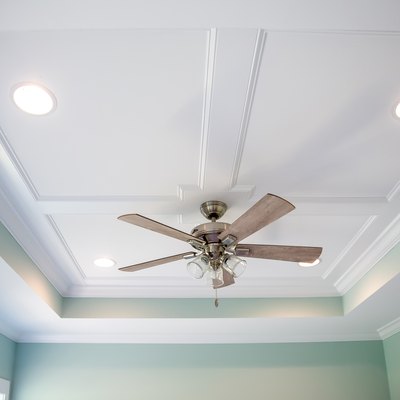
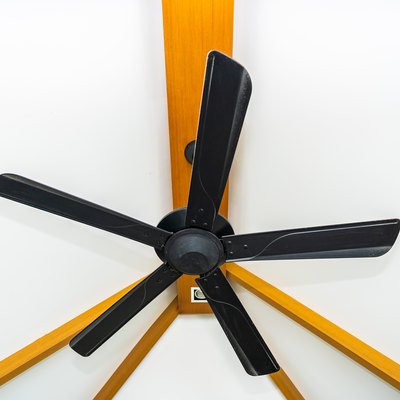
10 Types of Ceiling Fans for Every Room In the House
Home Hacks & Answers
By
Michelle Miley
Expert Reviewed
Installing LED Strip Lights: An Easy Step-by-Step Guide
Home Hacks & Answers
By
Shelley Frost
Expert Reviewed
5 Tips for Optimizing Your Home Office Lighting
Home Hacks & Answers
By
Jill Harness
Expert Reviewed
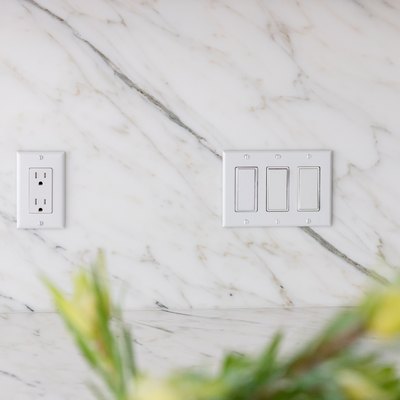
11 Types of Light Switches: A DIY Guide
Home Hacks & Answers
By
Deane Biermeier
Expert Reviewed
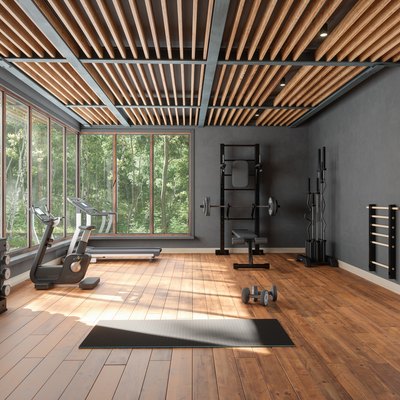
How to Design Home Gym Lighting Without Breaking a Sweat
Home Hacks & Answers
By
Jill Harness
Expert Reviewed
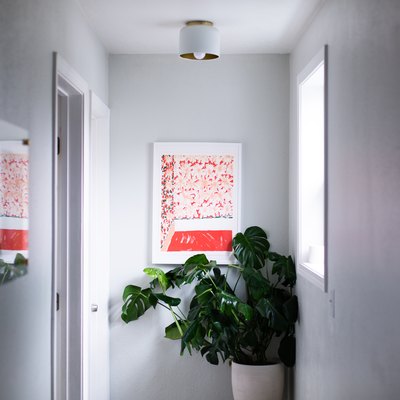
How to Strategically Illuminate With Hallway Lighting Fixtures
Home Hacks & Answers
By
Shelley Frost
Expert Reviewed
10 Easy Ways to Upgrade Your Apartment Lighting And Still Get Back Your Deposit
Home Hacks & Answers
By
Shelley Frost
Expert Reviewed
5 Types of Lamps to Illuminate Your Home
Home Hacks & Answers
By
Chris Deziel
Expert Reviewed
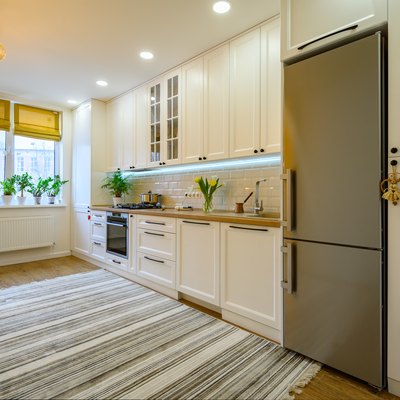
What Kind of Light Bulb Do You Need for the Fridge? Here’s What to Know
Home Hacks & Answers
By
Michelle Miley
Expert Reviewed
Circadian Rhythm Lighting: How to Use Lights to Sleep and Feel Better
Home Hacks & Answers
By
Michelle Miley
Expert Reviewed
Ambient Lighting, Task Lighting, and Accent Lighting: A DIY Guide
Home Hacks & Answers
By
Jill Harness
Expert Reviewed
Chandeliers: The Ultimate Buying Guide
Home Hacks & Answers
By
Deane Biermeier
Expert Reviewed
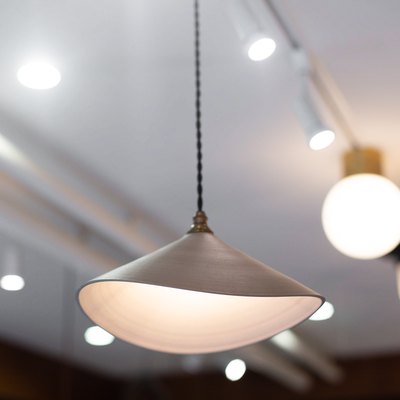
15 Types of Light Fixtures to Brighten Up Your Home
Home Hacks & Answers
By
Chris Deziel
Expert Reviewed
Light Source, Lumens, LED, and Other Lighting Terms You Need to Know
Home Hacks & Answers
By
Michelle Miley
Expert Reviewed
Bedroom Lighting Design: How to Best Illuminate Your Space
Home Hacks & Answers
By
Fran J. Donegan
Expert Reviewed
Wall Sconces: Types and How to Choose
Home Hacks & Answers
By
Jill Harness
Expert Reviewed
How to Clean Light Fixtures of All Kinds
Home Hacks & Answers
By
Michelle Miley
Expert Reviewed
Ceiling Lights: The Ultimate Buying Guide
Home Hacks & Answers
By
Jamie Birdwell-Branson
How to Hang a Light Fixture at the Perfect Height
Home Hacks & Answers
By
Kathy Adams
Expert Reviewed
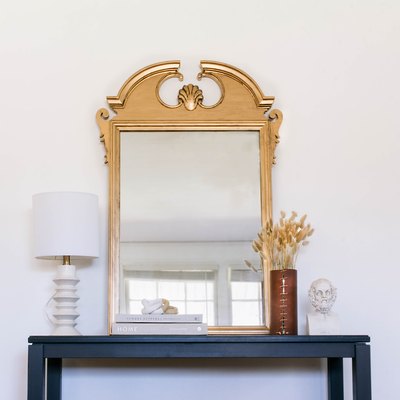
How to Turn Clear Glass Into a Mirror with Spray Paint (2 Methods)
Home Hacks & Answers
By
Hunker Team
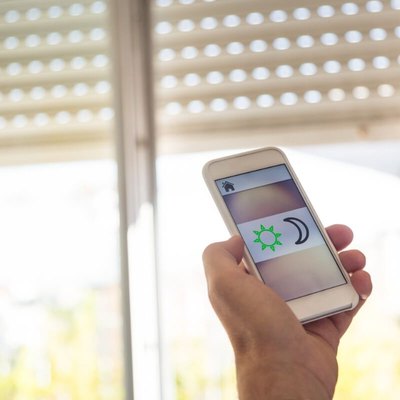
The 10 Best Smart Blinds of 2022
Home Hacks & Answers
By
Shelley Frost
Expert Reviewed
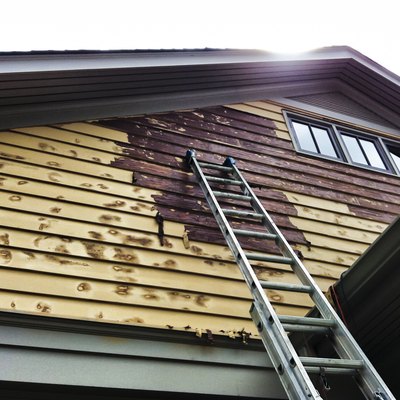
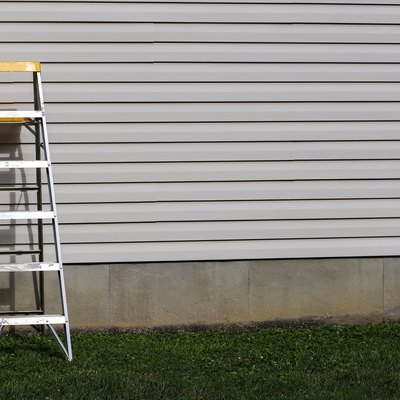
What’s the Best Time and Weather for Exterior Painting?
Home Hacks & Answers
By
Michelle Miley
Expert Reviewed
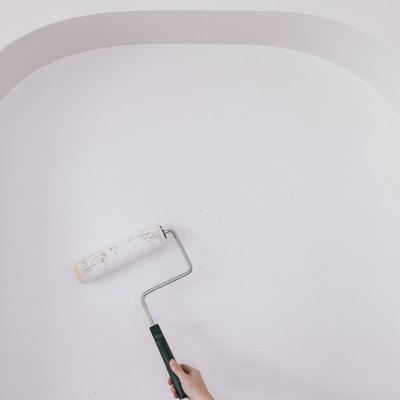
Should You Paint the Trim First or the Walls? Here's What to Consider
Home Hacks & Answers
By
Chris Deziel
Expert Reviewed
How to Paint Vinyl Siding: A Complete DIY Guide
Home Hacks & Answers
By
Michelle Miley
Expert Reviewed
Here's How Long It Takes to Paint a Room — From Cleanup to Curing
Home Hacks & Answers
By
Kynnie Kerry
Expert Reviewed
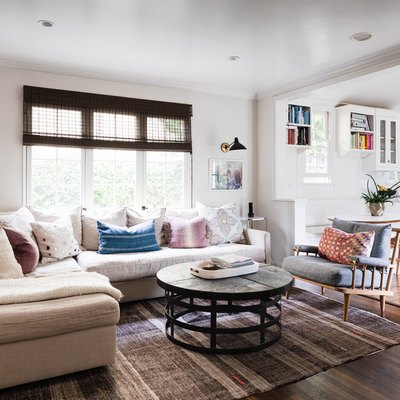
Inside-Mount vs. Outside-Mount Shades and Blinds: How to Choose
Home Hacks & Answers
By
Shelley Frost
Expert Reviewed
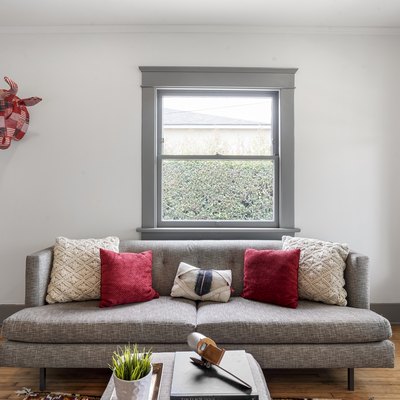
14 Things to Consider Before Buying Curtains
Home Hacks & Answers
By
Kynnie Kerry
Expert Reviewed
Drafty Home? These 5 Window Treatments Can Keep Out the Cold
Home Hacks & Answers
By
Michelle Miley
How to Hang Window Treatments Without Drilling — 8 Methods That Won’t Make Your Landlord Mad
Home Hacks & Answers
1
2
3
4
5
>
Report an Issue
Contact*:
Severity*:
High
Normal
Low
Description*:
Screenshot loading...
Cancel
Submit
By creating an account you agree to the Hunker
Terms of Use
and
Privacy Notice