Light Switch Not Working? Here Are 4 Common Problems And Fixes
We may receive a commission on purchases made from links.
A light switch that does not work is not only a nuisance, but it could be a health hazard as well. Walking into a dark room may lead to an accident, and a faulty light switch could signal more serious electrical problems. Fortunately, you can deal with many light switch problems yourself as long as you have a healthy respect for electricity and take all of the necessary precautions. Here are some of the most common light switch problems and how to fix them.
1. Lights Flicker or Don’t Turn On
1. Lights Flicker or Don't Turn On
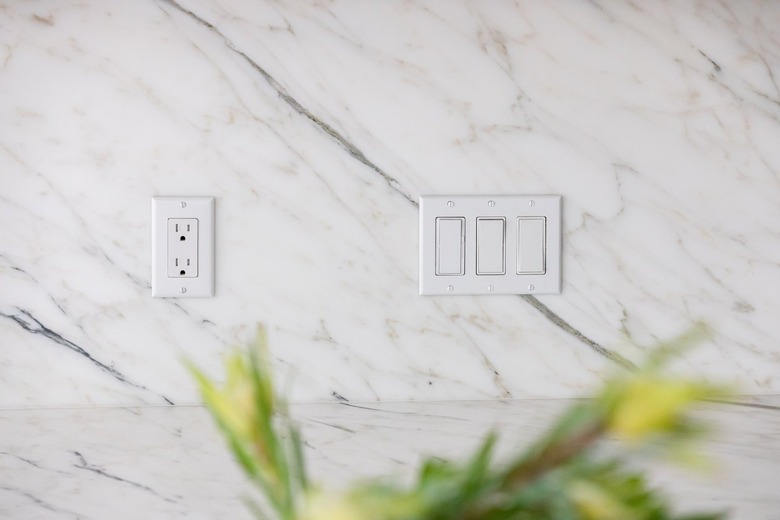
Single-pole switches — those that control one or more lights from a single switch — have two power terminals and one ground terminal. The ground terminal is usually green, and the power terminals are usually brass or silver. One power terminal is connected to the power source, and the other is connected to the light.
The wires should have the insulation removed and formed into a small loop that is secured under the terminal screws. If the connection is loose, the lights may flicker when you flip the switch, or the light may not work at all. Loose connections can also be fire hazards.
Sometimes, flickering lights could mean you have a bad light switch. Switches contain a spring and metal contacts that can wear out over time.
2. 3-Way Switches Don’t Work
2. 3-Way Switches Don't Work
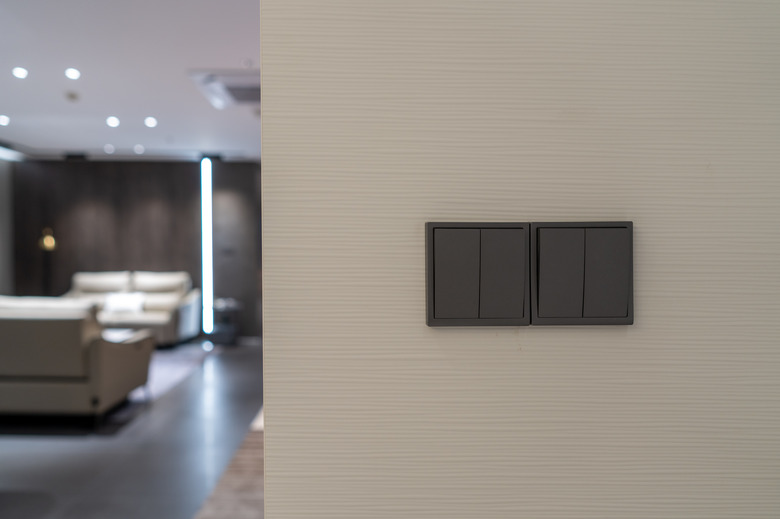
Two three-way switches work together to control one or more lights from two different switch locations. Each switch can override the other so that you can turn on the light at one switch but turn off the same light at the other. You often see this arrangement on stairs, long hallways, or where there are two entrances to a room.
Sometimes, the switches don't appear to be in sync with one another. For example, you may not be able to turn the light off at one switch if it was turned on at the other. This often happens if one of the switches is replaced and not wired correctly.
Unlike single-pole switches, three-way switches contain a ground screw and three other terminals. One terminal, usually colored black, is the common terminal. On one switch, the common is connected to wiring from the power source, such as the electrical panel. The common on the other switch is connected to the light.
The other two terminals, either brass or silver, are called traveler terminals. Traveler wires run between the two switches and are connected to the traveler terminals. If there is a problem, in many cases, it is due to one of the traveler wires being connected to the common terminal.
3. Dimmer Buzzes or Is Hot

3. Dimmer Buzzes or Is Hot
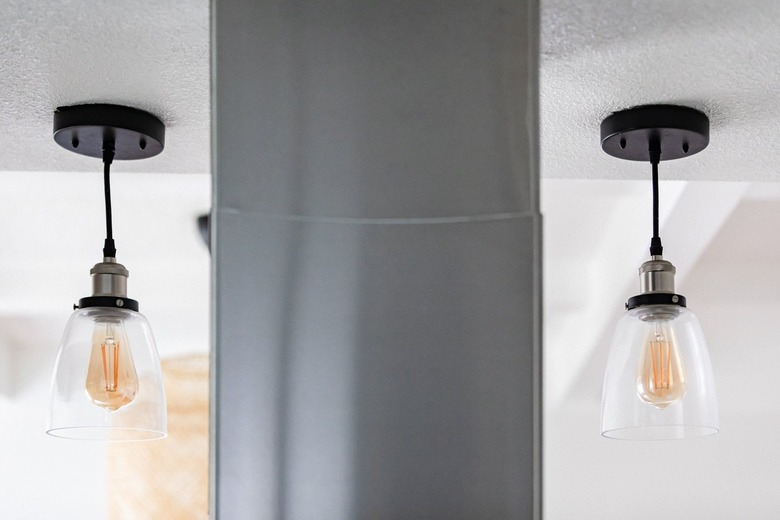
A dimmer that makes a loud buzzing sound or is hot to the touch could signal that the dimmer is handling more of an electrical load than what it was designed for. This happens when the combined wattage of the bulbs operated by the dimmer exceeds the wattage it is designed to support, or there could be a serious wiring problem in the home's electrical system. But be aware that dimmers often make a slight humming noise and that they are usually warmer than standard wall switches.
4. Dimmer Doesn’t Dim
4. Dimmer Doesn't Dim
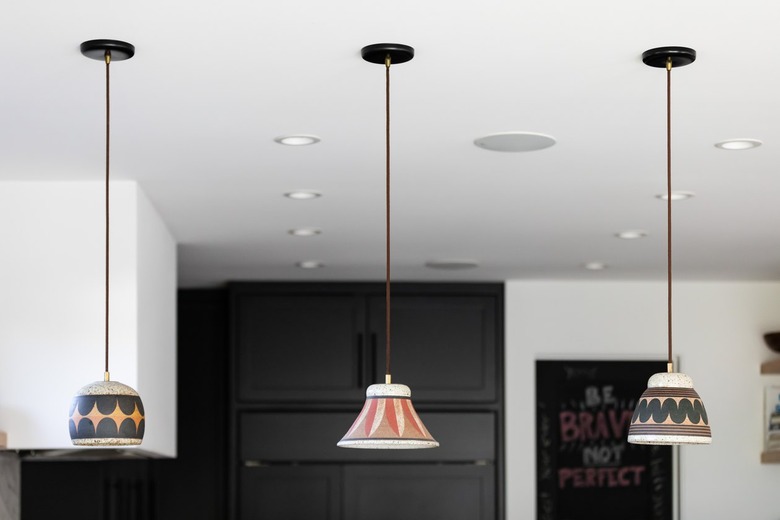
When operating a dimmer switch, if the lights drop out, meaning they turn off before reaching the bottom of the dimming range, or they pop on, meaning they reach total brightness before you want them to, or the lights just won't dim at all, your dimmer or light bulbs may have compatibility issues. If the dimmer and the bulb in the light fixture are not compatible, the dimmer will not work properly. This happens often when homeowners replace incandescent bulbs with LED bulbs in fixtures that are controlled by a dimmer, especially older dimmers. Keep in mind that not all LED bulbs are dimmable, and not all dimmers are compatible with LED bulbs.