How To Install Recessed Lighting: Step-By-Step Instructions
We may receive a commission on purchases made from links.
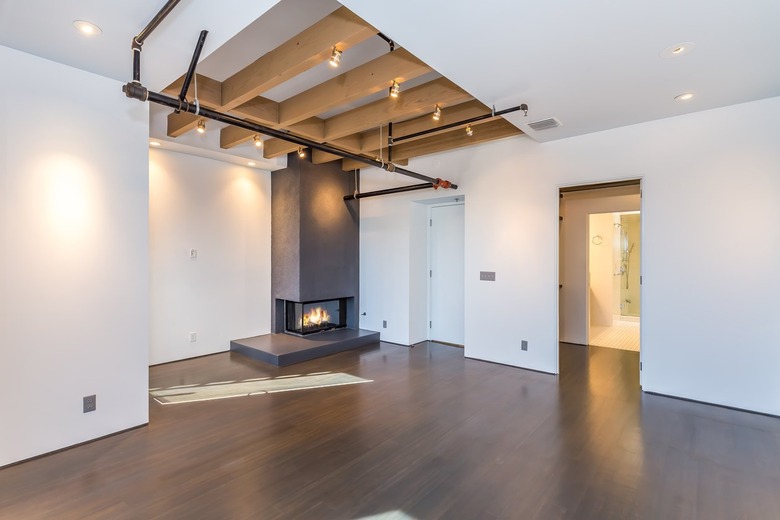
One of the most effective ways to change the atmosphere in a room for the better is to install recessed lights, and you don't necessarily need an electrician to do it. You don't need attic access either — although that definitely makes things easier — because you can purchase recessed lighting fixtures, or "can lights," which clamp directly to the drywall and do not have to be fastened to the ceiling framing. It's as easy as cutting holes and pushing in the cans (after they've been properly wired, of course).
Here's everything you need to know about installing recessed lighting — including our step-by-step guide.
Getting Power to the Light
Getting Power to the Light
Before you get to the installation, you'll need a power source for the light circuit. It's common to draw it from a receptacle in the room, but it's important not to overload the receptacle circuit. If it's on a 15-amp breaker, the combined wattage of the devices and the new lights shouldn't exceed 1,440 watts, and if it's on a 20-amp breaker, the combined wattages shouldn't exceed 1,920 watts.
You can also connect the lighting circuit to the one that powers a ceiling light fixture you're removing, or as a last resort, install a new circuit breaker and circuit wiring for the recessed fixture. (Note: This might be best left up to a professional electrician.)
Once you've hooked up an NM line cable (NM stands for nonmetallic, which is standard residential electrical cable), you may need to feed it into the ceiling where the new lights are going to be. This could involve drilling a hole in the top plate of a wall, and to do this, you might have to remove a small section of drywall and patch it later. In most cases, this should be all the drywall patching you have to do. With the line cable extended to the location of the first light fixture, you're ready to start your DIY recessed lighting installation.
How to Choose Recessed Lighting Fixtures

How to Choose Recessed Lighting Fixtures
You have a few "either or" choices to make when you purchase recessed lighting fixtures. The three most important are:
- ICAT or standard: ICAT stands for "insulation contact air tight." These are the fixtures you need for insulated ceilings. They are double walled and don't get hot enough to ignite the insulation, and they have no passages to allow warm air to seep out of the room, which forces your furnace to work harder. They aren't required when installing recessed lighting in an uninsulated ceiling between floors, but they don't cost much more than standard non-IC fixtures, so there's little reason not to use them in every situation.
- Full-size or compact: Full-size lighting cans are 6 inches deep and need 8 inches of clearance behind the ceiling. This clearance may not be available between floors, so you should test it: Poke a wire through a small hole in the ceiling drywall and measure how long a piece you can feed through before it hits the floorboards on the upper story. If clearance is limited, you can find compact 4-inch cans or 2-inch canless fixtures.
- Remodel or new construction: New-construction fixtures have brackets that have to be fastened to the ceiling joists. You can install these if you have attic access. Otherwise, you need remodel fixtures, which have tabs to anchor them to the drywall. Whether or not you have attic access, you may prefer remodel fixtures because they're easier to install.
The trim is the part of the lighting fixture you see from down below, and it may or may not be supplied with the cans you buy. If you have to buy it separately, you have many options, including:
- Open trim, which fits around the light bulb and exposes the entire bulb. It may have a transparent cover.
- Baffle trim, which allows the bulb to be recessed into the can. This is the most common choice. Reflector trim is similar to baffle trim, but it has a reflective surface that amplifies the light.
- Eyeball trim allows rotation of the bulb for focusing on a particular part of the room. These are designed for regular bulbs as well as low-voltage LED lights.
Things Needed
-
Step ladder
-
Pencil
-
Tape measure
-
Tape
-
Drywall saw or hole saw and 1-inch drill bit
-
Goggles
-
Drill
-
1 1/4-inch screws
How to Install Recessed Lighting
How to Install Recessed Lighting
Before you do any electrical wiring, it's important to shut off the circuit breaker controlling the circuit on which you'll be connecting devices. After you do this, put a piece of tape over the breaker to remind everyone that it needs to stay off. Before touching any wires, test them with a non-contact voltage tester to make sure the power is off.
1. Make a Plan
Draw a schematic of the light fixture layout on a sheet of paper. This drawing should include the positions of the ceiling joists so you can avoid putting a fixture where it may run into a joist. Locate the joists using a stud finder and mark each of their positions on the ceiling. Measure the joists' distances from the side walls and draw them on the paper.
For general room lighting, fixtures should be separated by half the distance from the floor to the ceiling, which is 4 feet for a standard 8-foot ceiling. You may want to reduce the spacing for more focused lighting.
2. Lay Out the Fixture Locations on the Ceiling
A cutting template is provided with each recessed lighting can. Using your schematic drawing and working from the step ladder, tape the template for each lighting fixture on the ceiling in the desired location, inspect the layout, and make adjustments as necessary. Once you're happy with the layout, draw the outline of each template on the ceiling using a pencil. Remove the template when you're finished.
3. Cut a Hole for Each Lighting Can
Cut out the ceiling drywall along each outline and remove the cutout. It's important to cut accurately because every gap you make leaves an opening for warm air to escape, and mistakes might not be hidden by the fixture trim. You can do the cutting with a drywall saw, but it's more accurate to use a drill and a hole saw with the same diameter as the outline. Wear goggles to protect your eyes from dust and falling bits of drywall.
Tip
If you're using a drywall saw, it's a good idea to drill a 1-inch hole centered on the outline so you can check for electrical wires. If there are any, push them out of the way before you start cutting.
4. Run Electrical Cables to Each Hole
Feed the line cable (the power source) to the closest hole, where the first fixture in the circuit will be located. It's against electrical code to change wire gauges in the middle of a circuit, so be sure the cables are all the same gauge as the line cable. In other words, if the line cable is 12 gauge, run 12-gauge cable throughout, and if it's 14 gauge, use 14-gauge cable throughout. There should be two cables — one incoming and one outgoing — for each hole except the last one, which only needs an in-feed cable. If you're installing remodel fixtures, pull the cables through the holes to make sure you have enough slack to make connections.
You may have to drill holes in the joists so you can feed the cables through. If you're working from underneath, you should be able to do this by poking a right-angle drill through one of the fixture holes. To avoid weakening the joist, make sure the diameter of the hole is no more than one-quarter the depth of the joist.
5. Attach Fixtures to Joists (New Construction Fixtures Only)
If you have attic access and you're installing new construction fixtures, go into the attic, center each can over the hole, and extend the braces until they contact the joists on either side. Screw the brackets and the electrical junction box for the fixture to the joists using 1 1/4-inch screws. (Skip this step if you're installing remodel fixtures.)
6. Wire the Fixtures
Remove the cover from the junction box for each fixture in turn, feed in the cables, and secure them with cable clamps. If you're working from under the ceiling installing remodel fixtures, you'll need to be on a step ladder that's high enough to support the fixture while you do the wiring.
Cut about 6 inches of the outer jacket from each cable using a utility knife and strip about 3/4 inch of insulation from the end of each wire using a wire stripper. Join all of the black wires together with a wire cap. Do the same with all the white wires. Connect the bare ground wire from each cable and the fixture ground wire along with a grounding pigtail. Then, connect the pigtail to the ground screw in the junction box. When you're finished, screw the cover back onto the box.
7. Install the Fixtures (Remodel Fixtures Only)
If you're installing remodel fixtures, push the junction box up through the hole, insert the lighting can into the hole, and secure it according to the instructions supplied with it. Many fixtures have tabs on the inside of the can that you simply push upward to force an anchor on the outside against the back of the drywall. Be sure the lip of the can is flush against the surface of the ceiling.
8. Install the Bulb and Trim
Some fixtures are already trimmed, and for these, all you need to do is install light bulbs by either screwing or plugging them in depending on the type of fixtures. If you need to add trim — for example, cover plates — follow the manufacturer's instructions. Trim usually has clips, and you just snap it into place.
9. Test the Lights
Turn on the circuit breaker, and then turn on the light switch and make sure all the lights come on.
Need to visualize the process? Check out Fix This Build That's video on recessed lighting installation: