Installing LED Strip Lights: An Easy Step-By-Step Guide
We may receive a commission on purchases made from links.
If you're looking for a way to easily add some mood lighting or ambiance to your space, look no further. LED strip lights are a great way to add some fun and flare (not to mention light) without rewiring your house or adding permanent light fixtures. Their adhesive backing makes them easy to install, and they offer a wide array of patterns and colors that you can change whenever you wish. Many strips are also compatible with smartphone apps and voice controls so you can easily adjust them from wherever you are. Here's a guide to buying and installing LED strip lights.
LED Strip Light Kits
LED Strip Light Kits
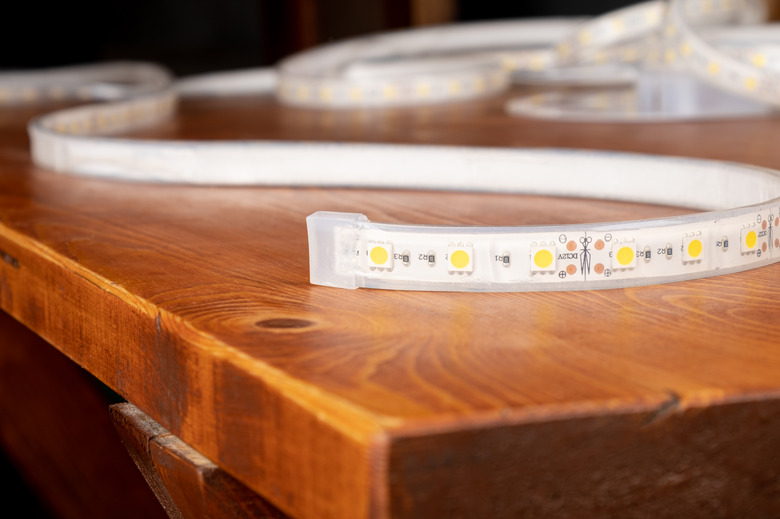
LED strip lights, sometimes referred to as tape lights or LED tape, are quite simple and don't require a lot of components. A basic working system requires only a power supply, controller, and the light strip itself. If you have even a basic working knowledge of electrical wiring, you can buy these components separately and put them together yourself. It's much easier, however, to simply buy an LED strip light kit that already contains all of these components.
In addition to the basics, many kits also include a few support clips for more secure strip installation. Many strips also include small microphones that allow them to pulse or change colors to the beat of your favorite background music. LED strip lights can also work in your smart home, with both Alexa and Hey Google voice controls, and they often come with a remote control and a smartphone app for easy color changes at the touch of a button.
When buying a kit, you'll have a few color options from which to choose.
- RGB LED light strips can shine a variety of different colors
- RGBW LED light strips are able to shine a variety of colors as well as basic white.
- RGB + CCT strips provide both colored and white lights with the ability to switch between warm and cool white light temperatures.
Basic Installation Steps
Basic Installation Steps
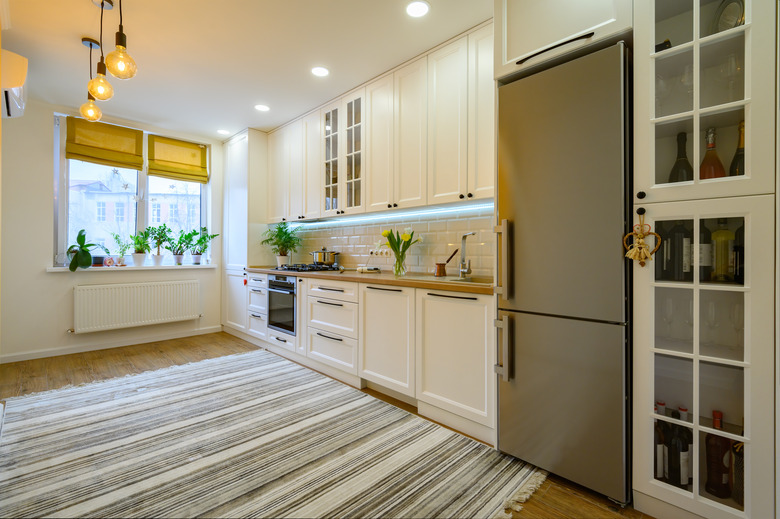
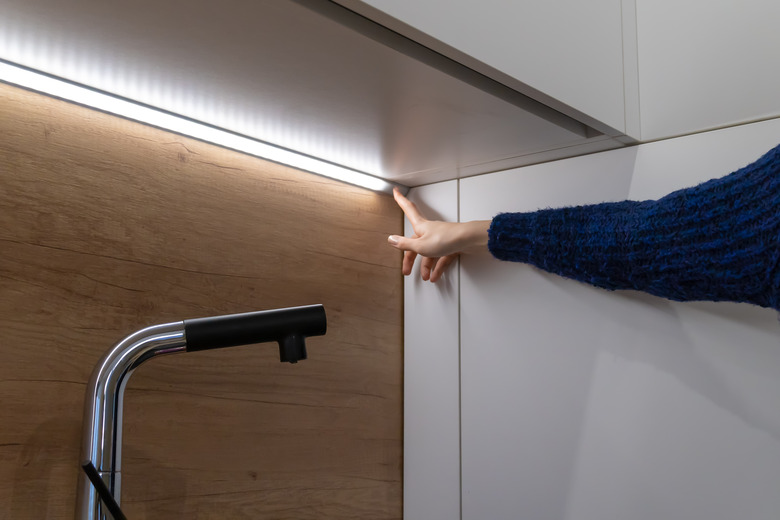
Installing LED strip lights is a straightforward process, making them a great way to light up your space easily — DIY beginners welcome. They work especially well as under cabinet lighting in dark kitchens or along ceilings to add whimsy to your space. Here's how to install LED strip lights:
- Remove the LED kit components from the box and hook them together to make sure the lights work.
- Clean the surface where you will mount the light strip with alcohol and let it dry.
- Measure the area to determine how long your LED strip lights must be.Cut the LED lights as close to the desired length as you can with a pair of scissors. When cutting the light strip, it is critical that you do so only in the designated area where the copper pads are located and be sure to cut straight. Cutting the strip anywhere else will damage it.
- Peel the adhesive backing away from the light strip and apply it to the desired surface. Work from one end of the strip to the other, adhering only a small section at a time. Smooth the strip as you work to prevent air bubbles.
- Plug the LED strip into the power adapter/controller and then plug the controller into an electrical outlet.
Special Installation Tips and Tricks
Special Installation Tips and Tricks
If you need your strip lights to go around a corner or run over an obstacle, like a pipe on your wall, installing them is still quite easy. You will need a few extra parts, though. If you find that your LED strip is too short, you can easily connect multiple strips together using a solderless connector clip, otherwise known as a strip connector. Just place the ends of the light strip you want to connect into the clip and then snap it closed to secure them.
Do you need to put a 90-degree bend in your LED strip lights? Simply purchase a corner connector strip and two solderless connector clips. (Note that some strips come with the connector clips, while others do not.) Adhere the corner strip on the bend and then connect a light strip to each end using the connector clips. You can also acquire straight connector strips for working around obstacles.
For example, pretend that you're running your LED lights along a wall but there is a pipe running down the wall at one spot, and you can't slide the lights behind it. Simply connect one end of a connector strip to your lights with a connector clip, place the connector strip over your pipe, and join your lights to the connector strip with a second connector clip on the other side.
Tip
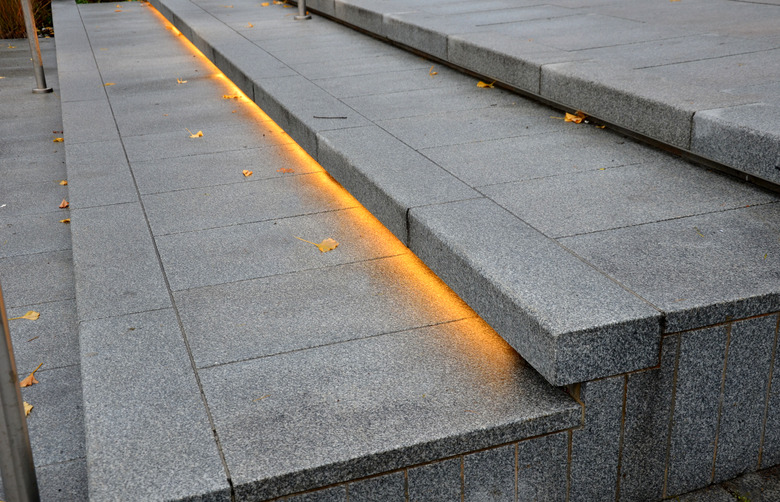
If you're looking to install LED strip lights outside, like to illuminate steps or your pool, make sure the ones you use are waterproof and suitable for outdoor use. The product's label will have this information.
Skipping the Adhesive
Skipping the Adhesive
The adhesive on LED light strips only works on smooth surfaces. If you want to install your lights on a rough surface or prefer not to use the adhesive, there is another option. Many kits come with a handful of support clips in case you want to add a little extra support to your strip light installation, but you can also use them to skip the adhesive altogether. These clips are essentially little plastic bridges with a screw hole on either side. Simply place the clip over the light strip and screw it in place.
How to Install LED Strip Lights on the Ceiling
How to Install LED Strip Lights on the Ceiling
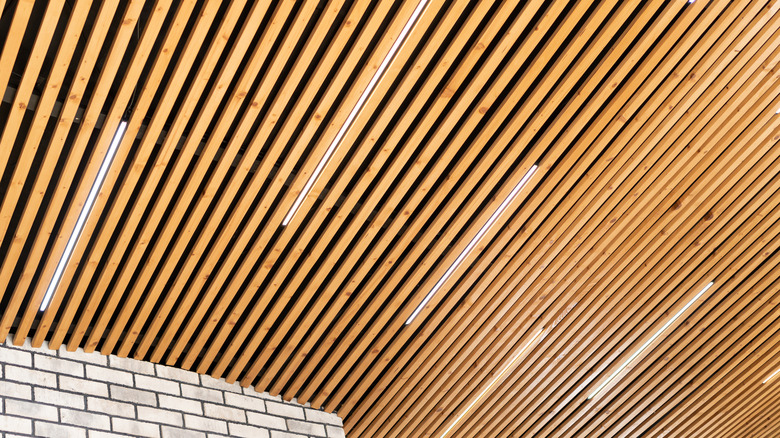
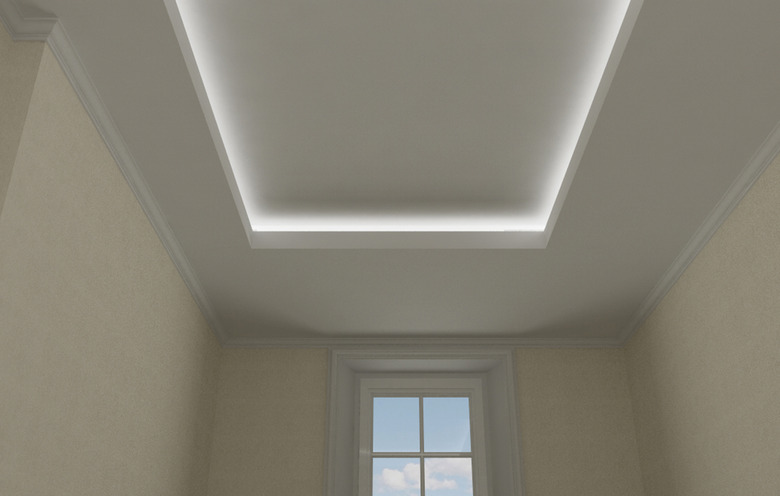
A popular way to use LED strip lights today is to install them around the ceiling. This can create a dramatic look and really add to the space, but it requires a little finesse. An exposed strip of LEDs might look acceptable around the top of your teen's bedroom, but you probably want a cleaner, more polished look in your living room.
For a more finished look, utilize lightweight aluminum tracks with light-diffusing covers. With this method, you install the aluminum track around the ceiling, place the light strips in the track, and then place the diffusing plastic cover over the aluminum tracks. You can also use aluminum coving if you desire, which mounts just below the ceiling and shines a light up onto it. Remember that you can paint your track or coving to match your decor and blend better, so don't let the look of the metal put you off.
This type of installation requires cutting the aluminum to length as well as seamlessly joining strips of aluminum and creating clean corners where two pieces of aluminum meet. You may also want to hardwire your LED lights into the home with this installation method. This can still be a DIY project if you have the know-how, but it's definitely a few steps above peel-and-stick light installation. If you're unsure how to proceed, grab a savvy friend or call an electrician for help.