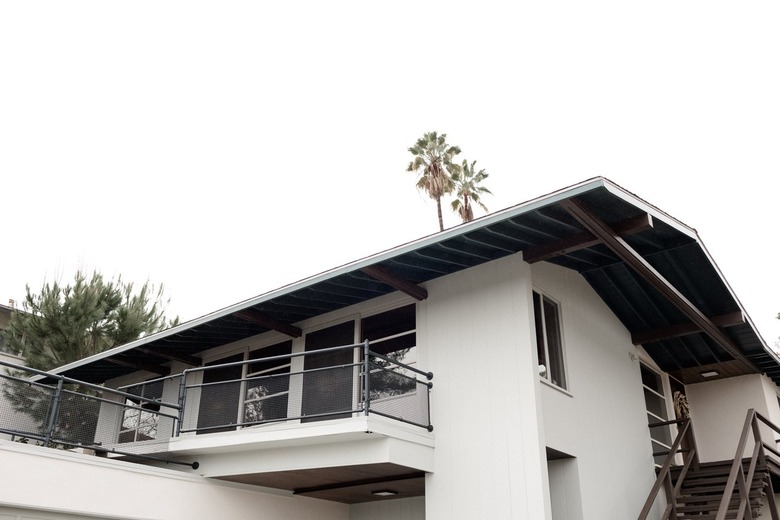
How To Paint Vinyl Siding: A Complete DIY Guide
We may receive a commission on purchases made from links.
You may be wondering if it's even possible to paint vinyl siding, let alone how to go about doing it. The good news is that it is possible, and even though it will probably void the warranty for the siding, it can add at least 10 years to its life while making it look like new. But you're right to be concerned. You have to choose the type of paint and the paint color carefully, or — worst case — you could end up having to replace the siding.
Homeowners with an average-size 2,000-square-foot house who choose to paint their vinyl siding themselves as a DIY project can expect to pay around $1,000 for tools and materials, and if they hire out the job to a painting contractor, the total cost will range from $2,000 to $4,000. Compare that to a cost between $5,000 and $14,000 to replace the siding, painting is a bargain. It's guaranteed to improve the home's curb appeal and increase its resale value, and it's a home improvement project with an 80 percent return on investment.
What Type of Paint for Vinyl?
What Type of Paint for Vinyl?
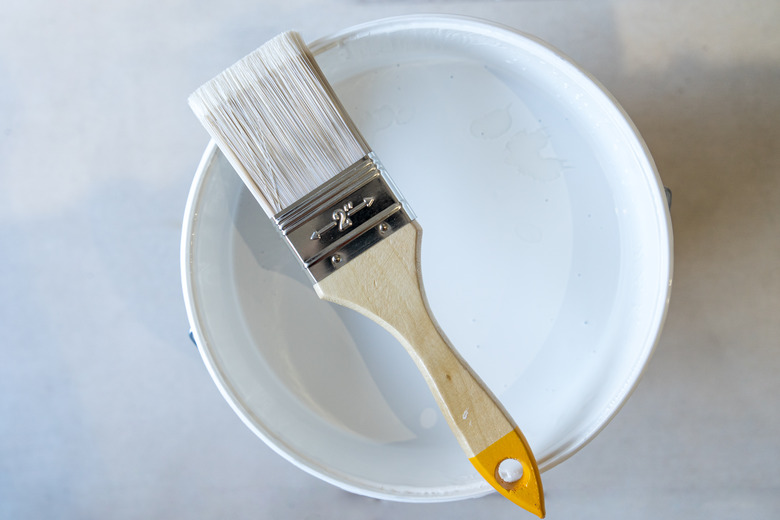
Vinyl is a flexible material that expands and contracts with changing temperatures, so the right paint is one that contains resins that stay flexible enough to move with the vinyl. A water-based product is fine, but you should choose one with an acrylic binder rather than one with a latex binder. Acrylic is harder, lasts longer, and is less likely to peel or crack. As you would for any outdoor painting project, use only exterior paint.
Vinyl-Safe Paint
Sherwin-Williams, Benjamin Moore, Behr, Glidden, and other manufacturers sell "vinyl-safe" paint, but this designation often refers to available colors. You can't paint vinyl siding with normal house paints that have dark colors because darker colors absorb UV sunlight and can cause the siding to overheat and warp. Darker colors that are vinyl-safe often contain an additive to increase reflectivity and minimize heat absorption.
Each manufacturer has its own palette of vinyl-safe colors ranging from white and off white to pepper, slate, and terra-cotta. If you have a particular siding color in mind — perhaps to match the roof color or blend in with the surroundings — you may be constrained to products from a certain manufacturer, but that shouldn't make much difference in the price, which typically ranges from $25 to $85 per gallon.
Primer for Vinyl Siding
Before painting vinyl siding, priming is usually needed to prevent the topcoat from peeling. You might be able to skip priming if the vinyl was previously painted, and the old paint is in good condition, but priming is definitely recommended on unpainted vinyl.
Manufacturers sell bonding primers intended specifically for vinyl siding. Kilz Adhesion Primer is a good-quality product for interior and exterior use that costs $46 a gallon, whereas the top of the line Sherwin-Williams Extreme Bond costs $72. Go for the higher-priced primer if you want maximum durability and longevity from the paint job, especially if you're painting new siding.
Brush, Spray, or Roll?
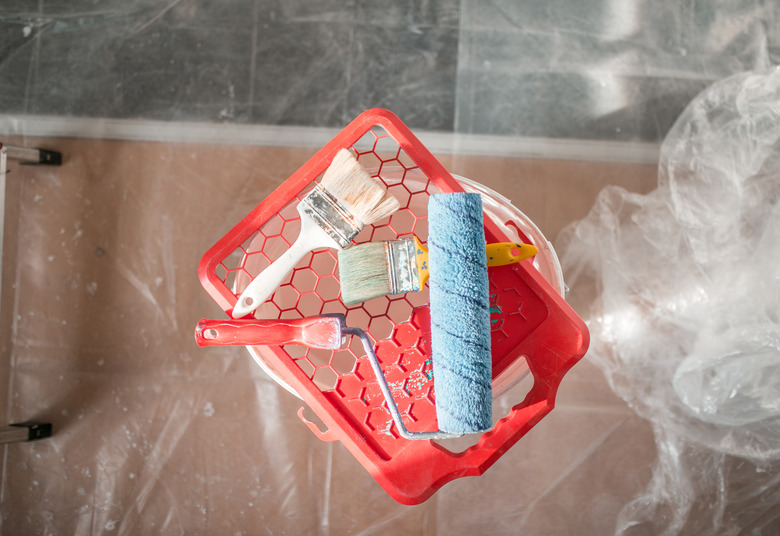
Brush, Spray, or Roll?
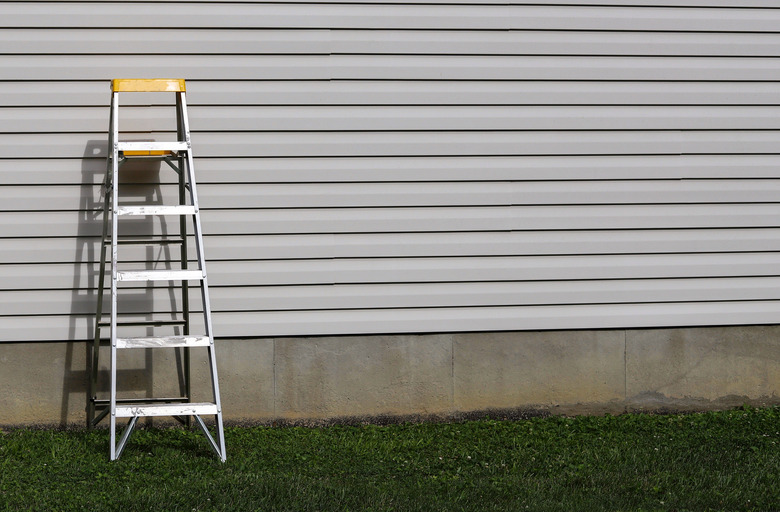
Because it doesn't absorb paint the way wood does, vinyl is easy to paint with a brush, and if you're doing the job as a DIY home improvement project, that's often a preferred method of spreading the paint. If you choose this option, you might want to go easy on yourself and paint the house one side at a time, taking a break before moving on to the next side to minimize moving around ladders and scaffolding in a single painting session.
You can speed things up by using your paintbrush to cut in the edges of each vinyl plank and using a paint roller for the rest of it. This isn't the best option for all types of vinyl siding because some vinyl planks are molded with a slight curve that makes rolling more difficult. A mini roller with a thick nap is best if you choose to go this route, and you'll probably need scaffolding because you can't bring a paint tray onto a ladder the way you can with a paint can.
An airless paint sprayer offers the fastest way to paint vinyl siding, but it involves more prep time masking off doors and windows with painter's tape and masking paper. This might be the way to go if you're in a hurry, your house has large walls with few windows, and you want to do the whole thing at once. Spraying won't save you much time if you have a small house with a complex structure and lots of windows.
Paint in Good Weather
Paint in Good Weather
No one is going to paint a house when it's raining or there's rain in the forecast, but rain isn't the only adverse weather condition you need to watch for when you paint vinyl siding. If you paint when it's too hot and sunny, the paint will dry before the resins have a chance to harden, and that increases the likelihood of cracking and peeling. Painting on a windy day is also a bad idea because wind also causes the paint to dry prematurely, and if you're using a sprayer, you'll have to use more paint and contend with more overspray.
The ideal painting conditions are cloudy skies and temperatures between 40 and 80 degrees Fahrenheit. Make sure no rain is in the forecast for at least a day longer than you expect the job to take.
How to Clean and Paint Vinyl Siding

How to Clean and Paint Vinyl Siding
Once you have your paint and tools together and you have great weather for painting, you're ready to start the job. You'll proceed in several stages that include cleaning, scuff sanding, priming, and painting. No matter how good the house might look after the first coat of paint, get enough paint for two coats. That way, you're sure to get complete coverage, and the paint job will last longer.
1. Clean the Siding
Experts agree that the most important step in the painting process is to thoroughly clean the siding because dirt, mold, and mildew interfere with adhesion.
- Go over the siding with a pressure washer at a low pressure (less than 2,500 psi).
- Use a pressure washer tip with a moderately wide spray pattern and avoid spraying upward and getting water underneath the lap joints between siding panels.
- Scrub remaining dirt with a strong soap solution, such as 1/2 cup of trisodium phosphate (TSP) per gallon of water.
- Add bleach to the cleaning solution for more cleaning power and to kill mold as needed. Just don't put bleach inside the pressure washer if it has a soap reservoir as the bleach could corrode the hardware.
- Rinse thoroughly after scrubbing using either a pressure washer or garden hose and let the siding dry overnight before you scuff it up with sandpaper and paint.
Rinse the siding thoroughly after cleaning. Let everything dry at least overnight before proceeding. Wait a full 24 hours in cool, overcast weather.
2. Scuff the Siding (Optional)
Lightly scuff the siding with 120-grit sandpaper to roughen the surface and provide better adhesion for the primer. You can do this by hand or with a pole sander, which is a tool for sanding drywall. Brush off the sanding dust with an unused paintbrush as you go. This is a light once-over and isn't always necessary, but it may be recommended by the paint manufacturer, and it's a good idea if the siding is still glossy after you clean it.
3. Mask Off Doors and Windows and Lay Drop Cloths
This step is only important if you're going to apply the paint and primer with a sprayer. Tape masking paper to the windows with painter's tape and cover doorways with sheet plastic taped to the trim at the top of the door so people can still go in and out of the house while you're working.
If there are any exterior features that you don't want to paint, such as trim or deck railings, now is the time to mask them or cover them with drop cloths. Lay lightweight plastic drop cloths over bushes, walkways, and other landscape features you want to protect.
4. Prime the Siding
Apply a single coat of bonding primer to the siding using a sprayer, paintbrush, roller, or any combination of these tools that works. When using a roller, you'll also need a paintbrush to cut in the edges. If you're using a paintbrush or roller for the bulk of the work, a cordless handheld airless sprayer will come in handy for getting paint in hard to reach places, like the top of walls and underside of soffits.
5. Apply the First Coat
Wait for the primer to dry, which usually takes about two hours, and then apply the first coat of paint using the tools of your choice. Vinyl accepts paint very well, so if you're using a brush, you'll get even coverage without much effort. Don't worry if you have to stop and move the ladder because you can apply fresh paint over paint that has partially dried without getting lap marks.
6. Apply the Second Coat
Wait about two hours for the first coat to dry and then apply the second.
7. Remove the Masking and Paint the Trim
If you put masking tape and paper on doors and windows in preparation for spraying, remove all of it so you can paint the door and window trim as well as the corner trim, top trim, and fascia (boards covering the end of rafters). You can use the same color or a different one, but if you choose a different color, do the job with a quality 3-inch angled synthetic bristle brush to avoid getting paint splatters on the freshly painted walls.
8. Clean Up
Put away the ladders, pick up all the drop cloths, and make sure all paint cans that still have paint in them are covered. Clean your rollers and brushes with soap and water and if you used a sprayer, run soapy water through it until all signs of the paint color are gone.