How To Paint Trim Without Taping
We may receive a commission on purchases made from links.
Beginner painters usually assume that you have to use painter's tape to get a clean edge of paint where trimwork meets walls and other surfaces. And when painting the walls and other surfaces next to the trim, this process is called cutting in. While taping is always an option, once you get the hang of cutting in, you might find that it's faster — and often cleaner — to skip the tape and simply freehand with the brush.
Here's how it works: To paint without taping, you paint the trim first, letting the paint overlap onto the wall (or ceiling), then you paint the wall, starting with cutting in along the trim and following up with a roller or brush on the rest of the wall.
What Is Cutting In?
What Is Cutting In?
"Cutting in" is the painter's term for the careful step of painting along the edges of walls, ceilings, floors, and trimwork, before moving on to the less detailed labor of painting the "field," or main area, which is usually done with a roller. Cutting in effectively and efficiently is one thing that separates professional painters from amateurs, but anyone can do it pretty well with a little practice. It also helps enormously to have the right brush.
Why You Should Always Cut In
Why You Should Always Cut In
Cutting in is an important part of the painting process for several reasons. One of the primary benefits is psychological. Cutting in is slow, focused work that requires concentration and a steady hand (even steady breathing). If you had to paint an entire house this way, you'd go nuts. But once you're done with the tedium of cutting in, you've created a buffer zone of paint that allows you to switch into a faster gear and paint the larger areas more efficiently and mindlessly.
By contrast, if you didn't cut in and just started rolling the field right away, you'd have to slow down to a near standstill every time you paint close to an edge; or worse, you'd have to set down your roller and pick up a brush to finish along the edge before moving on.
Cutting in takes time, but you have to do it only once, and it saves time in the long run because it lets you paint the field faster and with less mess. Always take the time to ensure full coverage when cutting in; you don't want to go back for a second coat. Finally, cutting in is the only way to get professional-looking results. You simply can't paint a clean edge with a paint roller or even a big, fat brush or one of those gimmicky edging sponges.
Choosing the Right Brush for Trim
Choosing the Right Brush for Trim
Cutting in with a lousy brush is like slicing a tomato with a butter knife: It's the wrong tool and it makes a real mess. For most cutting in work along wall edges and trim work, a 2-inch angled sash brush is the best option. Good brushes have fine bristles with "flagged," or split, tips that help hold paint while maintaining a soft touch. Expect to spend around $12 for a good-quality 2-inch brush. If you're cutting in along window sashes or fine trim or details, you might want a smaller sash brush that fits the work you need to do.
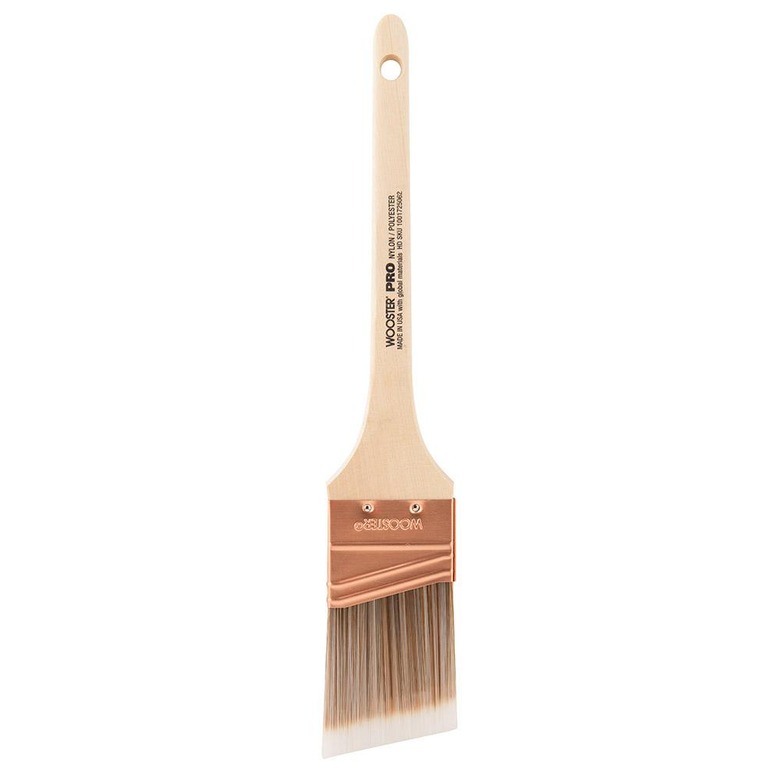 Wooster/Home Depot
Painter's Tape Pros and Cons
Painter's Tape Pros and Cons
Taping off — protecting the edges of woodwork and other surfaces with painter's tape — has its advantages and disadvantages. Tape can yield a clean, straight edge if the surface or joint you're painting is smooth. It's also a big help for protecting small items, like doorknobs, light fixtures and heating vents, when you don't want to remove them (although removal usually is preferable).
On the downside, tape doesn't work very well with textured surfaces because it's hard to get a consistent seal between the surface and the tape edge, and any gaps will allow paint to seep under the tape, yielding a messy edge when the tape comes off. Taping also takes time and uses materials that quickly get thrown away. And if you leave the tape on the surface for too long, the paint can peel off the surface when you remove the tape.
So, the decision to tape should be based on the situation: If you can get a clean edge and the tape will save time in the long run, taping makes sense. Otherwise, trust your cutting in skills to do a better job without the added step of taping.
Painter's Tape Pros
- Makes a clean edge on smooth surfaces
- Masks doorknobs, etc. so you don't have to remove them
- Requires less skill than cutting in
Painter's Tape Cons
- Doesn't work well on textured surfaces
- Takes time to apply and wastes material
- Can peel paint from surfaces
How to Cut In Paint
How to Cut In Paint
Cutting in usually involves two passes that you repeat for each small section before moving on to the next. For each section, you start with the more careful pass to create the fine edge of paint, then you come back and widen the first path with somewhat faster and broader strokes.
1. Load the Brush
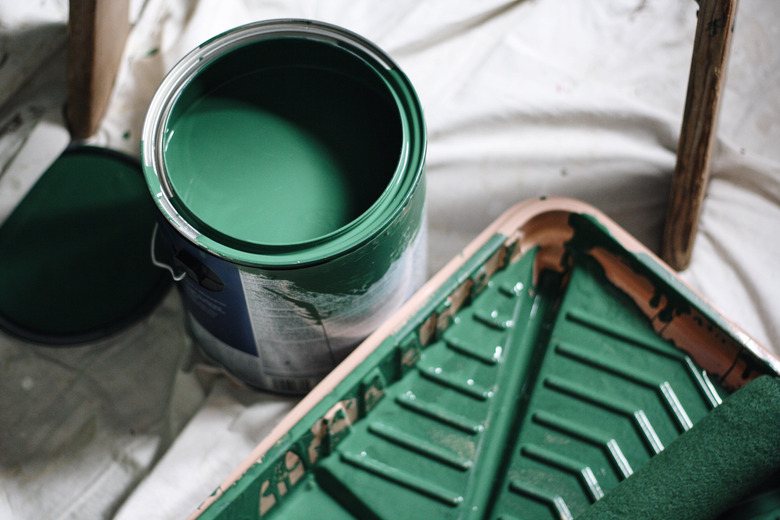
One of the keys to successful cutting in is loading the brush properly. Use a small, handheld container filled with only about 1/2 inch of paint. Don't load the brush right from the paint can because you'll inevitably get too much paint on the brush.
 HANDy/Home Depot
Dip the tip of the brush into the paint no more than about 1/ 2 inch, then tap the loaded bristles gently against the side of the container, flipping the brush over at least once to remove excess paint. Now you're ready to make the first pass.
2. Start at the Fine Edge
Paint goes on cleanest when it's applied to a dry surface, so it's best to make the finished edge first and work out from there.
Hold the brush so it angles away from the edge (you can vary the angle as desired), touch the bristles to the surface, then apply a little pressure to bend the bristles so they fan out a bit. Begin moving the brush along the edge in a smooth stroke drawn toward you. Most people find that holding the brush as you would a pencil or pen, with the shaft of the handle between thumb and forefinger, works best. Draw the brush in slow, steady strokes, keeping an eye on the paint line.
 Wooster/Home Depot
Because the paint moves ahead of the bristles, the bristles don't actually touch the painted line. If you look closely, you'll see that they're actually pushing the paint to make the line (the same effect happens when painting fingernails).
As the paint unloads from the brush and stops making a clean line, swipe away from the edge to remove the brush. Reload the brush and return to the surface, starting away from the edge, then carefully fanning out the bristles and rotating them into place along the fine edge with the brush stroke. Overlap the preceding stroke to keep the paint wet.
Tip
Some people find that wearing reading glasses helps them see the paint line clearly, especially with very detailed work, such as painting small moldings.
3. Make a Second Pass
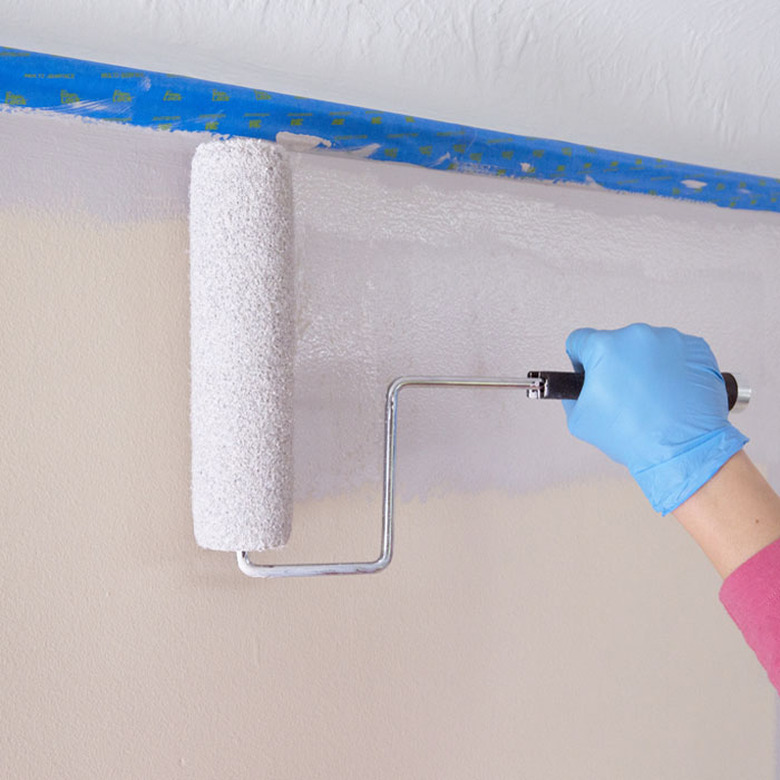
Every 1 to 3 feet or so, stop working the fine edge and go back to widen the paint path you've just made, using a few back-and-forth strokes, reloading the brush, if necessary. The goal here is to create a 3- or 4-inch-wide stripe of paint that feathers out to nothing over the dry surface. You don't want a thick edge of paint where the stripe meets the unpainted area. At the same time, you need to use enough paint so the first 2 or 3 inches along the finished edge are completely covered — again, so you don't have to do a second coat of cutting in.
And that's all there is to cutting in. Once each section looks good, move on to the next. As a general rule, it's best to do all of the cutting in at once, then letting it dry (as directed) before painting the field areas. This ensures the best adhesion where the first field coat overlaps the cut-in paint.
 Lowe's