How To Install A Ceiling Light Without Wiring

We may receive a commission on purchases made from links.
Whether it's a bedroom, living room, or any other place in your house that could use more light or a home decor upgrade, installing a ceiling light is an excellent option. However, if there is no recessed lighting, chandelier, or pendant already in that space, it may seem impossible to install overhead ceiling lighting without wiring (or, at the very least, expensive to add in the electrical wiring necessary).
Adding a ceiling light fixture to almost any room is not only possible — but it's also an easy DIY project even if there's no existing wiring (meaning no professional electrician required!). Of course, you'll need to get electricity from somewhere. That's where a plug-in light fixture comes in handy.
Here's how to install a plug-in ceiling light.
1. Choose a Light Fixture

1. Choose a Light Fixture
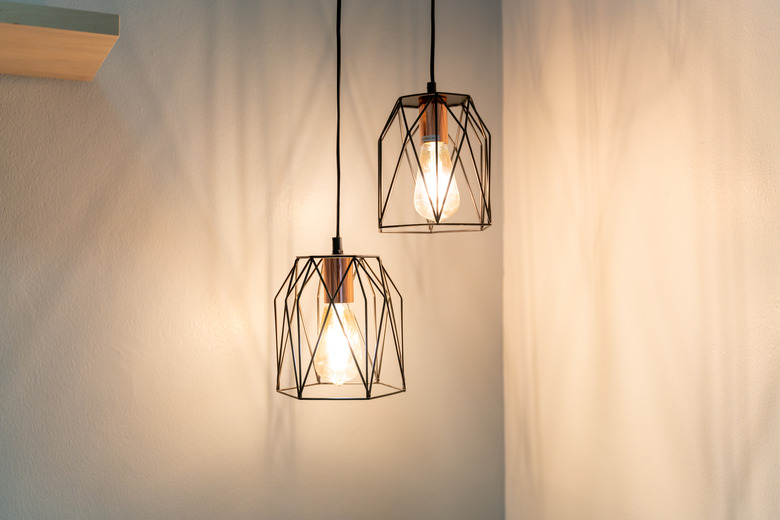
Choosing your light fixture may be the most challenging part of this project. There are plug-in ceiling lights in a vast array of types and styles readily available at your local home center. Many models come equipped with in-line switches or pull-chain switches that make installation little more than a matter of hanging the fixture and plugging it into an outlet.
Above all, select a chandelier, pendant, or a flush-mount lighting option that matches your taste and provides adequate lighting for your space.
2. Choose a Location

2. Choose a Location
The fixture you choose, its weight, and where you need the light will determine your mounting location options. Although most pre-wired, plug-in overhead lighting fixtures are relatively lightweight, consider the weight of yours to decide if it needs to attach to a ceiling joist or if only a toggle bolt anchor is necessary. Small toggle bolts can safely support up to 30 pounds in ceiling drywall.
Use a stud finder to find the ceiling joist nearest to your desired location if necessary and identify it with painter's tape to avoid making a permanent mark. If you choose to use a toggle-bolt installation, mark a place that isn't directly under a joist.
3. Choose a Switching Option
3. Choose a Switching Option
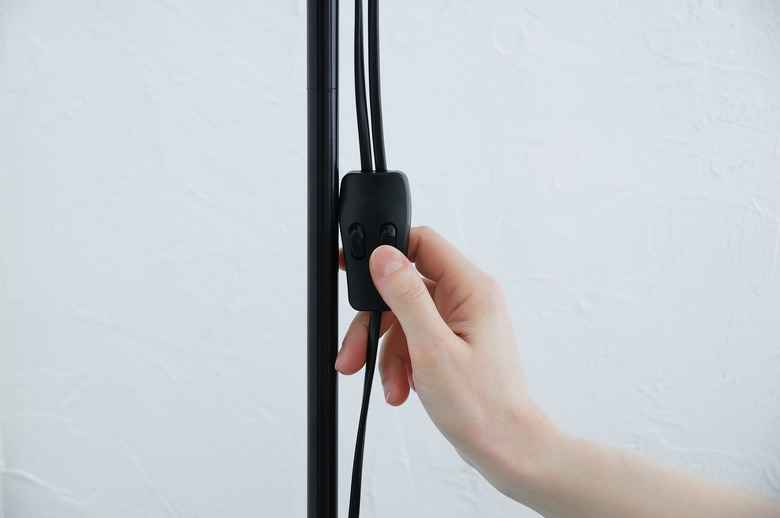
If your choice of ceiling light doesn't have an inline switch or has no cord to turn on the light bulb — or if you prefer another switching option than the one that comes with your fixture — you'll want to incorporate a new control in your design. Here are a few choices:
Switched Outlet
The simplest choice is to plug the cord with or without an inline switch into a switched outlet in the room. If the cord has an inline switch, simply leave it in the "on" position and control the fixture with the wall switch. These outlets are common in bedrooms. In some cases, only half of the outlet is controlled by the switch; the other half is always powered. You can check for a switched receptacle with a plug-in electrical tester or with a lamp or other plug-in device.
Pull-Chain Switch
Another option is to add a pull-chain switch to your ceiling light fixture. Choosing this option means you'll only need to get power to the fixture from any outlet. You can then conveniently operate the light from the fixture itself.
Remote Light Switch
With a remote light switch kit, the switch acts as a remote control for a switch box that plugs into an electrical outlet. Your light fixture then plugs into the switch box. The box relays power to your ceiling fixture when you flip the switch. Remote light switch kits require no new wiring and are available at hardware stores and home centers. Follow the manufacturer's directions for installation.
Tip
If you want to skip the electrical component altogether, you can alternatively affix battery-operated puck lights to a light fixture and switch it off and on using a remote control.
4. Hang the Fixture
4. Hang the Fixture
If your ceiling fixture includes mounting hardware, use one of the following methods to attach it to the ceiling:
Install to a Ceiling Joist
- Choose a drill bit slightly smaller than the installation screw or screws.
- Mark the hole locations on the ceiling using your fixture's mounting plate or hook or the ceiling box pan as a template.
- Drill pilot holes and fasten your hardware to the ceiling and joist with the screws.
- Attach the base of your fixture to the hardware with the screws provided or hang the fixture by its mounting chain.
- Shorten the chain if necessary by prying open the links using two pairs of pliers and removing the unused section. For a cord-hung light, choose the perfect fixture height and hang the light by its cord using the hooks provided with the fixture.
Install With Toggle Bolts
- Use the mounting hardware as a template to mark the locations of the holes for the toggle bolts.
- Use a drill bit large enough to allow the folded arms of the toggle bolts to pass through.
- Insert each screw through the mounting plate or pan and spin on the toggle arm piece so it's just on the end of the bolt. The arms should close toward the head of the bolt, not the threaded end.
- Fold the arms of each toggle together and then insert the anchor into its ceiling hole.
- Tighten the bolt with a screwdriver while applying gentle downward pressure with your hand (to prevent the toggle arms from spinning). Tighten each bolt until it is snug.
5. Conceal the Cord

5. Conceal the Cord
How you conceal the cord for your new light is entirely up to you. You can use a self-adhesive cord-concealing conduit on the ceiling and walls or wrap it with commercially available covers meant for the purpose. Consider painting the cord to match the walls. Whichever method you choose, use one or more ceiling hooks to route the cord along the ceiling to the wall.