How To Change A Light Fixture: A DIY Guide For Beginners
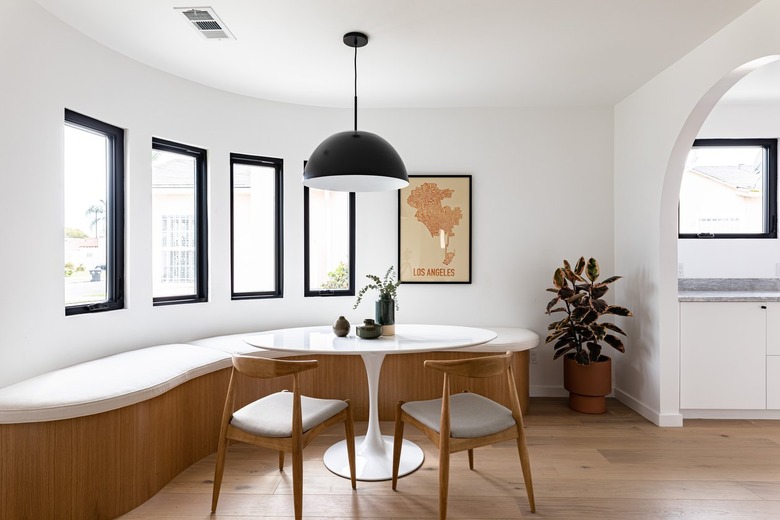
Changing a light fixture is a quick and easy way to upgrade any space in your home. Swapping out a ceiling light or two can rejuvenate a room or give your rented space a touch of your own style.
Replacing a flush mount or semiflush fixture is a straightforward process and an excellent home improvement project to start learning basic DIY skills. However, you'll be working with an electrical circuit that requires extra caution to ensure safety. The steps below outline the standard process. Be sure to follow the manufacturer's directions for installing your own fixture. If you feel uncomfortable at any time during the project, stop and call an electrician for assistance.
Things Needed
-
Painter's tape
-
Ladder
-
Regular (flat) screwdriver
-
Philips screwdriver
-
Replacement light fixture
-
Wire nuts
How to Change a Light Fixture
How to Change a Light Fixture
1. Turn Off the Electricity
The first and most crucial rule is to ensure that the wires you're about to work on have no electrical current. For this project, you'll test twice for the absence of electrical current, once now and again later, before touching any wires.
- Locate the electrical service panel, or breaker box.
- If the breaker switches are labeled, turn off the one designated for the light fixture you're going to swap. Turn off the switch by toggling it from the "on" side to the "off" side.
- If the switches aren't labeled, you may need to try several of them one at a time until you find the one that works.
- At the light switch for your fixture, flip on the switch to make sure that the fixture doesn't light up. If it lights, go back to the service panel and try another breaker switch. Continue this process until the light fixture no longer illuminates. Later, remember to relabel the breaker switch for next time.
Tip
Place a piece of painter's tape over the breaker switch to remind anyone who ventures near that it's turned off for an important reason.
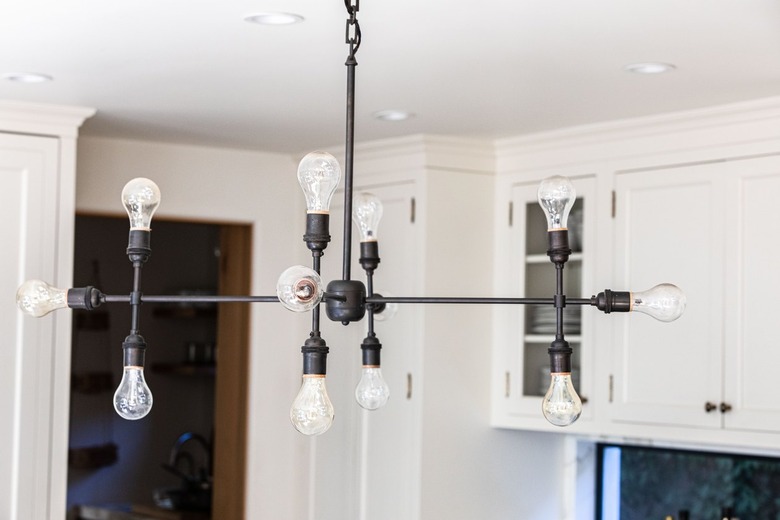
2. Disassemble the Fixture
Most flush-mount and similar light fixtures consist of several pieces. To remove it, you'll have to do some deconstruction.
- Set up a ladder that's tall enough for you to work comfortably on the fixture. Avoid setting the ladder directly under the lamp. Setting it slightly off to one side will make your work easier.
- Identify how the cover glass is attached to the rest of the fixture. Typically, there will be a decorative nut in the cover's center or two to three setscrews around the edge of the base close to the ceiling.
- Support the glass with one hand while loosening the retaining nut by hand or the setscrews with a screwdriver.
- Remove the screws or retaining nut, pull the cover away from the fixture base, and set it aside.
- Remove the light bulbs.
Tip
Store the mounting hardware in a plastic bag with the fixture if you plan to reinstall it before moving out of your home.
3. Remove the Light Fixture
There are three common ways your light fixture may be attached to the ceiling. In this step, you'll test the electrical circuit again to ensure no power is present before touching the wires.
- Test your noncontact voltage tester by holding it near an electrical outlet that you know is live and turned on. The tester should light up to indicate that there is a current.
- At the light fixture, find a pair of screw heads, a cylindrical nipple with a brass-color nut around it, or both. If there's a pair of screws, use a screwdriver to turn them counterclockwise until the fixture's mounting base lowers from the ceiling. If there aren't any screws present, twist the nut around the nipple counterclockwise until it's free and lower the base unit a few inches. Support the fixture so it doesn't hang from the wires.
- Use the voltage tester to test each wire and confirm that there is no power. (If the tester detects voltage, reinstall the mounting hardware and call an electrician for help; do not proceed with the project.)
- Lower the fixture until you reach the wire nuts connecting the wires. You may have to coax the wires out of the mounting box.
- Note which color of wires are attached to each other. Label them if necessary.
- Twist the wire nuts counterclockwise to remove them from the wires.
- If a green or bare copper ground wire is attached to the electrical box with a screw, loosen the screw and remove the wire.
- Most light fixtures have a mounting bracket held by two screws to the electrical box. Remove the screws and remove the bracket.
4. Install the Mounting Bracket
Your new fixture likely came with its own mounting hardware and bracket to simplify installation.
- Use the short machine screws to secure the bracket to the electrical box.
- Twist the mounting screws or nipple cylinder clockwise into the corresponding holes in the bracket. Use just a few turns to hold them in place; you'll tighten them later.
5. Connect the Wiring
Having a helper to support the fixture while you connect the wiring isn't a bad idea, but you may be able to do it alone without much trouble.
- Gather the wire nuts and your screwdrivers to reach them without leaving the ladder.
- If the new light's wires aren't bare at their ends, use a wire stripper to remove 1/2 inch of the insulation from each wire.
- While holding the fixture under the mounting location, pair up the black wires and twist them together by placing a wire nut over them and screwing it on clockwise until it is very tight.
- Repeat the same connecting process with the white wires. Don't let the fixture hang from the connected wires.
- The ground wire is unique from the power wires. Your ground wire may be bare copper or have green insulation. Follow the manufacturer's instructions for making the ground connection. You may need to connect the ground to the support bracket, the circuit cable's ground wire, or other elements depending on the situation.
- If no ground wire is present in the house wiring, wrap the light fixture's ground wire around the green screw that came with the fixture and secure the screw in the designated hole in the mounting bracket.
6. Mount the Light Fixture
Now, you can put it all together.
- Find the mounting holes in the fixture base and line them up with the screws or nipple in the mounting bracket.
- Slip the base over the screws or nipple and gently tighten the screws or the brass retainer nut until the fixture is snug against the ceiling.
- Screw in the light bulbs.
- Place the cover over the fixture and secure it with the decorative retaining nut or setscrews.
7. Restore Power
Now, it's time for the moment of truth. Turn the electricity back on at the circuit breaker and test the fixture. Pat yourself on the back. You're a DIYer.
Need to see this visually? Here's HouseImprovement's video guide on how to replace a light fixture.