Healthy Candle Tips Everyone Should Know
A couple of years ago a new neighbor moved in next door and brought me a gift. It was a big, beautiful candle that she made, along with a wick trimmer and a wick dipper. When I asked about the extra tools, she told me that to keep a candle healthy and long lasting, I needed to take care of the wick, and these tools would help. This opened a whole new world of candle care for me.
So, since I know that many of you in our Hunker audience are candle lovers, I'm sharing some tips and tricks on how to keep your candle healthy for as long possible. You'll also hear from Kristen Pumphrey and Tom Neuberger from P.F. Candle Co. since they are experts in this field and have wonderful advice to share.
With the price of candles these days, you don't want any of it to go to waste, right? If you follow these steps, your candle with burn clean and bright, just like it was born to do. Listen to the podcast for further info and explanations around these tips.
Listen to the Episode
Listen to the Episode
7 Tips and Ideas to Consider for the Healthiest Candles

7 Tips and Ideas to Consider for the Healthiest Candles
#1. Before you light a candle, trim the wick to a ¼ inch long.
Do this every time before you light a candle, whether you're lighting it for the first time or the twentieth time. You can use wick trimmers (which is especially helpful for wicks that are harder to reach), or you could also just use scissors. Some even suggest a nail clipper ... or in a pinch, use your fingers. A shorter wick controls the height of the flames, which means less smoke and no black soot from forming on candle holders. Basically, it means a cleaner burn and a longer lifespan for your candle.
#2. When you light a candle for the very first time, let it burn at least two hours or until the entire top layer of wax is melted all the way to the edge.
This will help the candle melt evenly when you light it in the future and will prevent it from melting just in the middle, otherwise known as tunneling. After you let it melt all the way to the edge the first time, it will create an even, slow burn thereafter. Whenever you light your candle after your first time, try to keep it burning for a couple of hours each time, however never let a candle burn for more than four hours at a time.
#3. Speaking of tunneling, there's a fix for that.
As mentioned, tunneling is when the area only around the wick melts, creating vertical tunnel. So, how to stop that from happening? It's a tin foil trick. All you need to do is place tin foil around the rim and top part of the candle holder with enough space for the wick to burn. This radiates heat, helping the candle wax melt down on the sides.
#4. Don't put debris in your candle.
Kristen and Tom say that it's a safety issue if you put debris, such as the match you just used to light your candle, into your candle holder. Plus, it could create extra "wicks" in your candle, which you don't want.
#5. When you want to put out the flame, don't actually blow it out. Use a metal dipper to dip the lit wick back into the wax.
This extinguishes the flame and coats the wick in wax. It's a smokeless way of putting out the flame, which is a much more pleasant experience. After I do this step, I also like to use the wick dipper to straighten out the wick. You want to make sure it's standing straight up, not leaning in any way, as the wax cools off.
#6. If you haven't taken care of your candle, don't worry — there are ways to rescue it.
Listen to the episode to hear Kristen and Tom's sage advice on ways to rescue a candle.
#7. Some final tips for your candle.
Whenever you can, keep your candle flame away from drafts, air conditioning, or anything that will make the flame move causing an uneven burn.
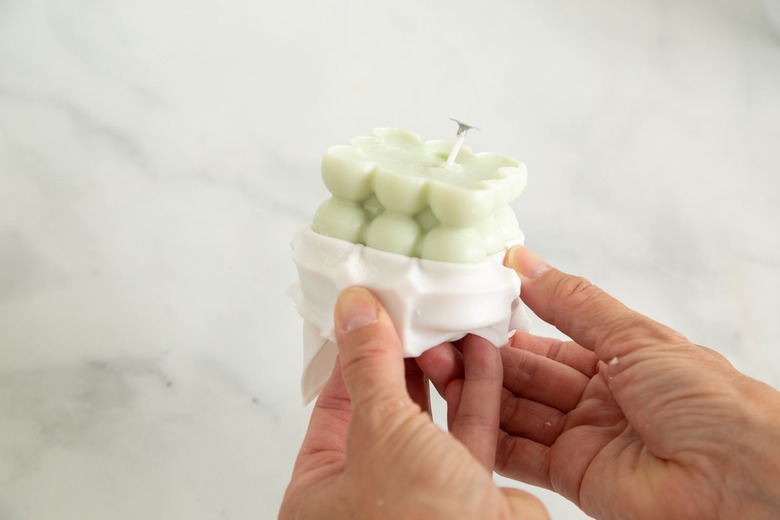
And, if you have a candle jar that you want to reuse once your candle is done, simply place the jar in the freezer for at least an hour, and then use a butter knife to scrape out the frozen wax and wick. An extra stubborn wick can be soaked in white vinegar for a few minutes to loosen it. We have a great candle-making DIY on Hunker by expert DIYer Trisha Sprouse that shows you how to reuse a glass container for candles — and also teaches you how make your own candles from scratch using clean ingredients such as beeswax, 100% cotton wicks, and essential oils.
Top Candle DIYs and Tutorials