Yes, You Can Totally Make This Trendy Bubble Cube Candle
We may receive a commission on purchases made from links.
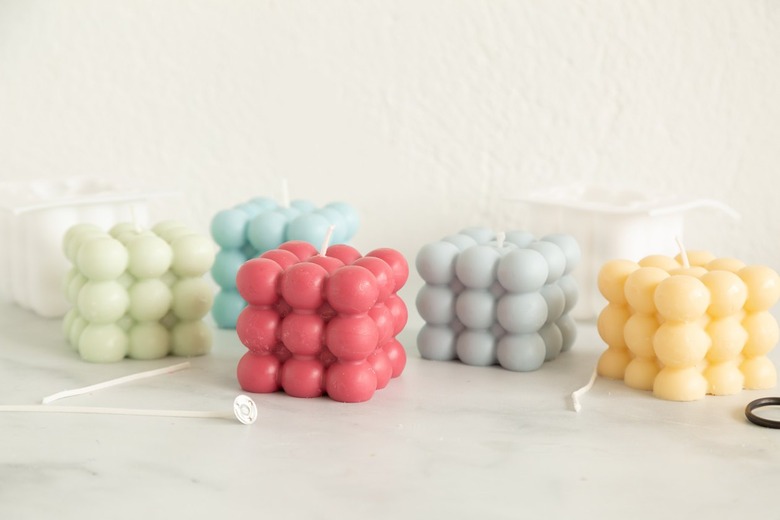
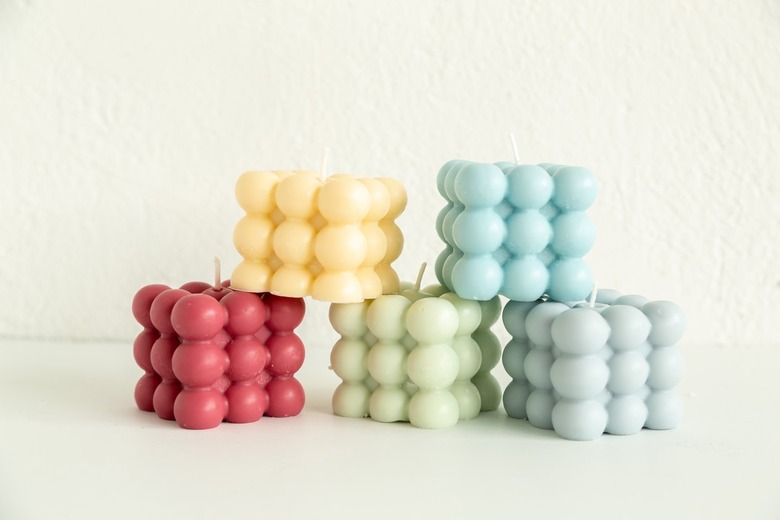
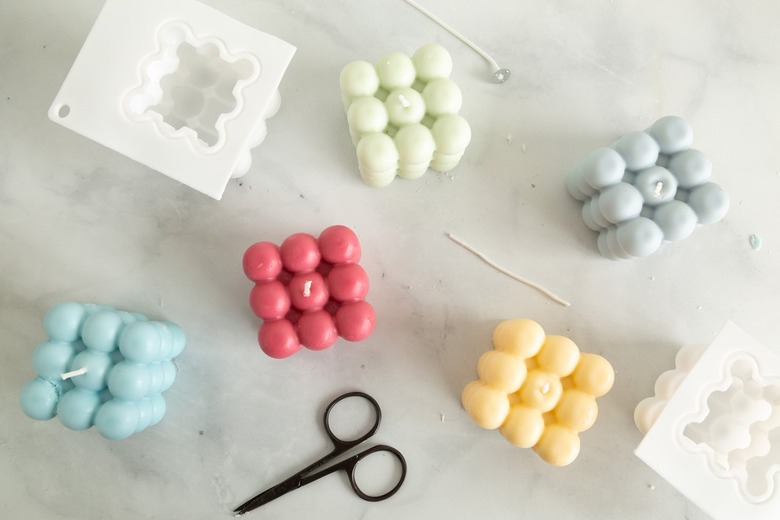
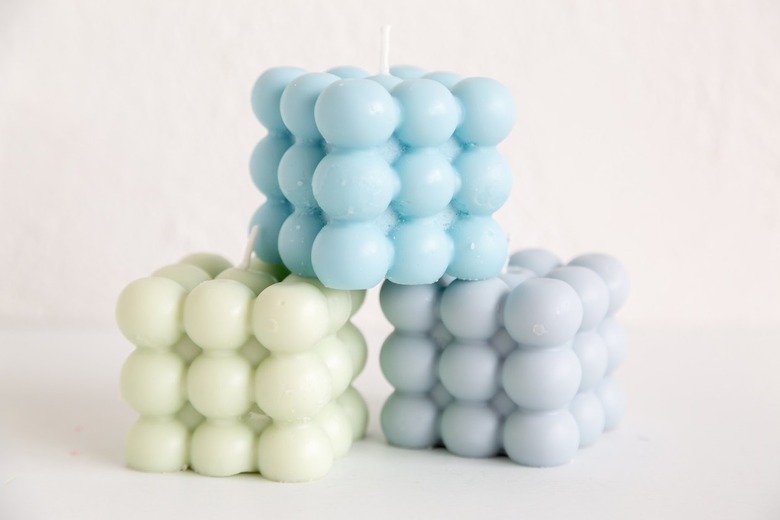
Candles are the perfect accent piece for so many areas of your home: on a coffee table, perched on a shelf, or providing a nice pop of color on your bedside table. It's no wonder that this bubble cube design has been trending lately: it's so cheeky and fun. Luckily, you can learn how to create your own candles so you're never without.
We like to use soy wax because it melts so well and is so easy to work with. Oh, and one warning: you might just become more than a little addicted to this DIY. It's that good.
 Sara Albers
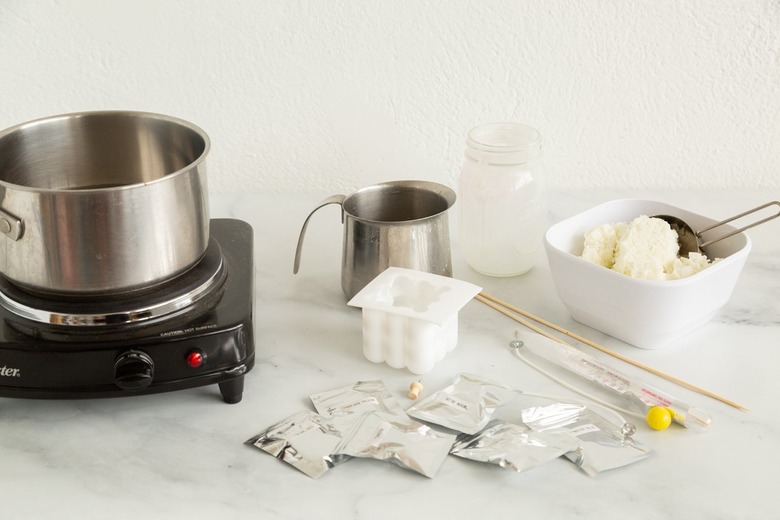
Things Needed
 Sara Albers
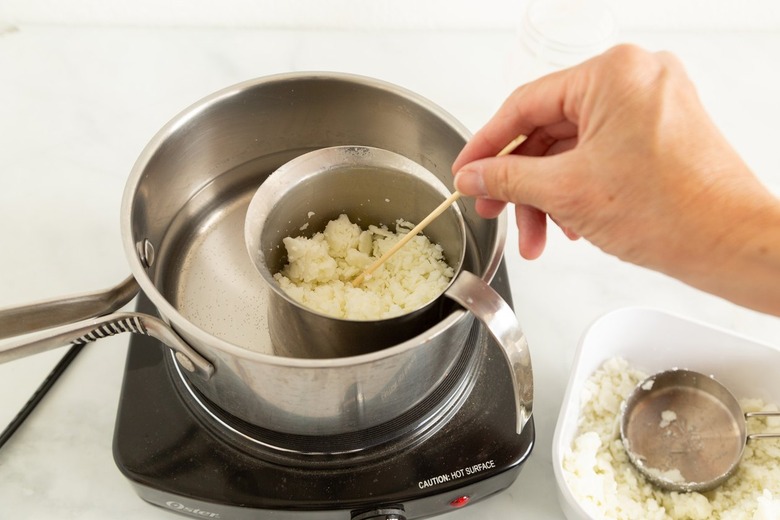
Step 1
Fill a saucepan with water (about a quarter full), and bring to a gentle boil. Place the pitcher in the hot water and fill the pitcher with wax (about three-quarters full). Using the bamboo skewer, stir occasionally until the wax melts.
 Sara Albers
Step 2
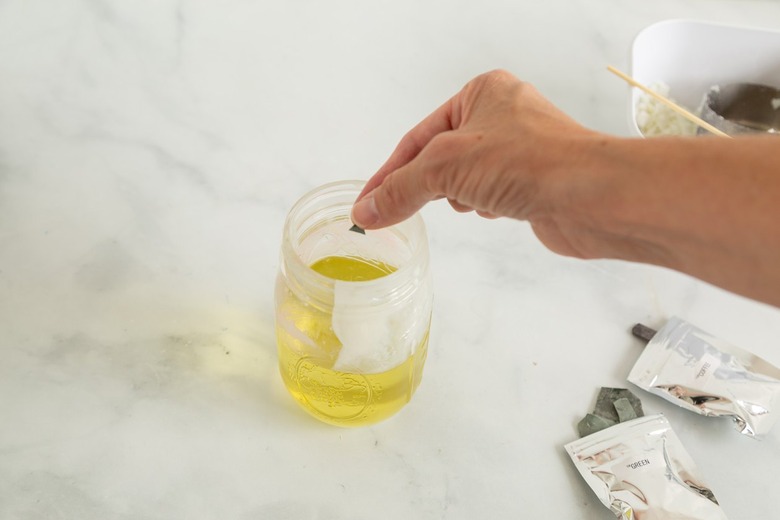
Pour the wax into a mason jar and add a small pinch or two of the colored candle wax. (In whatever color you choose.) A very little bit goes a long way. Remember that the melted wax is clear and once it dries it becomes a cloudy color. You can mix colors to get the hue you desire. For the green candle featured here, I mixed green and a bit of coffee color.
 Sara Albers
Step 3
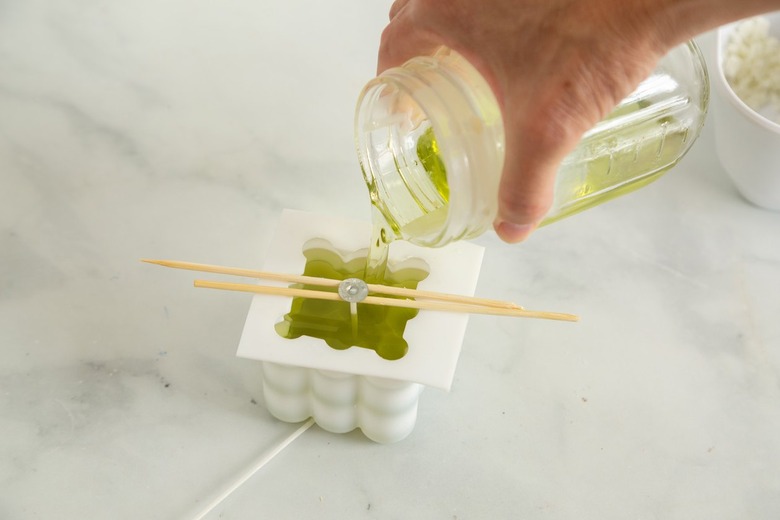
Thread the wick through the mold. If there is not a hole in the center top, you can create one using a thumb tack. You want the top of the wick to poke through at the opposite end of where you're pouring.
Cut a bamboo skewer in half and place each piece over the top of mold, holding the bottom of the wick in place. Slowly pour the wax into the mold.
 Sara Albers
Step 4
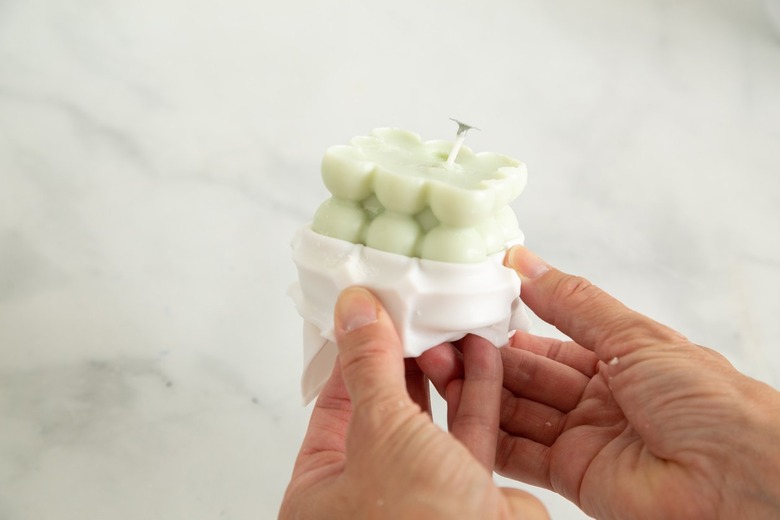
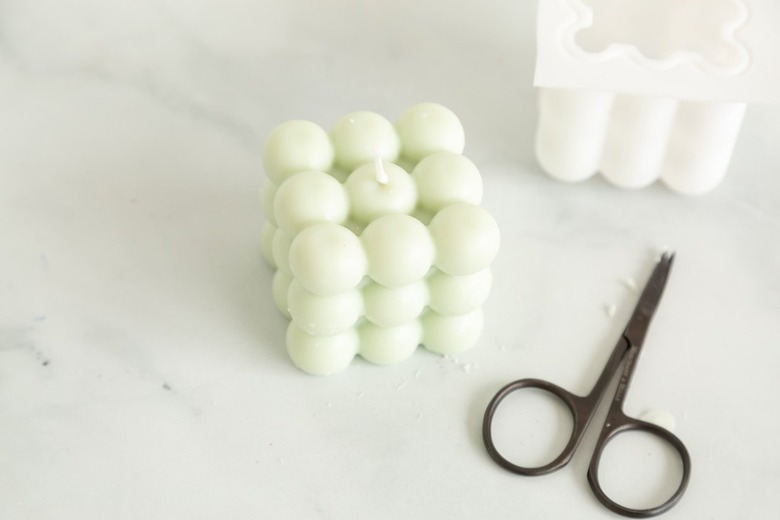
After the hot wax has cooled into a solid candle, simply pull the sides of mold off the candle. Trim the wick, and your candle is now ready to light up.
 Sara Albers
 Sara Albers
 Sara Albers
 Sara Albers