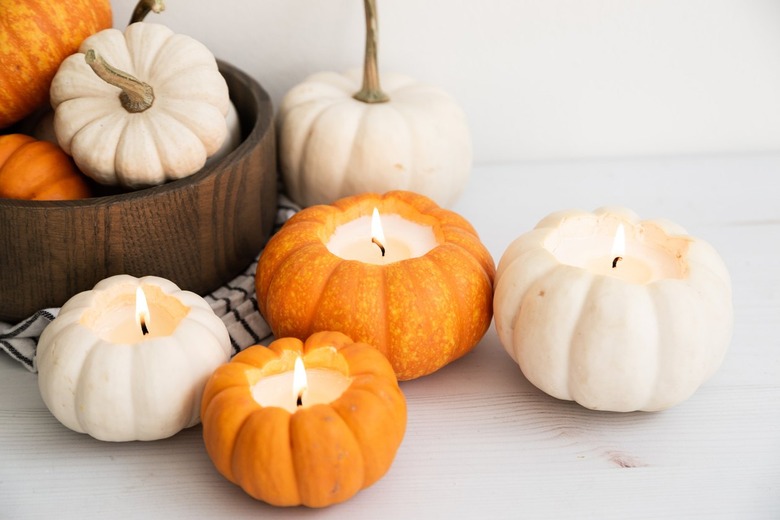
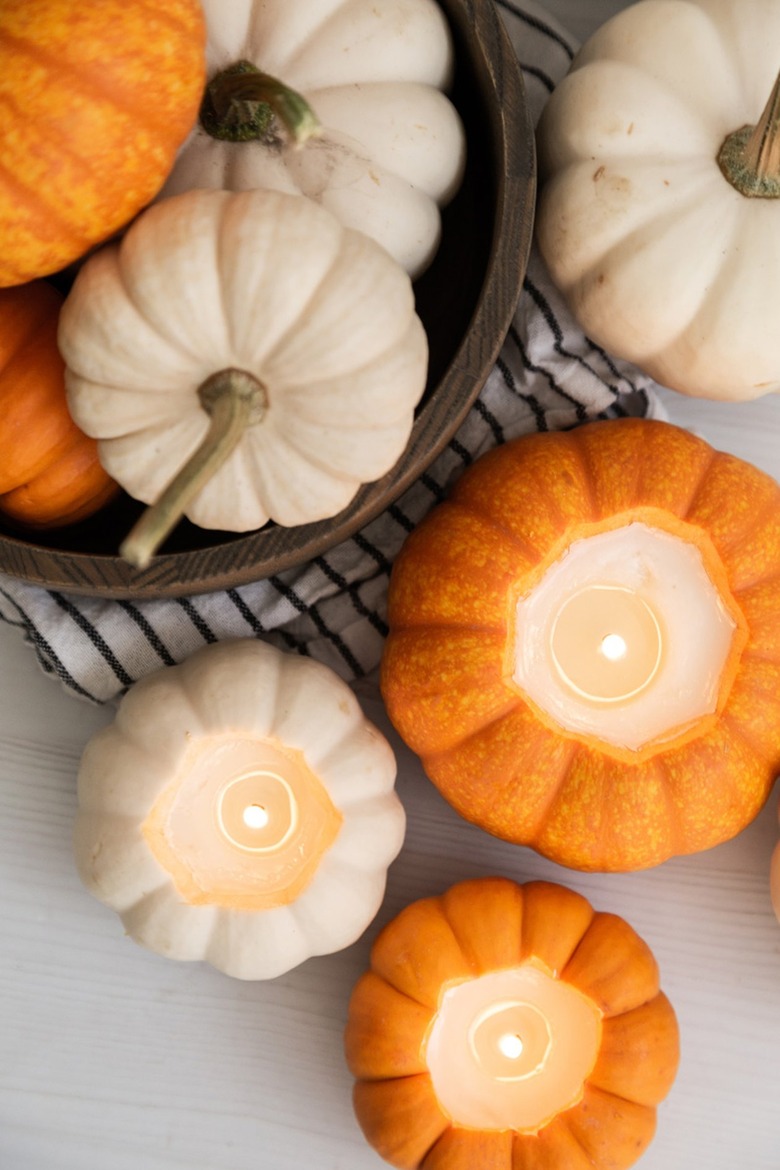
Excuse Us While We DIY The Cutest Pumpkin Candles
We may receive a commission on purchases made from links.
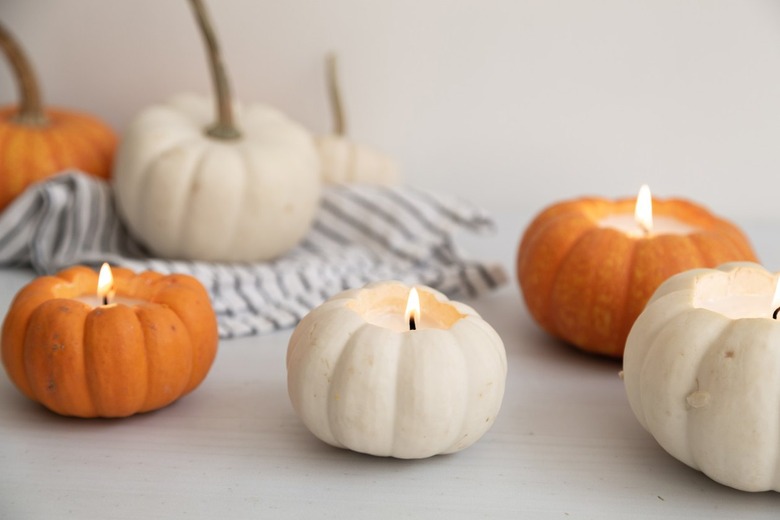
These adorable pumpkin candles are the perfect autumn accessory for your home. You can use any size and color pumpkin for this project. The bigger the pumpkin, the more wax you will need to use.
 Sara Albers
Things Needed
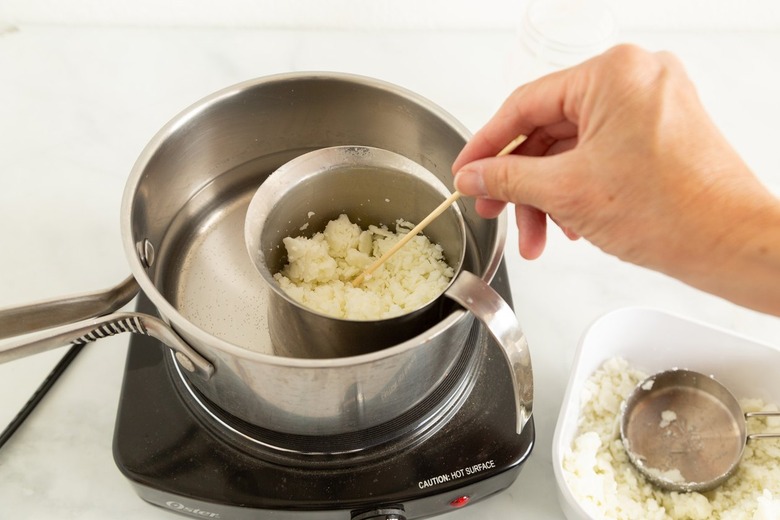
1. Melt the soy wax.
Fill a saucepan with water (about a quarter full), and bring to a gentle boil. Place the pitcher in the hot water and fill the pitcher with wax (about three-quarters full). Using the bamboo skewer, stir occasionally until the wax melts.
 Sara Albers
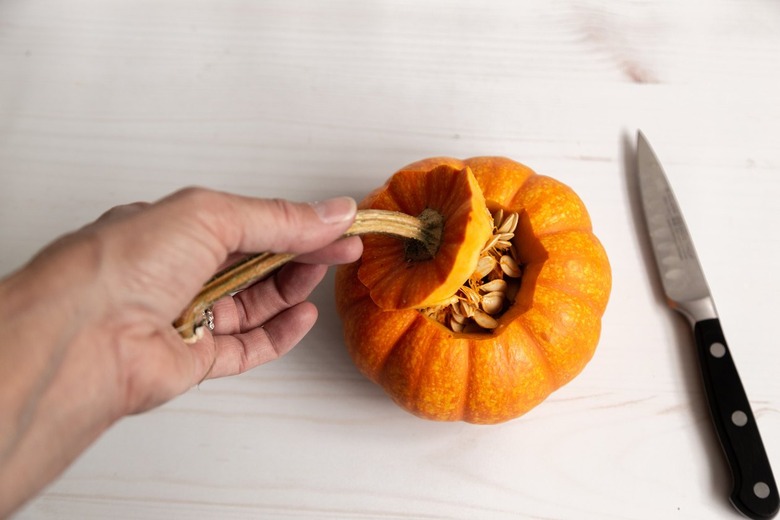
2. Cut the pumpkins.
Using a pairing knife, cut out the top of the pumpkin, around the stem. Do it just like you would if you were getting ready to carve a pumpkin for Halloween.
 Sara Albers
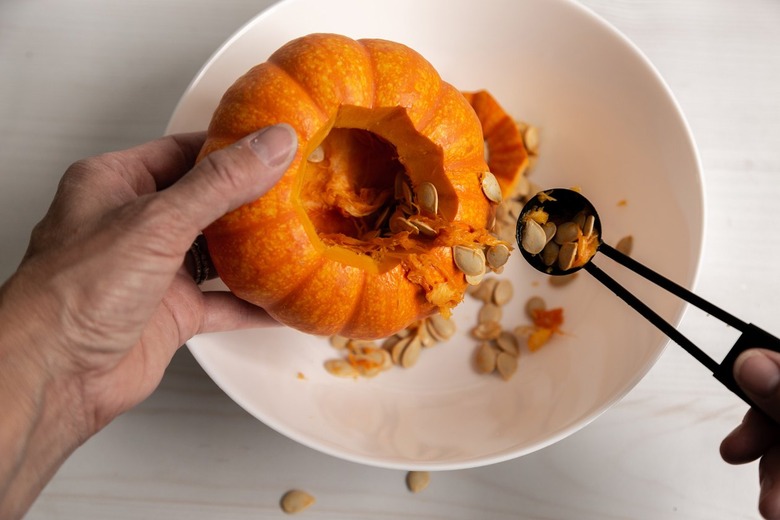
3. Clean out the inside of pumpkin.
Using a small metal spoon, remove the seeds from inside of pumpkin. Scrape until smooth.
 Sara Albers
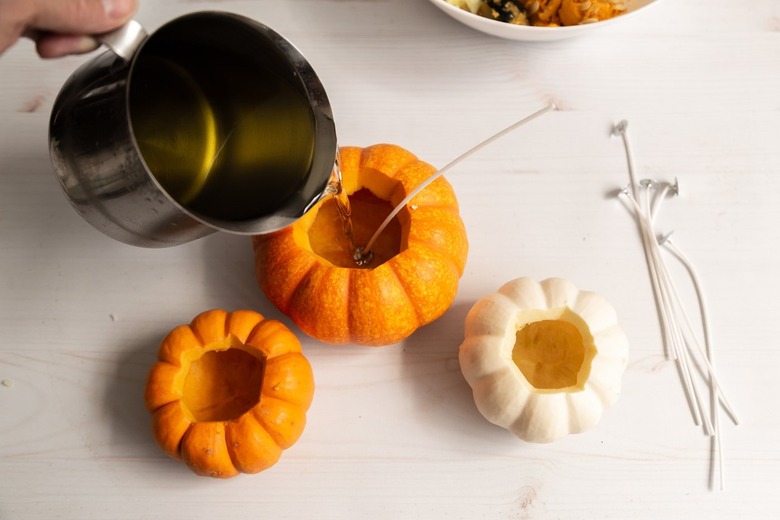
4. Add the wick and the wax.
Place a wick in the center of pumpkin, and then press it into the pumpkin flesh. Pour the melted wax into the pumpkin.
 Sara Albers
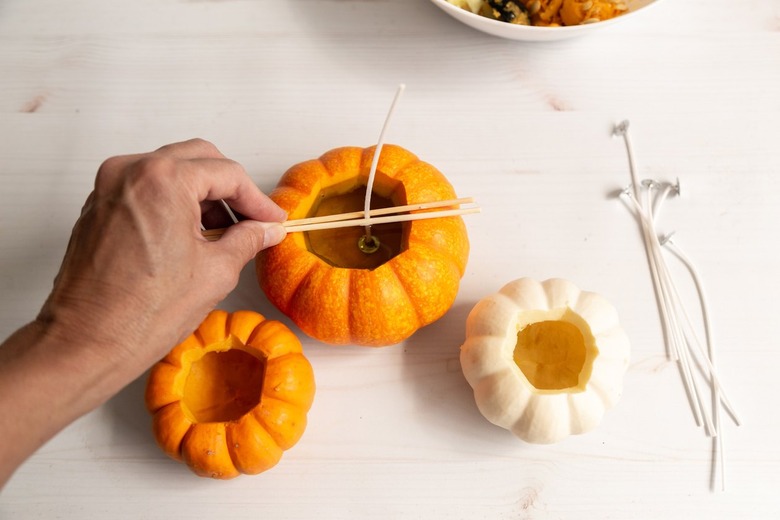
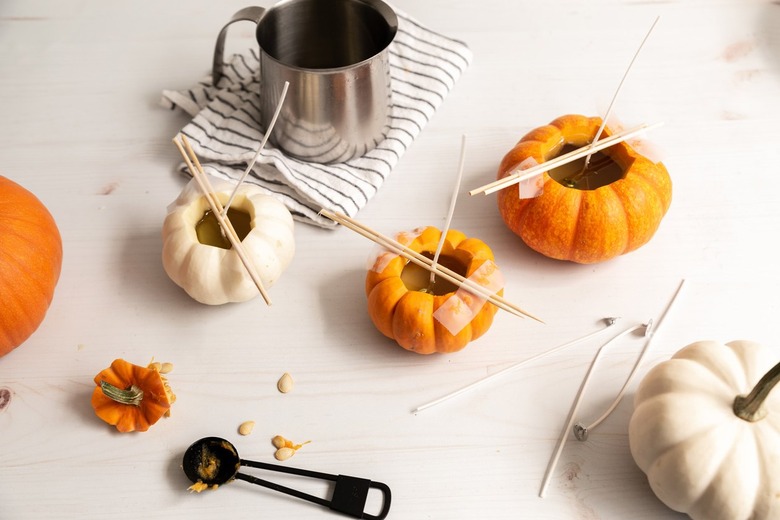
5. Stabilize the wick.
Stabilize the wick using bamboo skewers and tape.
 Sara Albers
6. Allow to set overnight.
Let the wax set. When you're ready to light the candle, be sure to trim the wick before lighting.
 Sara Albers
 Sara Albers