These Knot Sculptures Will Convert You Into A DIYer
We may receive a commission on purchases made from links.
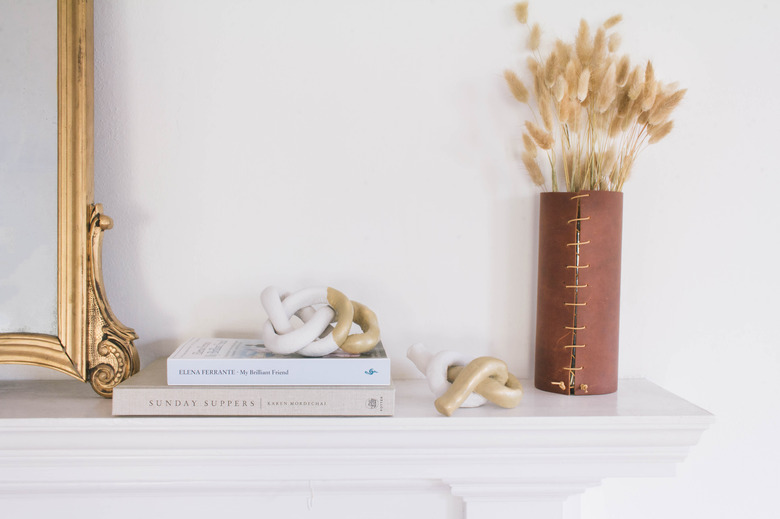
As purveyors of all the pretty things that make a house a home, we couldn't help but notice a recent home decor trend: knot sculptures. We've spotted these highly coveted decorative accents while shopping in retail stores, scrolling on Pinterest, and double-tapping interior design #shelfies on Instagram. While you'll find them fashioned from a variety of materials ranging from glass to wood to stone, we're especially fond of the ceramic version. And having previously worked with air-dry clay for a handful of DIY projects (see here, here, and here), we knew we could easily use it to make our own knot sculptures. No need to channel your inner sculptor — this project is so easy, it's almost like tying a shoe.
Things Needed
 Trisha Sprouse
Open Knot
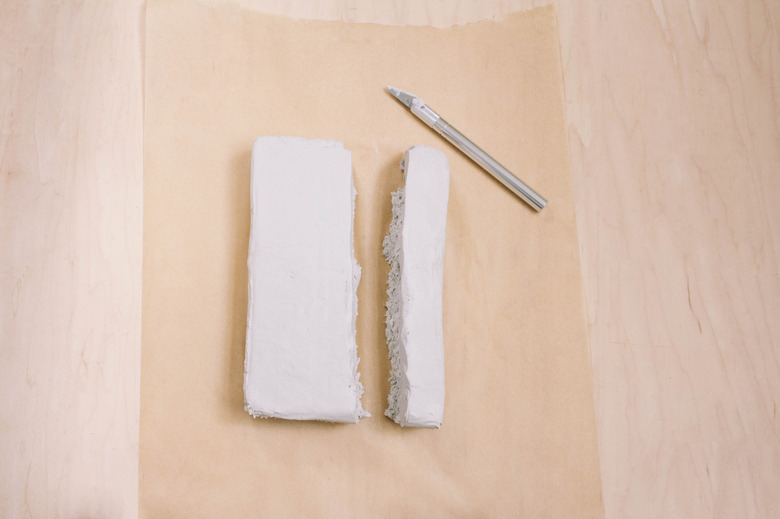
Step 1
Place a piece of parchment paper on your work surface, and then cut off a 1-inch strip from the block of clay.
 Trisha Sprouse
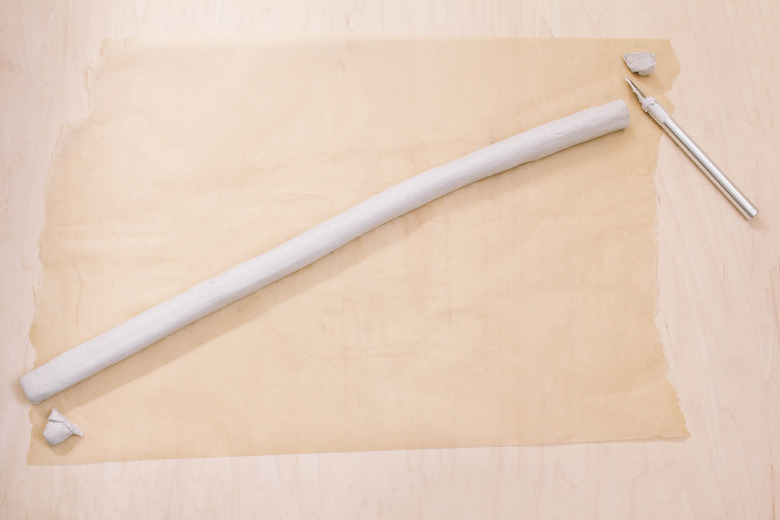
Step 2
Roll the strip of clay into a long tube that's about 24 inches long. Cut off the ends of the tube with a utility knife to create nice, flat ends.
 Trisha Sprouse
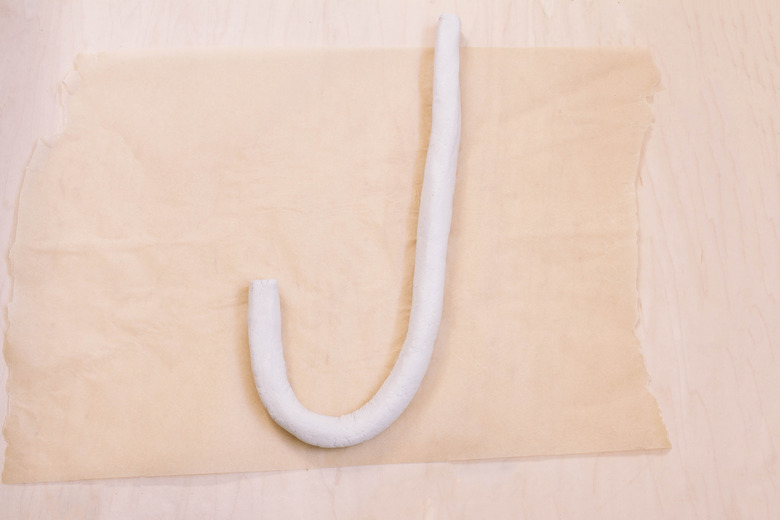
Step 3
Form the tube into a J-shape.
 Trisha Sprouse
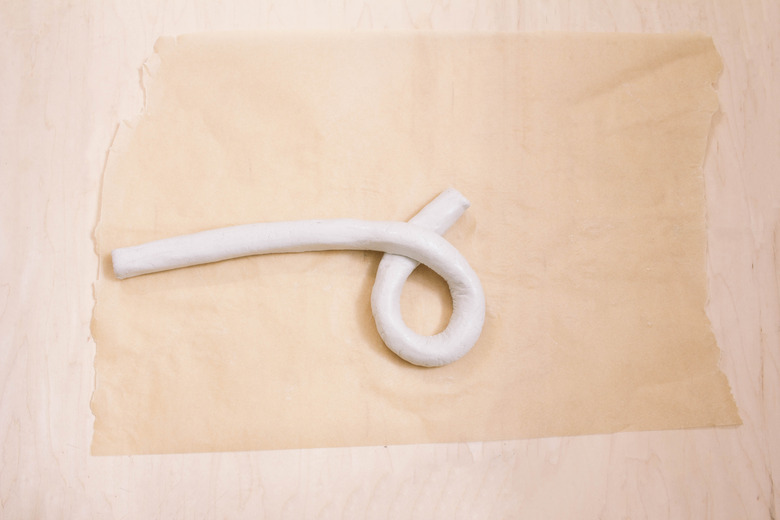
Step 4
Bring the longer side of the J over to the left and drape it on top of the shorter side.
 Trisha Sprouse
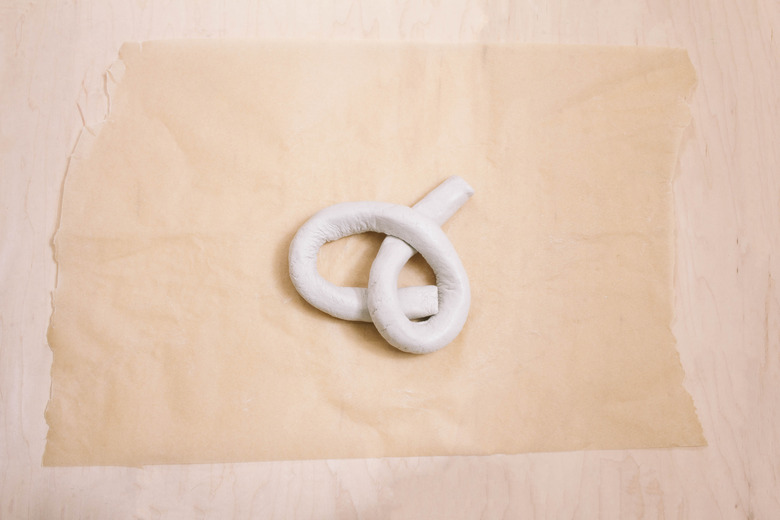
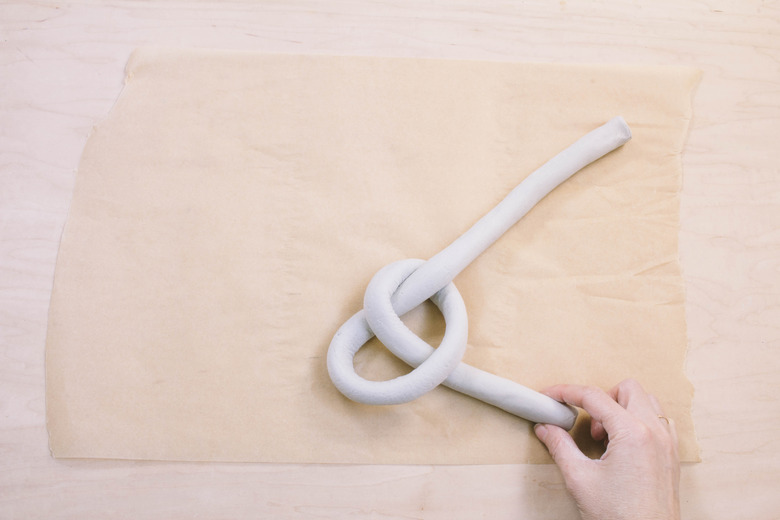
Step 5
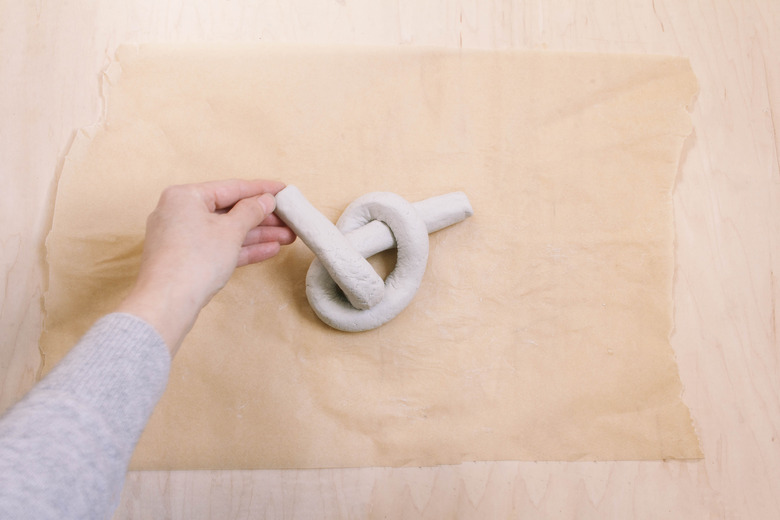
Pull the end of the longer side underneath the short side and thread it through the hole.
 Trisha Sprouse
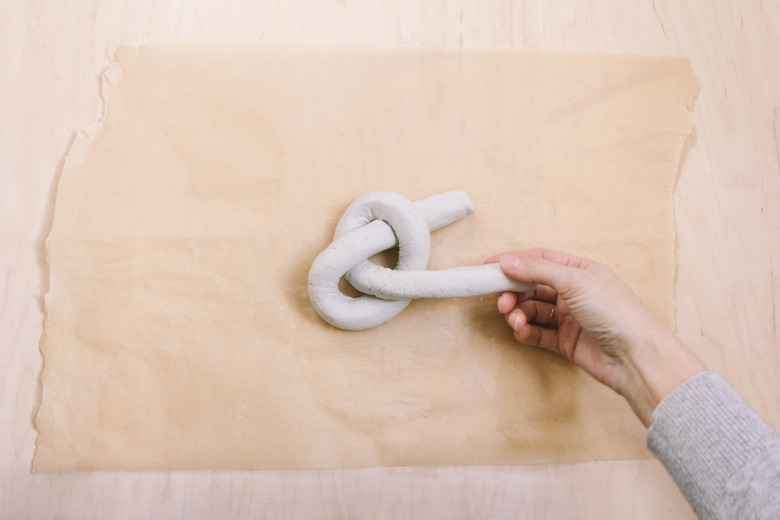
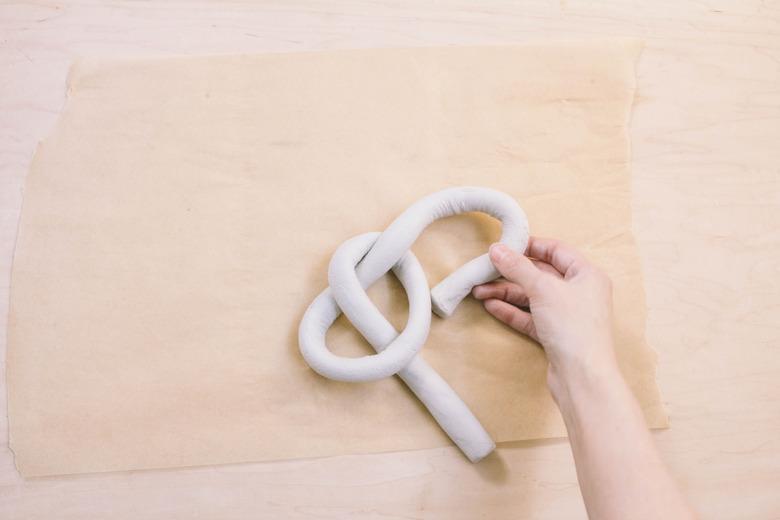
Continue pulling it through the hole.
 Trisha Sprouse
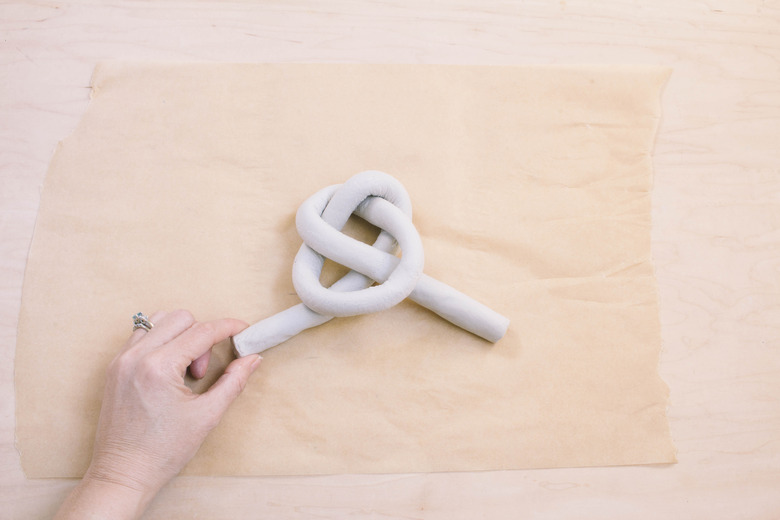
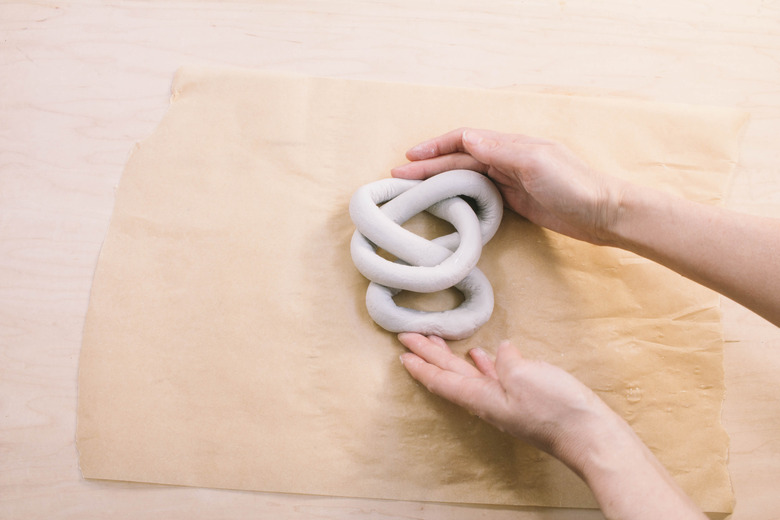
Step 6
Then fold it up over the sculpture to form a knot. If there are any cracks or dents that need smoothing, simply wet your fingertips and smooth them out. Set aside to dry for 24 to 48 hours.
 Trisha Sprouse
Closed Knot
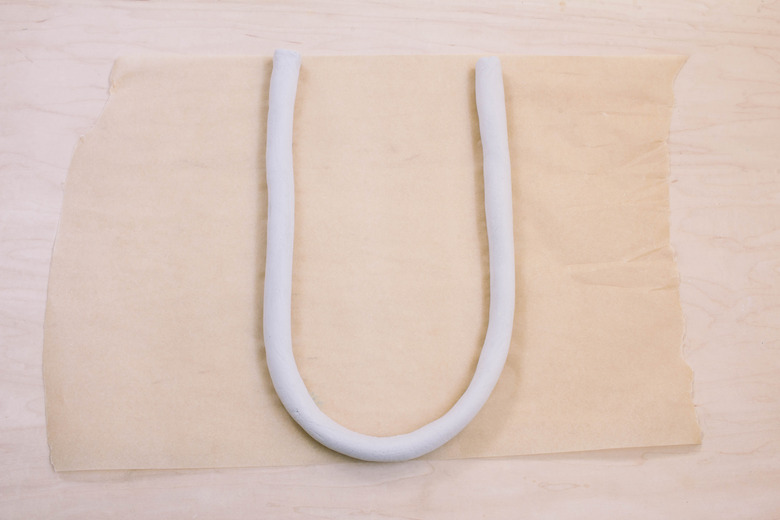
Step 1
Follow steps 1 and 2 above, and then form into a U-shape.
 Trisha Sprouse
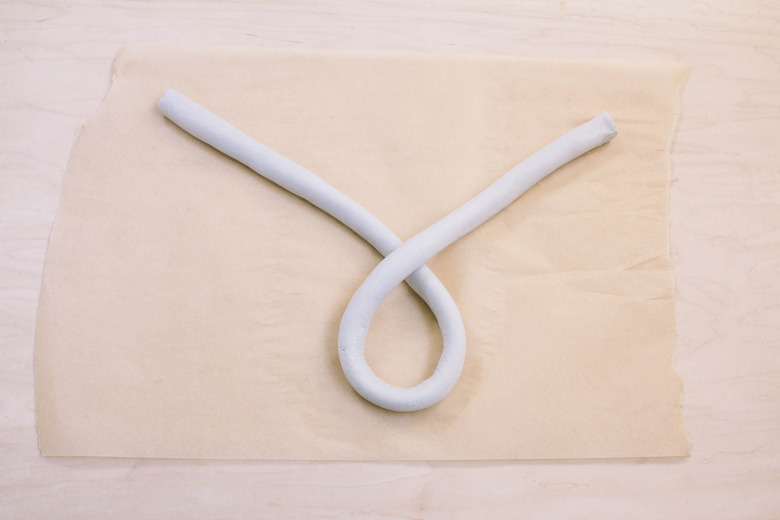
Step 2
Cross the tails of the U-shape together.
 Trisha Sprouse
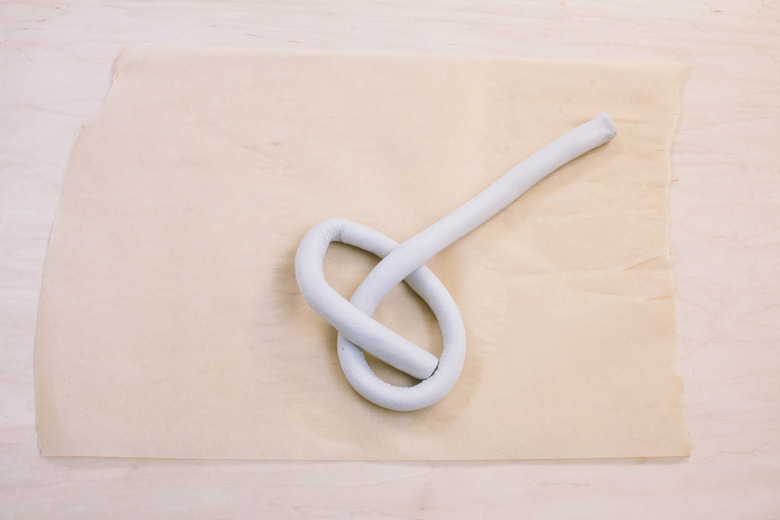
Step 3
Fold down the tail on the left and thread it through the hole.
 Trisha Sprouse
Continue pulling it through the hole.
 Trisha Sprouse
Step 4
Fold the tail on the right underneath the sculpture.
 Trisha Sprouse
Continue pulling it underneath the sculpture.
 Trisha Sprouse
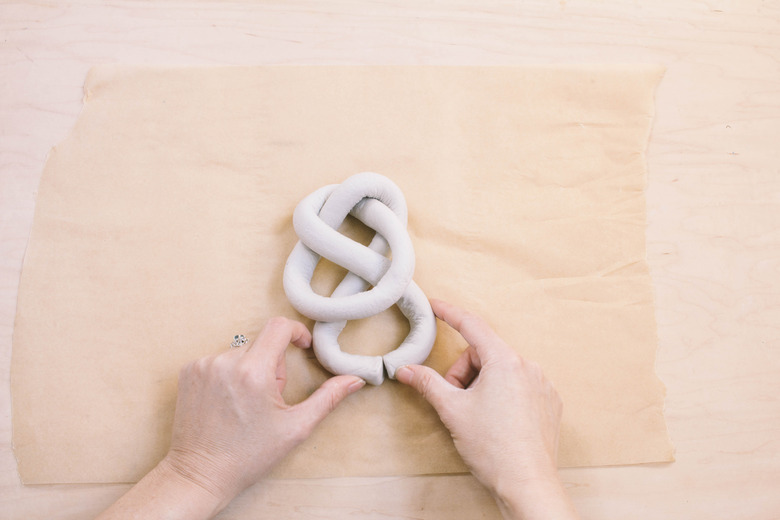
Step 5
Pull the two loose tails together, and then pinch and smooth them together to close the knot.
 Trisha Sprouse
Step 6
Gently push the sides of the sculpture together to form a tighter knot. Smooth out any cracks and set aside to dry for 24 to 48 hours.
 Trisha Sprouse
Paint and Seal
Paint and Seal
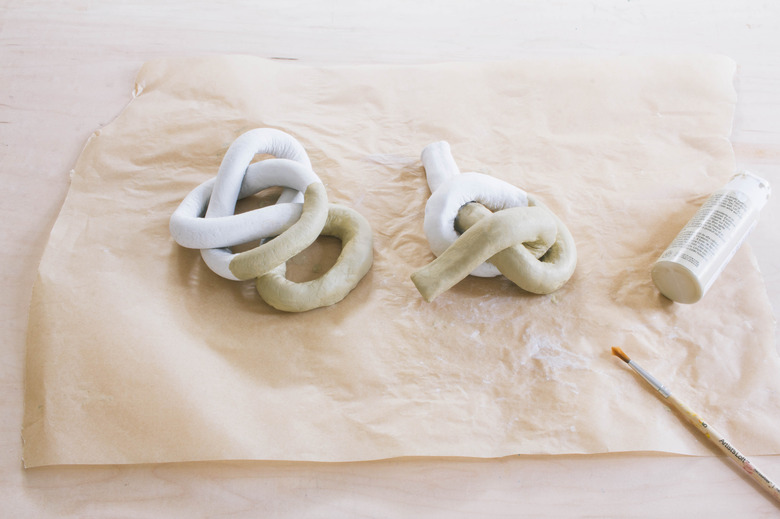
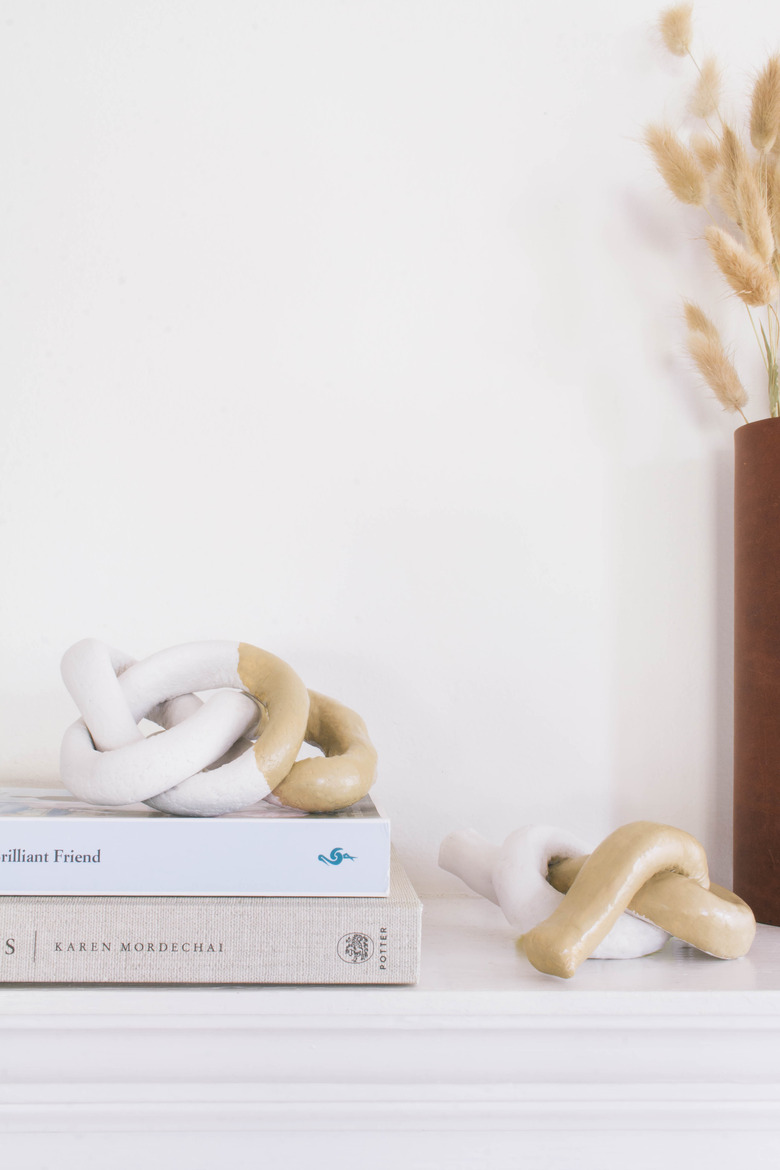
Once the clay is dry, you can either leave it as is, or paint it with acrylic paint. We opted to paint half of each knot and left the other half raw for contrast. You'll likely need to paint two or three coats for good coverage.
 Trisha Sprouse
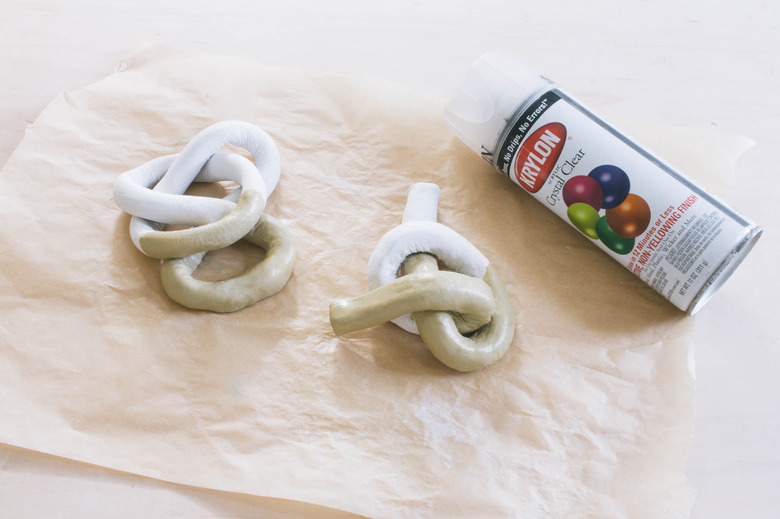
Once the paint is dry, seal it with a clear gloss top coat. We sprayed two coats of clear gloss acrylic only on the painted parts and left the raw portions matte.
 Trisha Sprouse
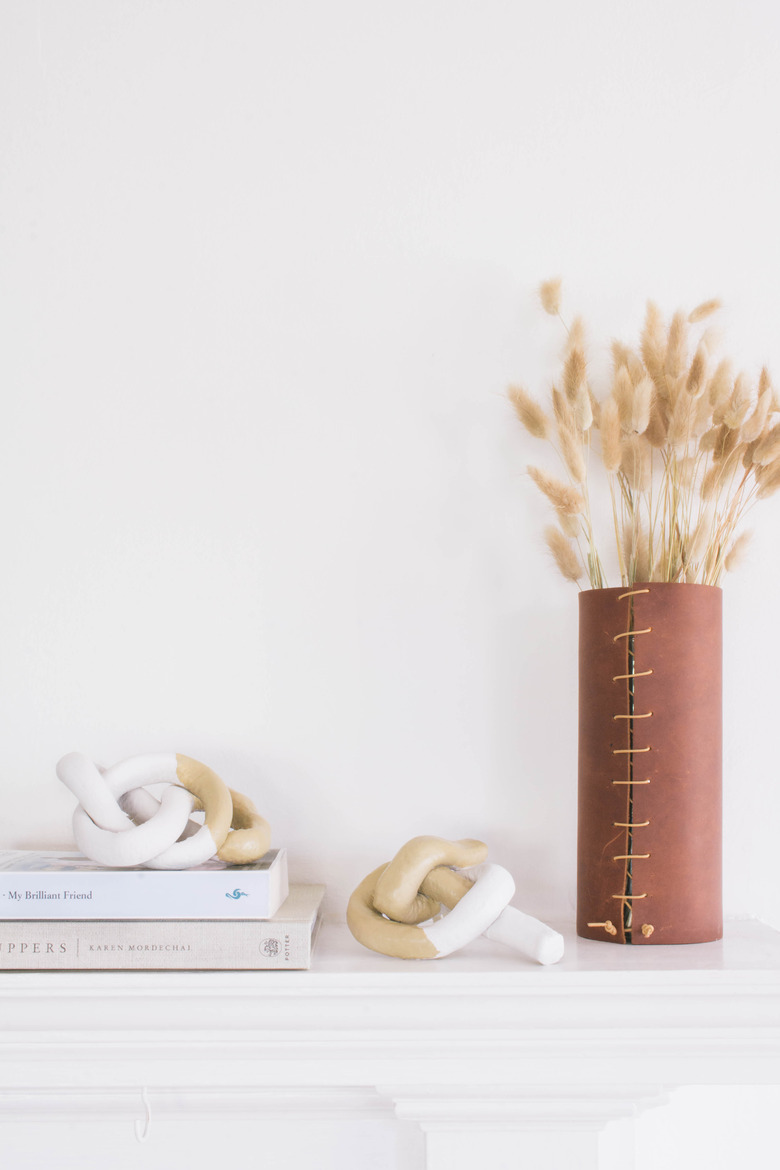
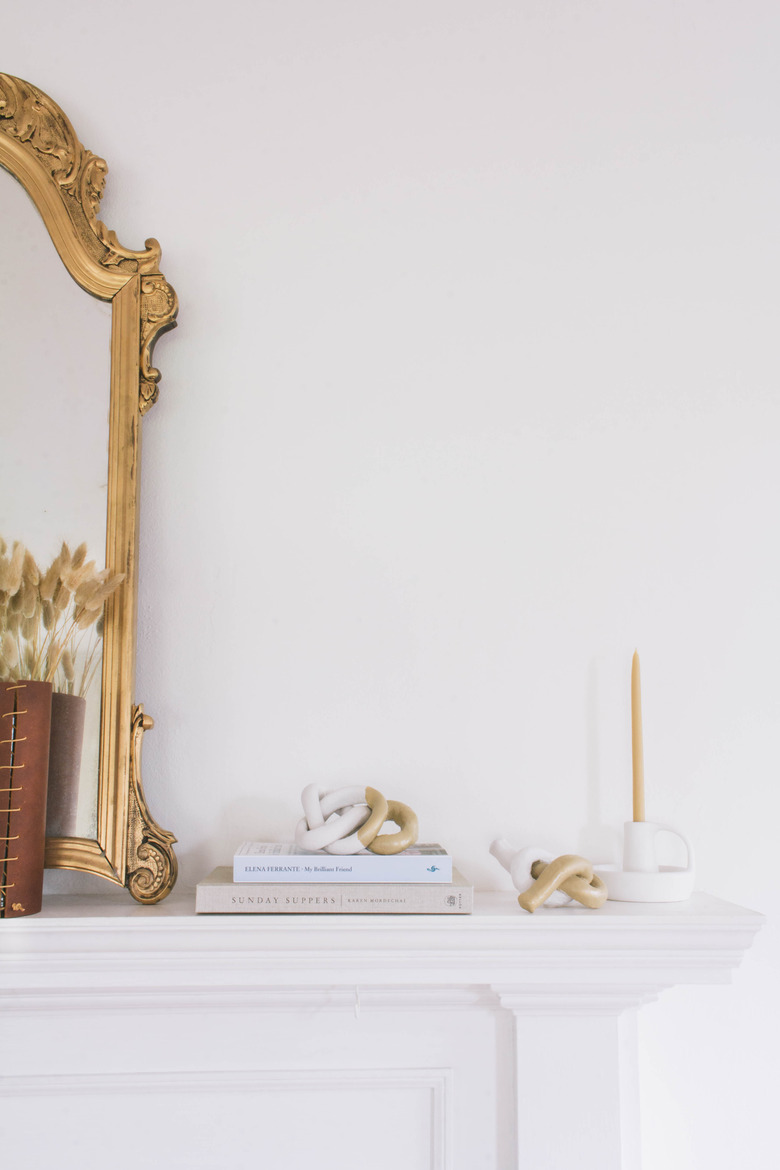
Your knot sculptures are all ready for styling!
 Trisha Sprouse
 Trisha Sprouse