Super Easy DIY Trivet Using Wood Beads

We may receive a commission on purchases made from links.
This eye-catching wood trivet has modern, Scandi vibes written all over it.
If you haven't used split wood beads in a craft project before, you will fall in love with them. They are so much easier to use than regular wood beads, which typically need to be threaded together using cording or wire. In fact, this is so simple, you might be inclined to make a few of them. Talk about a perfect hostess or housewarming gift, too!
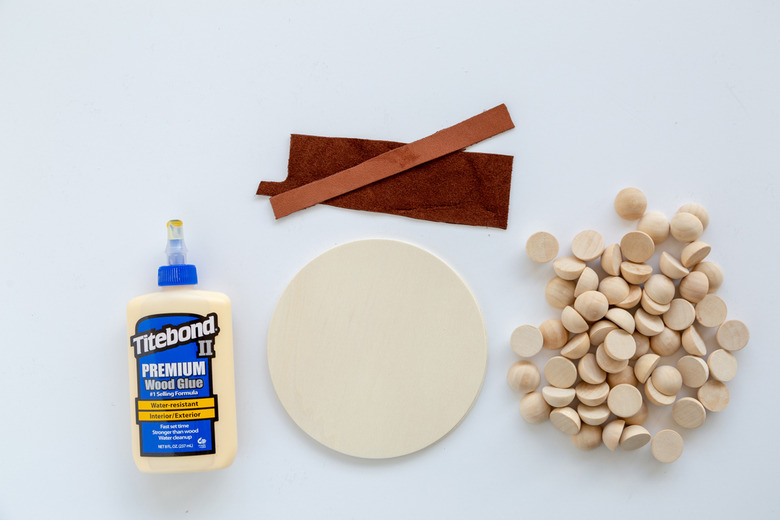
Things Needed
-
1-inch split wood beads
-
6-inch wood circle
 Sara Albers
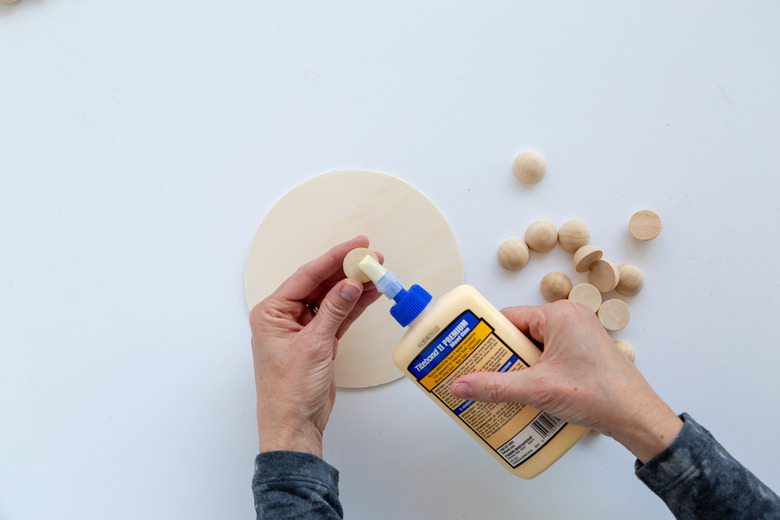
Step 1
First, lay out the split wood beads to determine how they will fit on the wood circle. You do not need to keep them all laid out when adhering. Start applying the glue to the flat side of the bead and adhere to the wood circle.
 sara Albers
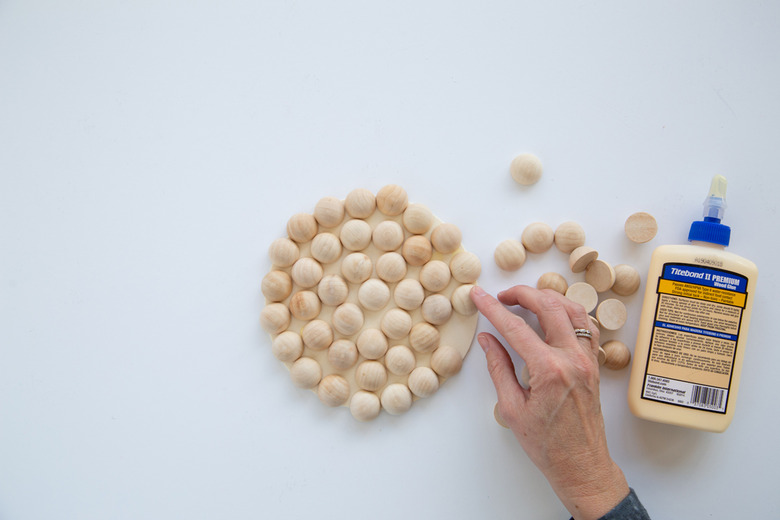
Step 2
Continue gluing the beads onto the circle. Luckily, the wood glue gives you time to adjust the position of the beads, so you can slide them a bit before they completely adhere.
 Sara Albers
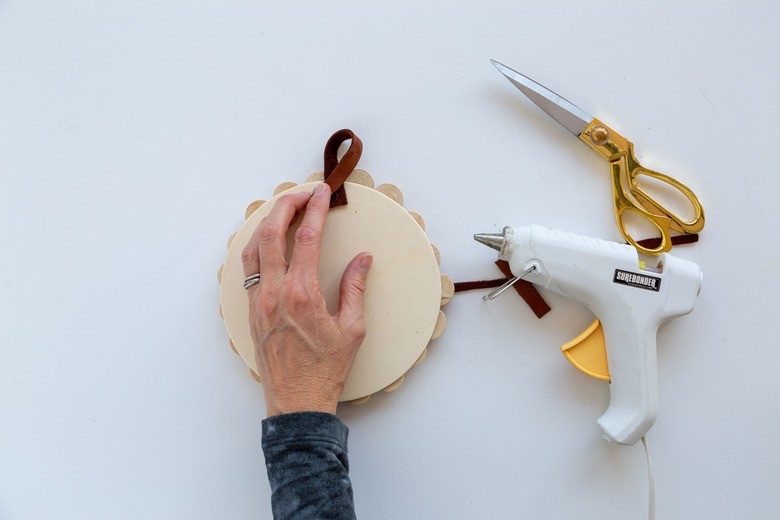
Step 3
Trim a piece of scrap leather, 7 inches long by 1/2 inch thick. This will add a decorative touch to the trivet.
 Sara Albers
Step 4
Use a hot glue gun to attach the leather piece to the back of the trivet, making a loop.
 Sara Albers
Tip
This trivet is perfect for a decorative touch to your kitchen countertops or table. However, please note that the split wood beads are unfinished, so a very hot dish could discolor the beads.
 Sara Albers
 Sara Albers