Modern DIY Circle Shelf Using Embroidery Hoops
We may receive a commission on purchases made from links.
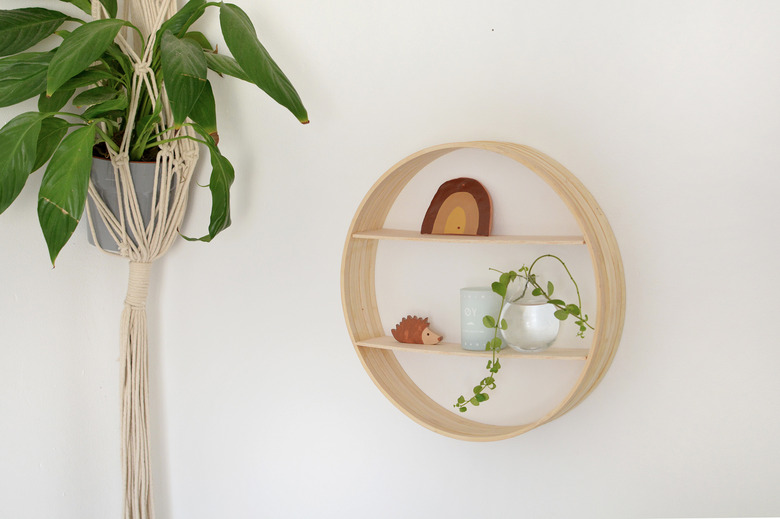
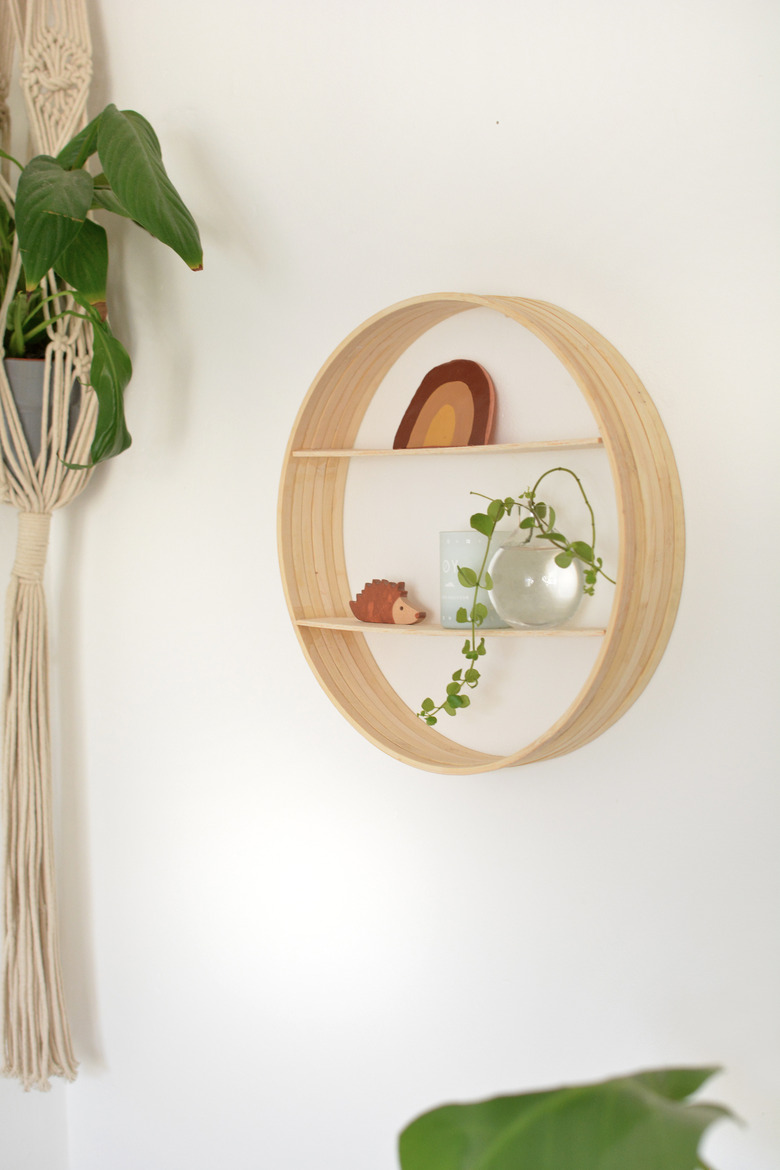
Round shelving is all over our Pinterest feeds, but you probably wouldn't consider it as a potential DIY project — because wood isn't the easiest to bend, right? However, we've come up with the perfect solution for making a circular frame using wooden hoops that gives a nod to minimal Scandinavian design, without breaking the bank. If you're looking for a stylish shelving project that requires very little woodwork skill, this trendy DIY may be just the ticket.
 Caroline Burke
Things Needed
-
Wood glue
-
Craft knife
-
Tape measure
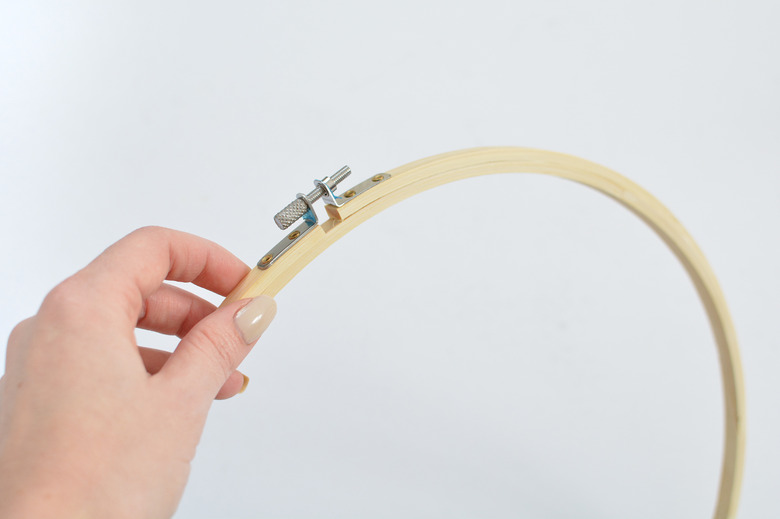
Step 1
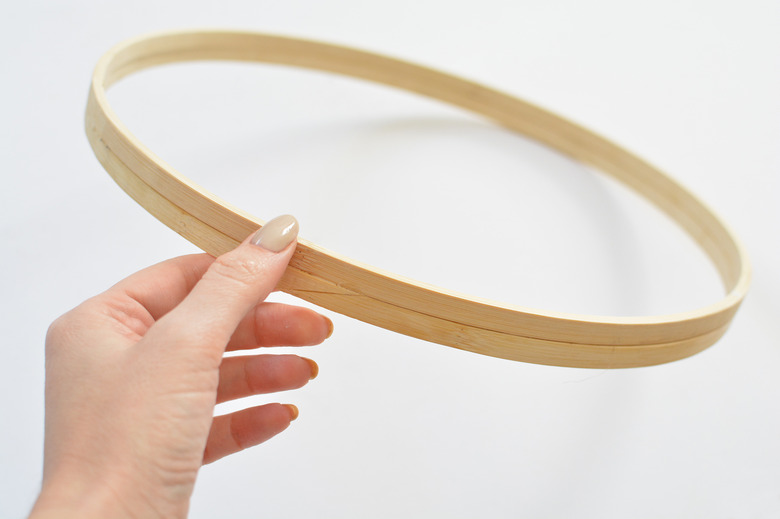
Unscrew the embroidery hoop frame and remove the inner ring. (Repeat on the remaining embroidery hoops.)
 Caroline Burke
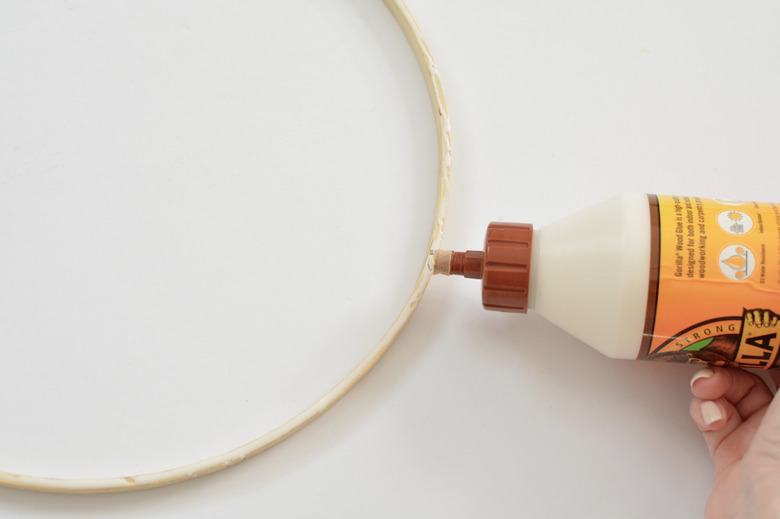
Step 2
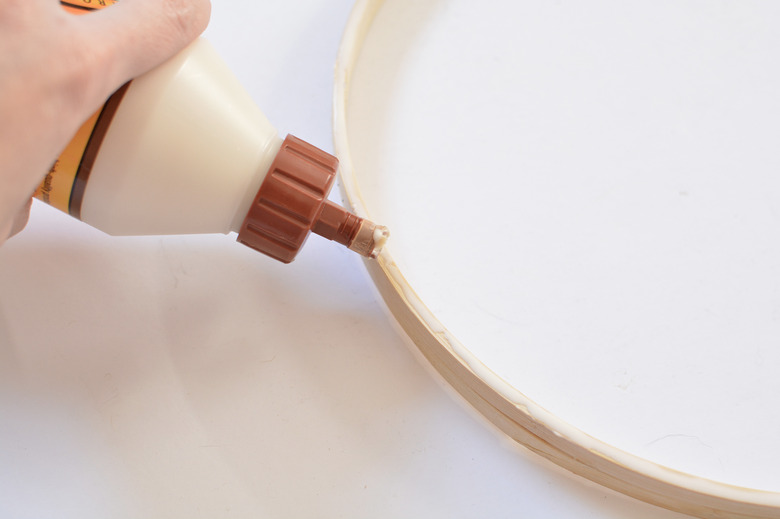
Run wood glue around the frame of one of the inner hoops.
 Caroline Burke
Step 3
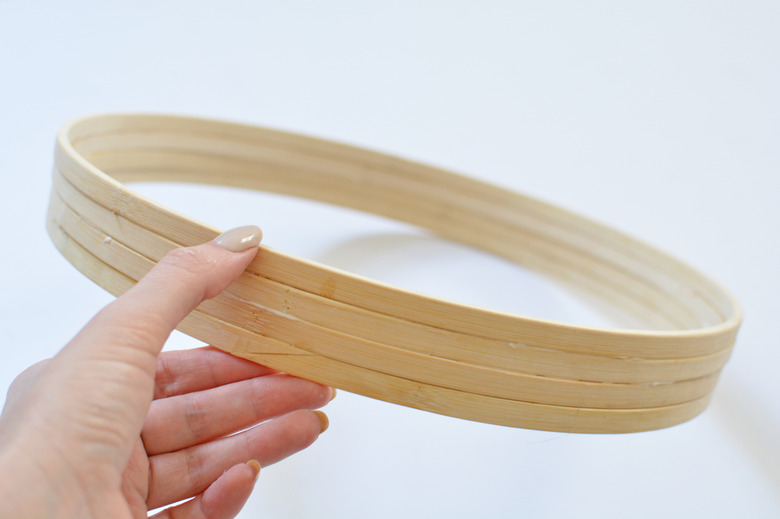
Take a second inner hoop and press firmly onto the glue to stick them together and create a double hoop.
 Caroline Burke
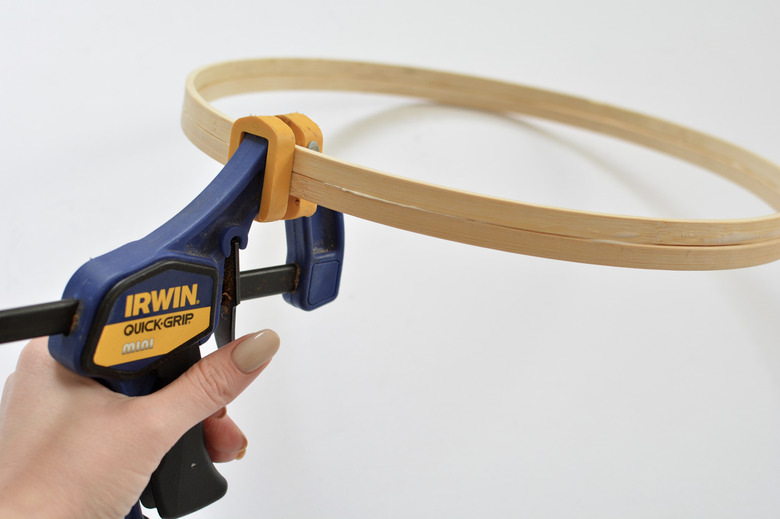
Step 4
Use hand clamps to hold the rings together as the glue dries. Repeat Step 2 and Step 3 with the remaining hoops (so you'll have three double hoops in total.)
 Caroline Burke
Step 5
Now, you'll glue all the double hoops together.
Run wood glue along one edge of a double hoop.
 Caroline Burke
Step 6
Then glue to another set of hoops to create a stack of four hoops.
 Caroline Burke
Once again, hold the hoop in place with hand clamps while the wood glue sets. (You can also use large binder clips or string to hold the hoops together while they dry.)
 Caroline Burke
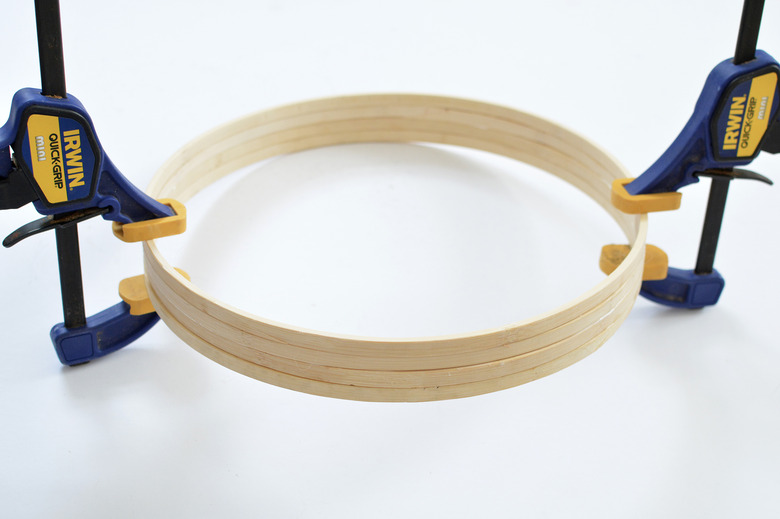
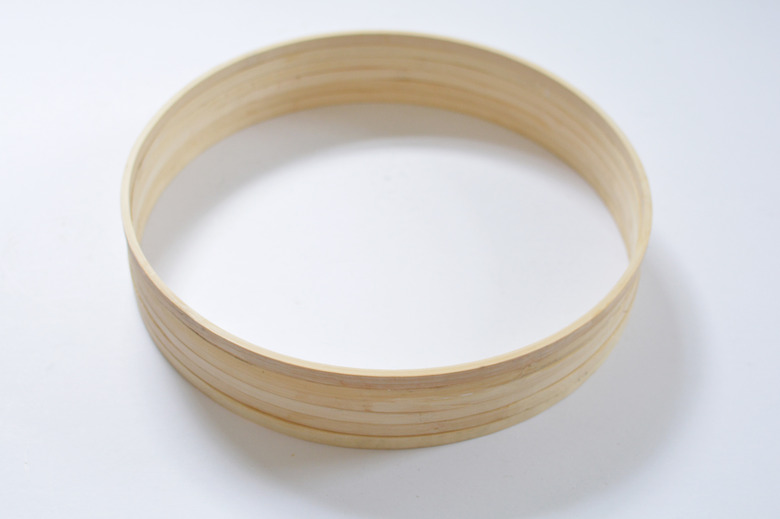
Step 7
Glue together the last set of hoops to finish the circle frame. You'll have six hoops joined together in total.
 Caroline Burke
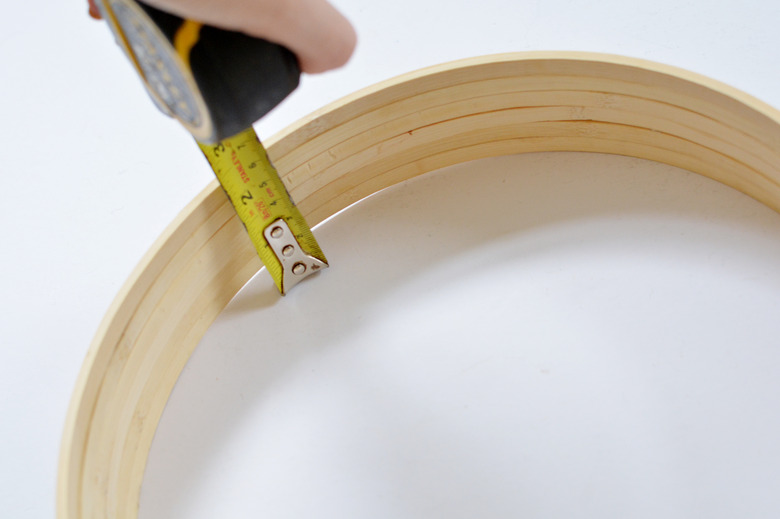
Step 8
Measure the depth of the finished frame — ours was 2 1/2 inches deep.
 Caroline Burke
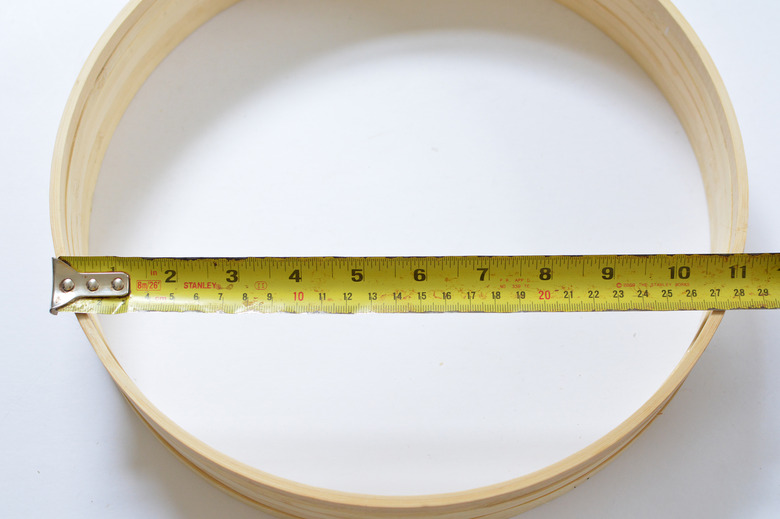
Step 9
Next, measure the width roughly 1/3 inch from the top and bottom to determine the shelf width. (Our hoops are 12-inch wide, so this measurement was about 10 1/2 inches.)
 Caroline Burke
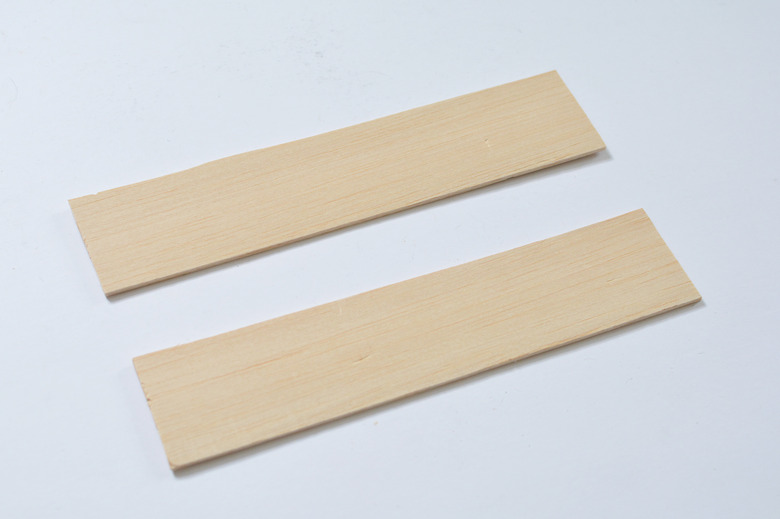
Step 10
Use the measurements from Step 8 and Step 9 to cut out your shelf dimensions from balsa wood. Balsa wood is a softwood, so it can be easily cut with a craft knife. Our shelves measured 2 1/2 inches deep and 10 1/2 inches wide, but this varies if you're using a larger or smaller embroidery hoop for your frame.
 Caroline Burke
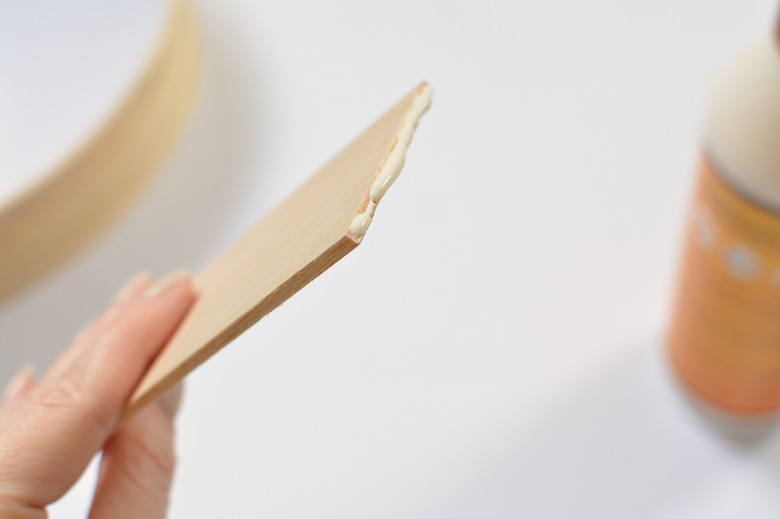
Step 11
Run wood glue along the ends of each shelf.
 Caroline Burke
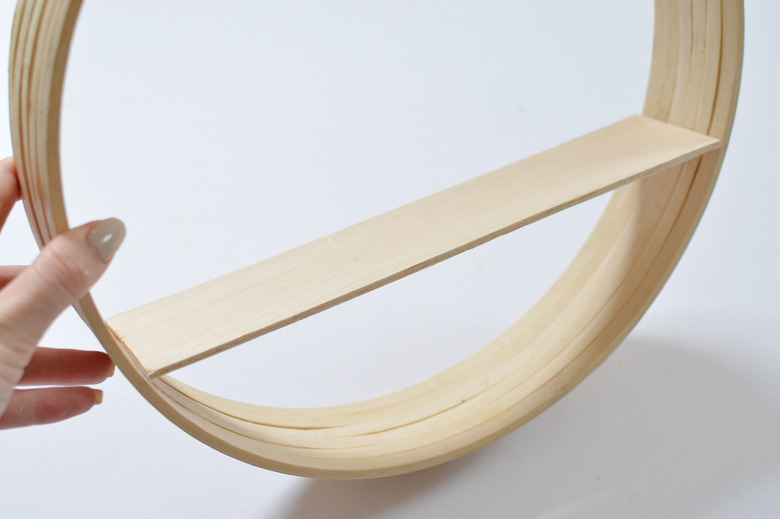
Step 12
Place them into the circular frame and leave to dry.
 Caroline Burke
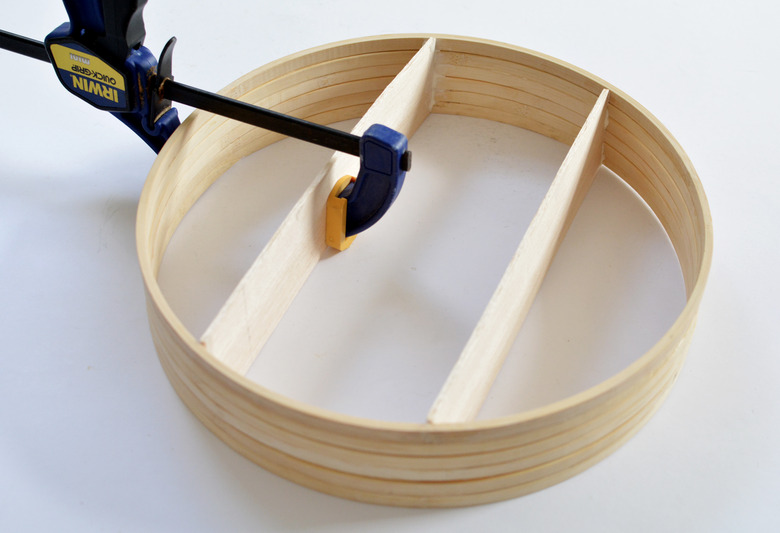
If necessary, you can hold them in place using a hand clamp until the glue sets.
 Caroline Burke
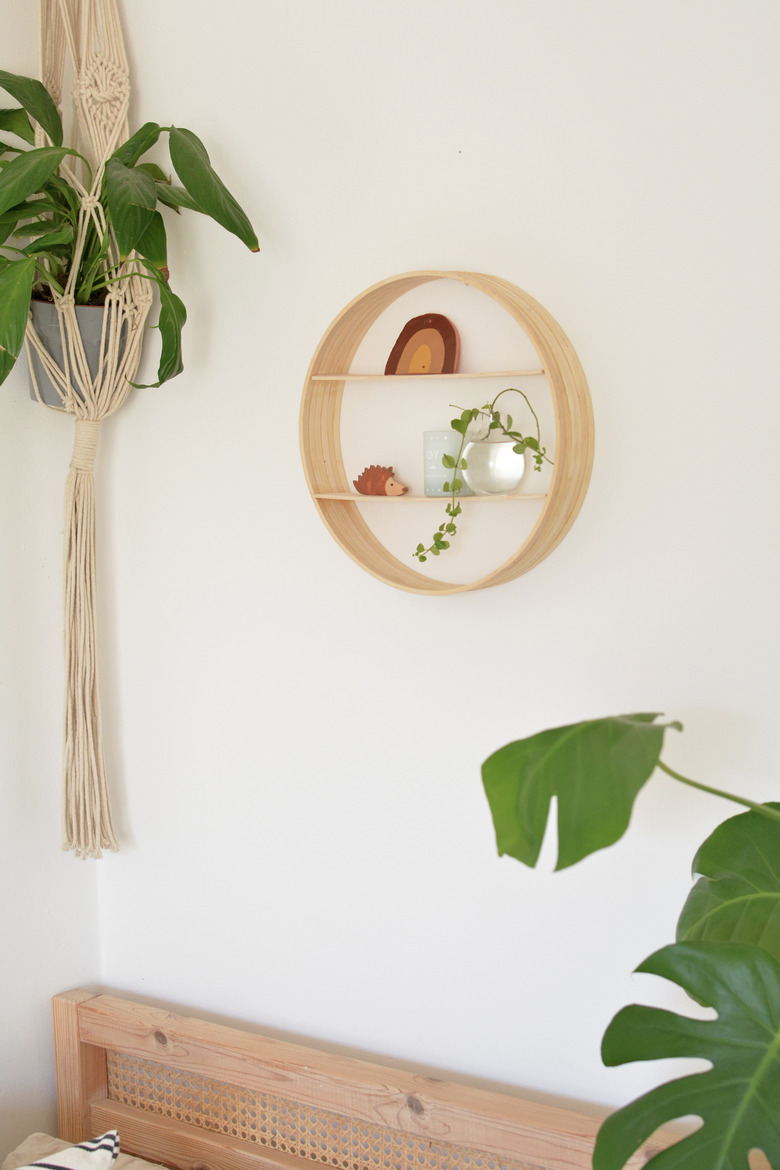
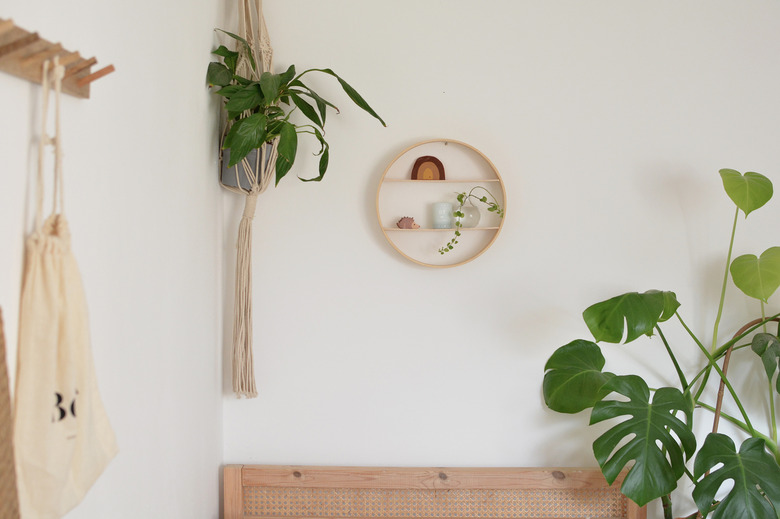
Once dry, you can hang the shelf from a wall hook or nail.
 Caroline Burke
Since balsa wood is a softwood, these shelves won't hold large, heavy items. However, if you want something more robust, you can switch the balsa wood to something sturdier, like a thin plywood or hardboard.
 Caroline Burke