This Leather Vase DIY Looks Like A Boutique Find
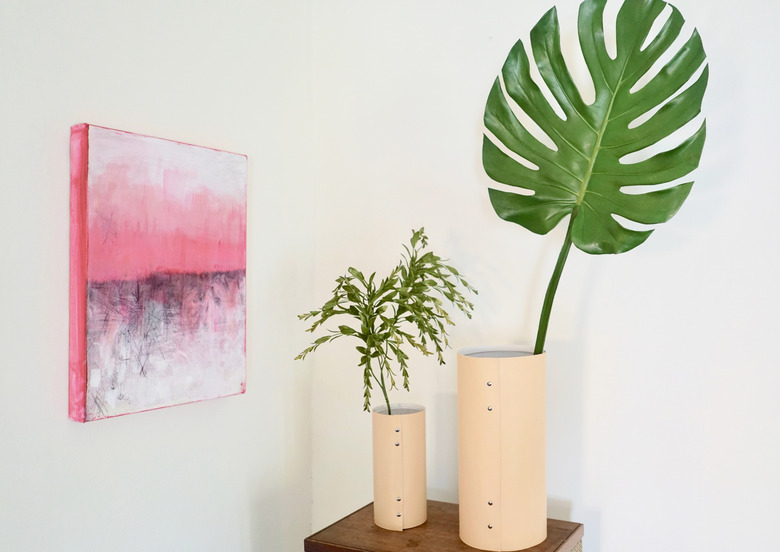
If you love clean lines and simple shapes, here's a quick and easy home decor DIY project that you can make in under an hour. Inspired by high-end boutique leather vases, this project is the perfect introduction to working with leather and rivets — or in this particular example, faux leather and rivets. Whether you go genuine or faux, the process is the same, and the results are equally stunning.
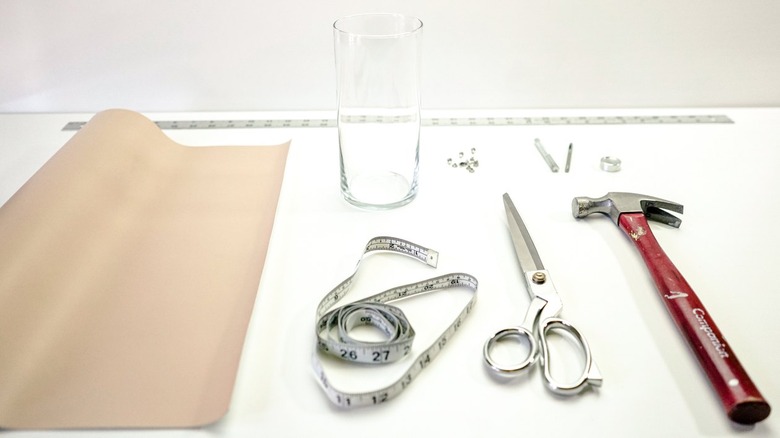
Things Needed
-
Cylindrical vase, any material, any size
-
Enough upholstery or apparel leather hide, or faux leather fabric (in desired shade) to wrap around the vase shaft with about a 1-inch overlap where the sides meet. You'll use this to create a removable leather sleeve to surround the vase. (Fabric stores like Joann will have a variety of choices.)
-
Small rivets ( 6mm ) in desired finish; 4 for each vase. We recommend these quick and easy rapid rivets.
-
Sharp, heavy duty shears for cutting leather
-
Tape measure
-
Pencil
-
Yard stick or ruler
-
Leather punch tool
-
Rivet setting tools (we used a hammer and this economical rivet setter with anvil)
 Maya Marin
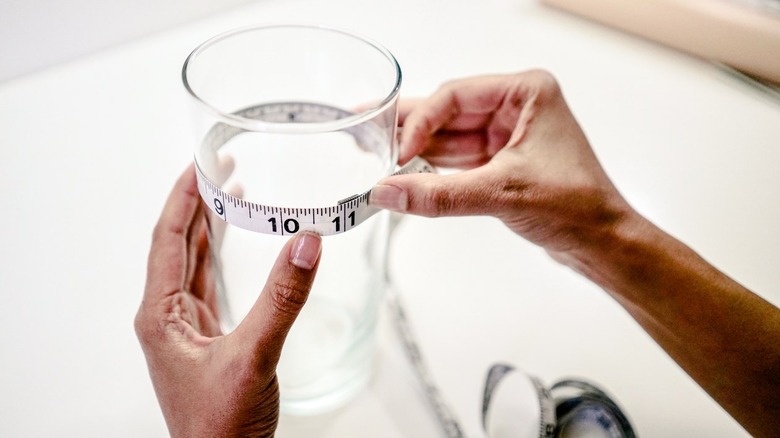
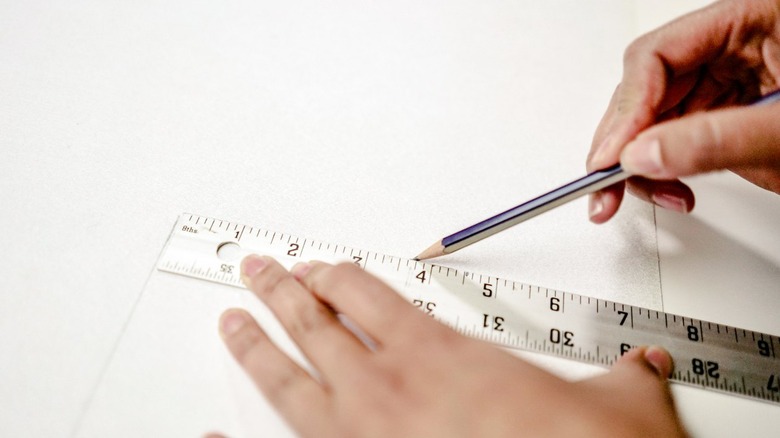
1. Measure Your Vase
Using your tape measure, measure the circumference of the vase, adding a 1-inch overlap. This measurement will be the width of your leather piece.
 Maya Marin
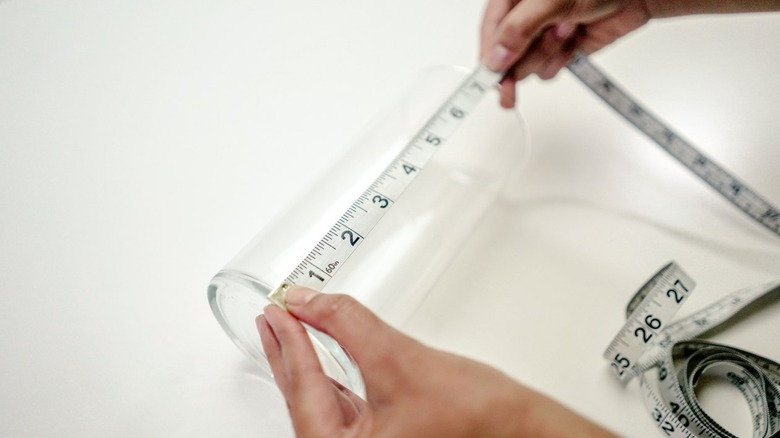
Measure the height of your vase. This will be the height (i.e. the short edge) of your leather piece. We added about 1/4 inch extra to slightly increase the height and to ensure that the entire vase was covered, but this is optional.
 Maya Marin
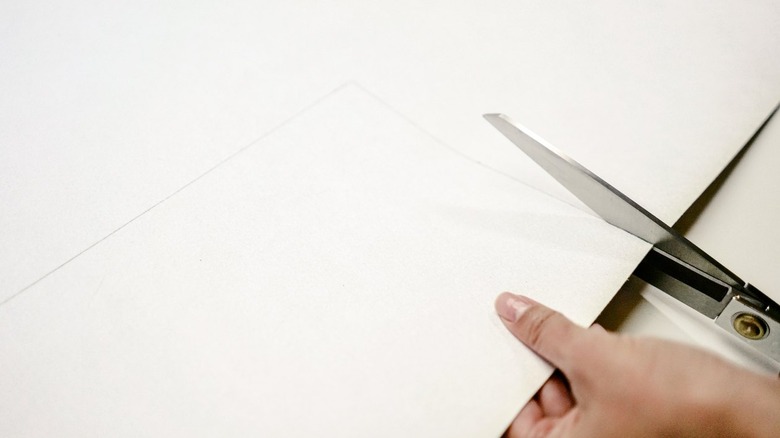
2. Measure and Cut Leather to Size
Use your straight-edge measuring stick and pencil to mark the back side of the leather according to the height and width measurements taken in step 1.
 Maya Marin
Cut out the leather piece using your heavy-duty shears.
 Maya Marin
The short edges of the leather rectangle will be joined together by the rivets to create an outer leather sleeve.
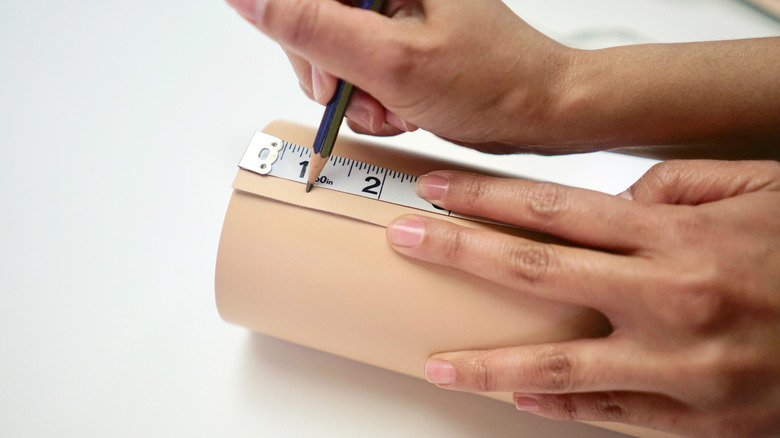
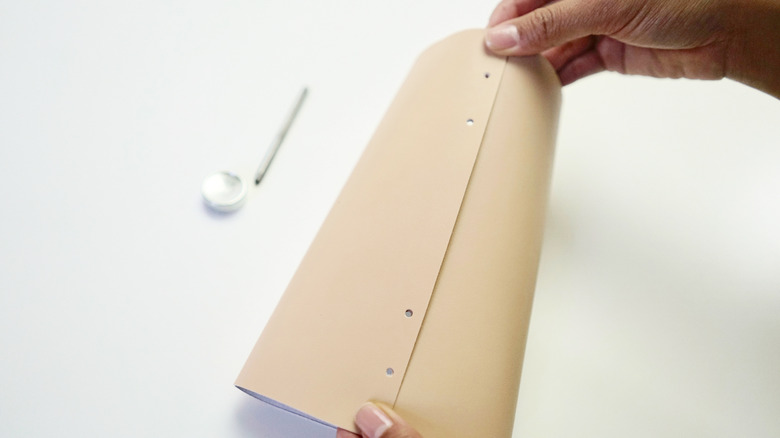
3. Measure and Mark Rivet Placement
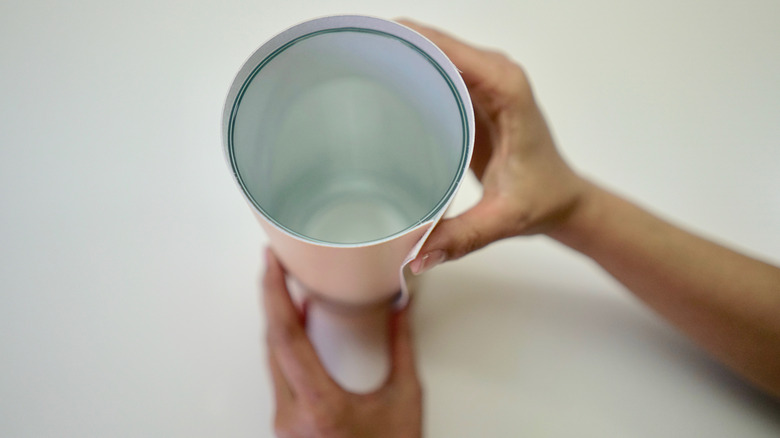
Wrap the leather around the vase so that it's snug but not too tight. You'll need to be able to slip the sleeve on and off the vase whenever needed.
 Maya Marin
Now you'll mark the placement of your rivets along the edges of your leather piece to be joined. Using your tape measure and pencil, mark four dots along each short edge of the leather piece as follows: one dot one inch from the top of the leather piece (i.e. the long edge) and 1/4 inch in from the joining edge, as shown in the photo below. Then mark a second dot about one inch down from the first. Repeat this at the opposite end so there are four dots total on the joining edge. Now, repeat this step on the opposite short edge so you'll have four corresponding dots on the other joining edge.
 Maya Marin
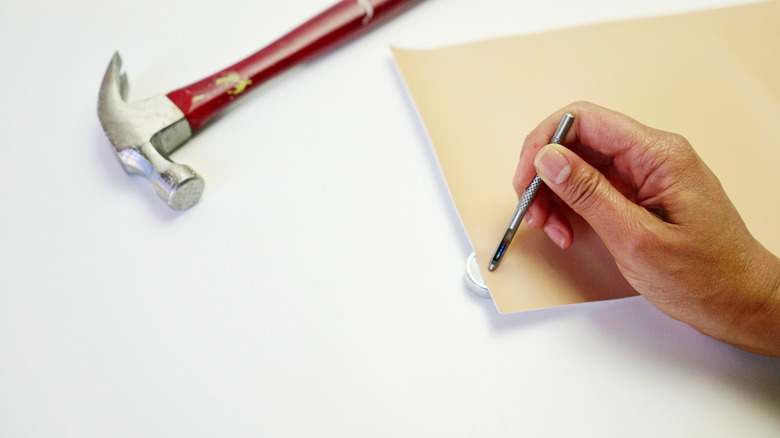
4. Punch Holes
Use your leather punching tool to punch 2mm holes at each dot marked in Step 3.
 Maya Marin
Ensure that the dots align when you overlap the edges to create your leather sleeve.
 Maya Marin
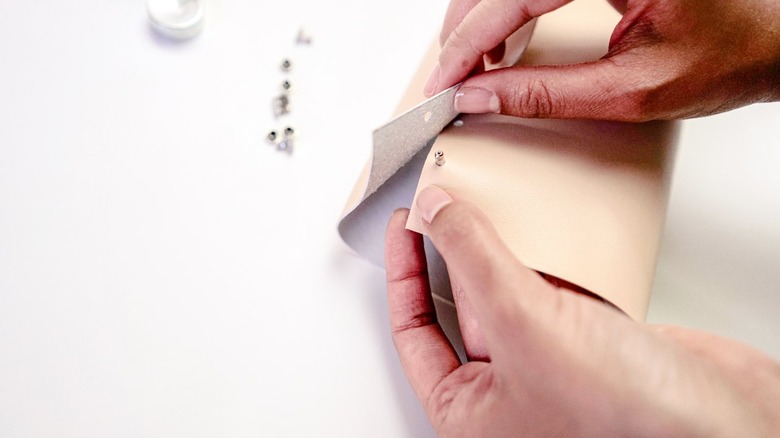
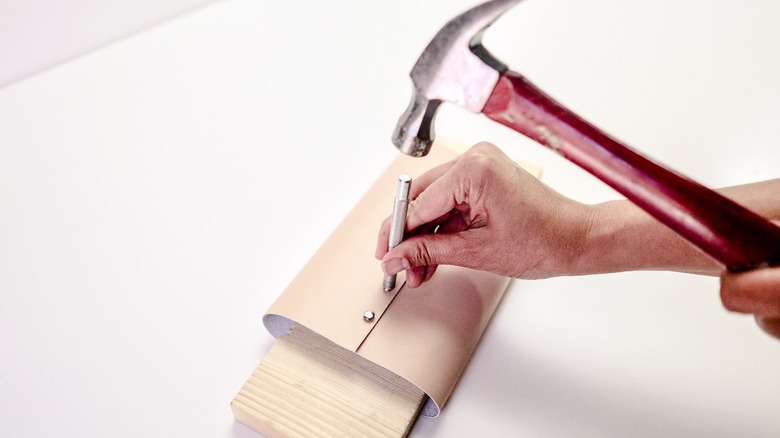
5. Set Rivets to Attach Edges
Following manufacturer instructions, set the rivets in the holes to join the edges of the sleeve. This will entail inserting the rivet post into two corresponding holes, placing the cap on the post, then using a tool (in this case, a hammer) to set the cap.
 Maya Marin
 Maya Marin
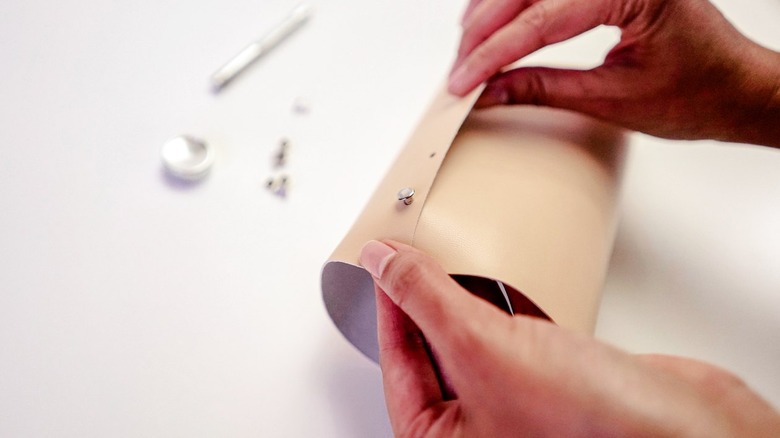
We placed a piece of wood inside the sleeve below the anvil to protect the other side of the leather piece from possible indentation, but this is optional.
 Maya Marin
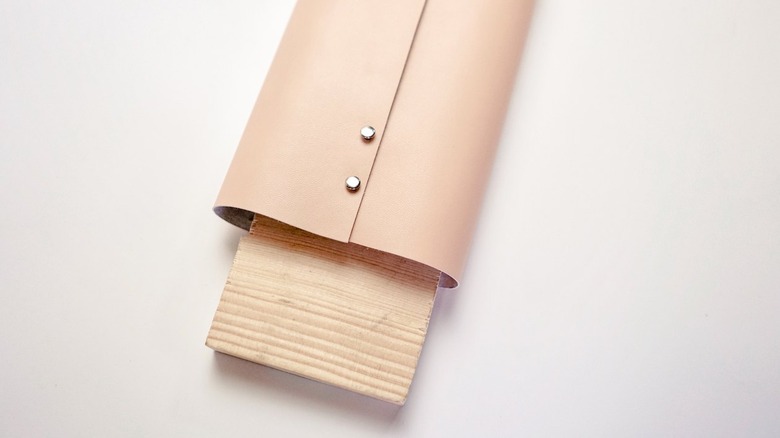
Repeat for all four rivets.
 Maya Marin
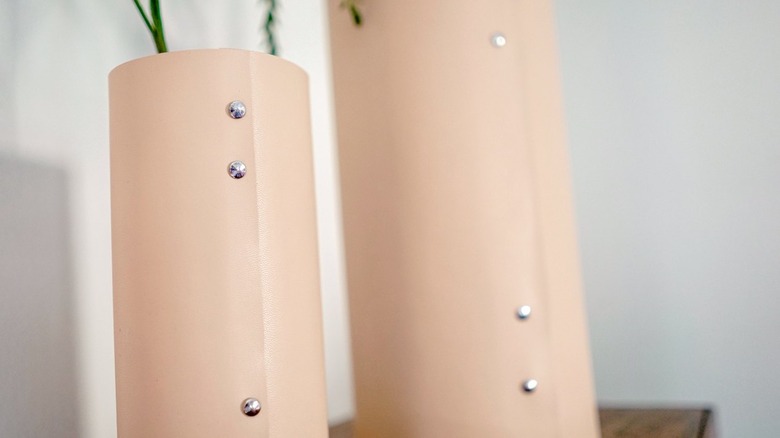
Once the edges are attached, just slip the sleeve over the vase and you're done.
 Maya Marin
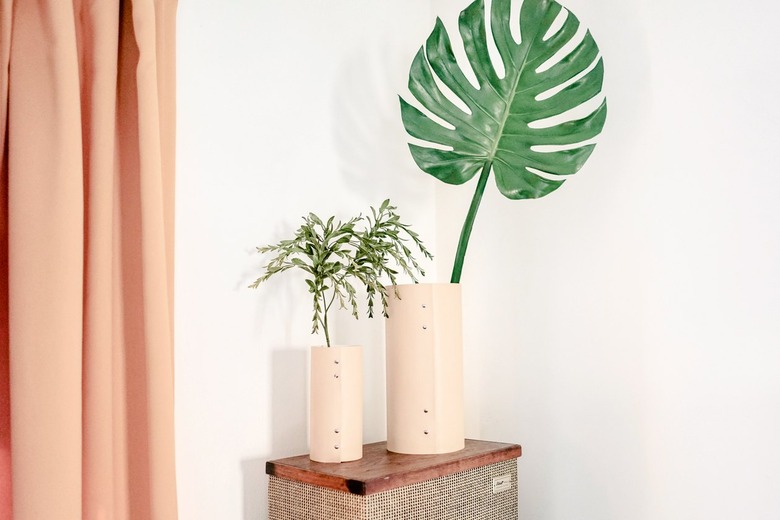
Insert your desired greenery and enjoy! We recommend a single palm branch, a monstera leaf (as shown below), pampas grass, or a single tree branch from your own yard.
 Maya Marin