We Used Two IKEA Bowls To Create This Gorgeous Design Piece
We may receive a commission on purchases made from links.
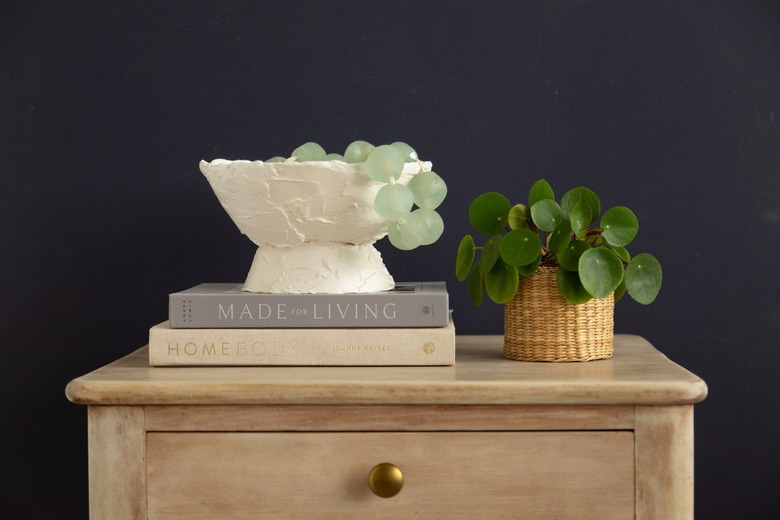
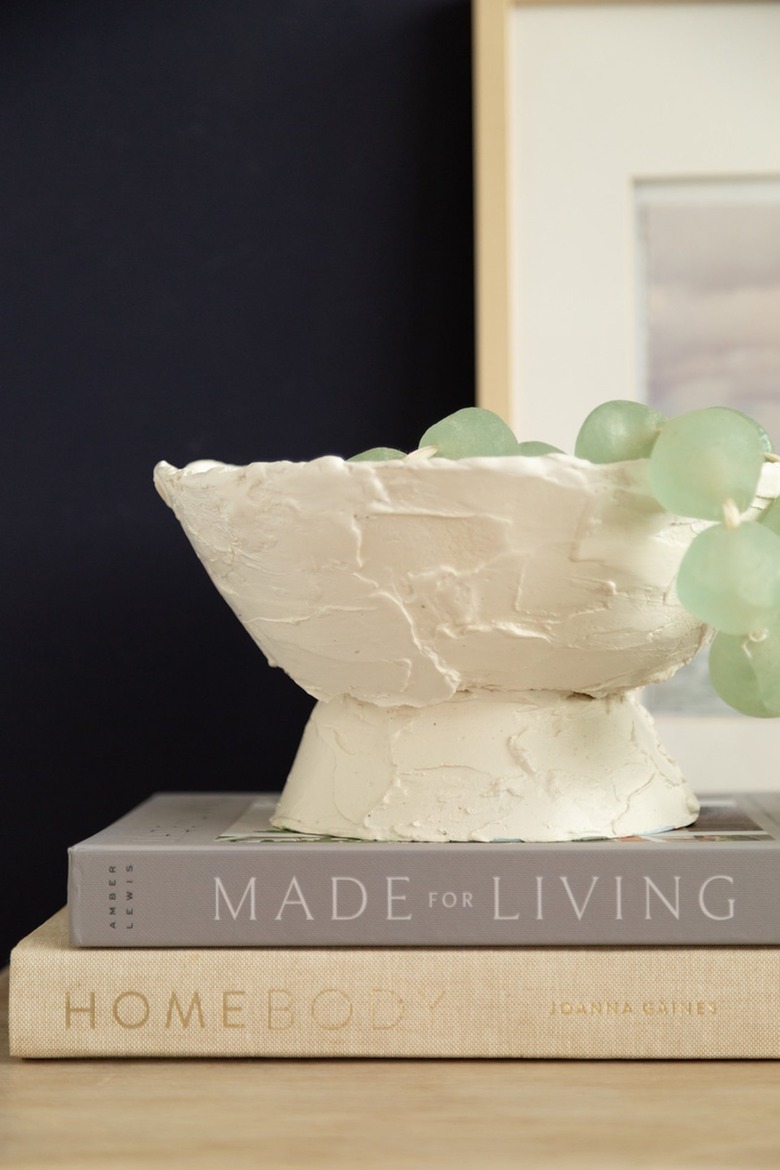
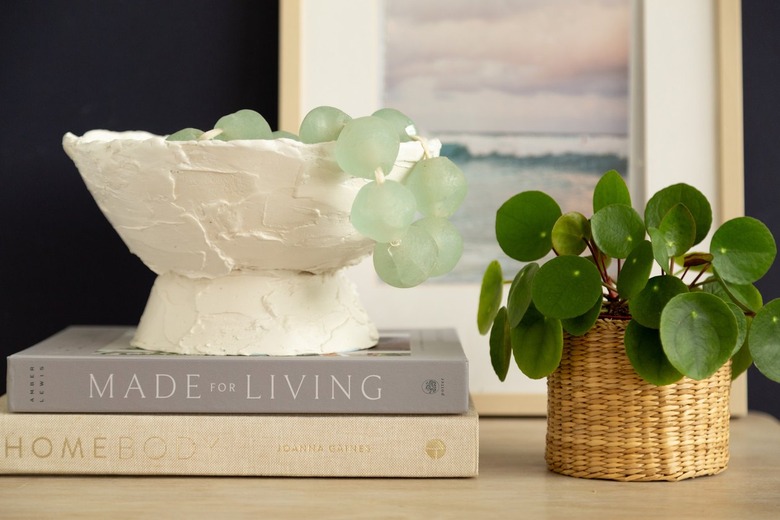
A decorative plaster bowl is a gorgeous way to add texture and depth to your shelves and tables. Luckily, you don't have to spend big bucks on this design-worthy piece. This DIY project shows how to easily make your own using two IKEA bowls and Plaster of Paris, a staple in the art world.
If you haven't used plaster before as a medium, you will quickly fall in love. Adding a layer of this material to a porcelain bowl gives it a sculptural look and feel.
Things Needed
Before you begin, cover the surface where you'll be working with a piece of cardboard or a plastic cover sheet.
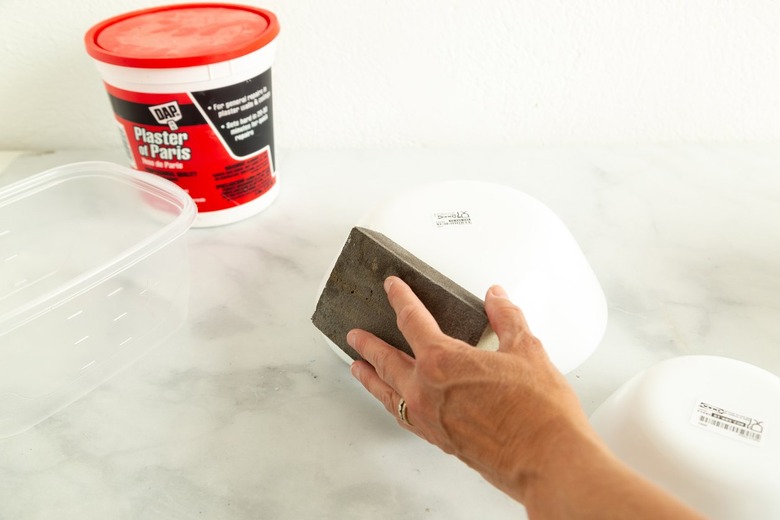
Step 1
Prep the bowls by lightly sanding the outside of them with a sanding block.
 sara albers
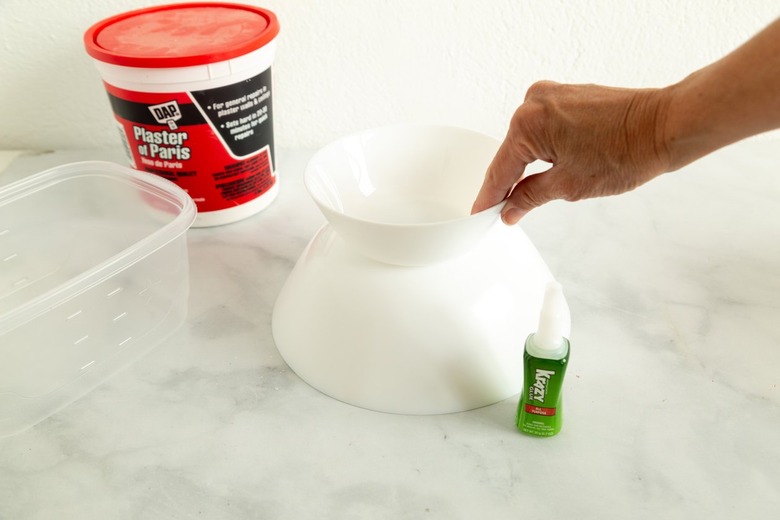
Step 2
Using super glue, adhere the bottom of each bowl together.
 Sara Albers
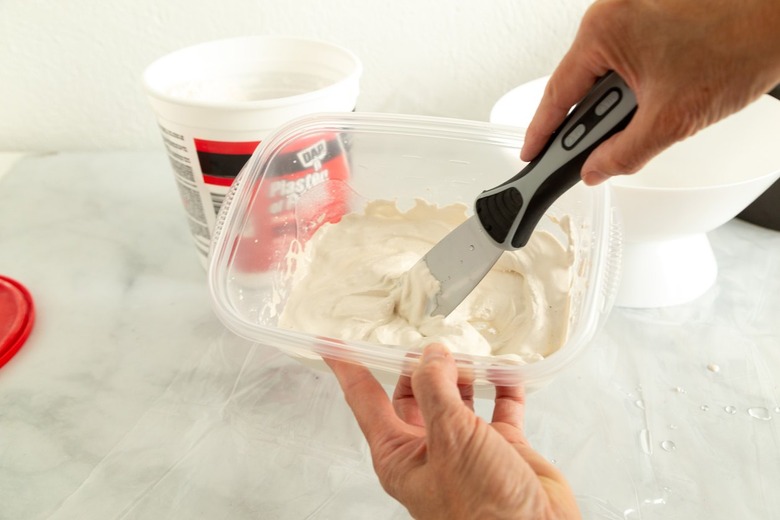
Step 3
Add some plaster to a disposable container. Add enough water to get a thick cake batter consistency.
 Sara Albers
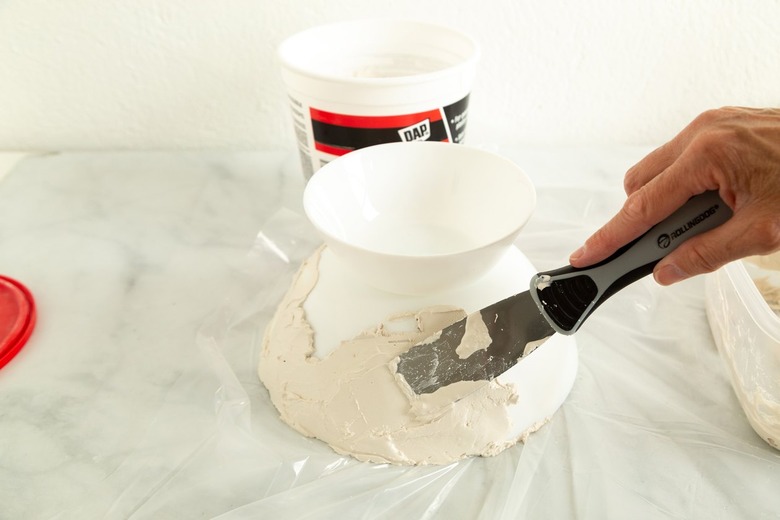
Step 4
Apply the plaster to the bowls using a putty knife.
 Sara Albers
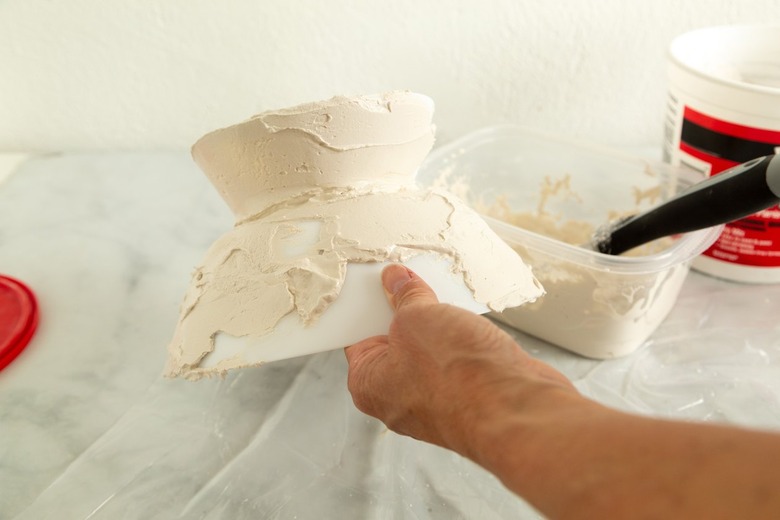
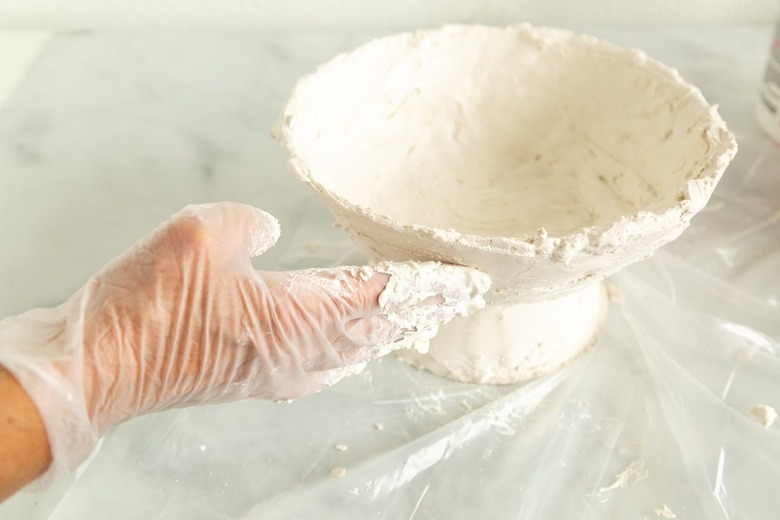
Step 5
Keep smoothing on the plaster. You can keep the plaster looking rough or continue to smooth and thin using the putty knife and your hands. (Be sure to wear disposable gloves if you use your hands.)
 Sara Albers
 Sara Albers
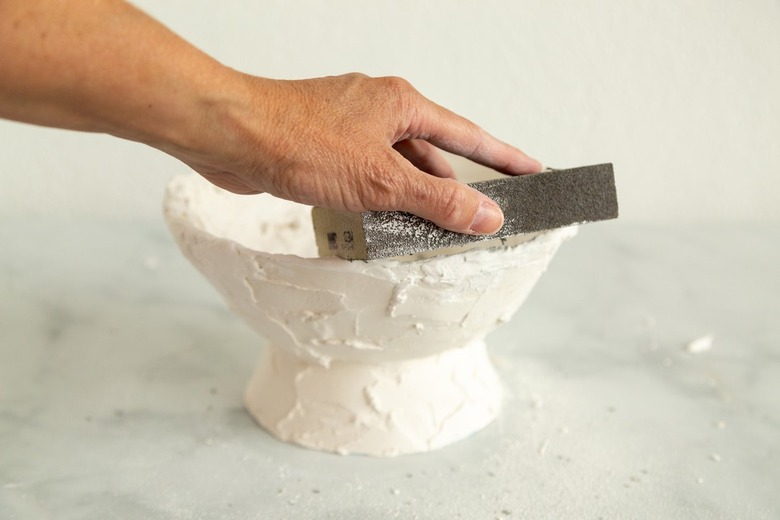
Step 6
Lightly sand the bowl to smooth any overly rough edges.
 Sara Albers
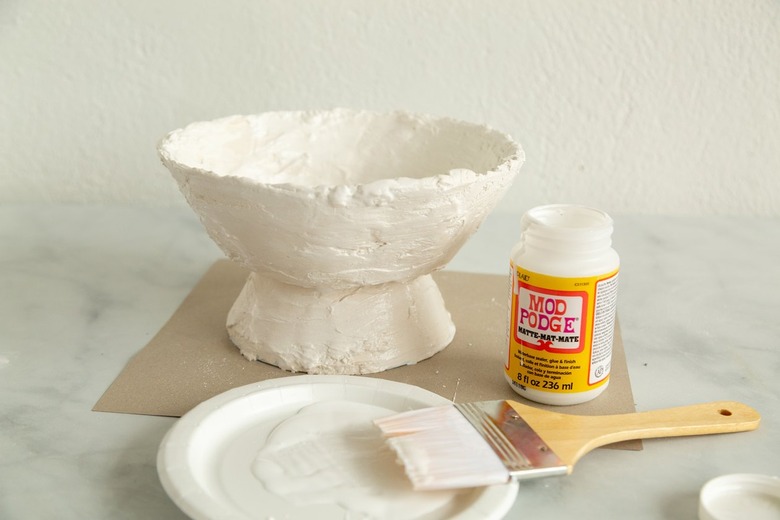
Step 7
Seal the plaster bowl with Mod Podge. Allow to dry.
 Sara Albers
 Sara Albers
 Sara Albers