Construct Artisan-Inspired Bowls Using Cotton Clothesline
We may receive a commission on purchases made from links.
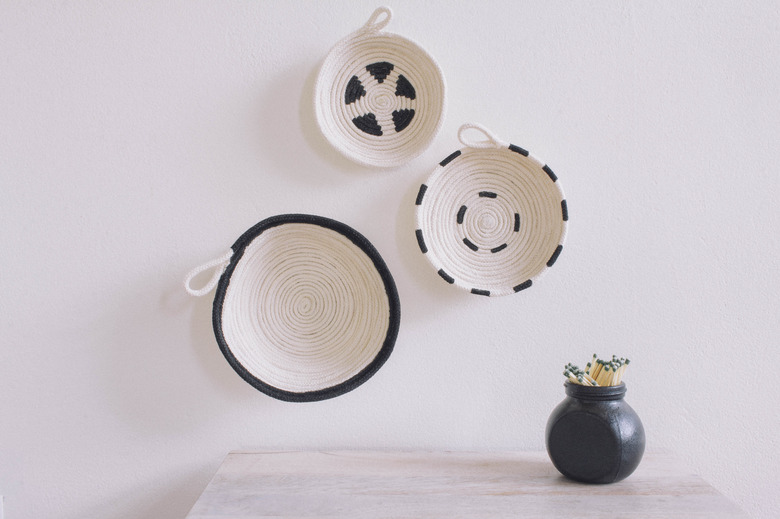
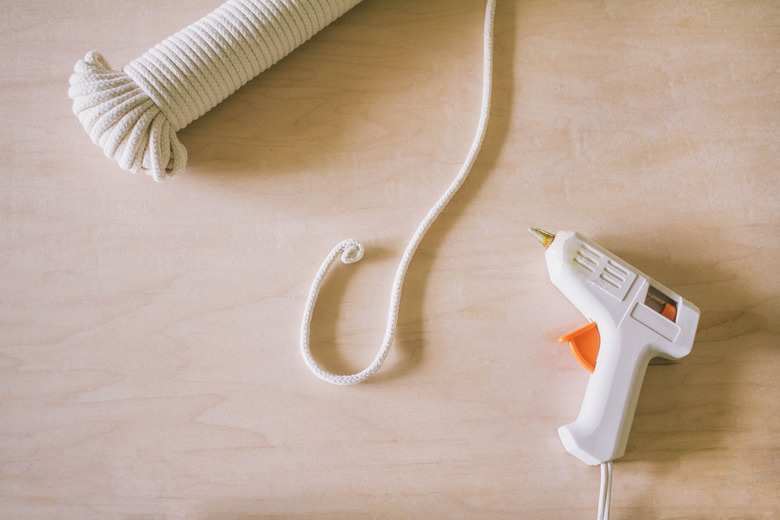
Create an eye-catching arrangement for your walls or coffee table with a trio of cotton rope bowls. Using just a glue gun and cotton clothesline, you can easily make your own. Painting a simple design on each bowl lends a handcrafted touch, making a graphic patterned statement when grouped together. More than just eye candy, these bowls also pull double-duty as mini storage baskets to hold all your favorite trinkets and treasures.
 Trisha Sprouse
Things Needed
-
Scissors
-
Small paintbrush
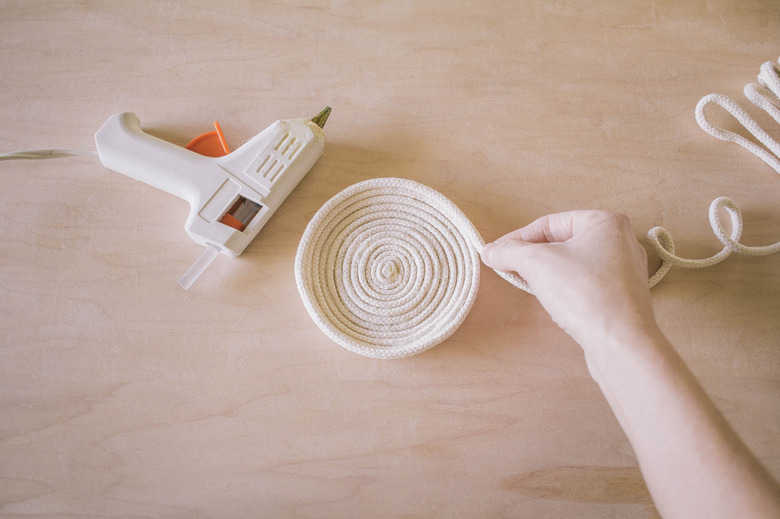
Step 1
Roll the tip of the rope into a coil, and secure with hot glue. Don't use too much glue, or you risk it oozing from the sides.
 Trisha Sprouse
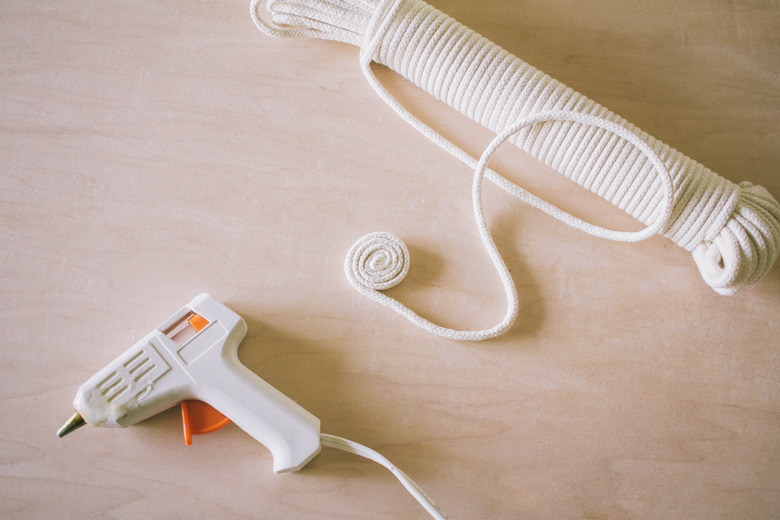
Step 2
Continue coiling the rope, gluing 1- to 2-inch sections at a time.
 Trisha Sprouse
Step 3
Once the base of the bowl is the desired size, start stacking the rope on top of the row below it, and gluing it in place. Don't stack the rows directly on top of each other, but rather slightly around the outer edge of each row. This will produce a wider, more shallow bowl as opposed to a deep bowl.
 Trisha Sprouse
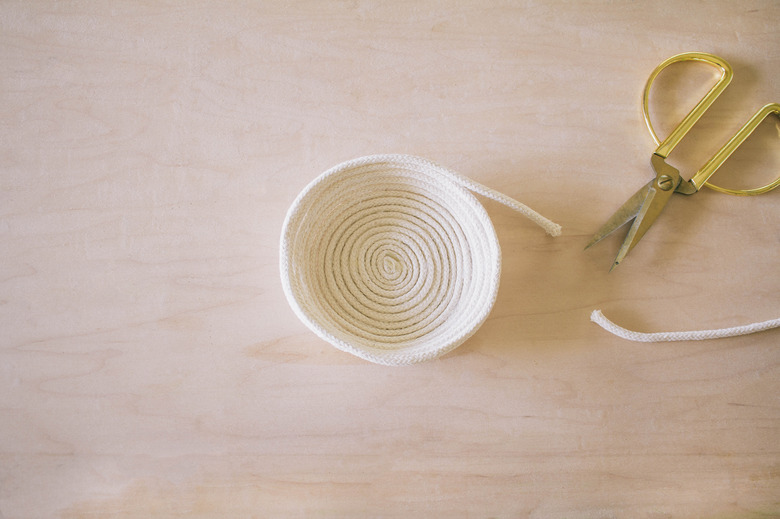
Step 4
Once the bowl is the desired size, cut off the excess rope, leaving a 2- to 3-inch tail.
 Trisha Sprouse
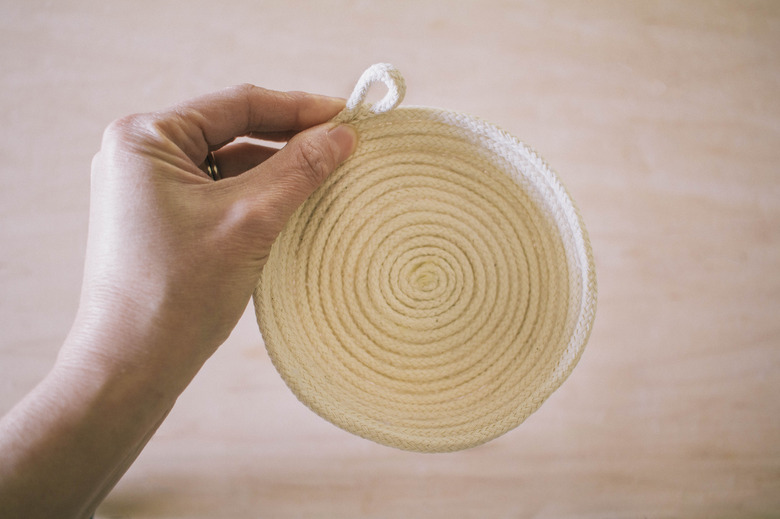
Step 5
Form the tail into a loop and secure the end to the rim of the bowl with hot glue.
 Trisha Sprouse
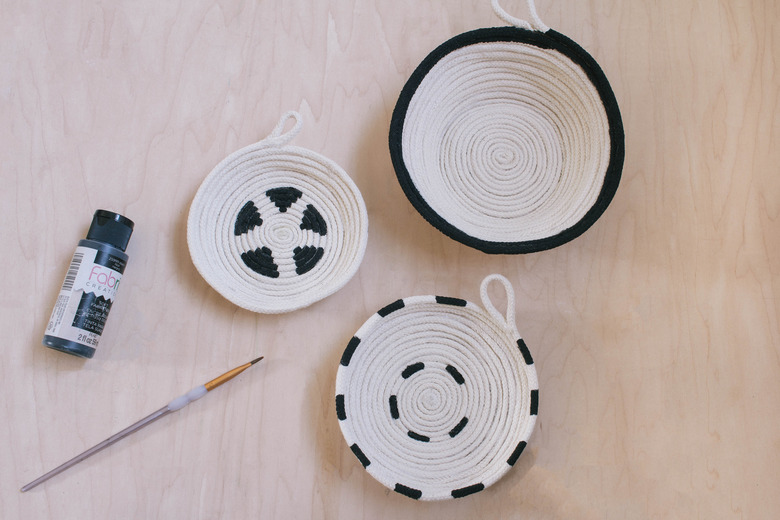
Step 6
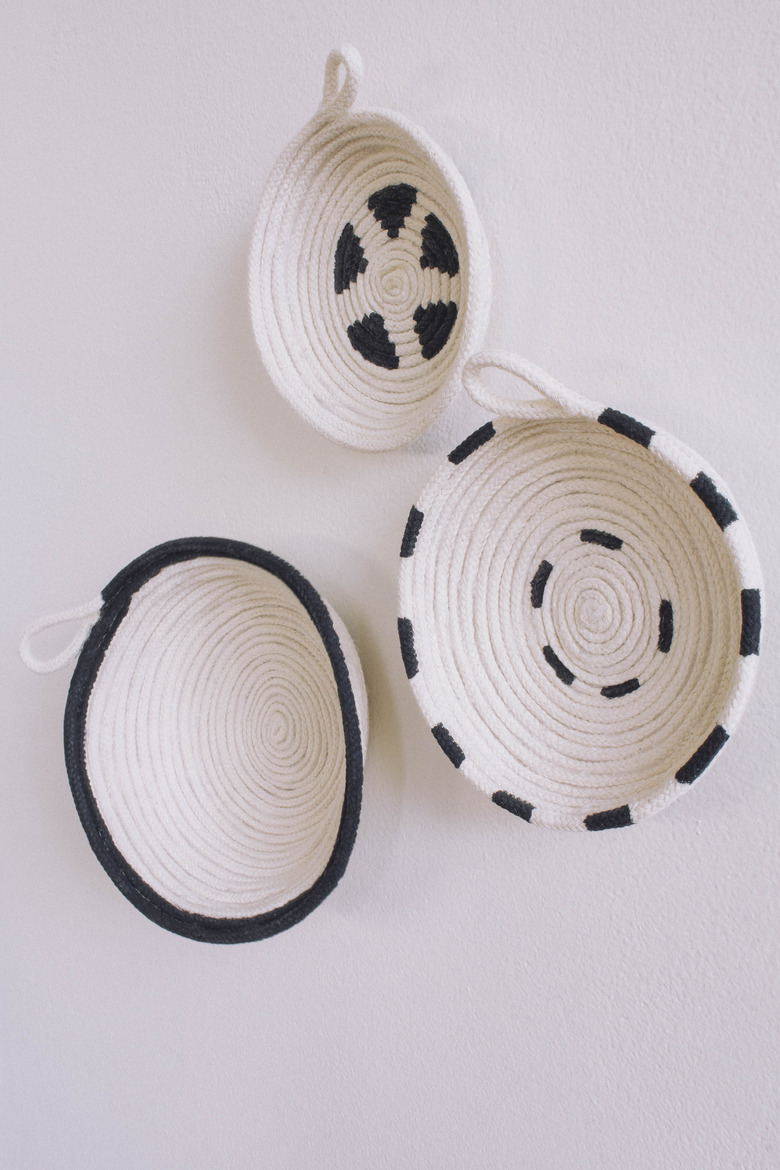
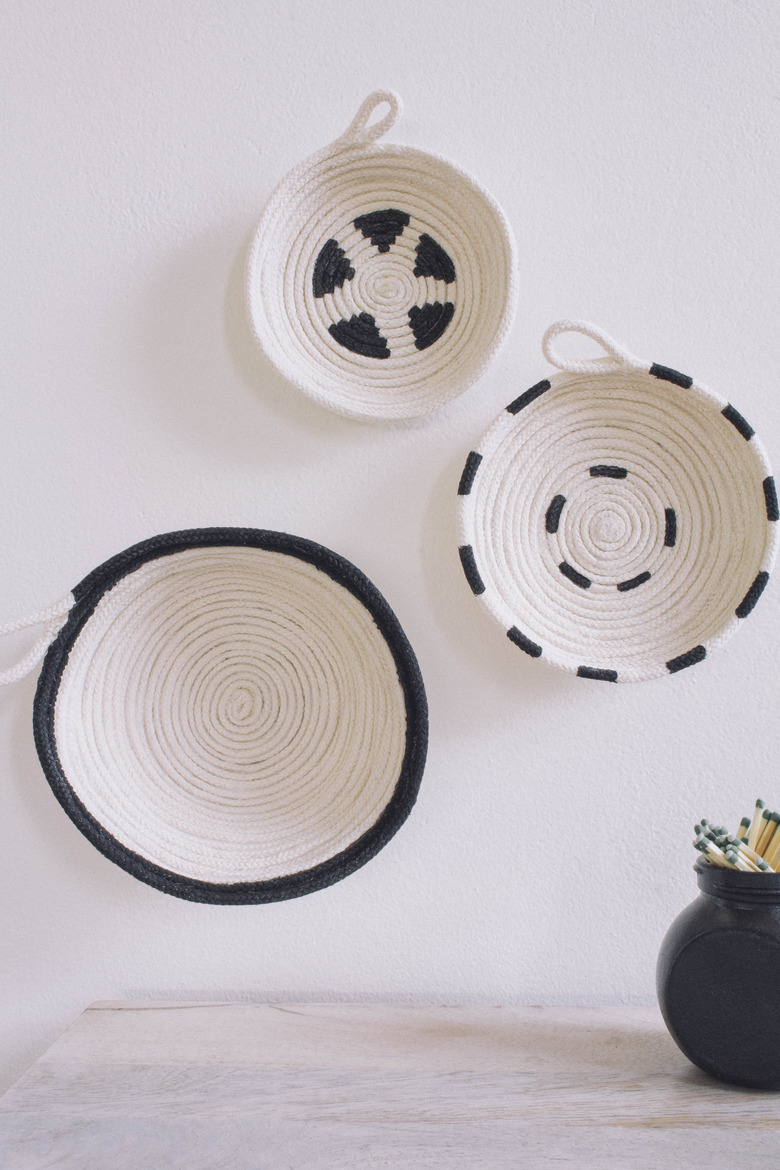
Use a small paintbrush and soft fabric paint to create unique designs on the bowls. We stuck to simple patterns, painting just the rim of the largest bowl, dashed lines around the medium bowl, and pyramids on the smallest bowl. But get creative with colors and patterns that you love!
 Trisha Sprouse
Once the paint dries, you're all set to hang your new trio of rope bowls on the wall.
 Trisha Sprouse
Or use them as storage bowls to house your prized possessions.
 Trisha Sprouse