An Easy Air-Dry Clay Diffuser Tutorial
We may receive a commission on purchases made from links.
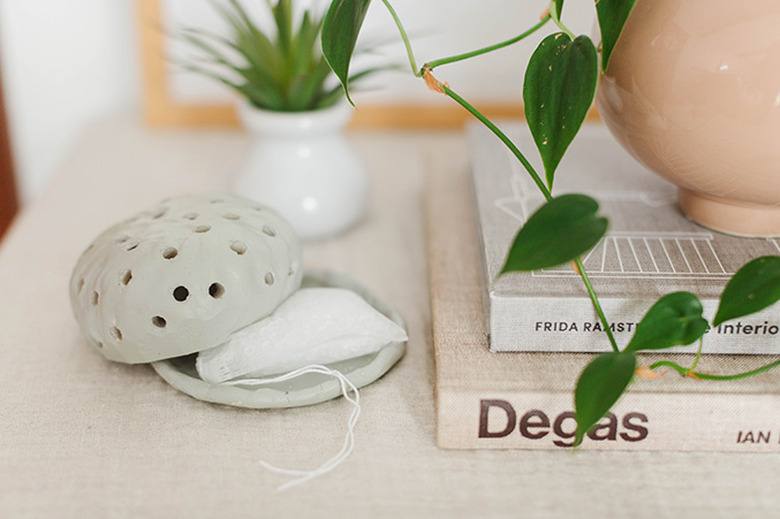
Who's anxious to add some cozy back into their space this season? It has just been one of those years, right? You're in luck because we're teaching you how to make your own cord- and battery-free essential oil diffuser that can be moved anywhere you please. Keep scrolling to see how we did it using air-dry clay.
 Carrie Waller
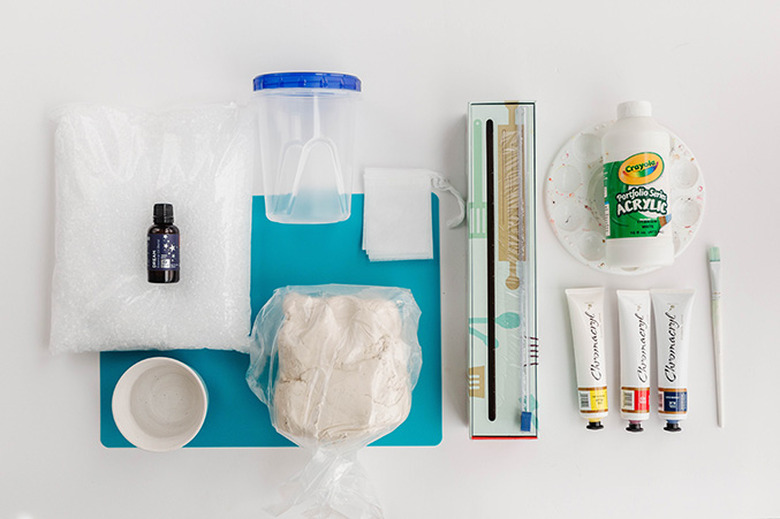
Things Needed
 Carrie Waller
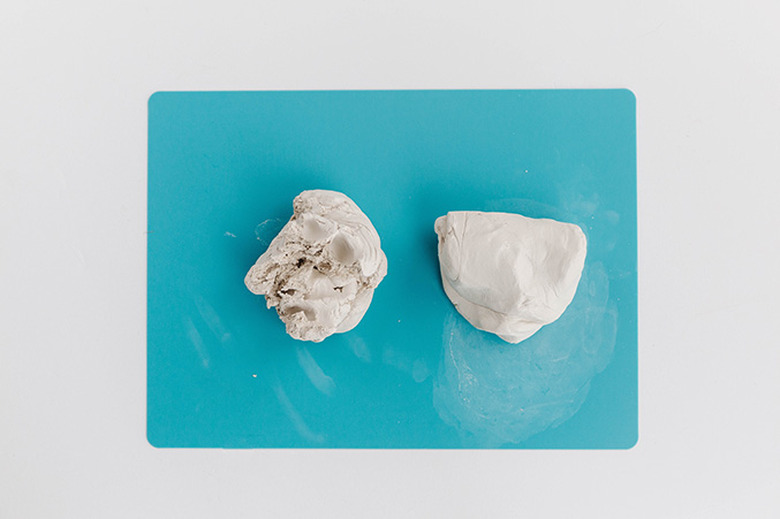
Step 1
Break off a small 2-to-3-inch hunk of air-dry clay from the block (something slightly larger than the palm of your hand), and knead it on top of a cutting board until it's soft and warmed up. This will make it easier to do detail work later on.
 Carrie Waller
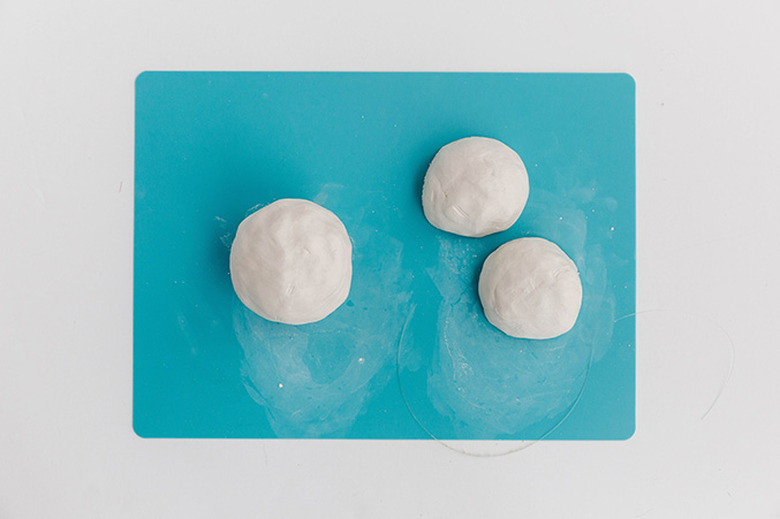
Step 2
Mold the clay hunk into a round form by slowly spinning it in your hands and smacking the sides until it's uniform.
 Carrie Waller
Step 3
Cut the round clay form in half to create two small half spheres. We used a piece of fishing line to do this, but you can use a kitchen knife if you have that handy.
 Carrie Waller
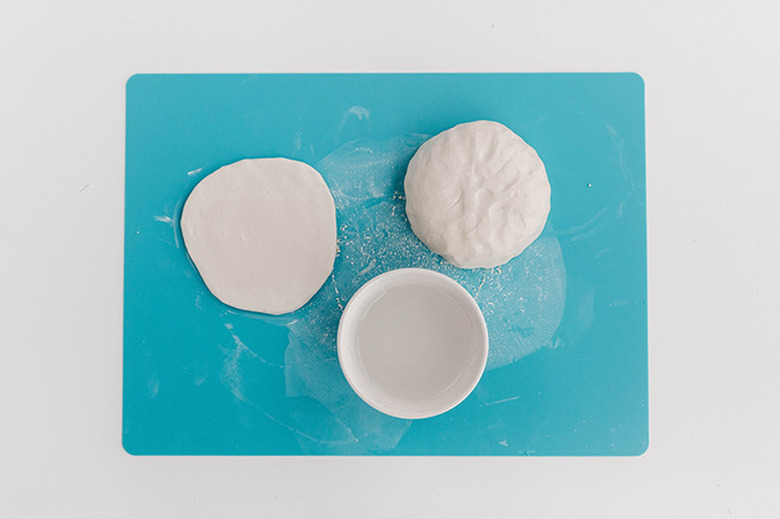
Step 4
Next, you'll need to create a pinch pot. Start by flipping the spheres over so the flat part is facing upward, and then gently press into the center of the sphere to create a cavity.
 Carrie Waller
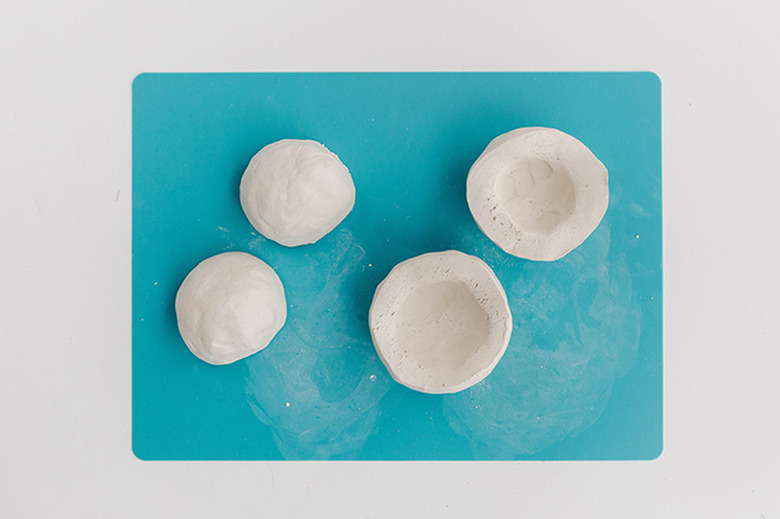
Step 5
Gently turn the sphere around and around in your hand, pinching the clay between your fingers and thumb as you go. This will naturally stretch the clay into a bowl shape without actually pulling on the sides of the clay, which would likely make it crack since this is a fairly delicate material. Keep pinching and turning the sphere around and around until the walls are about 1/4-inch thick. Set the finished pinch pot off to the side with the rounded part facing up and the cavity on the underside.
 Carrie Waller
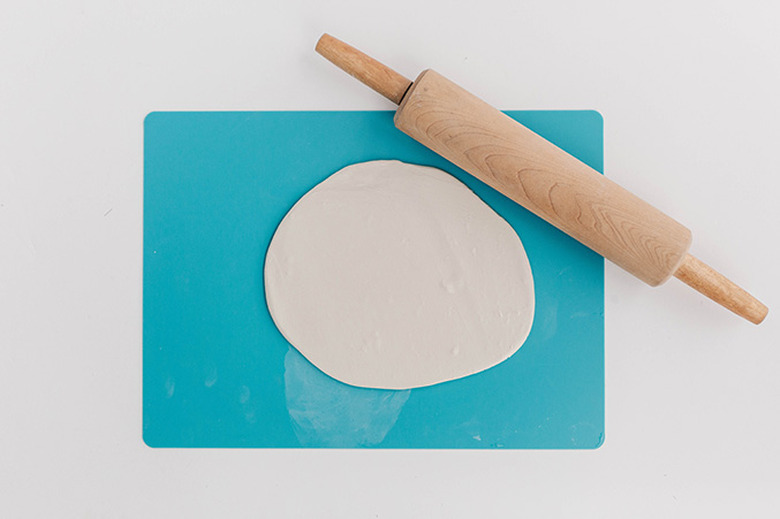
Step 6
Create a flat plate for your diffuser by ripping off another hunk of clay from the block (about half the size of the first one you used for the sphere), and roll it out to about 1/4-inch thickness on a cutting board using a rolling pin.
 Carrie Waller
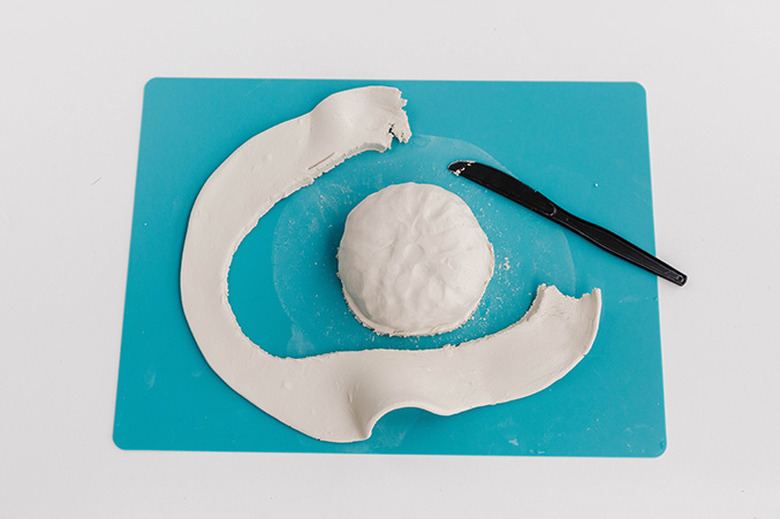
Step 7
Place the finished pinched sphere on top of the flattened piece of clay, use a knife to trim away the excess flattened clay, and then set the sphere piece off to the side. Note that you'll want to do this quickly because your sphere will fuse to the flattened piece of clay if it's left on for too long. Wet clay sticks together.
 Carrie Waller
Step 8
Use water to smooth out the edges, although we strongly urge you not to go overboard with this step. Too much water will turn the clay into a floppy mess, and it may stick to the cutting board and rip apart when you try to move it later on. This hand-built diffuser is meant to look organic, and unless you're a professional ceramic artist, we encourage you not to strive for perfection. It's the irregular shape and texture that gives this diffuser its character, after all!
 Carrie Waller
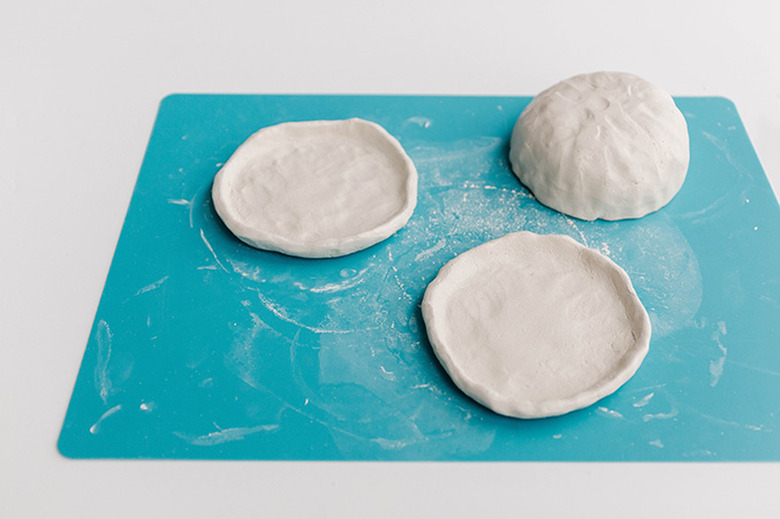
Step 9
Optional: Gently pinch the sides of the flattened clay plates and turn them upward to give them shape and interest.
 Carrie Waller
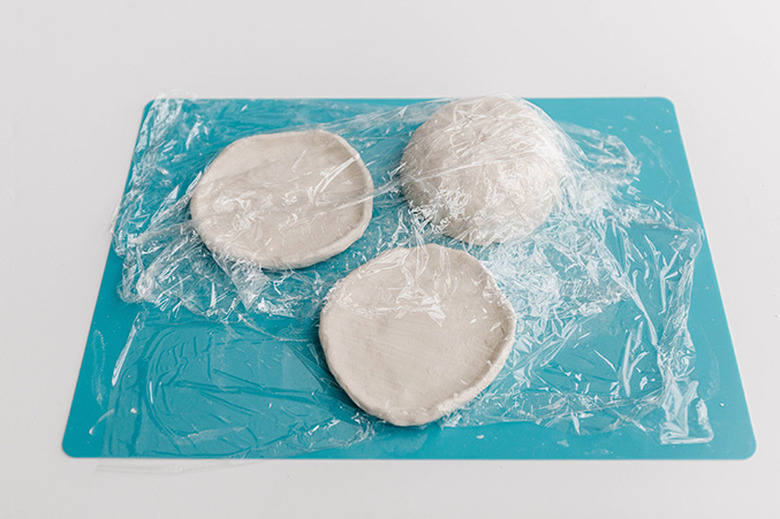
Step 10
Cover the finished pieces with plastic wrap, and store them in a cool dry place to firm up for 48 hours. This will help them dry slowly to avoid cracking. Remove the plastic wrap after two days, and let them dry in open air until leather-hard — in other words, when you touch them, they still feel cold but are no longer actively wet and pliable. Note that this might take another two days.
 Carrie Waller
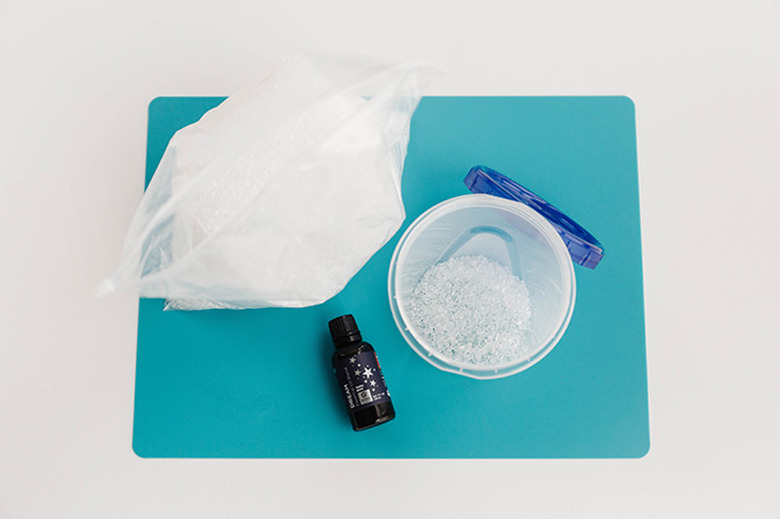
Step 11
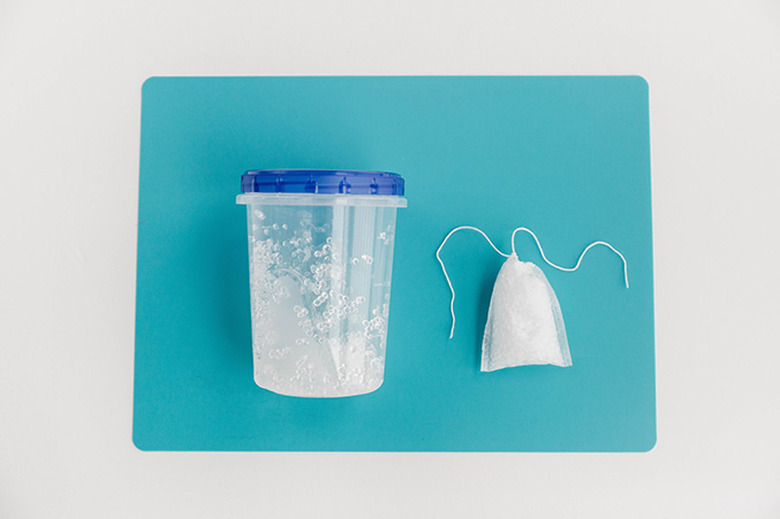
Meanwhile, pour 3/4-cup of unscented aroma beads into an airtight container. Take the top and cover off an essential oils bottle, and pour roughly 1 to 2 tablespoons of the oil into the container with the beads, depending on how aromatic you want your diffuser to be. Note that some of the scent will be blocked by the top lid of the diffuser, so you may want to add just a little more than you normally would.
 Carrie Waller
Step 12
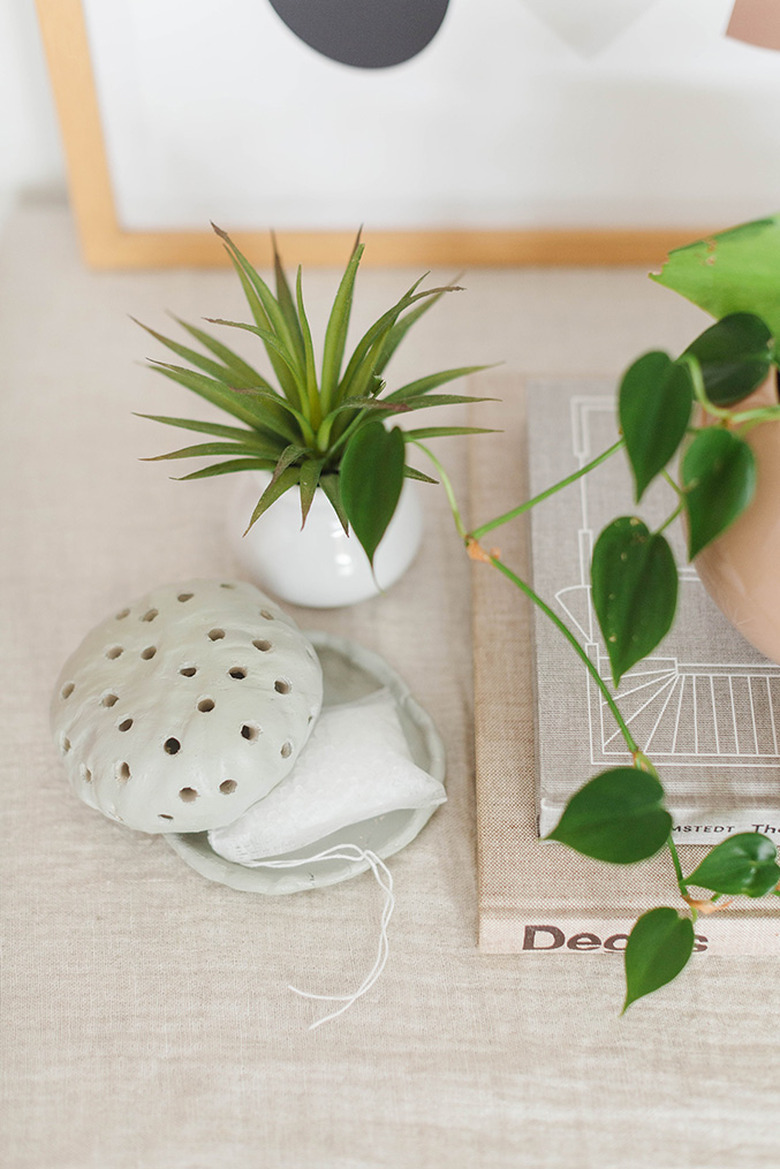
Close the airtight lid on the container of beads, and shake to diffuse the oils. Allow the beads to absorb the oils for 24 to 48 hours, shaking occasionally to continue diffusing the oils throughout the beads. When the beads stop sticking to the sides of the container, they're dry and ready to use. Pour them into individual tea filter bags, and cinch closed.
 Carrie Waller
Step 13
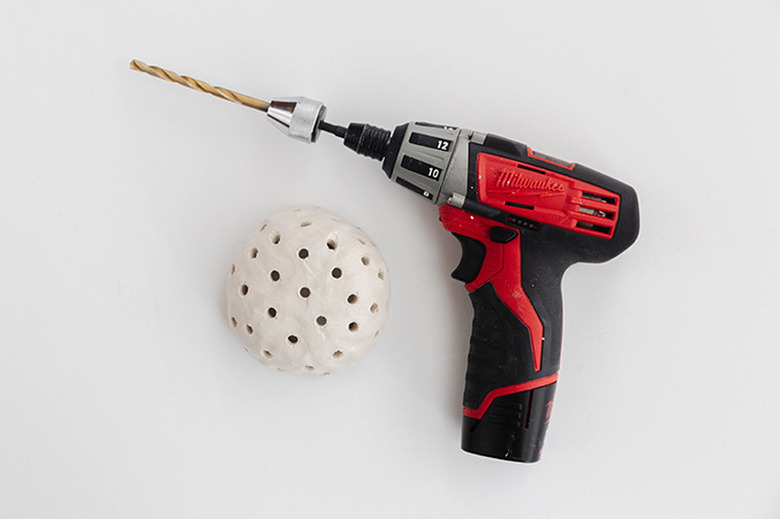
Drill holes randomly every 1/2-to-1-inch across the surface of the leather-hard sphere using a battery-powered drill and 1/4-inch drill bit (reference Step 10 to remind yourself what "leather-hard" feels like). Do this slowly and gently, otherwise you might break the clay! If you're worried about how gentle you can be with a drill, you can twist the bit over the surface of the clay between your fingers to get the same effect at a speed you can control.
 Carrie Waller
Step 14
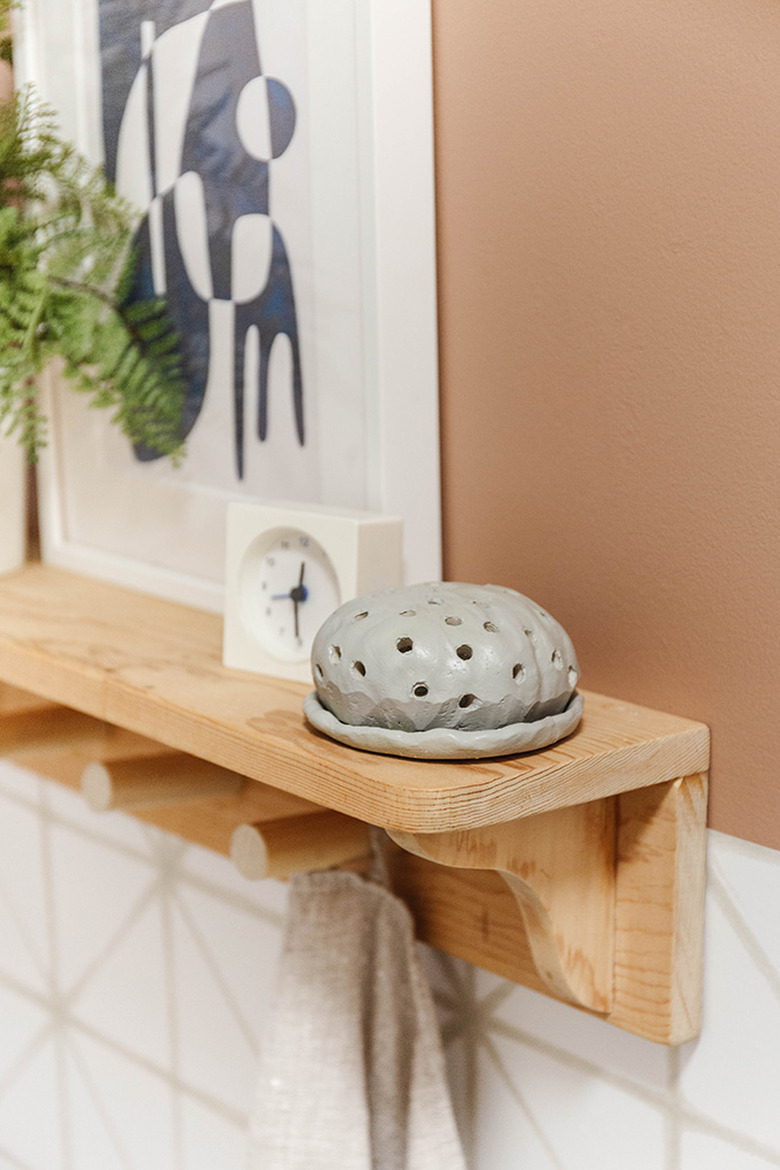
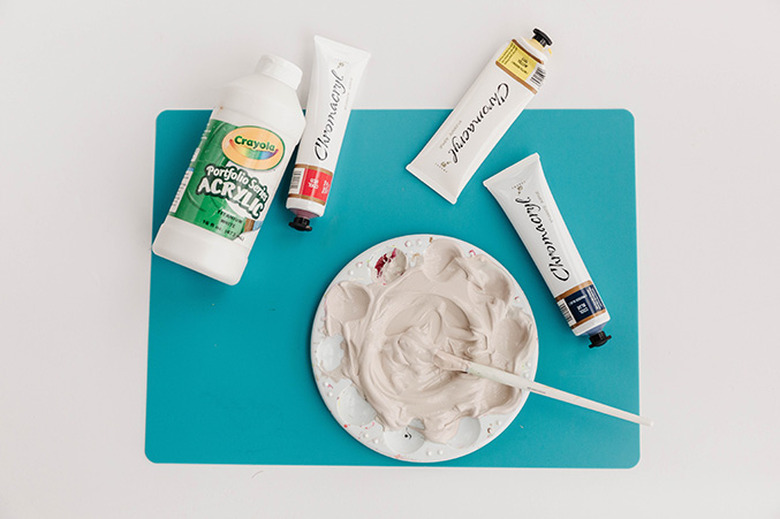
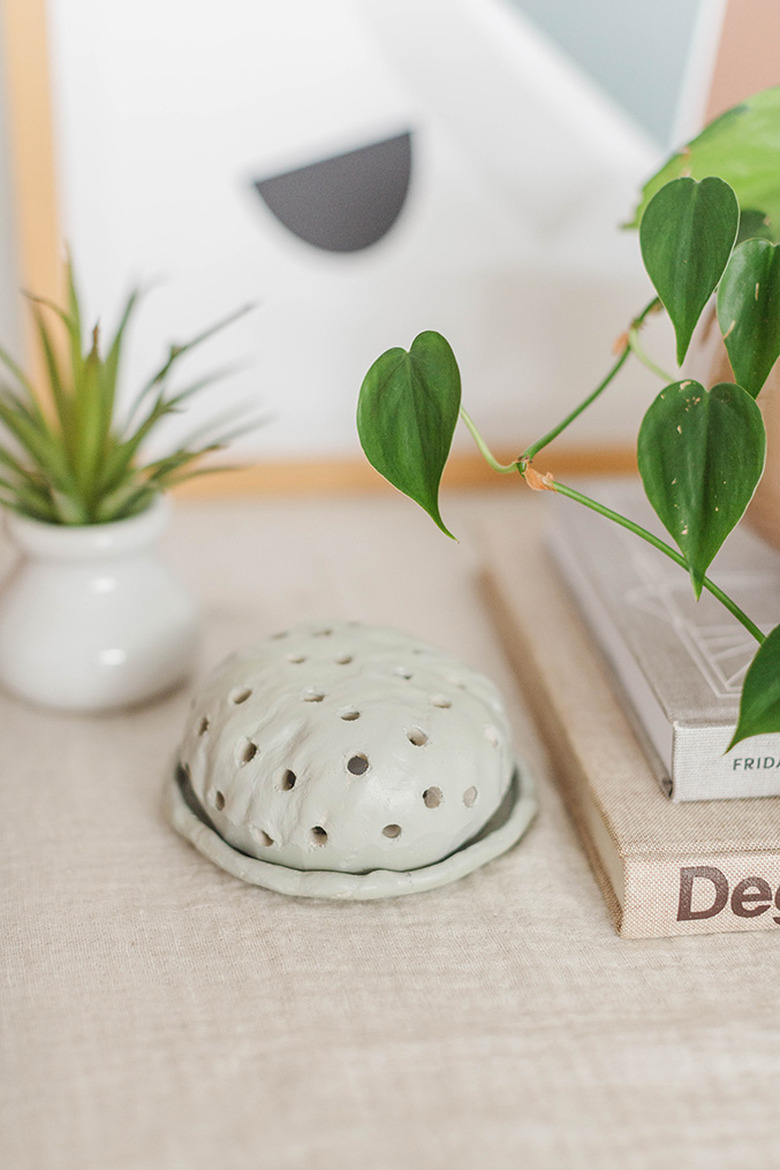
Mix acrylic paints using a paint brush and plastic paint palette to get your desired color for the finished diffuser. We decided on a soft mint green to soften the organic shape.
 Carrie Waller
Step 15
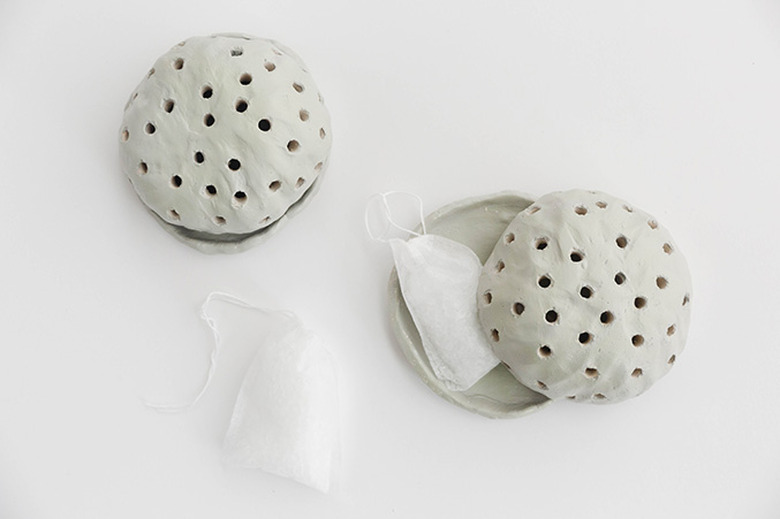
Paint the dry clay diffusers (do two coats if you need to), and put a scented beads bag inside each. The scent will gently diffuse through the holes you drilled in the diffuser to give your room a light scent, and the organic shape of the diffuser itself is the perfect accent for styling your bookshelves and tabletops!
 Carrie Waller
 Carrie Waller
 Carrie Waller