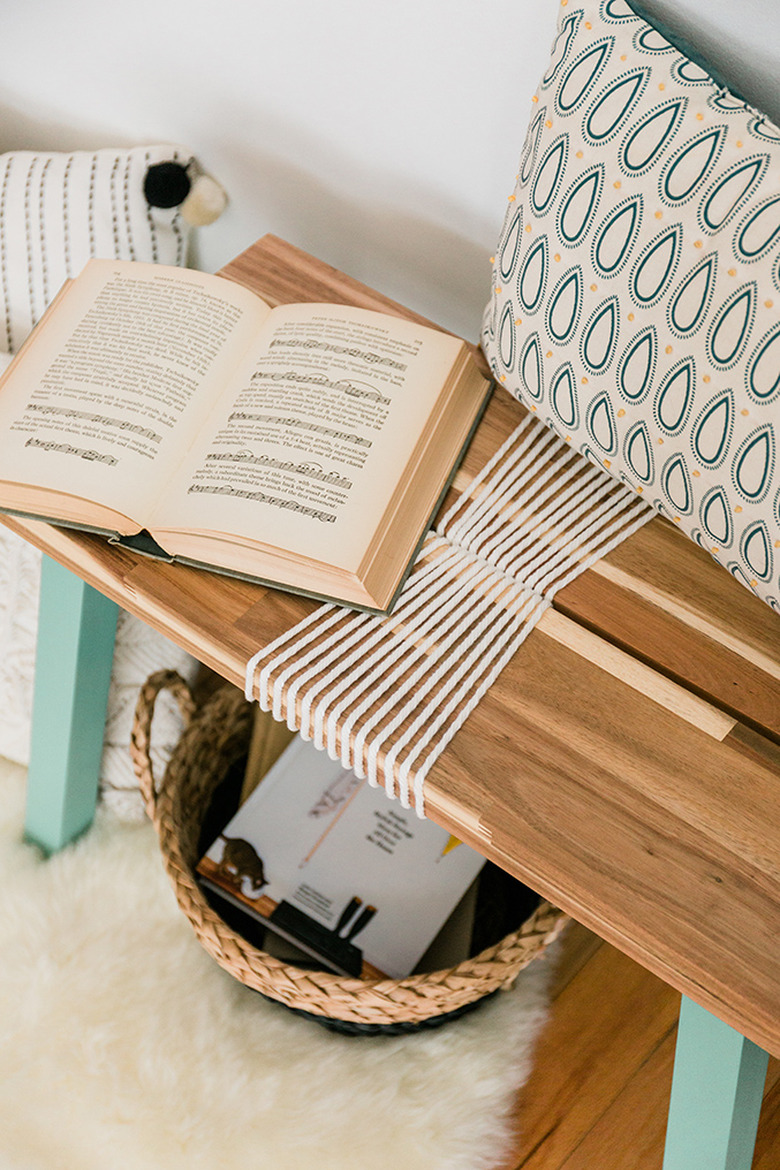
Operation Makeover: From Plain IKEA Bench To Cute Accent Seating
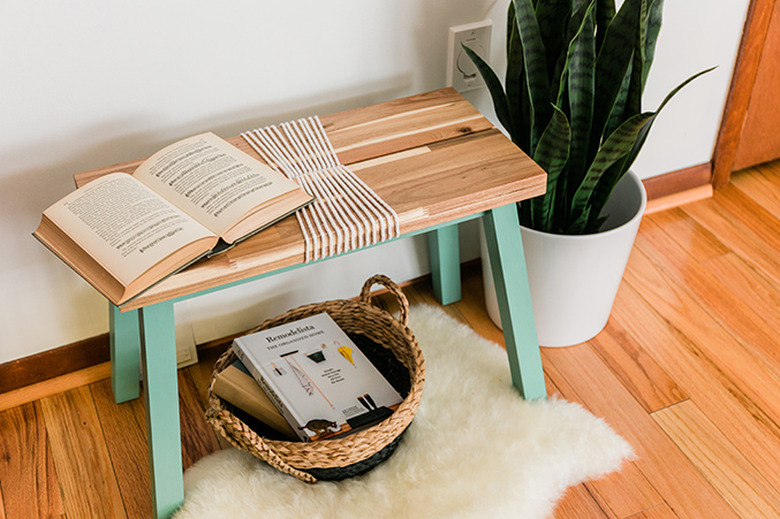
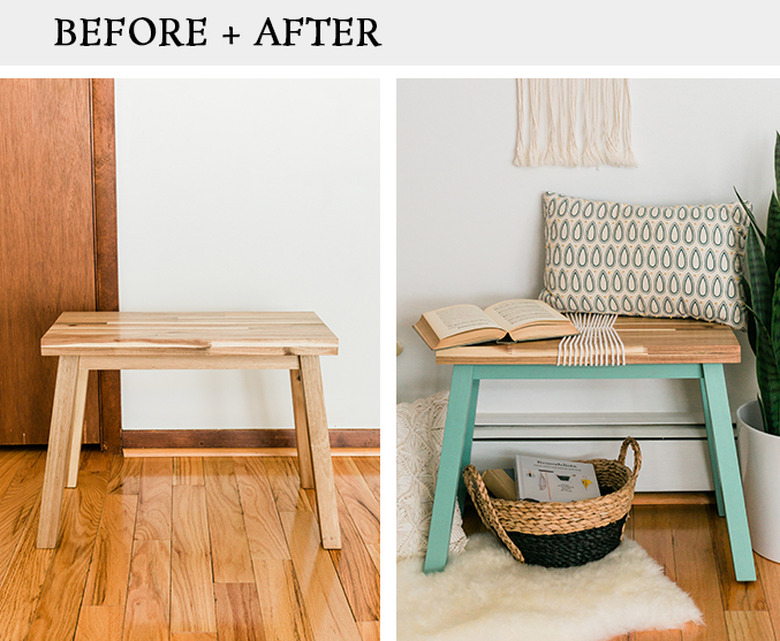
This cool, colorful bench has become a frontrunner as one of our new favorite IKEA hacks. All you need is some chalk decorative paint, rope, and IKEA's $40 Skogsta bench. Before and after photos, as well as all the DIY details are below. Make one for your entryway, bedroom, or office. It's just that adorably chic.
Step 1
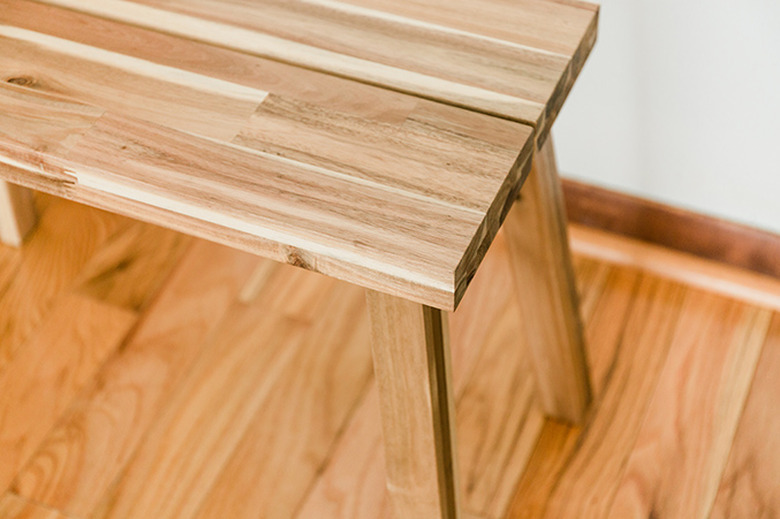
Assemble your IKEA Skogsta bench according to the package instructions.
Step 2
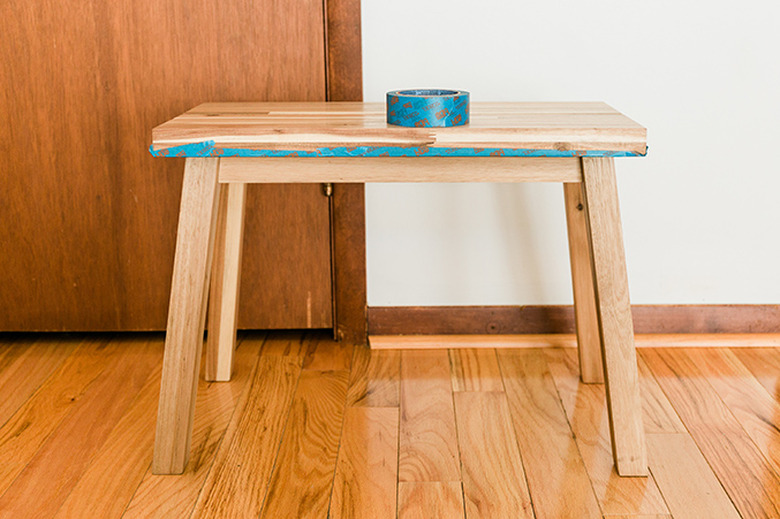
Mask off the underside of the bench seat using painter's tape. Press the tape firmly down with your fingertips.
Step 3
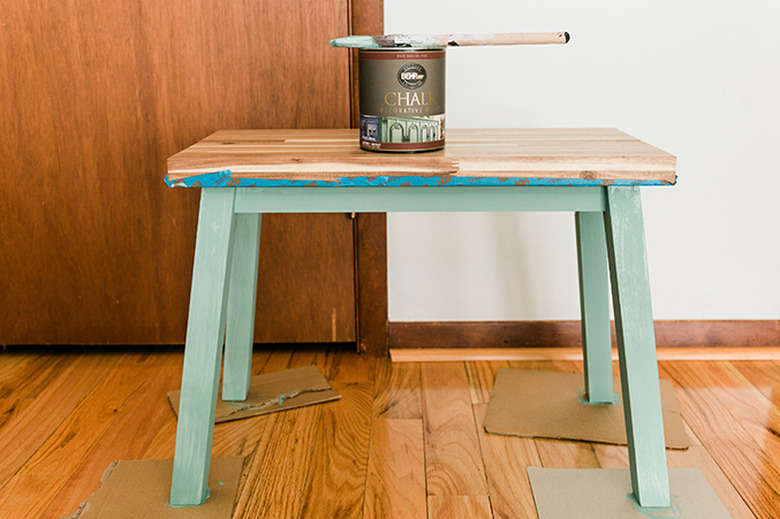
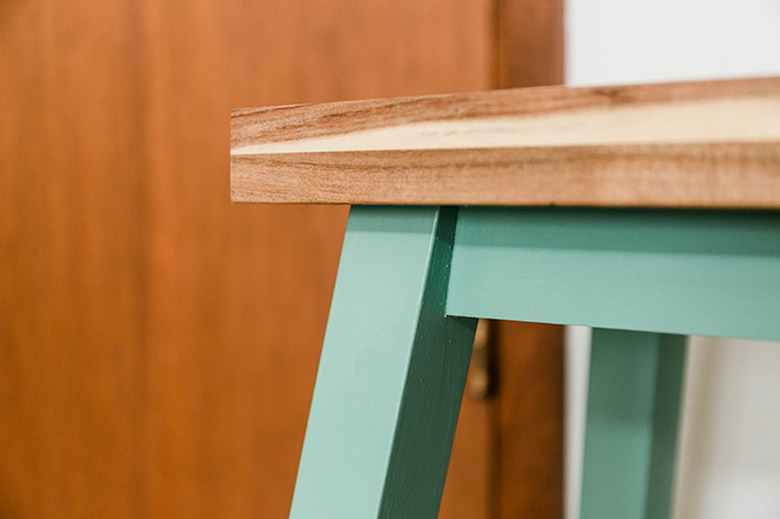
Paint the base and legs of the bench using chalk decorative paint and a brush. Layer on as many coats of paint as you need to completely cover the wood beneath (we did two coats total), waiting about 30 minutes between each coat.
Step 4
Wait at least two hours for the final coat of paint to dry, then cover it with one coat of clear interior chalk decorative paint wax using a clean brush. Remove and discard the painter's tape immediately before the wax has a chance to fully dry.
Leave the bench to cure overnight, and then wipe the painted areas down with a microfiber cleaning cloth to remove any built-up waxy residue that may have collected. This will even out the finish.
Step 5
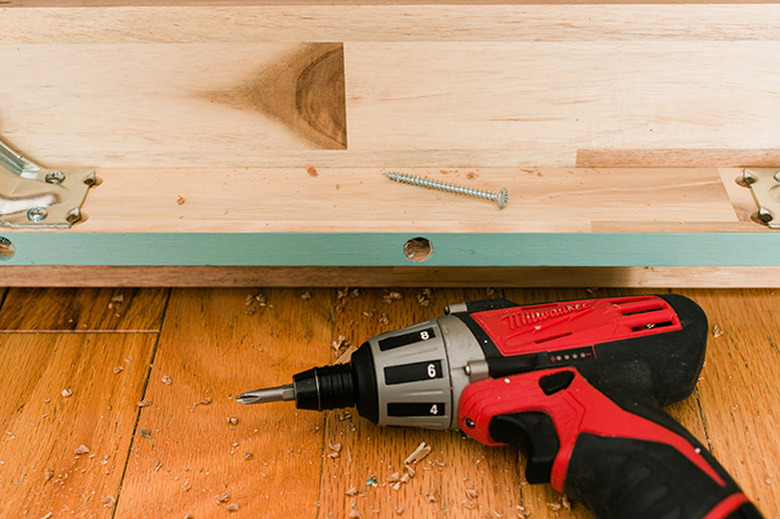
Use a cordless screwdriver to remove the center screw on both long sides of the bench—front and back. These screws would otherwise get in the way of your DIY rope detail to come. Rest assured that removing these screws won't affect the stability of your bench, as there are plenty of others holding the piece together.
Step 6
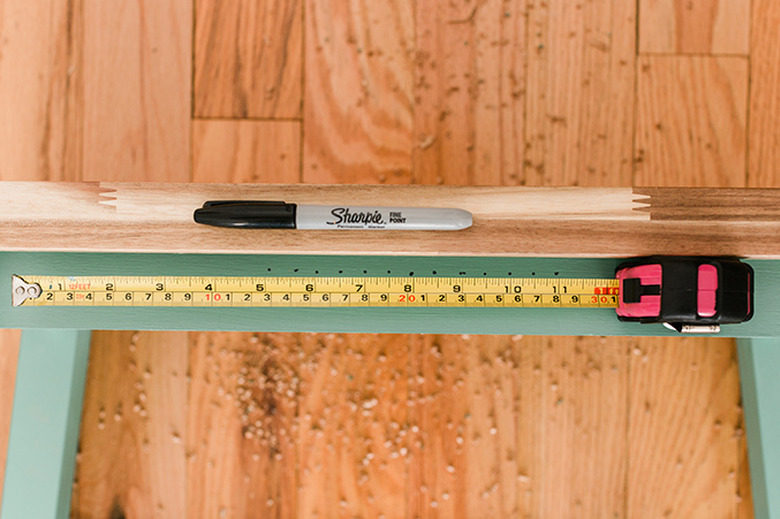
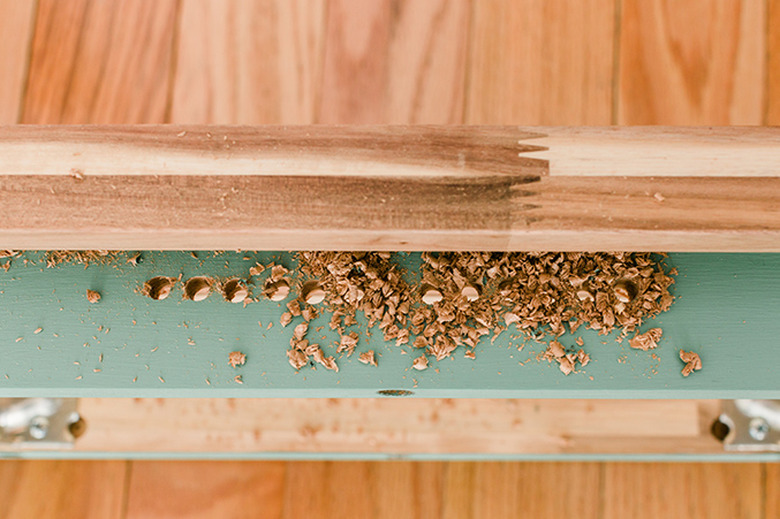
Use a tape measure to find the center of both the front and back long sides of the base, and then make a mark just below the seat edge using a marker. Then continue using the tape measure and marker to put even, level dots on the bench base every 1/2 inch from the center point. You'll need 13 marks in total, six on either side of your center mark. Repeat on the opposite long side of the bench base.
Step 7
Drill through all 26 marked holes using your cordless screwdriver outfitted with a 5/16-inch drill bit.
Step 8
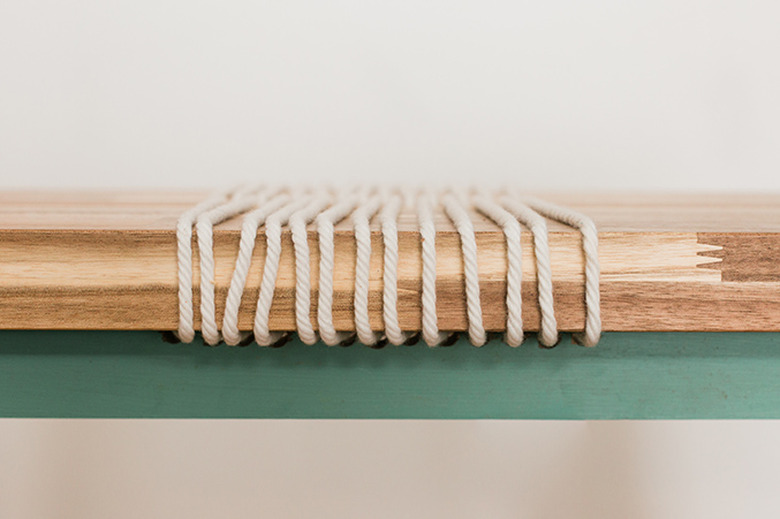
Tie a thick double knot on one end of your 10-yard length of 1/4-inch white cotton rope. Push the other end of the rope through the hole on the back portion of the bench so that the knot ends up on the inside of the bench, hidden from view.
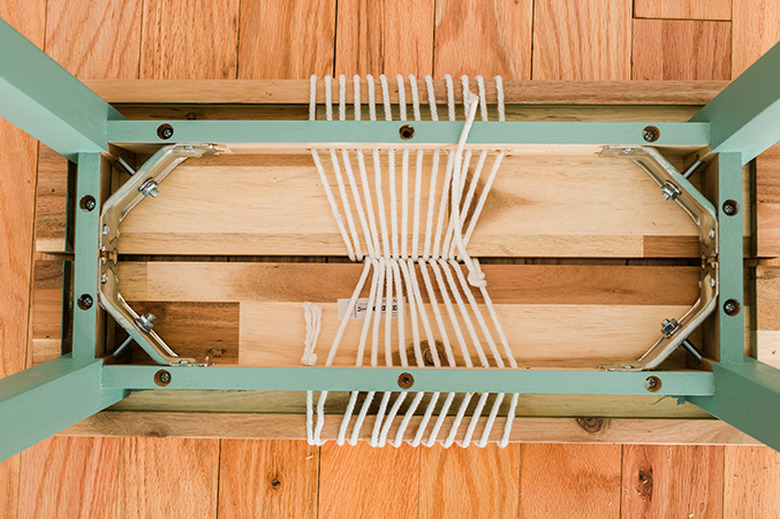
Run the rope around and through the bench seat in whatever pattern you like to give it a cool linear focal point. We alternated our own rope up and over the bench seat and through the center gap, repeating until we got the end. Once you're finished with your chosen wrapped design, knot the rope from underneath the seat so it's invisible from the outside. Note that it doesn't need to be perfect—feel free to get creative!
Step 9
Push the rope strands toward the center from above the seat and below it to create the angular look of the example pictured here. Staple the angled rope strands in place from below the seat using an electric staple gun. This will ensure that your design will stay in place.
Step 10
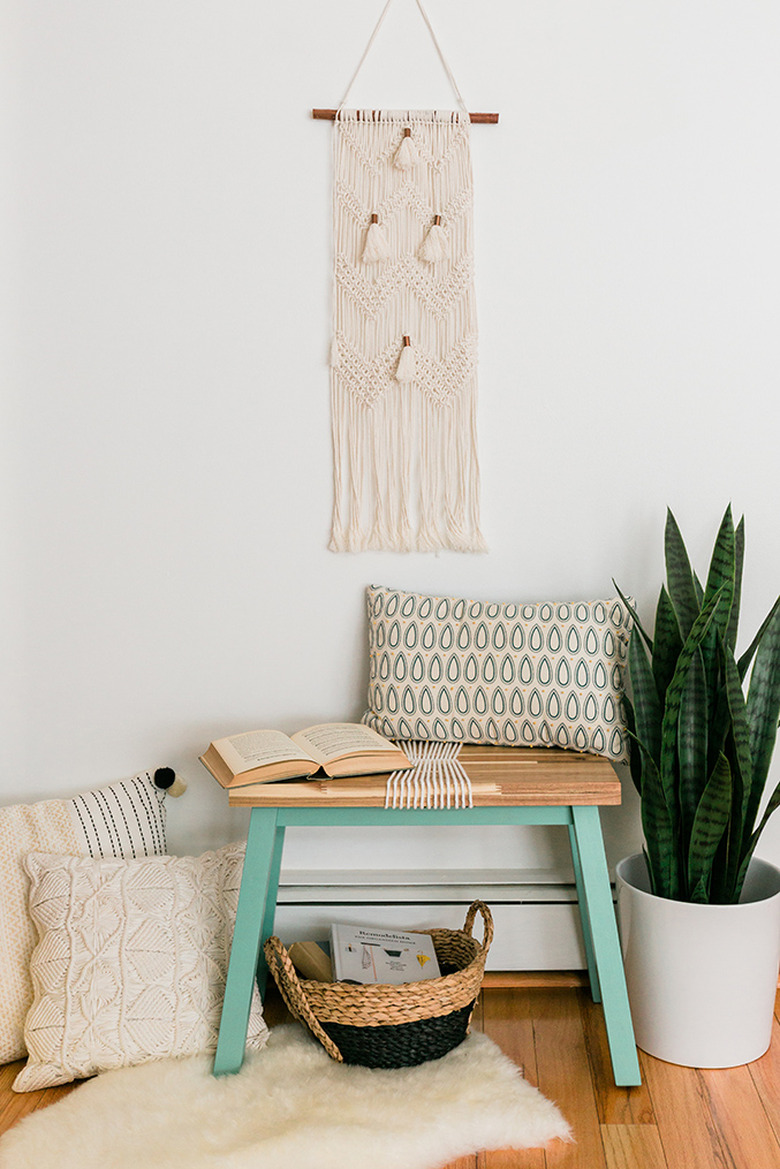
Flip the bench upright, and you're done! You can style this bench practically anywhere in your home. We set up our own made-over bench in the entry, decorating around it with boho textures in a neutral color palette to let the blue bench shine.
