How To Install A Laminate Floor Around A Bathtub
We may receive a commission on purchases made from links.
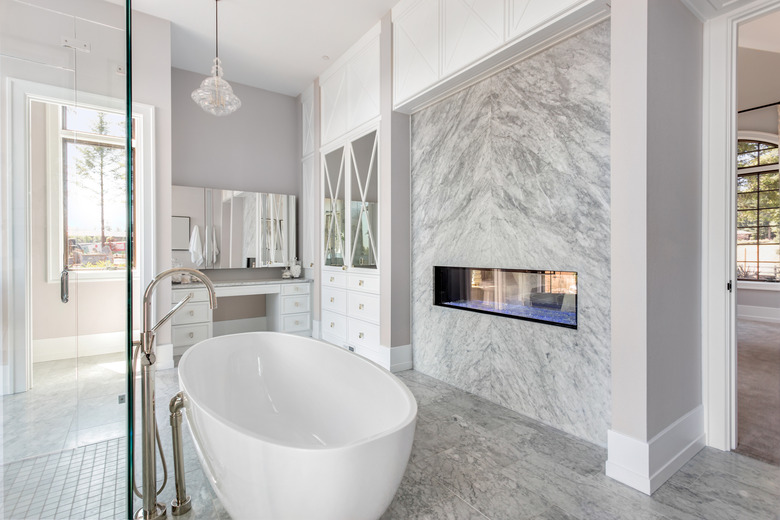
Bathroom floors must be able to withstand extreme changes in humidity. Laminate flooring can serve adequately if properly installed. Working around a bathtub can be complicated, though. If your bathtub happens to have feet, disconnect the water and move the tub, lay the floor and replace the tub. For the more typical modern version, you must make a template to simplify the accurate cutting required to lay the floor around the tub with as small a gap as possible.
How to Install a Laminate Floor Around a Bathtub
1. Lay Down a Vapor Barrier
Cover the floor with a layer of plastic vapor barrier. Cover the vapor barrier with foam underlayment. Cut the pieces to fit with a utility knife. Remove the baseboards with a flat pry bar and pull the nails out through the back to prevent damage to the face.
2. Start Laying Full-Length Pieces
Start your first row in the corner, spaced 1/2 inch from the wall, with spacers from your laminate dealer, along the wall opposite the tub. Lay full-length pieces as far as possible; then measure and cut a piece to fill the remaining distance, minus 1/2 space. Place the groove of the tongue and groove toward the wall.
3. Stagger the End Joints
Start the next row with the cutoff from the first row to stagger the end joints of the boards. Tap boards against the previous row with a rubber mallet to snug the groove of the new row against the tongue of the precious row. Continue adding rows until you reach the last row before the tub. Measure the distance between the two ends of the tub and the last floor board and write it down.
4. Cut Cardboard for Your Template
Cut a piece of cardboard long enough to set beside the full length of the bathtub and place it on the floor beside the tub. Measure the greatest distance between the edge of the tub and the edge of the cardboard. Put on goggles, ear protection and a respirator mask and use a miter saw to cut a wood block 1/2 inch wider than the measurement.
5. Draw Tub Outline on Cardboard
Tape a permanent marker to the edge of the block with the tip extending below the block slightly. Place the block against the tub so that the marker tip is at least 1/2 inch in from the edge of the cardboard. Drag the block along the face of the tub so that the marker draws the outline of the tub contour on the cardboard.
6. Mark Outline on Flooring Plank
Cut the cardboard out along the line. Place this template, positioned from the groove side of the board according to the measurements from Step 3, on top of a flooring plank and mark the outline on the plank with a pencil.
7. Cut Along Outline With Jigsaw
Put on goggles, ear protection and a respirator mask and cut along this line with a jigsaw. Lift the edge of the last row of the floor and fit the newly cut floor against it. Let gravity pull the floor down snugly against the tub. Tap it gently into place with a rubber mallet.
8. Caulk the Tub-Floor Seam
Caulk the seam between the tub and the floor with clear silicone caulk. Caulk around all edges of the laminate and replace the baseboards, nailing them into the wall with finish nails and a hammer every 12 to 18 inches.