DIY Frame Your TV Tutorial
We may receive a commission on purchases made from links.
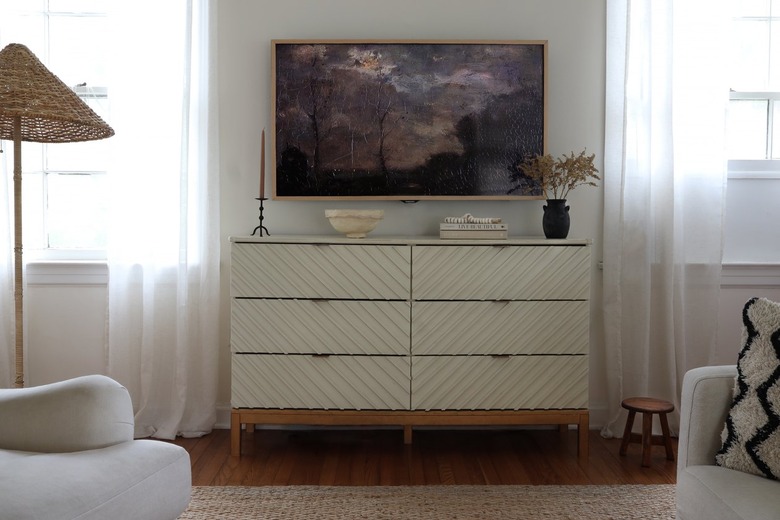
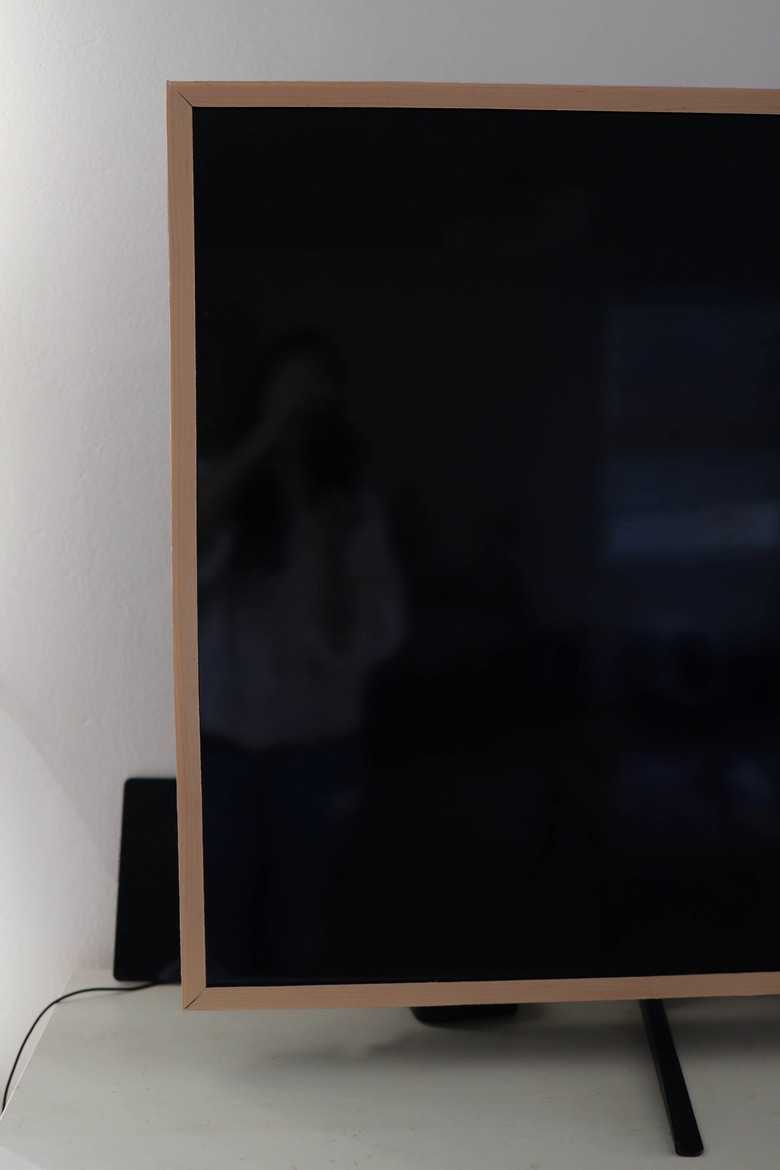
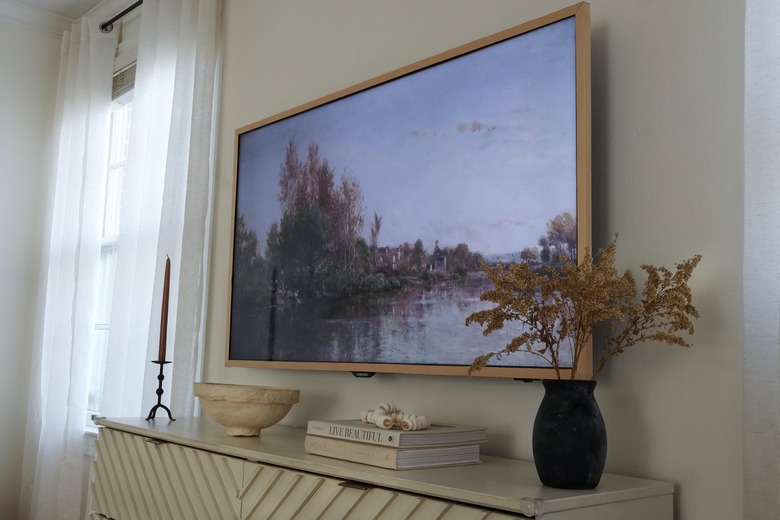
Let's call it like it is: televisions are the bane of interior design. They're often big, bulky eyesores that distract from the more attractive elements in a space. It's no surprise that Samsung's Frame TV has become the gold standard for hiding a television in plain sight by cleverly disguising it as artwork. We're big fans of it, but the lofty price tag makes it hard to justify the expense, especially when you already have a perfectly good smart TV. So we turned to a DIY solution and designed a "frame" using peel-and-stick wood veneer edging. Paired with a slim wall mount and digital art from the internet, our formerly ordinary television now looks almost identical to The Frame. The best part? No power tools needed.
 Trisha Sprouse
Things Needed
-
Protractor (helpful but not necessary)
Tip
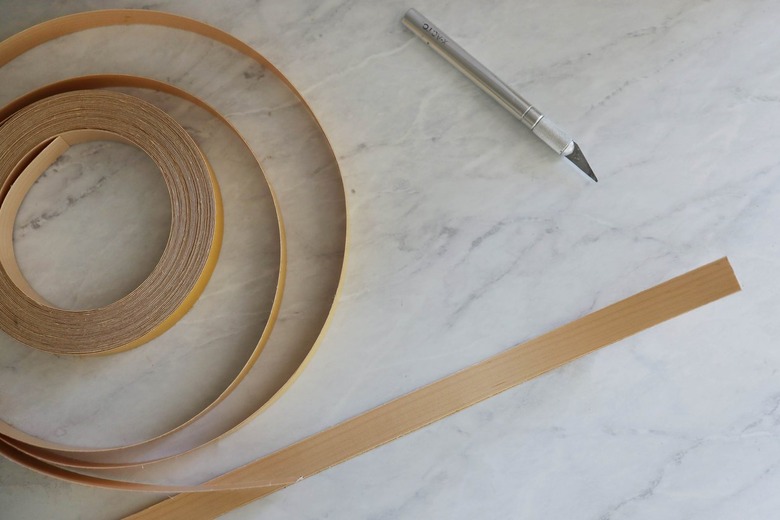
We used the 3/4-inch wide wood veneer edge banding because it fit the trim around our TV, but there are different widths available if you need anything wider (just be sure to buy the peel-and-stick type and not the hot-melt kind that requires heating with an iron).
Also, we chose a maple wood finish since we liked the light wood look, but you can use wood stain or paint to change the color — or simply order edge banding in different finishes like this or this. You could even make an ornate-looking picture frame using edging like .
If you ever want to remove the wood veneer from the television, mineral spirits will dissolve any leftover adhesive.
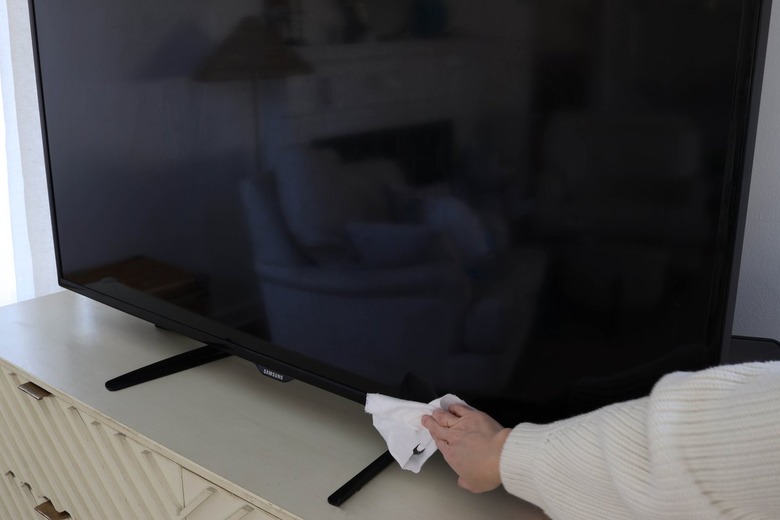
Step 1
Start by cleaning the trim around your TV with a lint-free cloth. Televisions have a tendency to attract a lot of dust, which can hinder proper adhesion of the wood veneer. Be sure to wipe down the front, top, sides, and bottom thoroughly.
 Trisha Sprouse
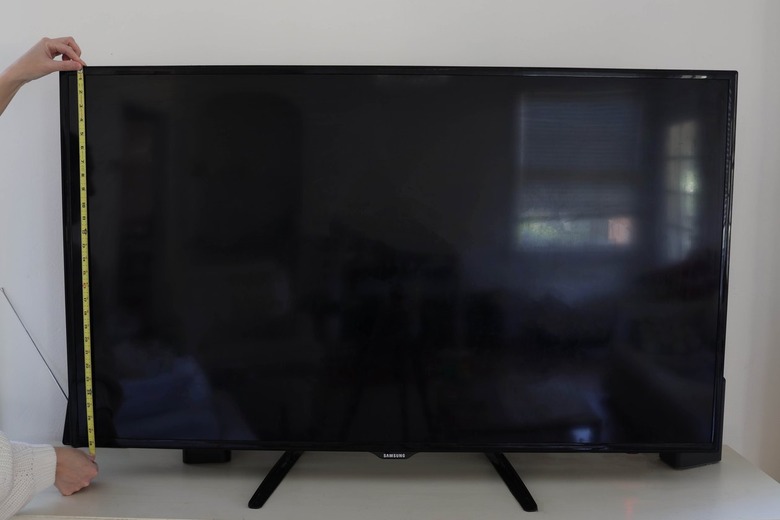
Step 2
Next, measure the height and width of the black trim around your television. For our 55-inch TV, it measured 49 1/16 inches wide by 28 7/16 inches high.
 Trisha Sprouse
Step 3
Measure and cut four pieces of wood veneer edge banding to the same width as your TV and four pieces that are the same height. For example, we cut four pieces that were 49 1/16 inches and four pieces that were 28 7/16 inches. You need eight total: four to go around the top, bottom, and sides of the TV, and four to go around the front face of the television.
 Trisha Sprouse
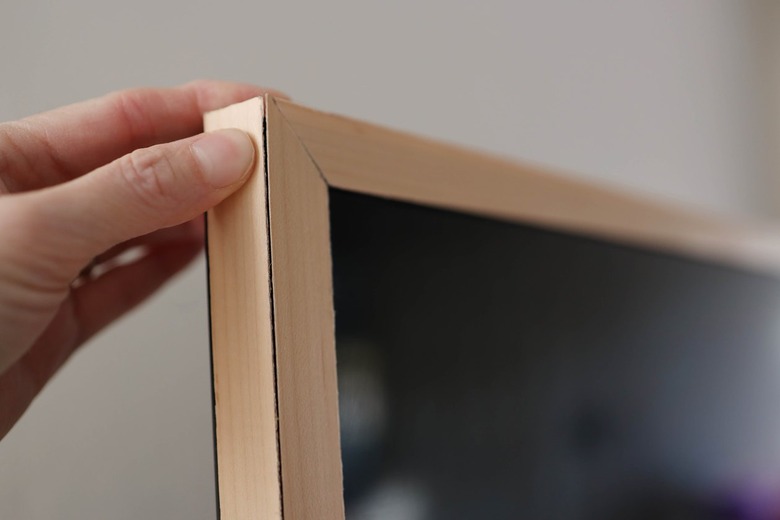
Step 4
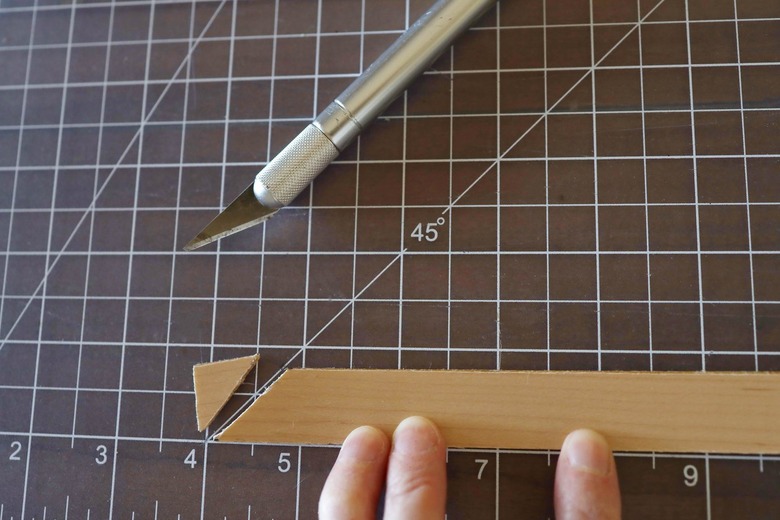
To give the four face pieces that will go around the front of the TV a more convincing "frame" look, you'll want to miter the corners to 45-degree angles. We used a cutting mat that we had on hand to mark the 45-degree angles, but you could use a protractor, speed square, or even just use a piece of paper.
Cut 45-degree angles on each end of two width pieces and two height pieces. (There's no need to miter the four pieces that will go around the television.) Make sure all the angles are cut in a consistent direction, so they'll match up when placed together.
 Trisha Sprouse
Step 5
Now it's time to attach the wood veneer pieces to the television. Heads up: wood veneer can splinter just like real wood, so be careful of any rough edges when pressing it to the TV (you can even lightly sand it if needed).
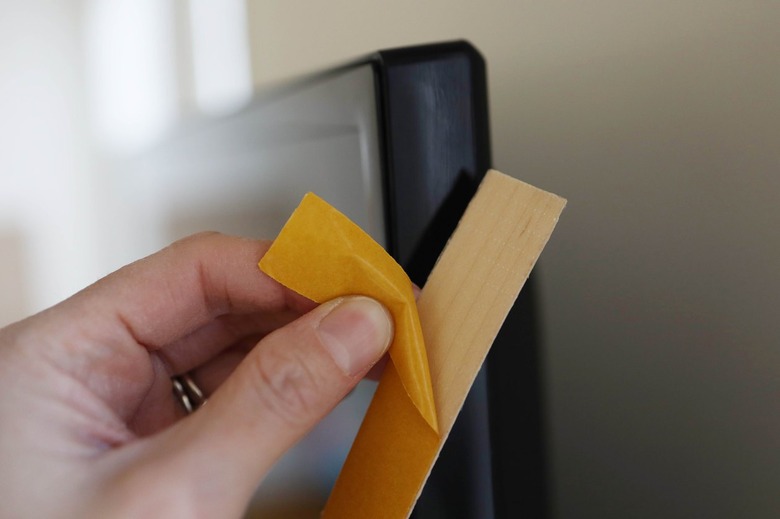
Start by attaching the long face piece that goes across the top of the television. Simply peel about an inch or two of the backing off one end of the wood veneer strip.
 Trisha Sprouse
Line it up at one of the top corners, and press firmly in place. Then continue peeling off the backing from underneath the strip and pressing it down an inch at a time.
 Trisha Sprouse
Step 6
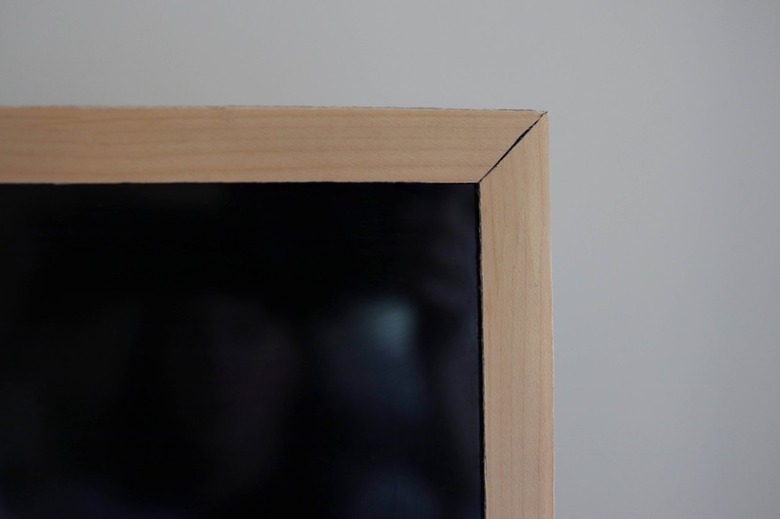
Once the top front piece is in place, attach one of the side face pieces, making sure the mitered corners match up together.
 Trisha Sprouse
Step 7
Continue attaching the bottom and other side face pieces to the front of the television.
 Trisha Sprouse
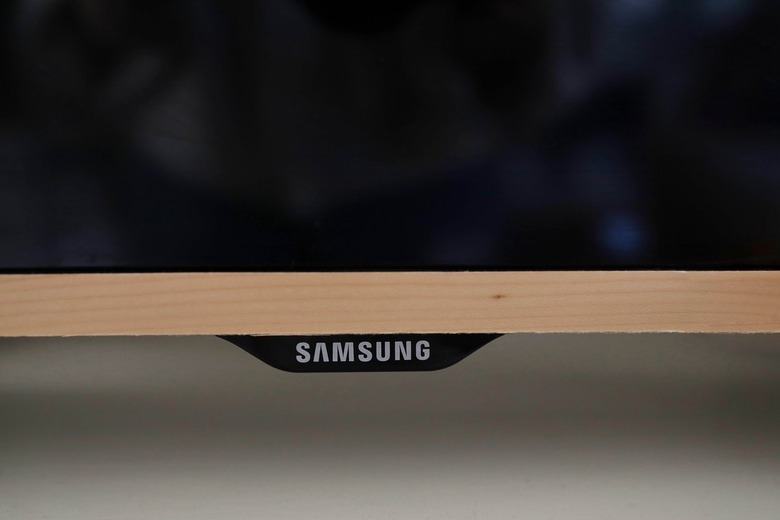
The sensor on our television stuck out below the trim on our television, so we didn't need to worry about interfering with the remote signal. But if your sensor is covered up at all by the veneer or has a hard time communicating with the remote, you can cut a small hole in the veneer.
 Trisha Sprouse
Tip
If you mess up at all while applying the wood veneer, carefully peel up the portion needed and re-stick. Be cautioned that the adhesive is very strong and can crack or splinter the wood if you have to peel up a large section.
Step 8
Once the four mitered pieces are attached to the front face of the television, attach the four un-mitered pieces around the top, bottom, and sides of the TV. Make sure the corners match up neatly.
 Trisha Sprouse
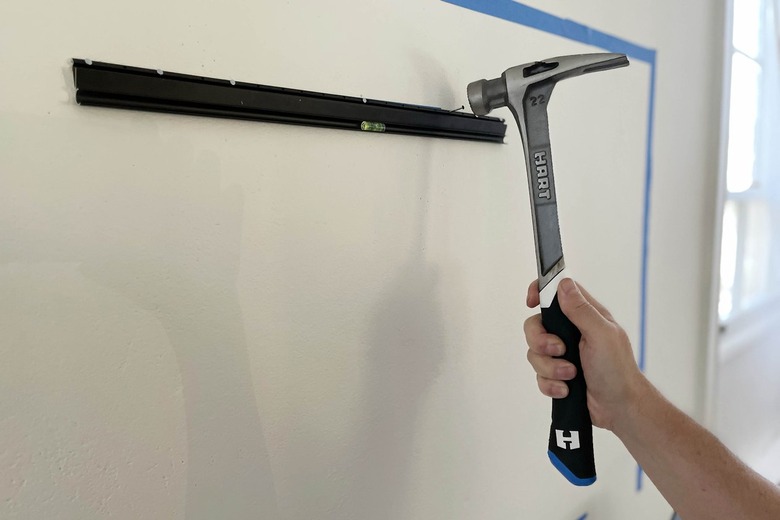
Step 9
Now that your TV is "framed," it's time to hang it on the wall (or you can leave it on a stand). We love this no-stud wall mount because it's super easy to attach without any power tools, and it has a low-profile on the wall. Whichever mount you choose, follow the directions inside the package to attach it securely to the wall.
 Trisha Sprouse
Tip
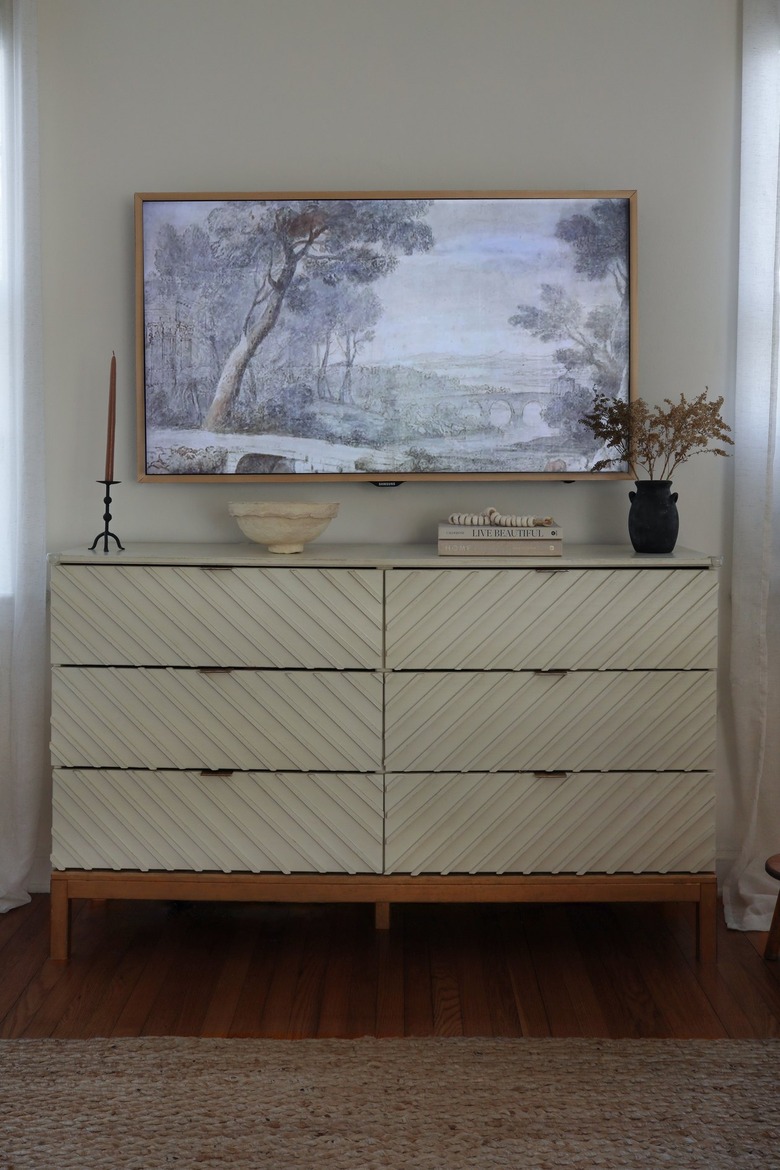
Wondering how high to hang your TV? A good rule of thumb is if you're hanging it above a piece of furniture like a table or dresser, you want the bottom of the TV to be between 6 and 10 inches above the furniture. If you're hanging it on a blank wall, generally you want the center of the television to be about eye level when you're seated.
Step 10
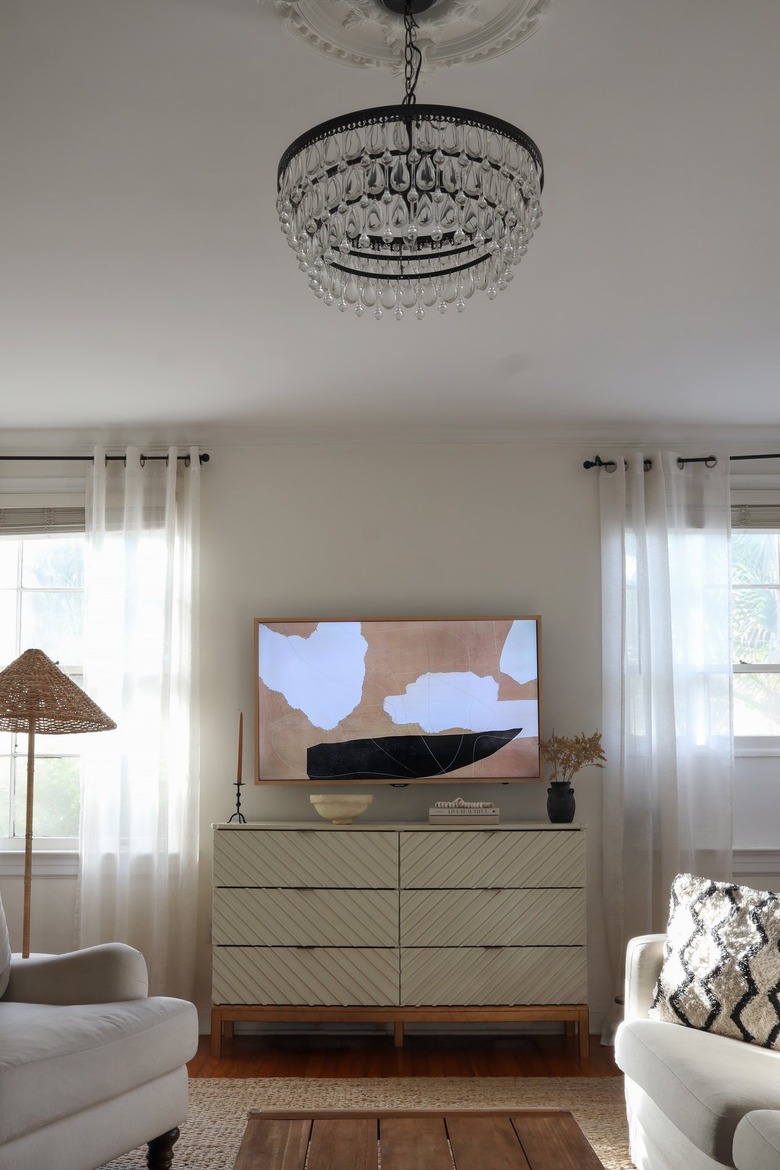
All that's left to do now is hide your cables behind the wall or use a cord cover, and then set your smart TV (or Roku, AppleTV, or Fire Stick) to screensaver mode to display your digital art. You could also download an art app like Artcast or Enplug. Change up the artwork with the seasons, or whenever you're craving a room refresh!
 Trisha Sprouse
There is so much affordable digital art designed for 16:9 TV displays nowadays, much of which you can get between $1 to $5. Here are a few of our favorites:
Landscape: Vintage River / Moody Landscape / Neutral Vintage Lake / Muted Country Landscape / Vintage Seascape / Vintage Rome Cityscape / Coastal Landscape
Modern/Abstract: Camel Tan Abstract / Joinery Modern Abstract / Black and White Stripes / Modern Texture / Geometric Abstract / Digital Boho
Portrait/Still Life: Vintage Farmhouse / Moody Woman / Moody Rustic Portrait / Vintage Pottery / Vintage Fruit
 Trisha Sprouse