Create A Drywall Cutout To Let In Light
We may receive a commission on purchases made from links.
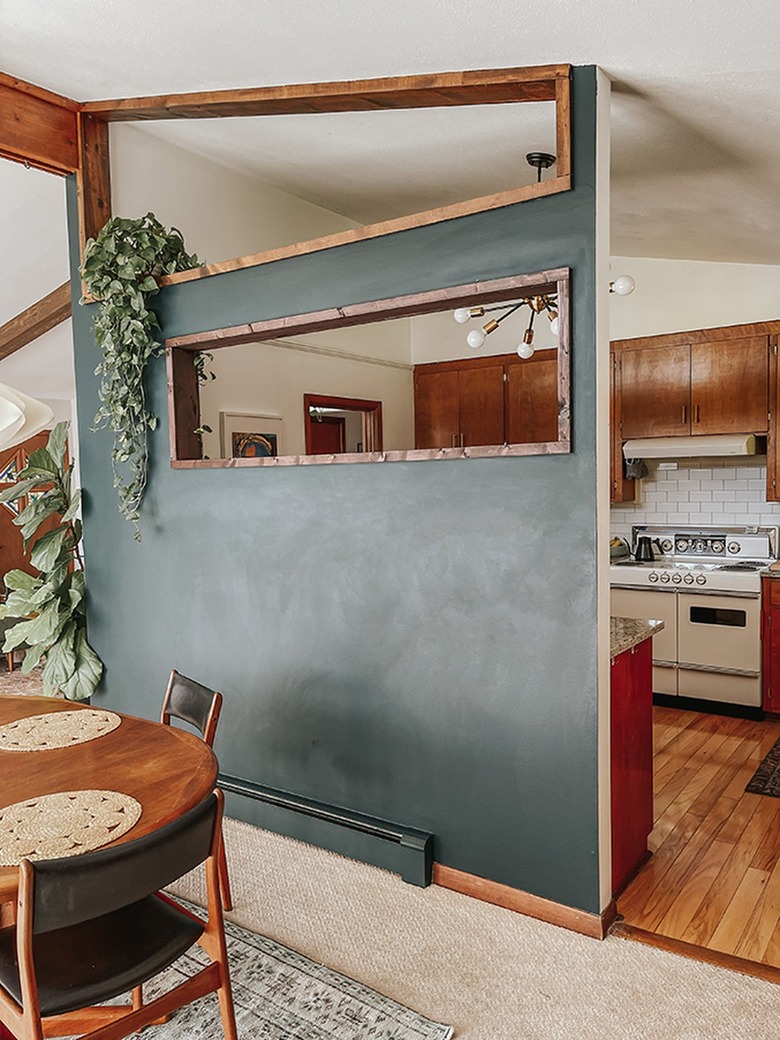
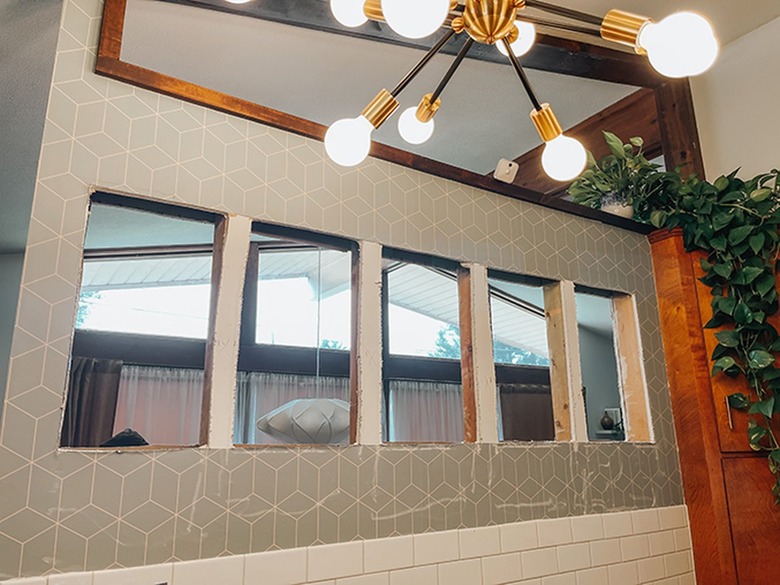
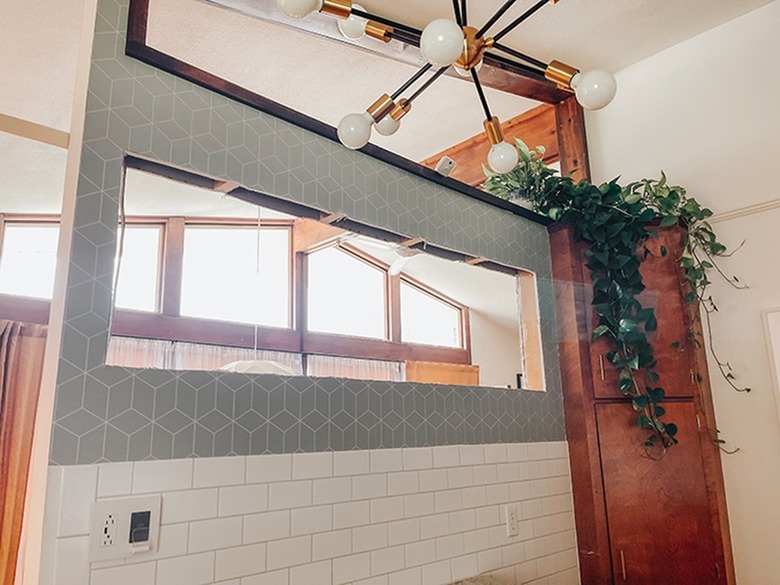
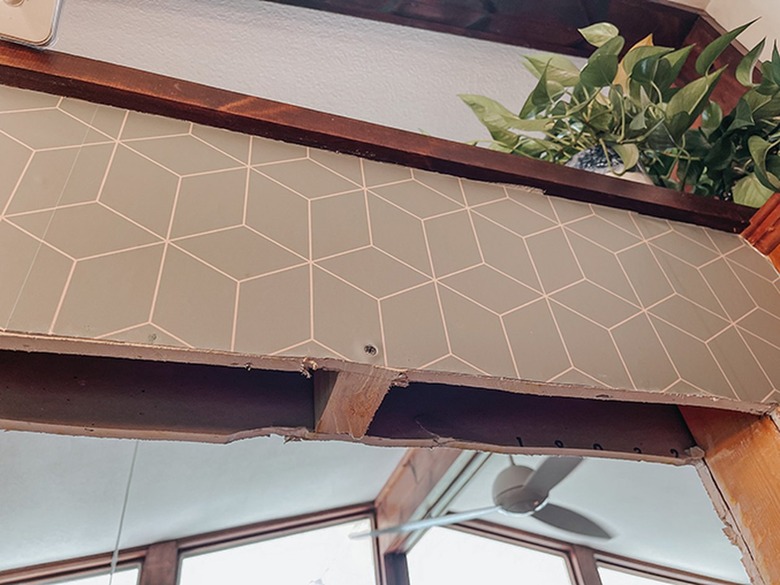
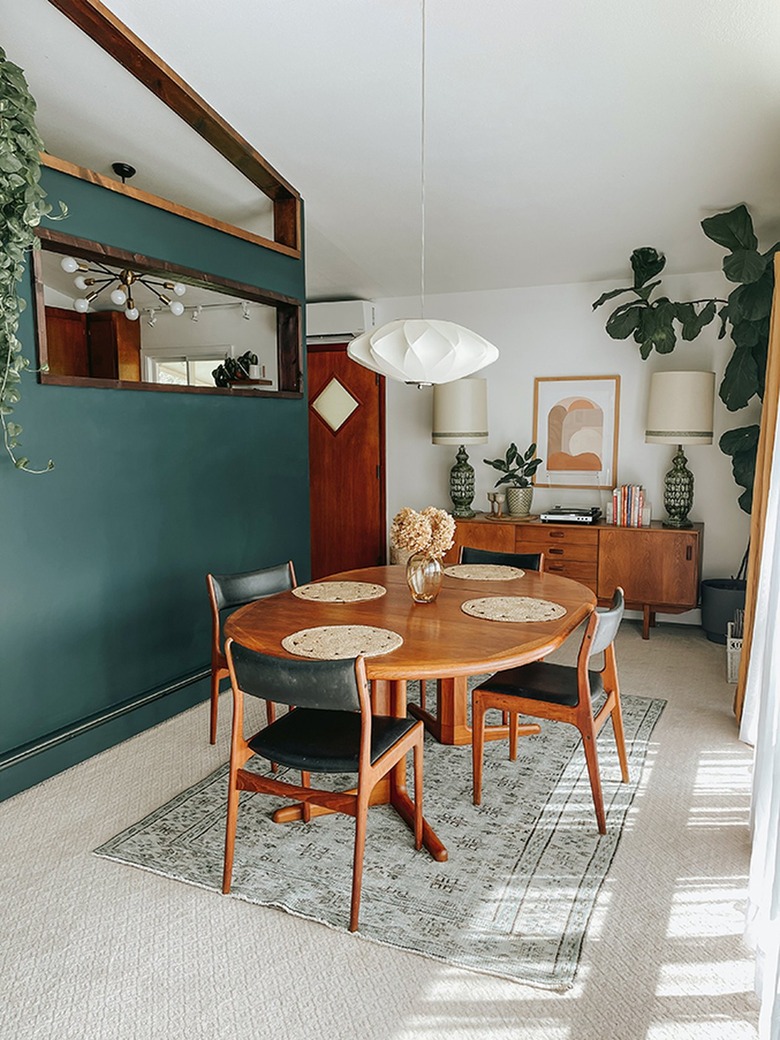
Drywall cutouts are trending in home renovation — and for good reason. These types of wall cutouts have the power to double natural light exposure between spaces and they can also give small rooms a feeling of much-needed space. Find out how to make your own without hiring a contractor below.
 Carrie Waller
Things Needed
-
Marker or pencil
-
1-inch-by-6-inch wood board (enough to fit your specific cutout)
-
1-inch-by-2-inch wood board (enough to fit your specific cutout)
-
Stain or paint
-
Staining pad or paint brush
Step 1
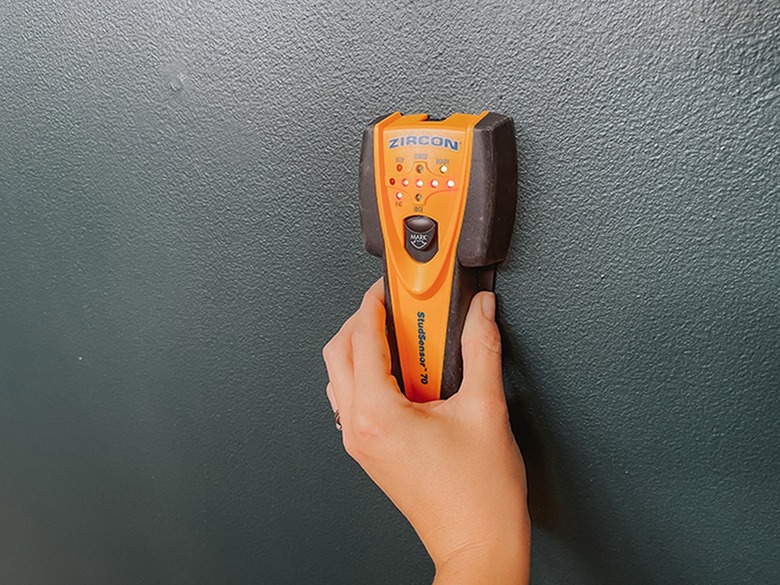
Use a stud finder to explore inside the drywall without having to make cuts. Be sure to use a stud finder that has an electrical notifier on it — this way you can see if there are any power cables in the way before cutting.
 Carrie Waller
Step 2
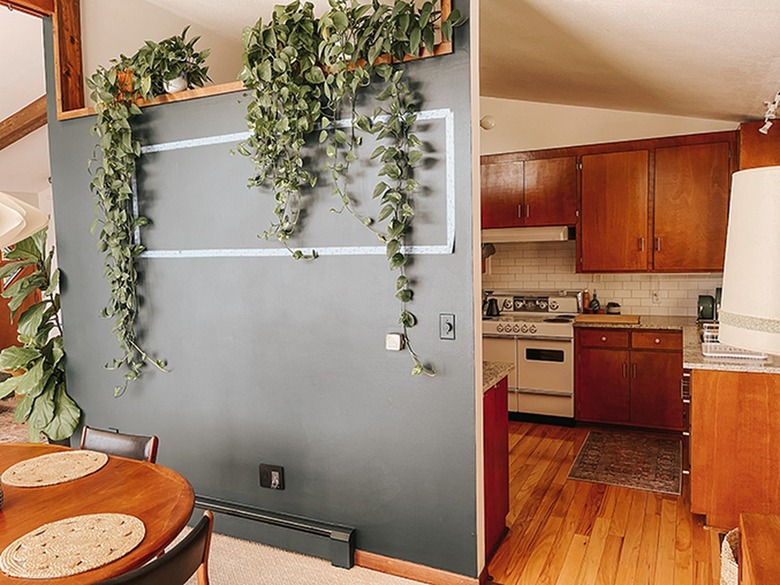
Once you've confirmed there are no wires in the way, use painter's tape to mark out a general idea of where you want your cutout to go.
 Carrie Waller
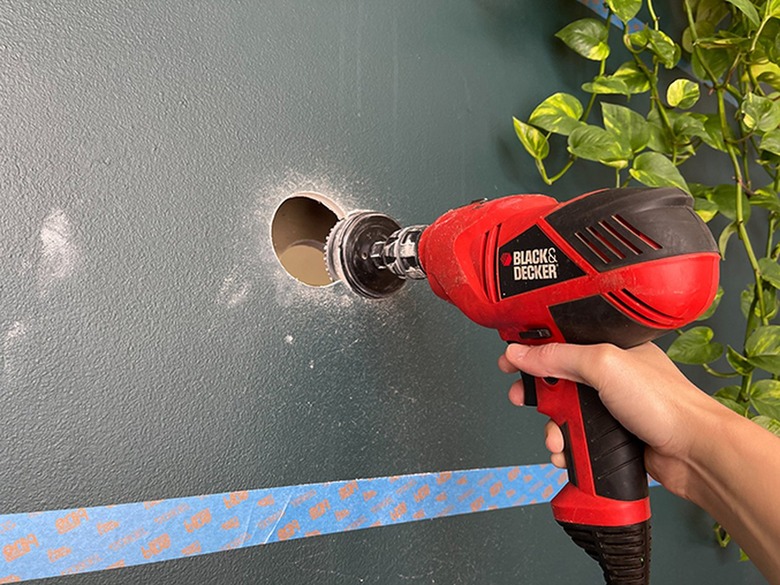
Step 3
Use the stud finder again to find the studs, then use a hole saw attached to a drill and a reciprocating saw to cut exploratory holes in the drywall between each of the studs. Make multiple connected holes so you have room to insert an arm, hand, or your phone (to take exploratory photos). This will allow you to double-check that no electrical wires are in the way.
 Carrie Waller
Tip
Have a buddy run the nose of a shop vacuum under the saw as you're cutting to suck up as much of the debris as you can.
 Carrie Waller
Step 4
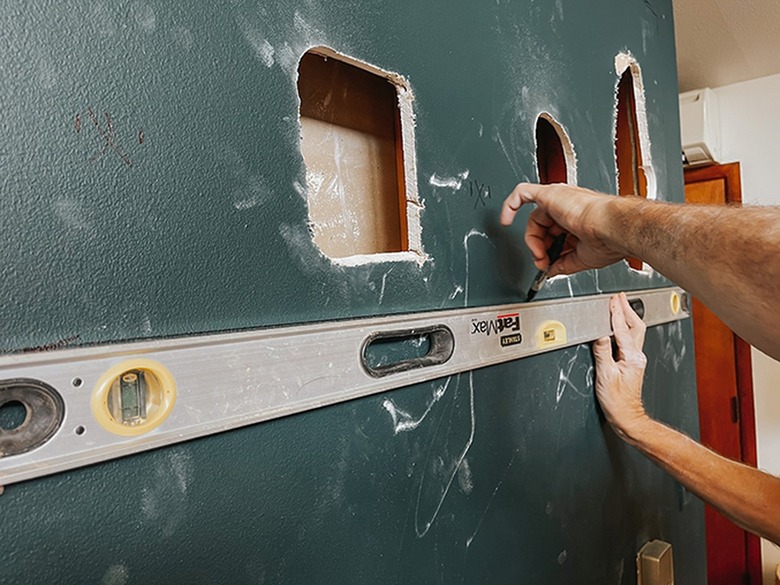
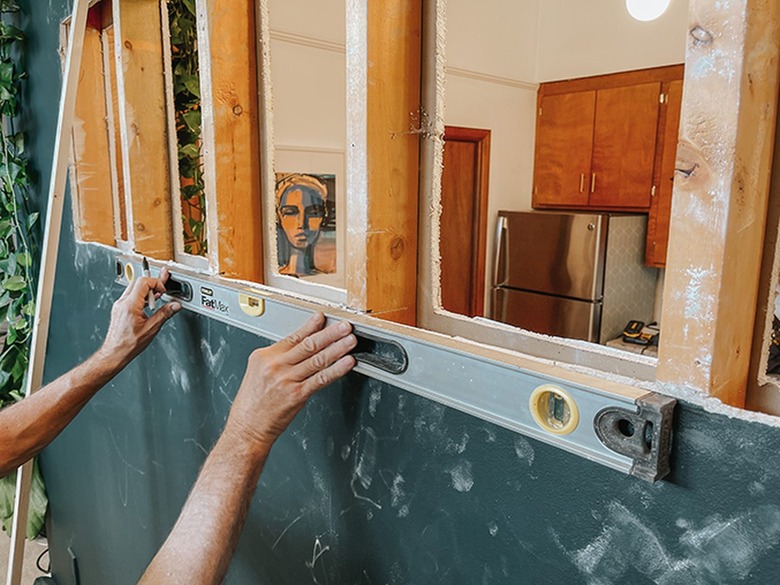
To find the top final measurement of your cutout, measure the same distance down from the ceiling or existing moulding at three different points across the expanse — the two outer corners and the middle. For reference, we measured down 10 inches from the moulding above our cutout. Connect the marks using a marker and 4-foot level to complete a straight line to cut later on.
 Carrie Waller
Repeat the same steps to find your lower plane. Again for reference, our lower line was 32 inches from the moulding.
The outer edges should line up with a stud. Find that using a stud finder. This will complete your rectangle.
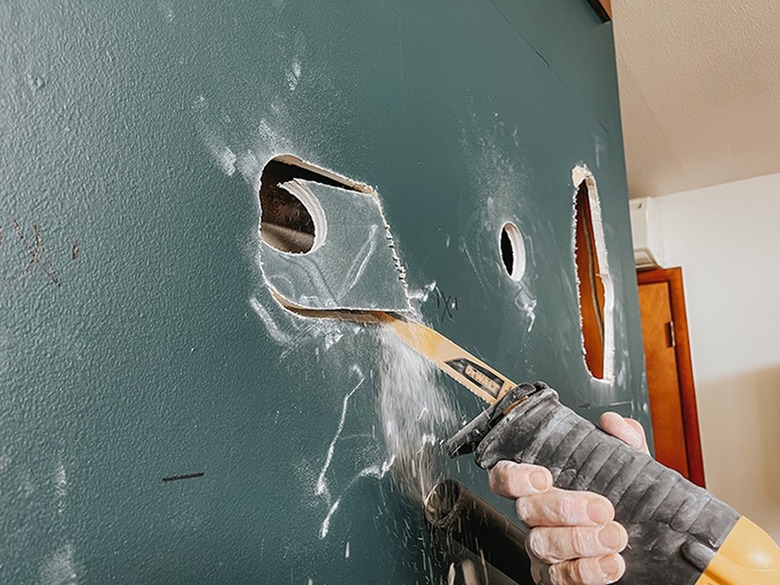
Step 5
Use your reciprocating saw again to cut out the complete rectangular spaces between studs. The reason you end the vertical outside edges of your cutout up against a stud is that this will give your trim a solid surface to sit against.
 Carrie Waller
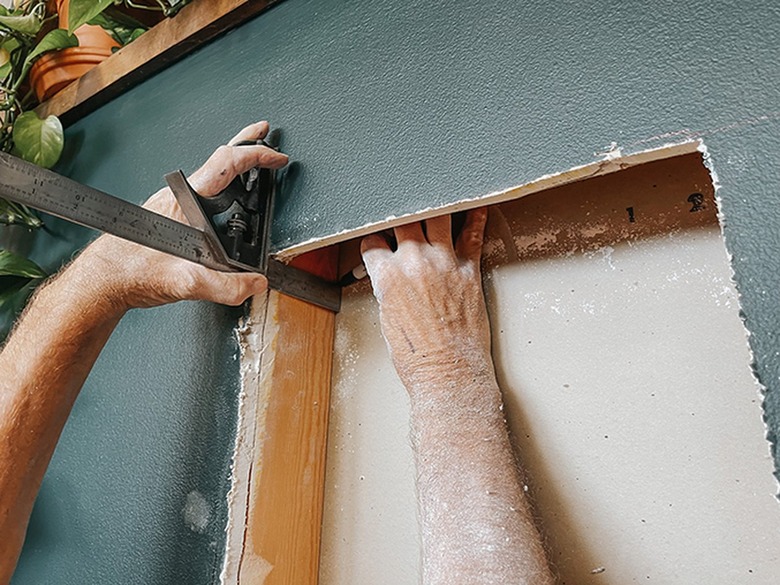
Step 6
Make sure your cutout corners are even along the lines you marked before in step four. Clean them up with your manual drywall saw if needed. Use a carpenter's square and marker to translate the corner onto the backside of the drywall on the opposite side of the wall. Do this on all four corners.
 Carrie Waller
 Carrie Waller
Step 7
Still working on the same side of the wall that you have been up until now, drill through the corner marks you made in the previous step.
 Carrie Waller
Step 8
Go to the other side of the wall and use a level to connect and mark each of the four corners you drilled through previously. This will translate an identical version of the first cutout on the opposite side of the wall.
 Carrie Waller
Step 9
Repeat step five to cut out sections of the opposite drywall. Then, remove all remaining scraps of drywall attached to the studs to give yourself clean access to the studs.
 Carrie Waller
Step 10
Lay a level along the top and bottom of the exposed studs inside the cutout. Mark the studs along the level using a marker. You will only need to do this on one side of the cutout since you'll use the marks to guide your stud cuts on whichever side you plan to stand while cutting.
 Carrie Waller
Step 11
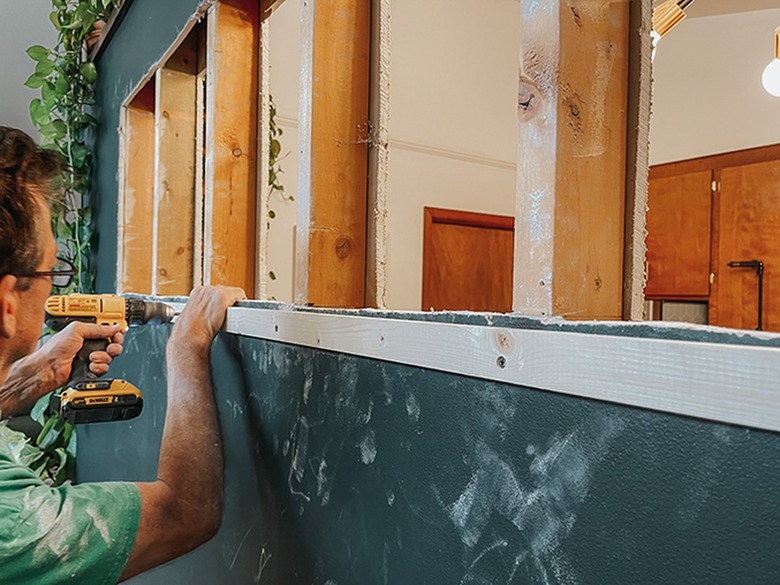
Screw 1-inch-by-2-inch wood boards on top of the drywall and into the studs just above and below the cutout using wood screws. Do this above and below your cutout all the way across, top and bottom. Note that you'll only need to do this on one side of the wall. This step is crucial because it will help secure the studs while you cut through them. Without these wood pieces in place, the studs would bounce all over the place while being cut through.
 Carrie Waller
Step 12
Use the reciprocating saw to cut out the studs, top and bottom, along the cutout using the marks you made in step 10 as guides.
 Carrie Waller
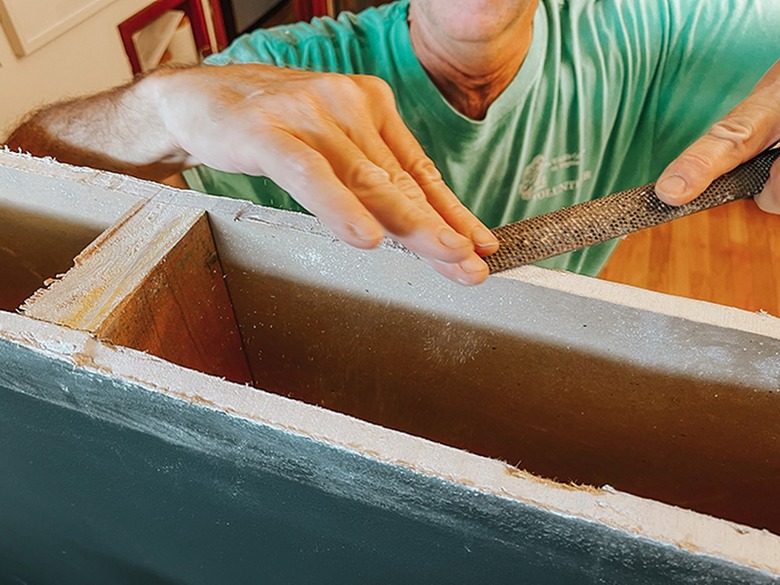
You can clean up any jagged edges of the cut drywall using a rasp. Now your raw cutout is complete.
 Carrie Waller
Step 13
If any of your upper or lower studs have a bit of play or wiggle to them, you can make them more secure by screwing through the drywall into the wiggly studs. This will make them strong until the trim pieces go on. The trim will add even more stability.
 Carrie Waller
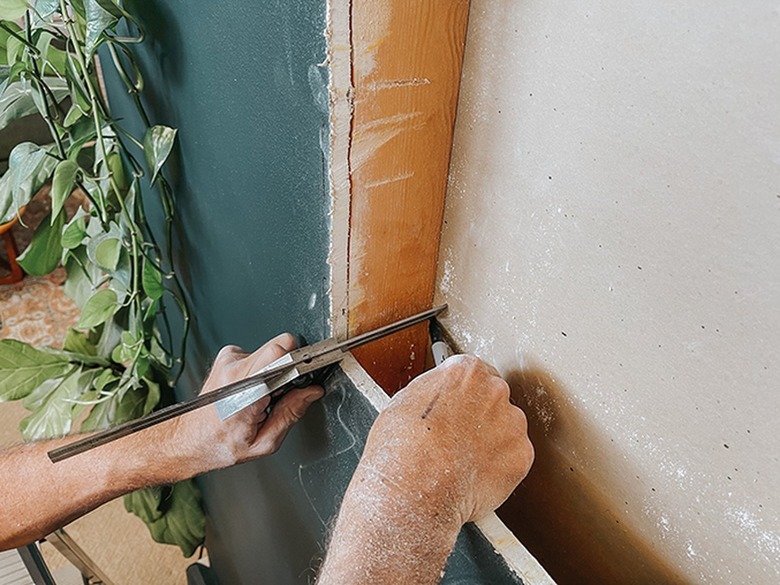
Step 14
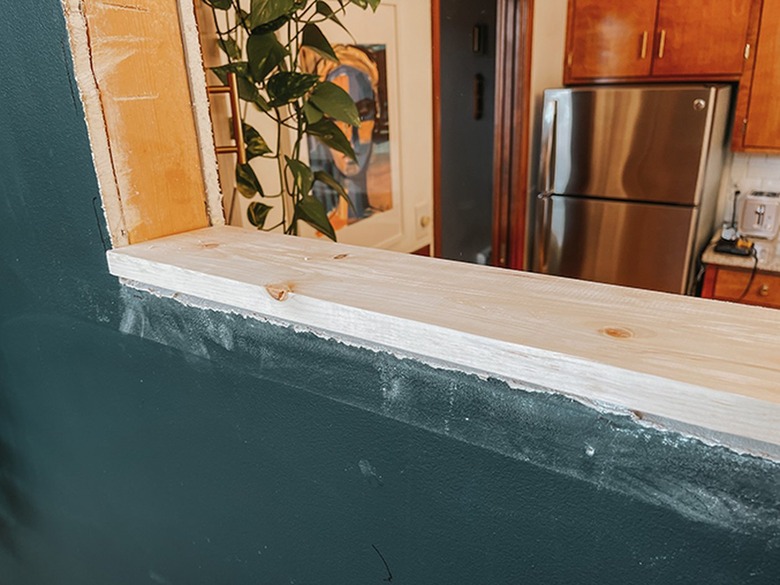
Time to trim things out! To do so cut pieces of wood to length to fit the interior horizontal and vertical expanses of your cutout. For reference, we used 1-inch-by-6-inch pieces of wood cut to size to fit all along the inner edges of our cutout vertically and horizontally. Attach these wood trim pieces on all four sides using wood screws drilled into the studs.
 Carrie Waller
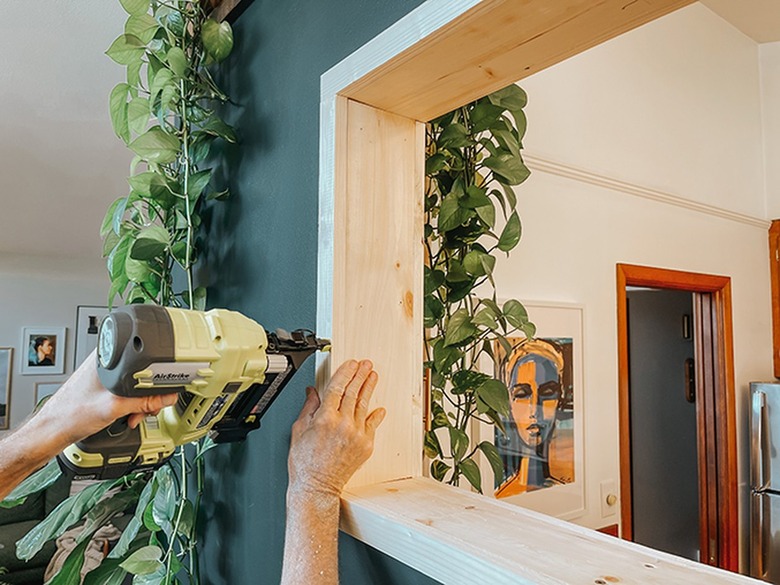
Step 15
Cut 1-inch-by-2-inch wood trim pieces to size, and use a nail gun to attach those to the studs. You'll want to butt them right up against the 1-inch-by-6-inch pieces you installed in the previous step for a seamless look.
Carrie Waller
Step 16
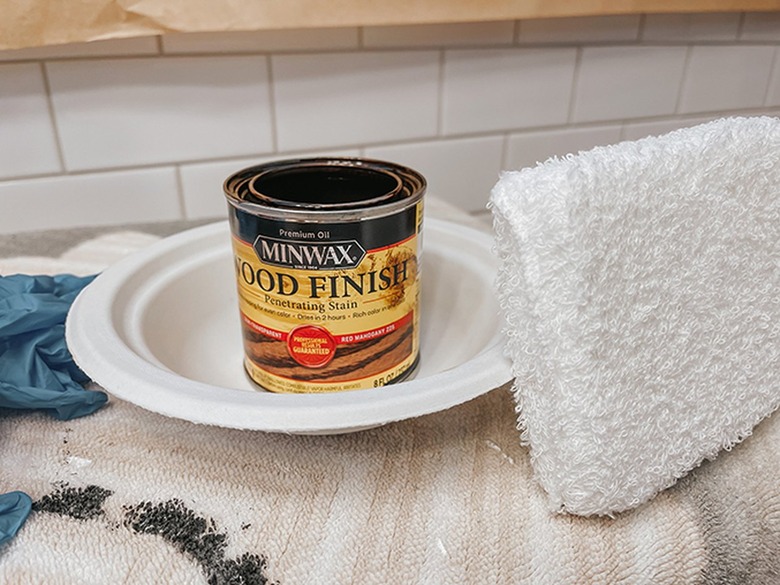
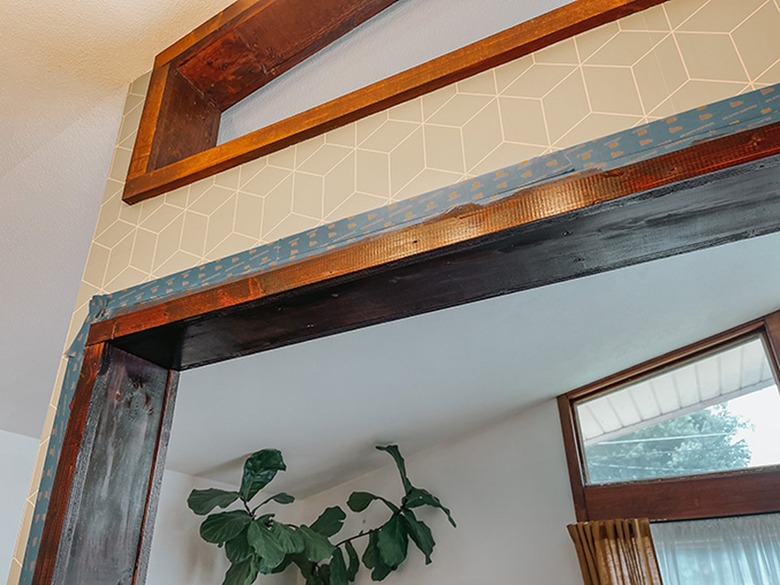
Line the edges of the finished installed trim with painter's tape. Stain or paint the trim pieces in your desired color, remove the painter's tape, and then you're done!
 Carrie Waller
 Carrie Waller
 Carrie Waller