DIY Mod Painted Headboard Tutorial

We may receive a commission on purchases made from links.
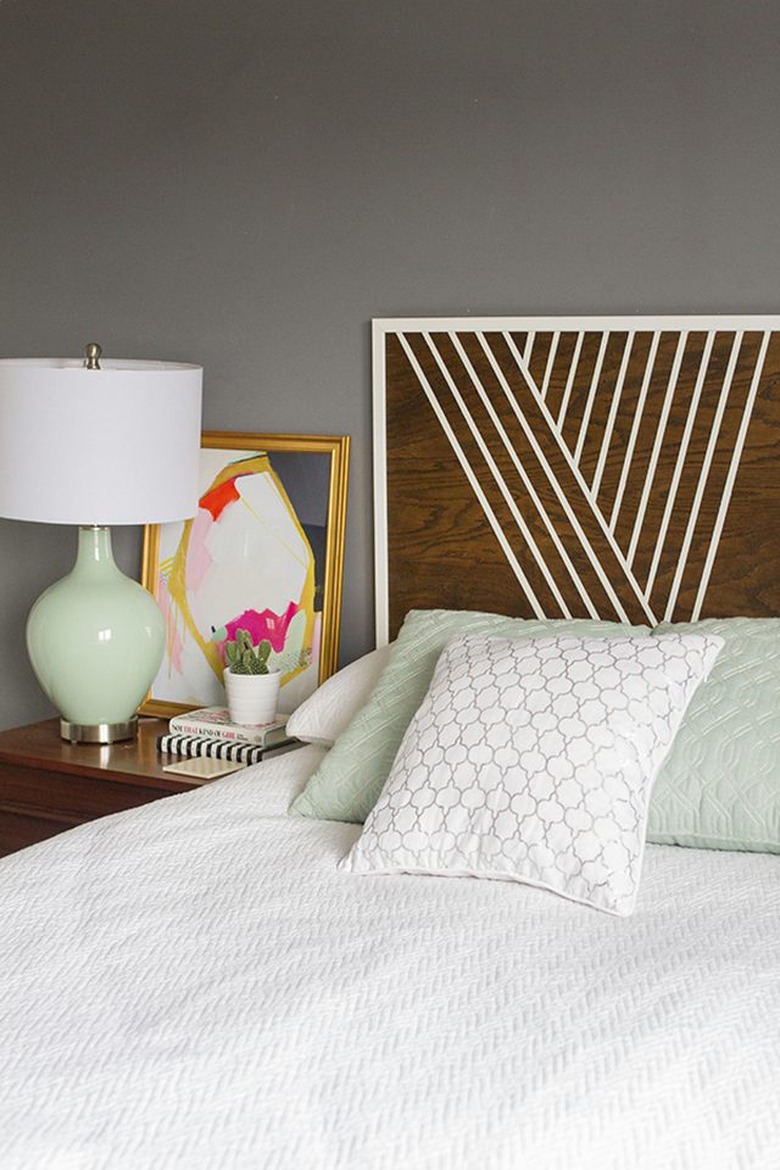
In the past, I've envisioned the perfect modern headboard, but nothing I found ever seemed to match what I had in mind. So instead, I decided that it was time to take things into my own two hands, and I set about building a statement piece that matched my design concept, my style, and my budget, too. Follow along in this step-by-step tutorial.
 Carrie Waller
Note: This is an advanced woodworking DIY, so if you need extra help with measuring and cutting the wood and trim, please reach out to your local hardware store
Things Needed
-
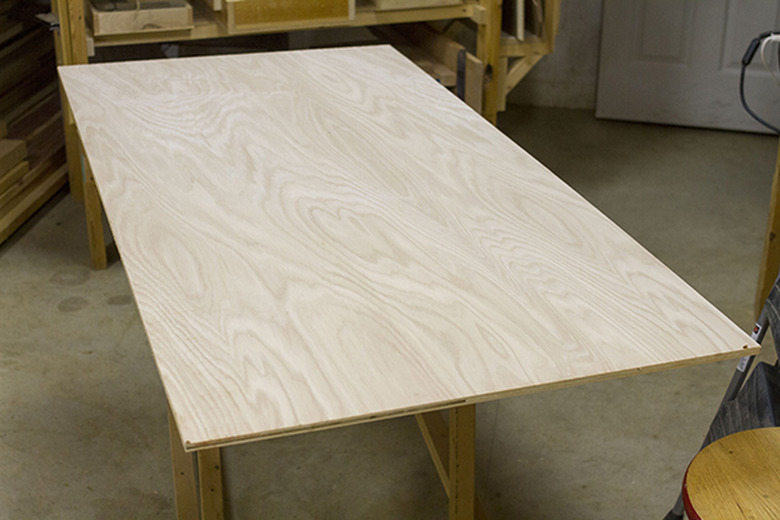
Birch wood, 5 feet by 2.5 feet (choose a high-quality piece and have your local hardware store cut it to size for you)
-
Hand sander
-
Minwax stain (for this project, we used Dark Walnut)
-
Clean rag for staining
-
Prepainted white L-shaped trim
-
Drill
-
Screws
-
Table saw
-
Oak panel, 1 inch wide by 4 feet long by 4 inches deep
-
Level
-
Drywall screws
-
White paint
Step 1
Begin by sanding your birch wood using a hand sander until the wood feels smooth to the touch. Sweep away dust and debris with a clean microfiber cloth.
 Carrie Waller
Step 2
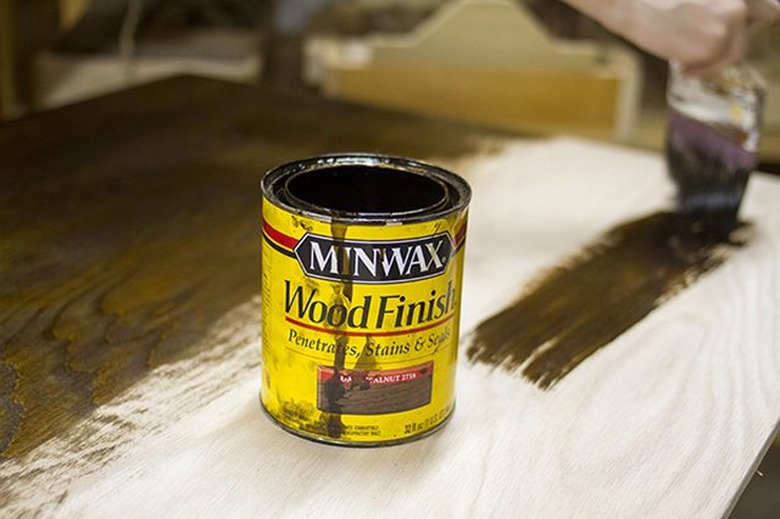
Next, apply the stain. For this DIY, we used a rich, dark color from Minwax called Dark Walnut. The brand name stain goes on smoothly every time, and the dark-brown color has very little red undertones.
 Carrie Waller
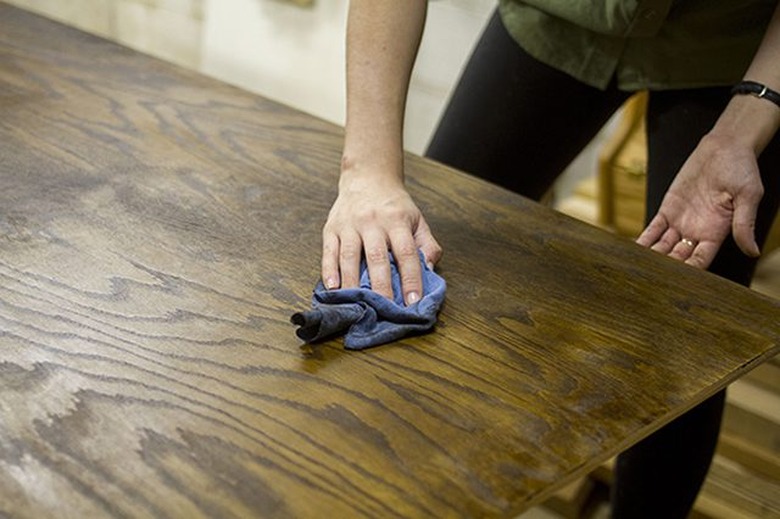
After brushing one coat of stain onto the wood, use a clean rag to wipe away the excess and then let it cure and dry overnight.
 Carrie Waller
Step 3
Now, prepare the trim. To make things easier, consider purchasing a prepainted white L-shaped trim from your local hardware store. This will allow you to skip the steps of constructing the L-shape out of plain wood, and also eliminates the need to prime and paint the trim.
 Carrie Waller
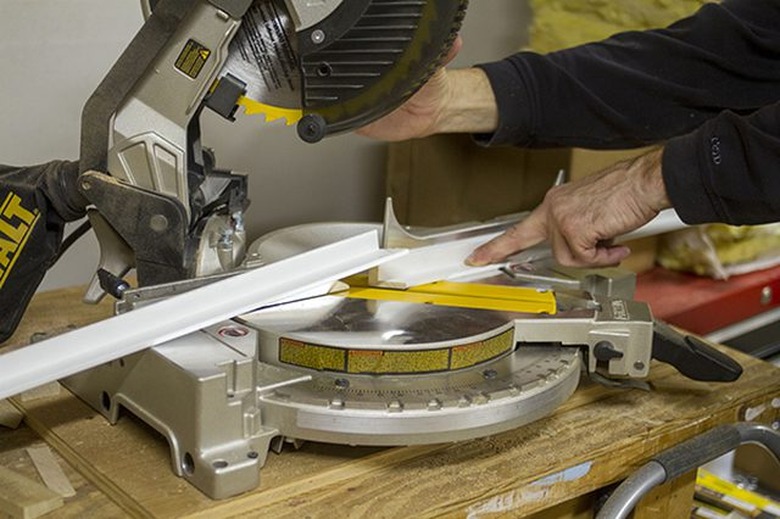
To make this finishing detail work for the headboard, measure the lengths of all four sides of the stained birch wood foundation and then mark the trim. Then, line it up in a miter saw that had been adjusted to a 45-degree angle — this will ensure that the corners match up without gaps.
 Carrie Waller
 Carrie Waller
Tip
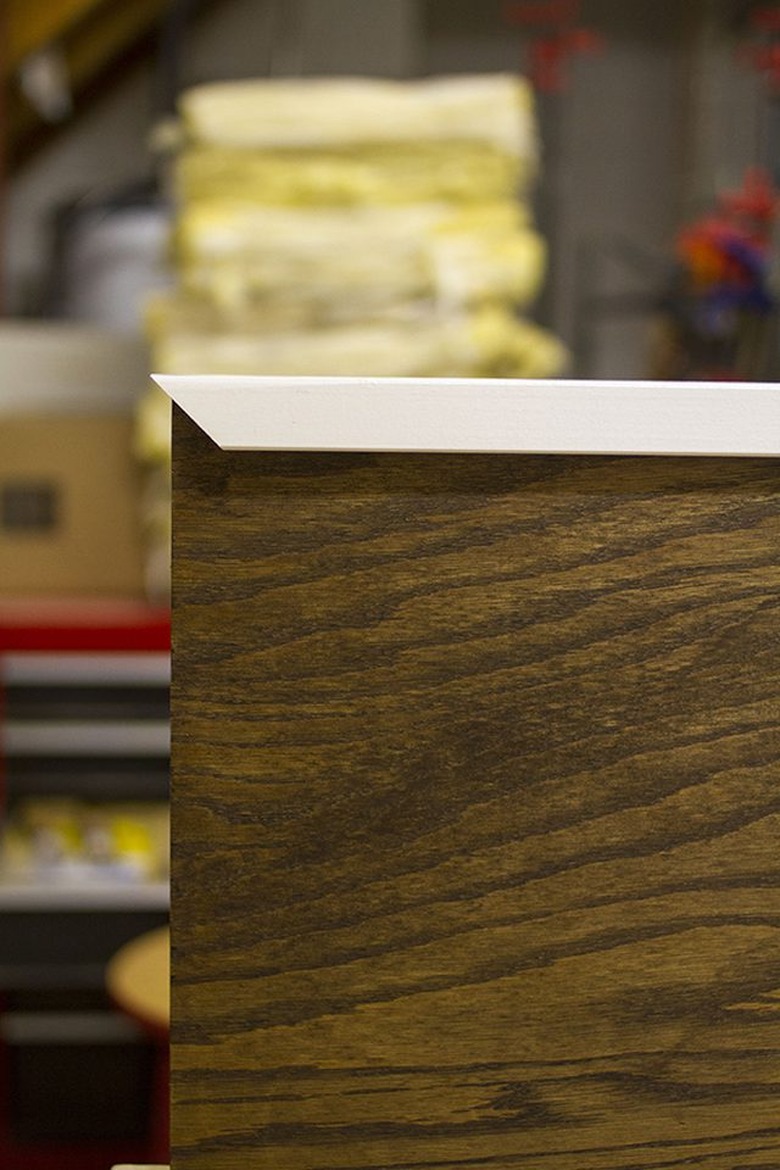
Remember to make all of your outside angles cut inward as opposed to out, or your corners won't match up!
 Carrie Waller
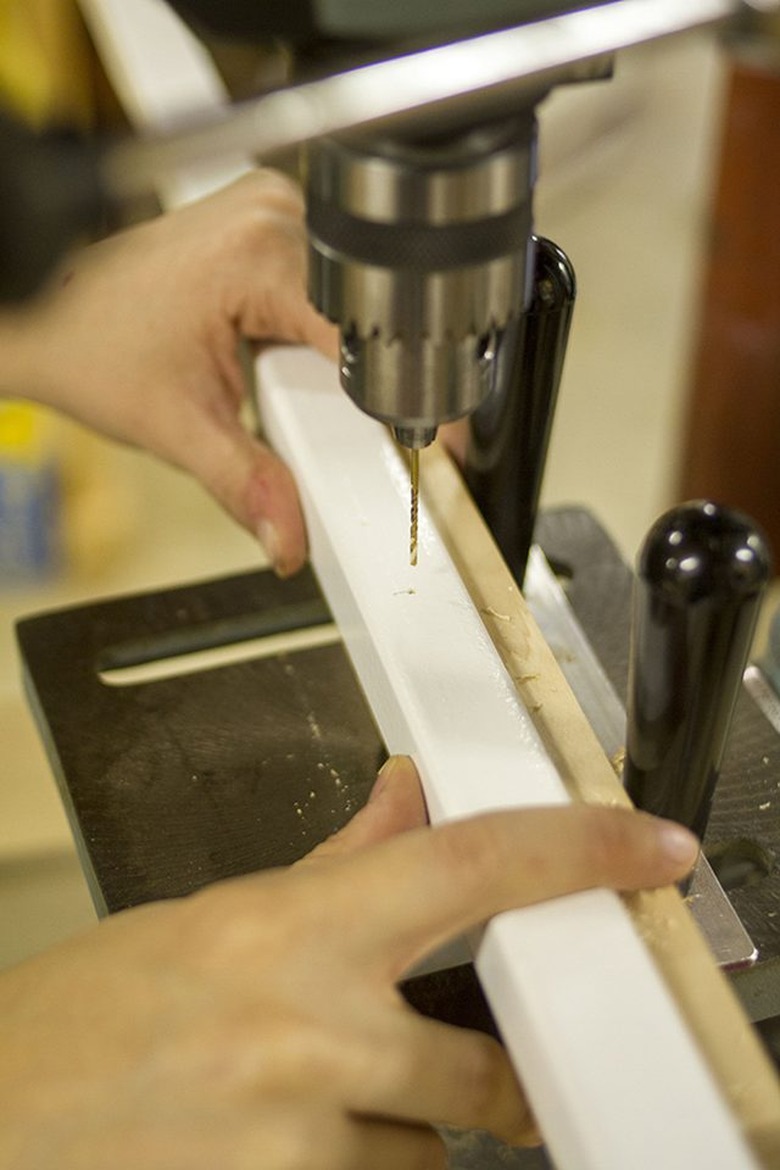
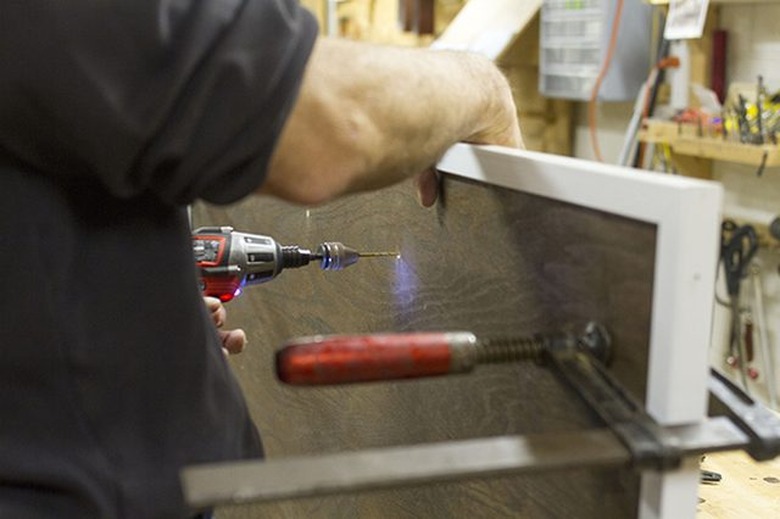
To attach the trim to the birch headboard foundation, use a pencil to mark the trim every 1.5 feet, and then use a drill press to drill all marked holes. A piece of scrap wood nestled beneath the trim within the L-shaped silhouette can help to keep it steady as you work it along the press.
 Carrie Waller
Step 4
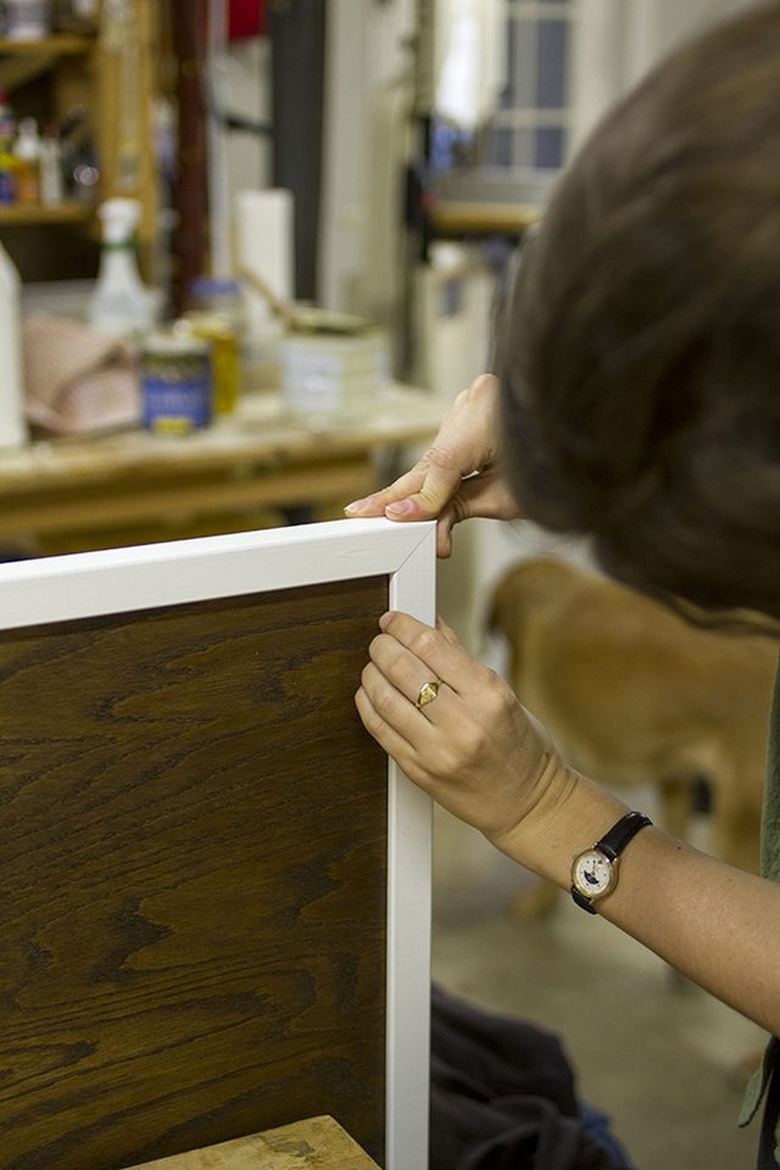
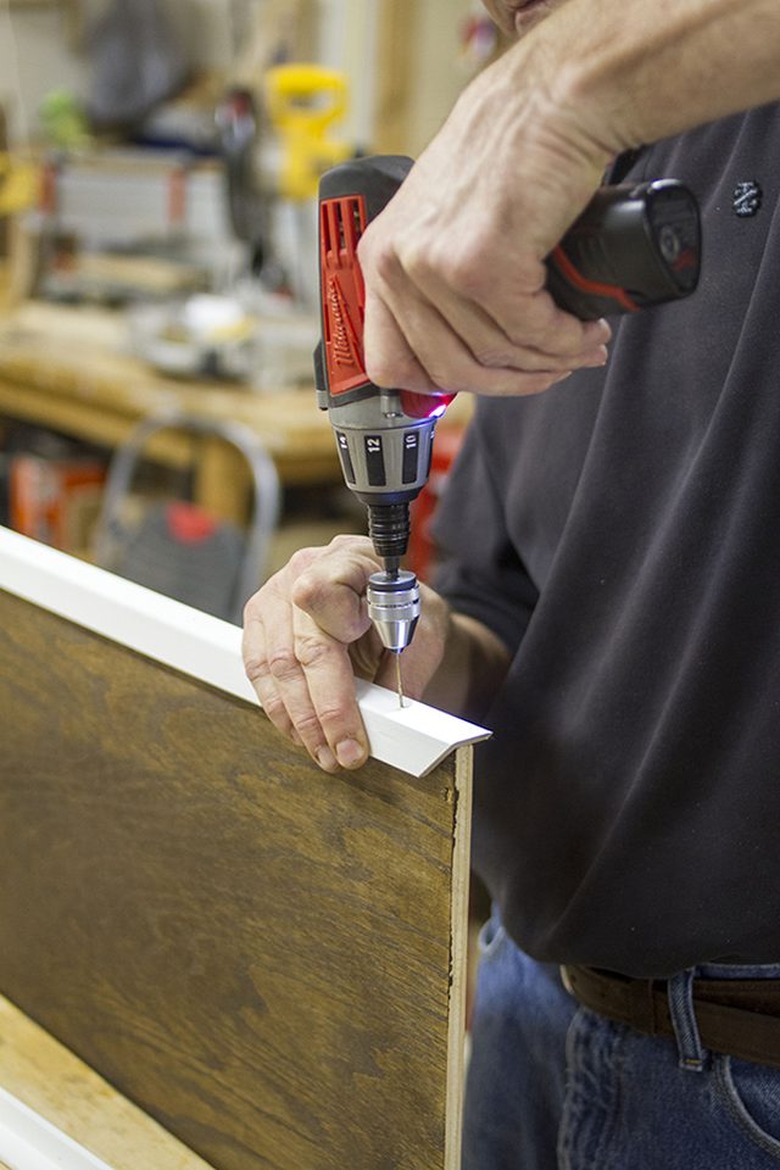
Then we placed the trim back onto the birch wood and drilled it into place using screws.
 Carrie Waller
Step 5
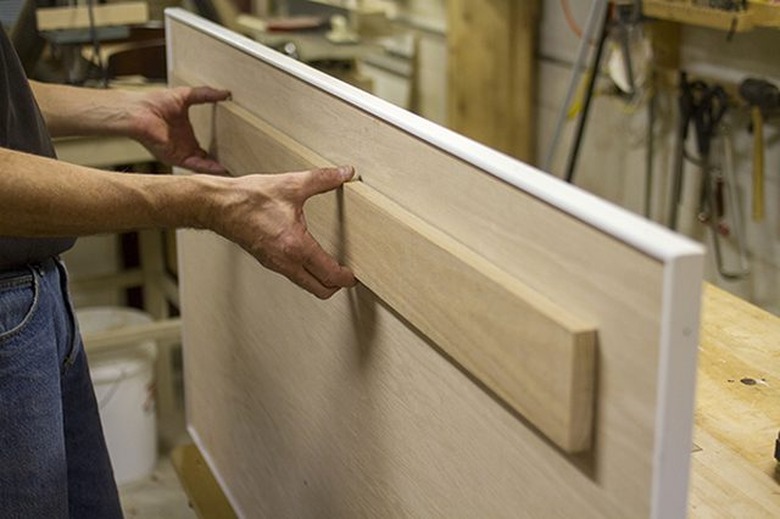
To mount our headboard, we decided to use the same technique and concept that carpenters use to hang cabinetry — two wooden braces, each cut at an angle, with one drilled into the wood piece being hung on the wall and the other drilled into the wall.
 Carrie Waller
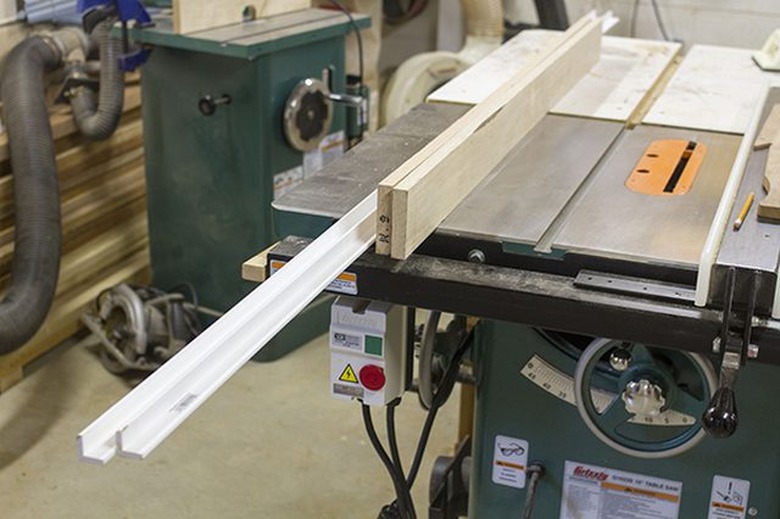
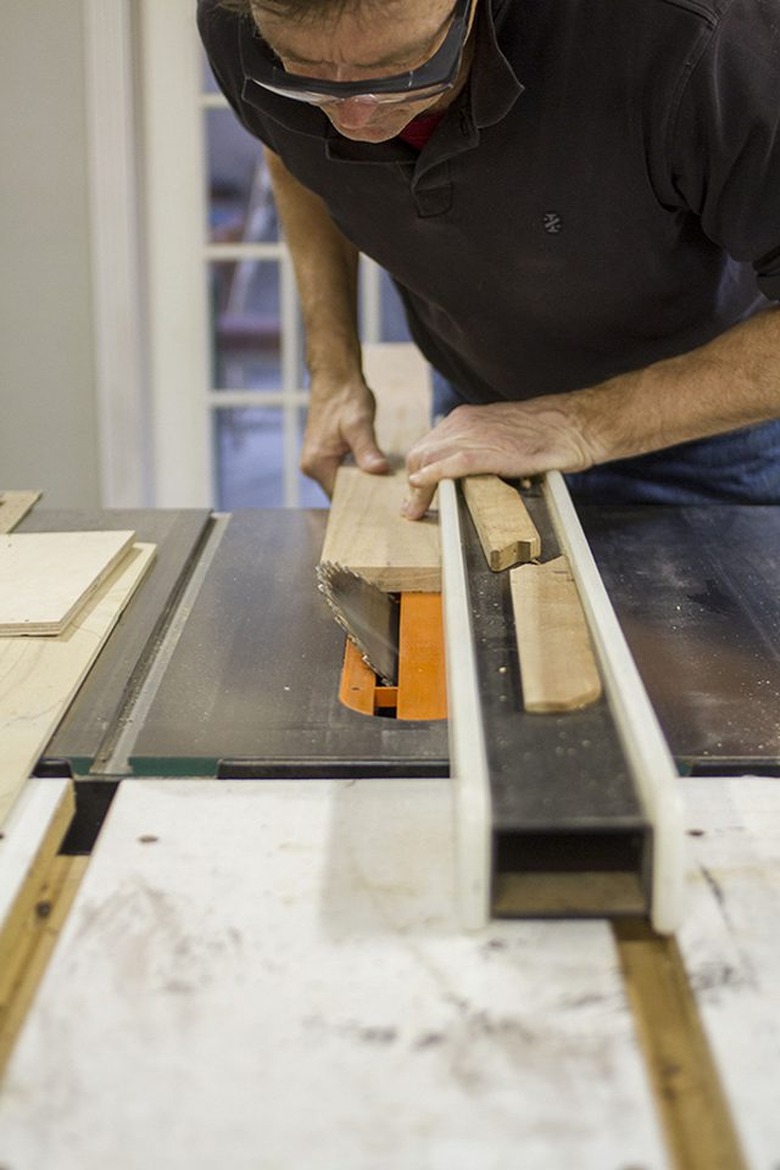
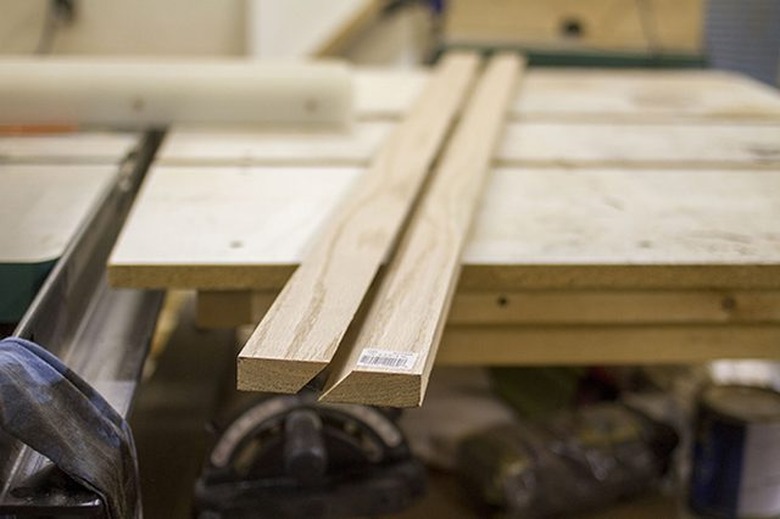
To create the brace, we ran one 4 foot long, 1-by-4-inch oak panel through a table saw that had been set at an angle.
 Carrie Waller
When set on top of one another, the downward angle of the brace attached to the wooden headboard lines up with (and falls right into) the upward angle of the brace attached to the wall.
 Carrie Waller
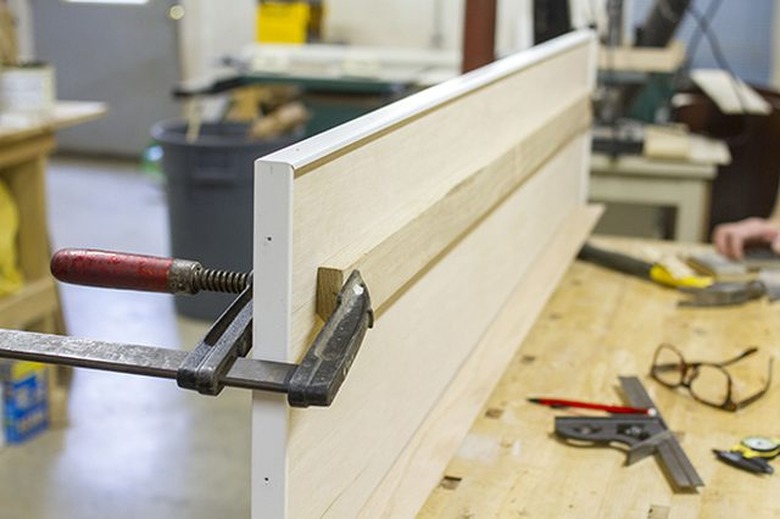
Clamp the top piece against the birch headboard, drill holes, and then secure the screws in place. Leave the bottom brace unattached to later be drilled into the wall.
 Carrie Waller
 Carrie Waller
Step 6
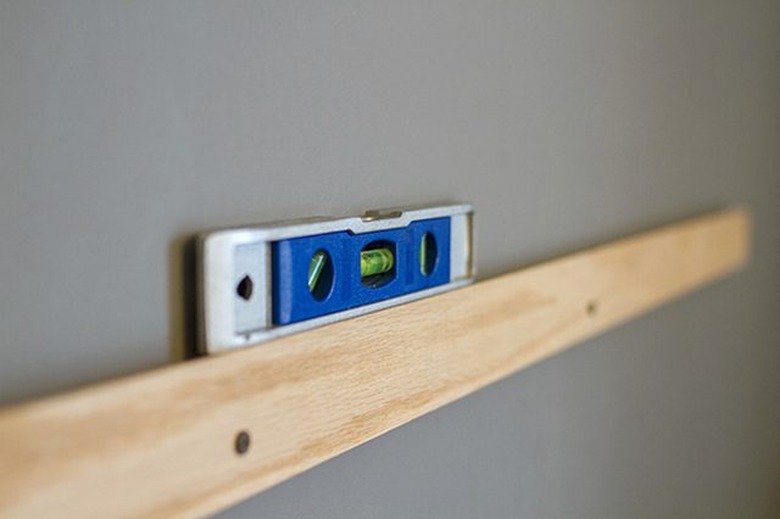
First, measure the height needed based on your mattress and bed frame. Then hang the brace using a level, drill, and drywall screws. If your solid wood headboard is a bit on the heavy side (as it was for us), use a drywall stud finder to make sure that your brace is stabilized on the wall and can handle the weight of the headboard.
 Carrie Waller
Step 7
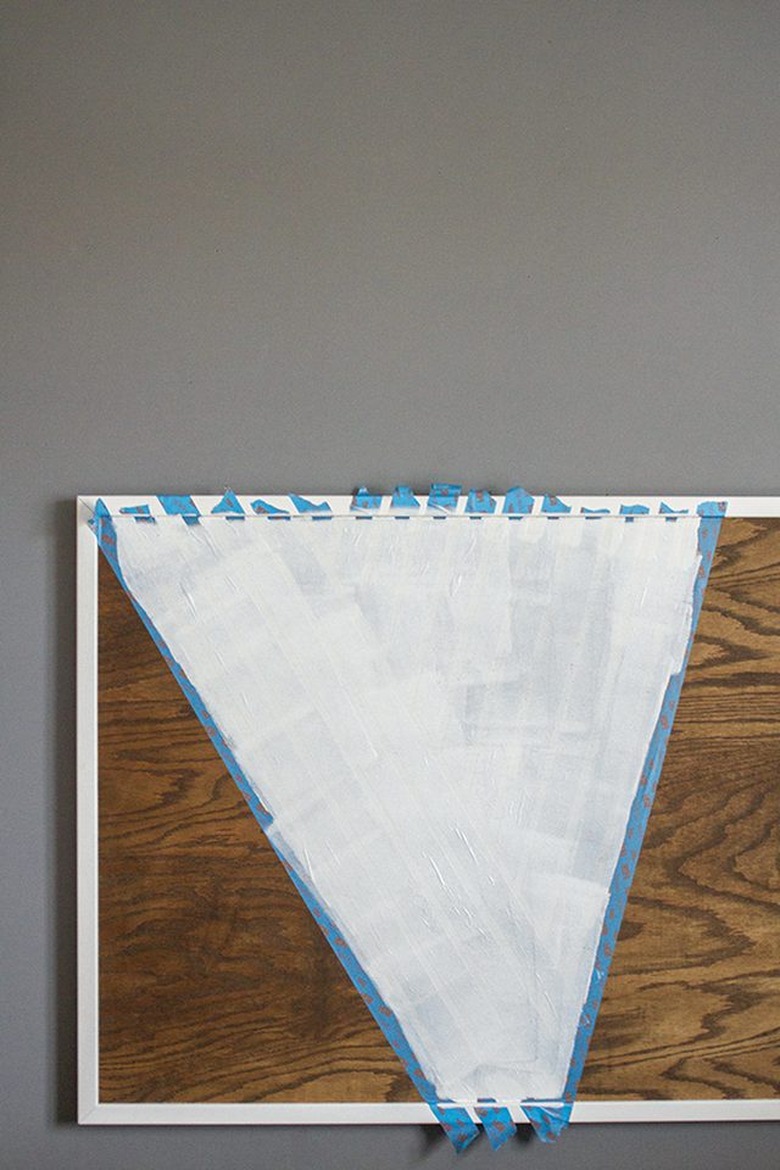
For the finishing touch, use painter's tape to create an intersecting lined pattern on one end. Then paint within the lines with white paint and a roller. This will achieve a crisp, modern design. Before the paint fully dries, carefully remove and discard the tape, and then let the paint cure overnight.
 Carrie Waller
 Carrie Waller
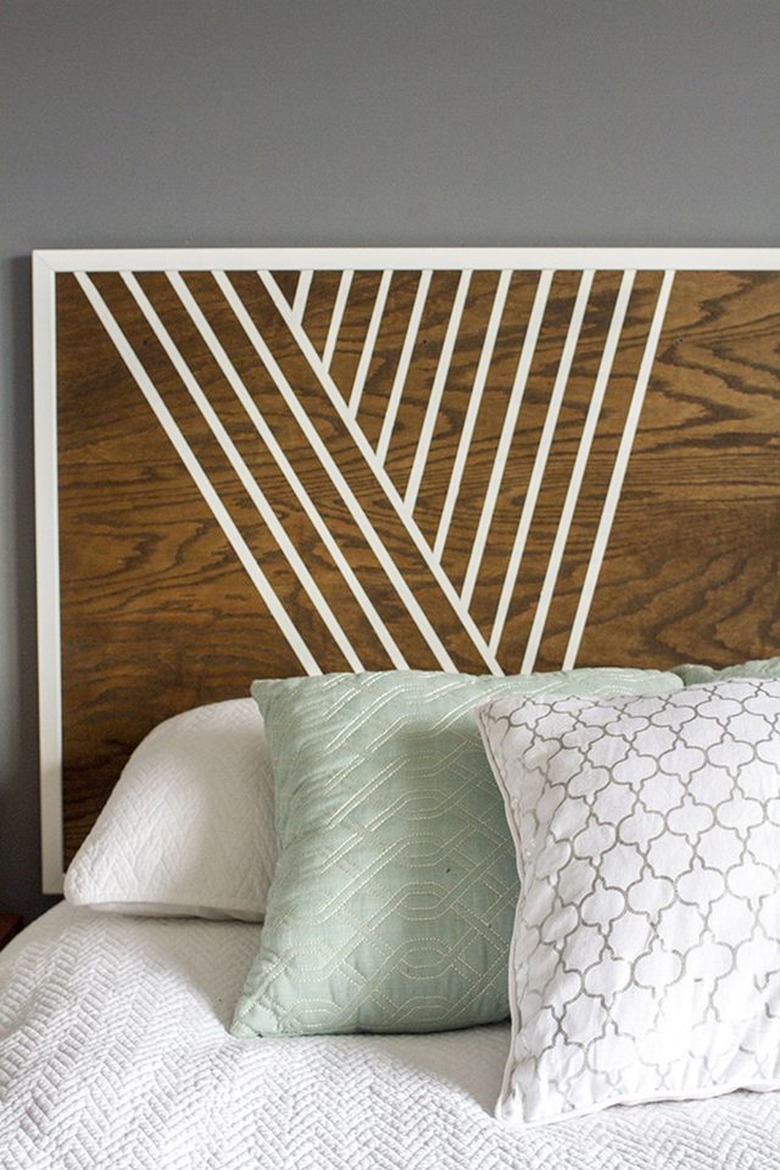
The interplay of the white grid against the wooden grain of the finished birch headboard was just what I had hoped for, and now we have a truly unique piece that matches my vision to the perfect "T."
 Carrie Waller