How To Replace An Outdoor Faucet
We may receive a commission on purchases made from links.
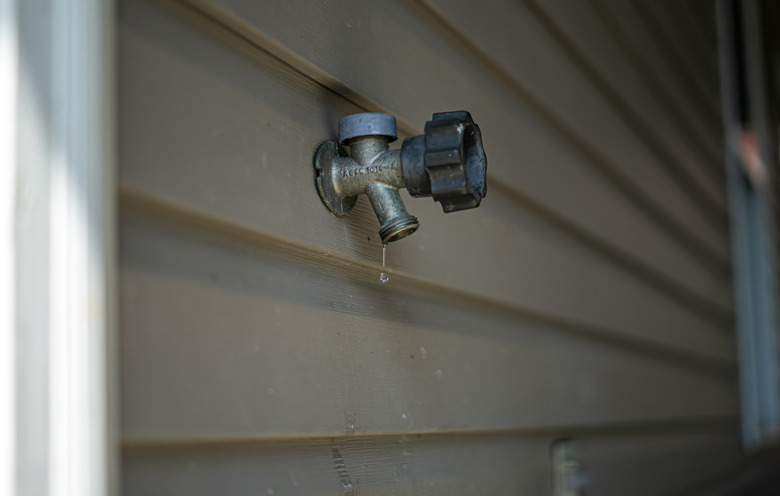
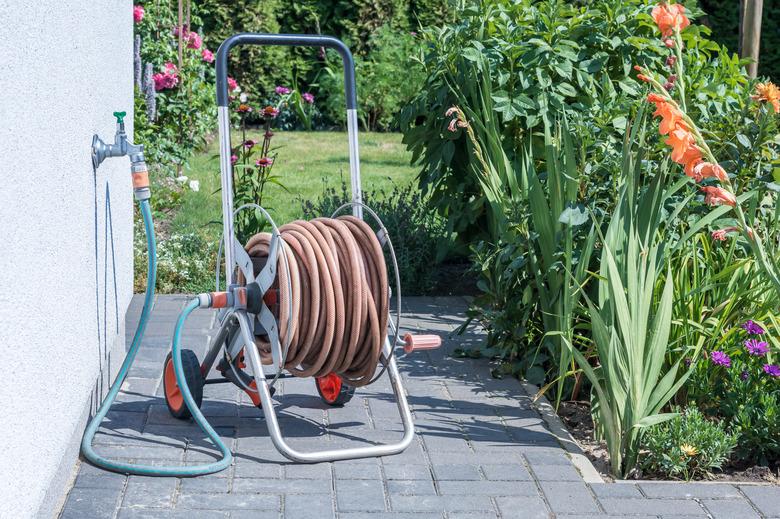
Most people don't give much thought to their outdoor faucets, but in many homes, these little spigots are real workhorses. Homeowners use them for a variety of tasks, including hooking up a garden hose to fill a swimming pool, connecting a drip irrigation system to water a vegetable garden, or providing water to an above-ground sprinkler system to water the lawn. Outdoor faucets get a lot of use, and eventually, many need to be replaced.
Leaks are the most common problem with outdoor faucets. You have the option of replacing the rubber washer in the faucet to stop the leak, but sometimes, it is easier to simply replace the entire faucet. The faucets also wear out from being exposed to the elements. They are relatively inexpensive, and in most cases, switching out a damaged faucet for a new one is a very approachable DIY project.
Types of Outdoor Faucets
Types of Outdoor Faucets
An outdoor faucet is often referred to as a hose bib or sillcock. Most people use the terms interchangeably, but a hose bib's valve that controls the flow of water is located outside the house. That means unless the water is turned off and the faucet is drained, the water left in the hose bib could freeze during cold weather. That's a recipe for burst pipes.
A sillcock has a longer shaft, and the water control valve and washer are located at the far end of the shaft, well inside the building. The extra length is designed to prevent water from freezing within the faucet. They come in 4- to 12-inch lengths. Newer products contain anti-siphon valves that are designed to prevent backflow of contaminated water into the potable water supply. Other names for this type of sillcock are frostproof faucet, freezeproof faucet, and wall hydrant.
Outdoor faucets have threads on the spout for connecting garden hoses, hence the name hose bib. Many have threads for connecting the faucet to the water supply line. They can be male, where the threads are on the outside, or female, where the threads are on the inside of the connecting part of the faucet. They come in sizes to connect to 1/2-inch or 3/4-inch supply lines.
Faucets with threaded connections are common, but you can find an outdoor faucet that requires a soldered connection. Some products can be attached by either threading or soldering. There are also faucets that use compression fittings, push-fit connection fittings, or those designed for PEX plumbing.
Tip
If it is necessary to make a soldered connection, remove the washer from the faucet to avoid damaging it from the heat. For both hose bibs and freezeproof faucets, remove the screw that holds the handle in place. Then, use a wrench to loosen the bonnet nut under the handle. This will allow you to pull the stem and washer out of the faucet. Solder away and then reassemble the faucet when the fitting is cool.
Some faucets are simply threaded to a supply pipe that sticks through the house wall, but others have a flange that hides the connection between the hose bib and the supply line. The flange is usually screwed to the side of the house. All freezeproof faucets have a mounting flange.
 Ralf Geithe/iStock/GettyImages
Things Needed
-
Lubricant (if needed)
-
Replacement faucet, either a hose bib or frostfree faucet
-
Patching cement (if needed)
-
Hacksaw (if needed)
How to Replace a Threaded Outdoor Faucet
1. Turn Off the Water
Because of the danger of freezing, many outdoor faucets have a dedicated shutoff valve located inside the house. The valve can either be closed by turning a knob or it will be operated by a lever. Those with levers, called ball valves, let you know whether they are open or closed just by looking at them. When open, the lever is parallel to the supply line, meaning the water is flowing through the pipe. Closed ball valves will be perpendicular or 90 degrees to the supply line. If there is not a dedicated supply shutoff valve, turn off the main valve where the water line enters your home.
2. Drain the Faucet
Go outside and open the faucet. Some water will spill out. This also ensures that the water is off completely before you start working on the faucet.
3. Remove the Old Faucet
Because of the design of the faucets, the procedure differs between hose bibs and freezeproof faucets. Removing a hose bib can usually be accomplished outside the house, but most of the work done on a freezeproof faucet is done inside the house.
For hose bibs:
- Back out the screws that hold the mounting flange (aka the piece that covers up holes surrounding the pipes) to the wall using a screwdriver.
- Place one wrench or plier on the faucet and the other on the supply line. This will allow you to back hold the supply line. As you turn the faucet counterclockwise to unscrew it, apply slight pressure to the supply line in the clockwise direction. This action will keep the supply line from twisting. Apply a lubricant to the threads if the faucet won't budge. If there isn't enough supply line showing to let you get a good grip on it, have a helper hold it from inside the house.
For freezeproof faucets:
- Back out the screws that hold the mounting flange to the wall.
- Go inside to disconnect the existing faucet. Place one wrench on the shaft of the faucet and the other on the supply line. Unscrew the faucet from the supply line by turning it counterclockwise while applying slight pressure on the supply line in the clockwise direction. When disconnected, go outside and pull the faucet through the hole in the wall.
Tip
If you can't disconnect the old faucet for whatever reason, you will have to cut the supply line so that you can pull the faucet out through the wall. Use a tubing cutter for a clean, flush cut. You will then need to add a new section of pipe to the supply line and connect it to the faucet. One option is to solder the new pipe to the supply line using a coupling fitting and then solder a threaded fitting to the pipe to receive the new faucet.
4. Attach the New Faucet
For faucets with threaded connections, reverse the procedure used to disconnect the old faucet.
- Wrap the plumbers' tape in a clockwise direction around the male threads. Give it three or four complete turns. Always wrap the tape in the direction you will be turning the fitting to keep it from bunching up as you turn the fitting.
- Hand-tighten the faucet in place.
- Use the wrenches to complete the installation. Tighten with one wrench while back holding the supply line with another. This time, you will be turning the faucet or the shaft of the freezeproof faucet in the clockwise direction while applying pressure to the supply line in the counterclockwise direction.
- Screw the mounting flange to the wall using the appropriate screws.
5. Weatherproof the Installation
Apply a bead of caulk around the edges of the flange. If there is no mounting flange, apply caulk around the pipe where it exits the building. Supply lines that come through masonry walls often have crumbly concrete around the opening due to normal wear and tear. These can usually be sealed with patching cement.
6. Turn On the Water
Go inside and turn on the water to the outdoor faucet. Open the faucet and check for leaks. If the faucet leaks where it is connected to the supply line, turn off the water inside the house and try tightening the faucet a little more to stop the leaks.