How To Build A DIY Kitchen Island
Plenty of homeowners dream of a new kitchen island to add extra counter space, storage space, seating and more to their kitchen, but adding an island during a professional remodel can be prohibitively expensive. A DIY kitchen island is an affordable alternative for those with a moderate amount of home improvement experience. This kitchen DIY project can be completed in one weekend for thousands less than it would cost to have one installed professionally, but it requires proper planning.
Do You Have Space for a DIY Kitchen Island?
Do You Have Space for a DIY Kitchen Island?
The two biggest factors in designing a kitchen island are your size restrictions and what roles you want the island to fill. For small kitchens, the size of the island should be the first consideration.
While most people want the largest possible island since it offers the most countertop and storage space, Laurysen Kitchens says that making the island too large is one of the biggest mistakes people make with their kitchen island designs, as it can easily make the rest of your kitchen feel too cramped. In fact, if your kitchen is less than 13 feet wide, it recommends not having an island at all. One alternative for a small kitchen is a rolling island that can be moved into the cooking area as needed and stored against a wall when it is not in use.
If you have a U-shaped kitchen, the opening (the clear floor area inside the U) should be at least 10 feet wide, or the island can make the room feel caged. Generally speaking, when working on a floor plan for your kitchen island, there should be at least 36 inches (and ideally 48 inches) of open space around the island in every direction. Also, be sure that the island doesn't cut into any existing paths between the sink, stove and refrigerator since this can interfere with the cooking process.
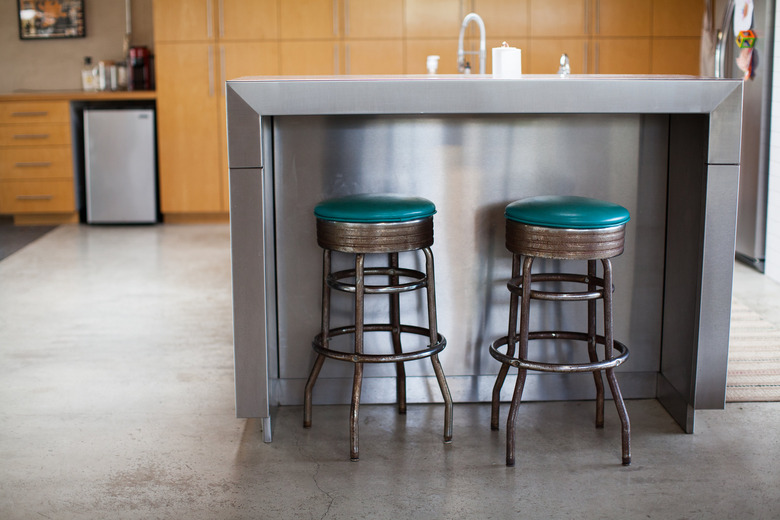
 Stephen Paul
Sizing a DIY Kitchen Island
Sizing a DIY Kitchen Island
Assuming there is enough space for an island, most people find that they like islands to be between 2 and 4 feet wide, as these sizes look visually appealing and are easy to walk around while still offering sufficient countertop space for cooking. If you're looking to have seating on one side and storage on the other, you'll need at least 36 inches of space since most stock cabinets are 24 inches deep, and you need a minimum of 12 inches for seating, although 15 to 18 inches is preferable. If you want to have two kitchen cabinets set back to back, you'll usually need a space that is at least 48 inches.
As for length, 3 feet can make a kitchen more functional, but islands that are 4 feet or longer look the best. When it comes to how many seats you can fit on an island, leave around 24 inches per person for comfort. A 4-foot-long island can seat two adults and a 6-foot-long design can fit three people.
When deciding on the height, most people match the island to their existing countertop height, which is usually around 36 inches. If you want a higher island that works for bar seating, though, you'll want the island to be 41 to 43 inches high to comfortably accommodate bar stools.
DIY Kitchen Island Ideas
DIY Kitchen Island Ideas
Once you've decided on the size, think about the purposes the space will serve: cooking, prep, storage, entertaining, eating, homework, etc. While a typical DIY kitchen island won't be fitted with a stove or sink, you may still work with an electrician to wire the island with an outlet so you can use small appliances like an Instant Pot, microwave or stand mixer.
Make a list of things you want to do with your island and then prioritize the top one to three things so you can make sure there is sufficient space based on your dimensions. Be sure to consider the functionality of the rest of your kitchen to determine what you need the most. If storage is the biggest priority, you might want to scrap seating in favor of back-to-back cabinets. If you need dining space, you'll want ample room for comfortable seating even if it means sacrificing storage.
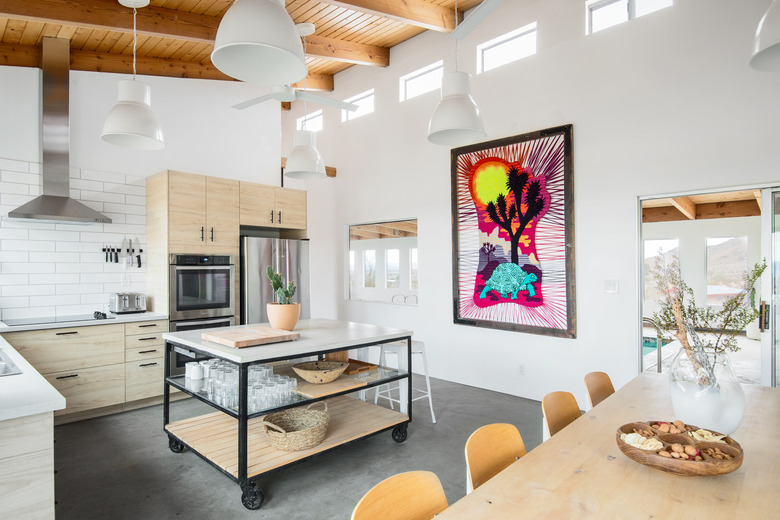
 Stephen Paul
Search for "DIY kitchen island ideas" on the web and use Pinterest to get some inspiration for features and designs you like. Take notes on what you like and what you hate. Do you prefer cabinet doors or open shelves? Do you need a special space for your cutting boards, trash can or stand mixer? Do you love the idea of a bookcase on the side? If you are working with a large overhang for a seating area, decide on the support method you'd like to use, whether that means corbels or support beams.
Always take into account the scope of the project. You might love granite countertops and a second range, but these are unrealistic for most DIYers. Instead, think about materials like tile or butcher block countertops and small appliances like a wine fridge or microwave that can easily be plugged into an outlet if you hire an electrician to wire the island.
Check Your Local Building Codes
Check Your Local Building Codes
When Casey of House By The Bay Design built her own DIY kitchen island, she discovered that her local building codes required all islands over a certain size to have an electrical outlet, so she added wiring even though she didn't originally intend to do so. Always check these codes ahead of time since many municipalities will require you to have plans approved before you start building. If the building codes in your area limit your plans too much, consider building a rollaway kitchen island on casters instead.
Sourcing Materials for Your Island
Sourcing Materials for Your Island
There are two main ways to build a DIY kitchen island: using existing materials or starting from scratch with a wooden frame. Building from scratch may be easier if you're planning to build a small structure with a simple layout. Sourcing materials is pretty simple since you can get them from any home improvement store. Because it's so important to have precise measurements and angles, it's best to find plans for a similarly sized kitchen island online and then customize these as necessary.
When working with existing materials, most people work with stock or salvaged kitchen cabinets, but you can also use items such as bookshelves or even dressers as long as they are shorter than your desired counter height. If they're a little too short, you can add height on top with extra shelves or shims.
You can use your own old bookshelves or dressers or buy them from a thrift store, but when it comes to sourcing cabinets, most people don't have extras lying around, and few thrift stores carry these types of materials. That doesn't mean you can't find inexpensive cabinets, though. Stock cabinets from places like IKEA are generally fairly affordable, but you may be able to save even more money by checking home improvement resale shops like Habitat for Humanity's ReStore or looking on sites like Craigslist or OfferUp for free or cheap cabinets that were pulled out of other people's homes during kitchen renovations.
If you want decorative trim or baseboards, these can usually be sourced from the same places as cabinets. Supports for the dining overhang also can be sourced from these same locations, but you'll want to look for things like table legs of the same or higher height, shelf supports (for lighter countertops) or even just wood planks.
 Brandon Stanley
Using secondhand cabinets can often leave you with more unique, expensive and/or visually interesting cabinets than you might buy in a retail shop, but you may need to modify things a little. You can also combine materials. For example, you could use a salvaged cabinet on one side of the island, a dresser on the back and a bookshelf on the end.
Sourcing a Countertop
Sourcing
a Countertop
Outside of basic building materials, you'll also need to source a countertop. Unfortunately, many popular countertop materials, such as granite, aren't practical for building a DIY kitchen island because they are too heavy, too hard to cut and difficult to smooth and polish. This is why many DIYers go with butcher block countertops, which can be purchased at home improvement stores, look good with most designs and are easy with which to work.
If you don't like the look of butcher block, you can buy a cheap particleboard countertop instead, which can be covered in laminate, tile, paint or even stone-printed contact paper. You can also try finding used countertops from the same places you can source used cabinets. Depending on the size of your island, you can even use salvaged, solid-wood doors to make a countertop.
When sourcing countertops, remember that most people prefer the counters to have some overhang past the front and sides of the cabinets. You may want to measure and match the overhang on your existing cabinets, but most countertops overhang by 1 to 1 1/2 inches.
Other Materials That May Be Required
Other Materials That May Be Required
Even if your island will be as simple as two stock cabinets placed back to back, you'll still need other materials to complete the project. You'll need particleboard, plywood or medium-density fiberboard to cover the sides and seams as well as lumber and L-brackets to build a base under the cabinets.
You'll also often need wood blocks and shims to create an even surface for the countertop. You'll need tools, which may include a miter box, a hammer, a nailer, a screwdriver, a drill, a hand saw, wood glue and a circular saw. For a painted finish, you'll need primer and sealant, but if you prefer a wood look, you can also get wood-look laminate sheets that can be cut and glued to the sides and front of the finished island.
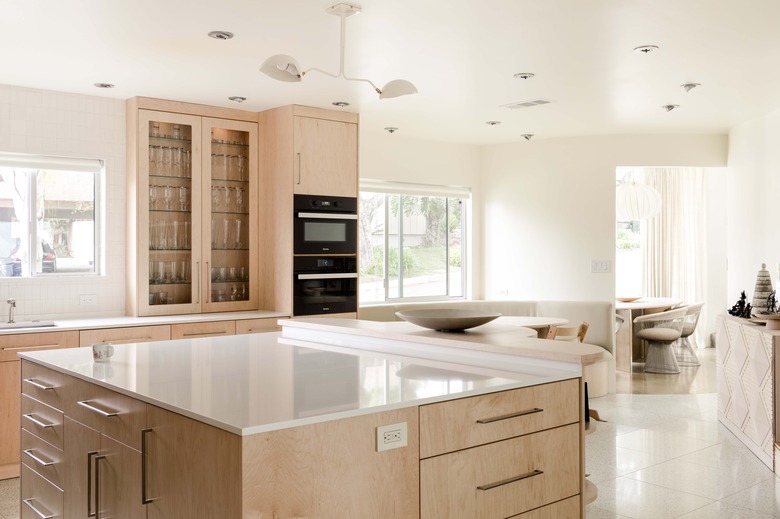 Stephen Paul
Kitchen Island Building Basics
Kitchen
Island Building Basics
You'll want to find plans if you're building from scratch, but if you're working with materials like cabinets, dressers and bookshelves, you'll want to look at some tutorials on how other people did similar projects even if you'll have to figure out how to put your specific materials together yourself.
Regardless of how you proceed, you'll generally need to start by building a base that will fit underneath the storage area. This should have a toe kick on any sides where you intend to do cooking or prep work to let you get close to the cabinet while working. Most toe kicks are between 3 and 4 inches deep, so be sure to subtract this from the total cabinet size. Use 2x4s to build the base and L-brackets to secure it to the subfloor.
If you're building from scratch, plans will usually have you start by building the outer box. Then, add vertical dividers followed by the shelves, back panel, custom-cut face framing and any decorative trim. You'll then want to paint your new cabinet, the base and any drawers or doors. Attach the cabinet to the base and then install doors and drawers.
When working with existing materials, you'll first want to secure these to one another and then attach them to the base, cover the sides in particleboard, plywood or medium-density fiberboard and, if necessary to cover seams, add face framing. Add any decorative trim, paint the cabinet and base and then install any doors and drawers.
No matter how you build the island, the last step is to install your countertop. If you need support for the dining area overhang, install these before adding the countertop. Finally, attach the countertop by screwing through the cabinet and any supports into the counter, making sure to use screws that will not go through the top.
References
- House By The Bay Design: How to Build a DIY Kitchen Island
- Laurysen Kitchens: Don't Make These Kitchen Island Design Mistakes
- Sebring Design Build: Easy Steps for Designing the Perfect Kitchen Island
- Cherished Bliss: How to Build a DIY Kitchen Island
- Budget Dumpster: Two Easy Ways to Build a DIY Kitchen Island
- Domestic Blonde: A DIY Kitchen Island: Make It Yourself And Save Big!