Kitchen Islands: A Homeowner's Guide
A new kitchen island Not to mention, a can act as the design of your new or remodeled kitchen. offers an excellent way to add useful space to the room, whether that usefulness means extra countertop space, a breakfast bar or more room to wash and prep food. Not to mention, a kitchen island can act as the design focal point of your new or remodeled kitchen.
While the purpose, size and look of a kitchen island varies greatly from one home to the next, the main factor to consider before adding an island is to make sure the kitchen has enough room to comfortably house the structure. Otherwise, that kitchen island could be problematic, interrupting the natural flow of the space and making it difficult to maneuver in the kitchen for day-to-day tasks.
Kitchen Island Ideas and Sizing Considerations
Kitchen Island Ideas and Sizing Considerations
You may dream of a kitchen island complete with a cooktop, sink, dishwasher and enough counter space for four or five bar stools, but in a small kitchen, such an island isn't a realistic option. Ideally, an island should offer 36 to 48 inches of clearance on any side between the island and walls, cabinets or appliances. Make sure the appliance doors can open all the way as well.
For an island with a seating area, expand the necessary clearance to 60 inches on the side with the bar stools; this offers ample room to walk behind people seated at the island. Also, make sure the seating area offers at least 24 inches of countertop width per seat so seated guests have enough countertop space to dine in comfort.
A built-in kitchen island is typically, at minimum, 2 feet wide and 4 feet long, which requires a kitchen that is at least 13 feet wide, according to Laurysen Kitchens. If your kitchen has an unusual layout or if you wonder whether a standard built-in island will work well with the room's size, apply painters' tape on the floor to plot out a kitchen-island-sized rectangle in its ideal location.
Walk around it and consider the typical workflow, such as walking from the refrigerator to the sink to the island and the stove. If the island is in the way no matter where you walk, a built-in may not work well in your kitchen, or you may need to rethink the island size or shape.
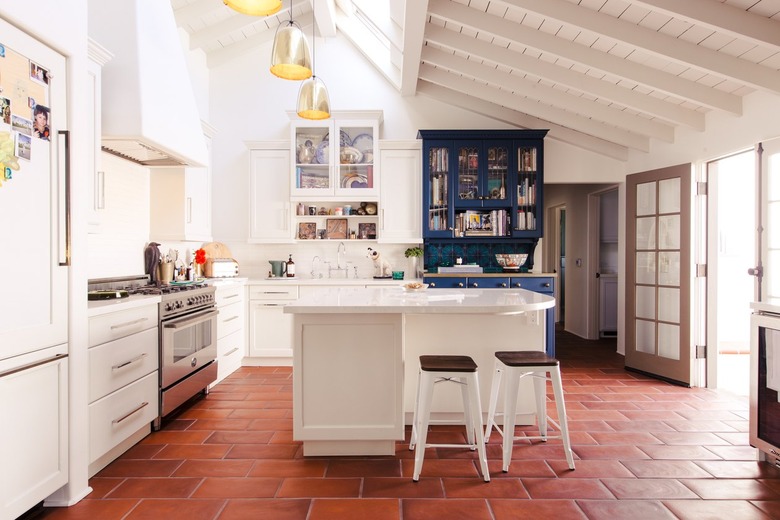
For a large kitchen topping 200 square feet, a larger island is an option, and it doesn't even have to stick with a rectangular layout. An L-shaped island works well in some kitchens, offering room for a sink, seating, extra countertop space or even a cooktop or dishwasher. Plan on at least 7 feet of island length for a dishwasher, cooktop or sink or at least 9 feet if you plan to install a sink and cooktop on the same span of the island.
For a home with children, a large workspace may be more practical than installing sinks and a cooktop in the island so the kiddos have space to work on crafts or to help make cookies. Ultimately, the ideal island layout depends on the most practical and most common uses you foresee for your kitchen.
 Stephen Paul
Basic Kitchen Island Structure
Basic Kitchen Island Structure
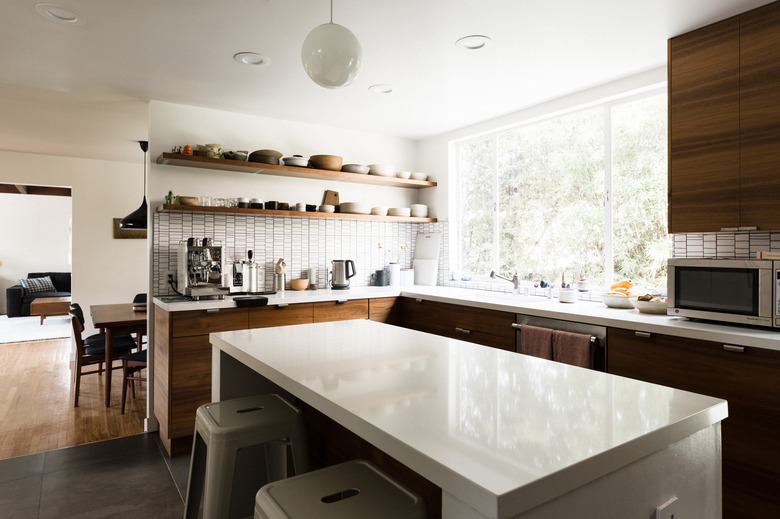
At its simplest, a kitchen island has two key components: a base structure and a countertop. To save money and to create a solid island structure, the bottom portion of the island may be made out of kitchen base cabinetry, which are 24 inches deep from front to back without a countertop. This sets the island width to a minimum of 24 inches. The length is usually at least double that for a built-in kitchen island, especially if using kitchen cabinets as its base. Another good reason to start with stock base cabinets is that stock kitchen countertops that fit are relatively easy to find.
For a kitchen without enough space for a large island, a rolling cart does the trick. In most cases, these kitchen carts offer a solid working surface, such as a butcher block top, as well as shelves or a cupboard-style compartment underneath the counter.
Look for a cart with locking casters to prevent it from moving as you food prep. When not in use as an island, the cart provides extra storage space in a corner of the kitchen. A freestanding island structure, which looks a lot like a sideboard or console cabinet with a countertop, is yet another option that offers plenty of storage and worktop space.
More elaborate islands in sizable kitchens offer even more customization options, such as a sink and faucet, dishwasher or even a cooktop. These options require water lines or electricity, so the project may involve hiring a plumber or an electrician as well as the contractor building the island structure if you aren't crafting it yourself with kitchen base cabinets.
Kitchen Island Height Considerations
Kitchen Island Height Considerations
If you are building a kitchen island from scratch, keep a few counter height considerations in mind to ensure maximum usefulness of the island; a little too short or too tall and it may be more cumbersome than convenient.
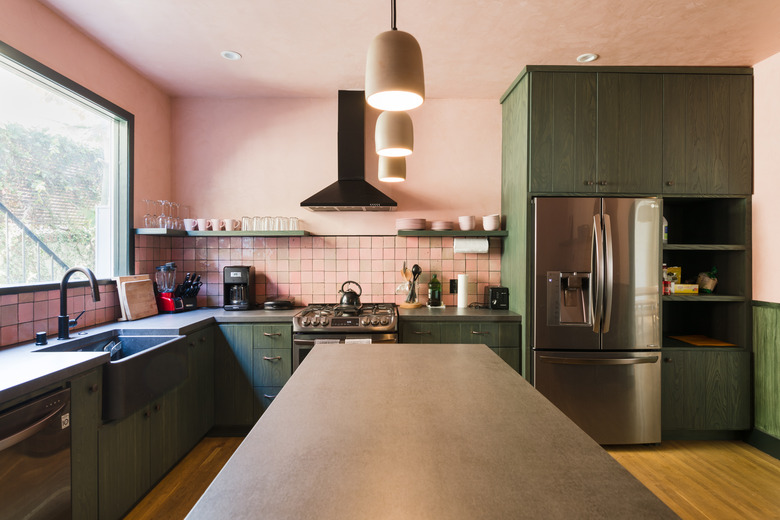
A standard kitchen island is 36 inches tall, including the countertop, which is the same as kitchen counters. For an island with seating, the side with the seats should have an eating surface that is 42 inches high on average, although this varies slightly for islands sold as a set with bar stools. Some islands have both a short side and a taller side for working and dining, respectively.
Smaller, nonpermanent islands may vary a bit in height, so consider the island's main purpose before purchasing it. For instance, some bar-style island sets are nearly 4 feet tall and are paired with stools that fit beneath the counter comfortably. This option may be great for adults or teens but could be a bit tall for young children.
 Paul Anderson for Hunker
DIY Kitchen Island Considerations
DIY Kitchen Island Considerations
Building a kitchen island yourself is a great way to save money compared to hiring a contractor to build it for you. The DIY route is ideal if your island only needs to provide storage space and worktop space without plumbing or added electrical outlets. One of the simplest options is to purchase two identical kitchen base cabinets and attach them together back to back using screws. Cabinet end panels, attached to the sides of the cabinet assembly, make the island base look like one solid, finished structure. Add a countertop with an overhang that hangs over the edge of the island by about 1 inch on all sides.
Repurposing old cabinets is a great way to save cash on a kitchen island. Check a salvage yard or nonprofit location such as a Habitat for Humanity ReStore shop. Such places often have quality cabinets for a fraction of the price of a similar new cabinet in a home-improvement store. ReStore sometimes has brand-new countertops and cabinets for sale that are donated by local contractors and shops as overstock or scratch-and-dent items, so you may find something ideal for your kitchen.
If you are designing cabinets from scratch, even if you are using a contractor, consider which side is the "public" or more visible side and which is the working side, closest to the existing kitchen appliances, sink and countertops. The public side could feature storage cabinets or shelving with a collection of cookbooks or large serving bowls, for instance, while the working side is best used as a storage area for items you may find handy while working at the cooktop. Drawers for knives and a cutting board also come in handy for the working side of the island.
You'll also need sufficient lighting over your island and may have to hire an electrician to install pendant or task lighting overhead (but out of your way) if the island area isn't already well lighted from existing ceiling lights.