Create This Vertical Garden (It's Really Easy!)
We may receive a commission on purchases made from links.
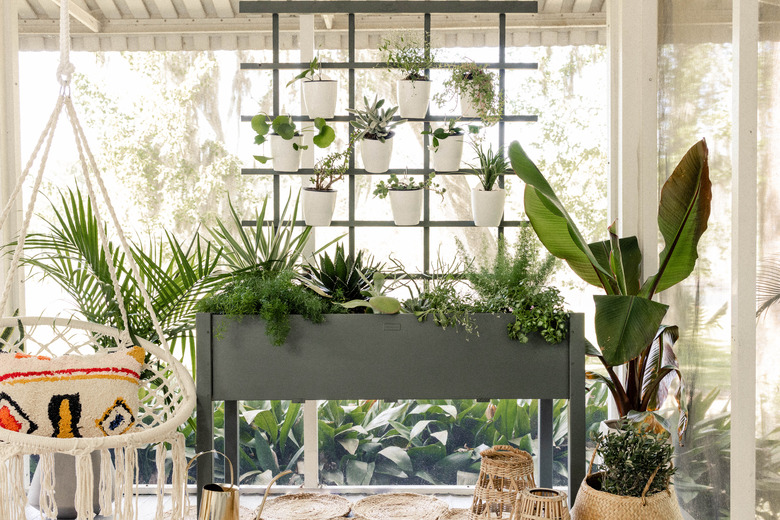
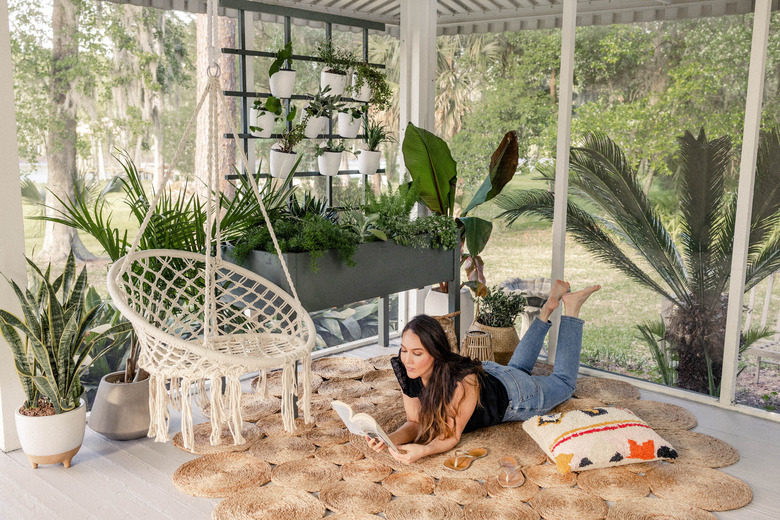
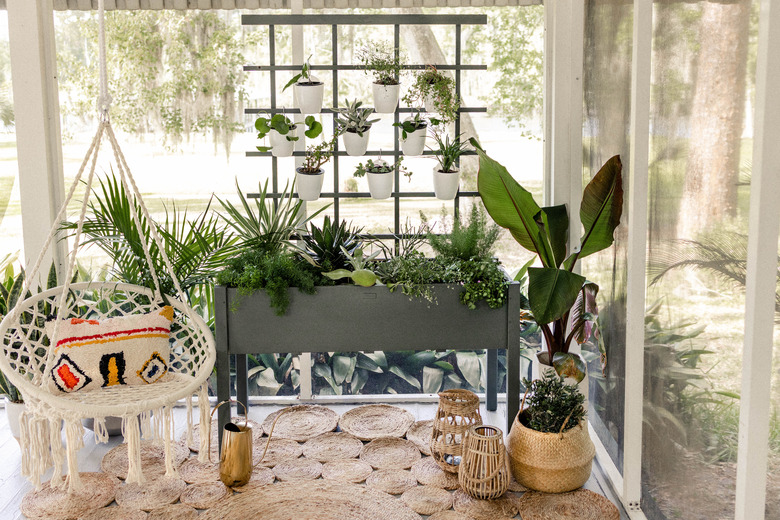
Create a lush, tropical-inspired feel on your porch or patio with a living plant wall. Not only does it add a focal point of gorgeous greenery, it also adds privacy and shade to small and large outdoor spaces alike. Even if you're a gardening newbie, vertical gardens are easy to create and even easier to maintain, since all the plants are conveniently grouped together into one place for watering. Whether you choose to grow herbs, flowers, succulents, or even vegetables, you're sure to improve the view from where you lounge.
 Trisha Sprouse
 Trisha Sprouse
Things Needed
-
Drop cloth
-
Fine-grit sandpaper or multi-tool
-
Paintbrush and roller
-
Potting soil
-
Plants (such as an aloe vera succulent or a snake plant)
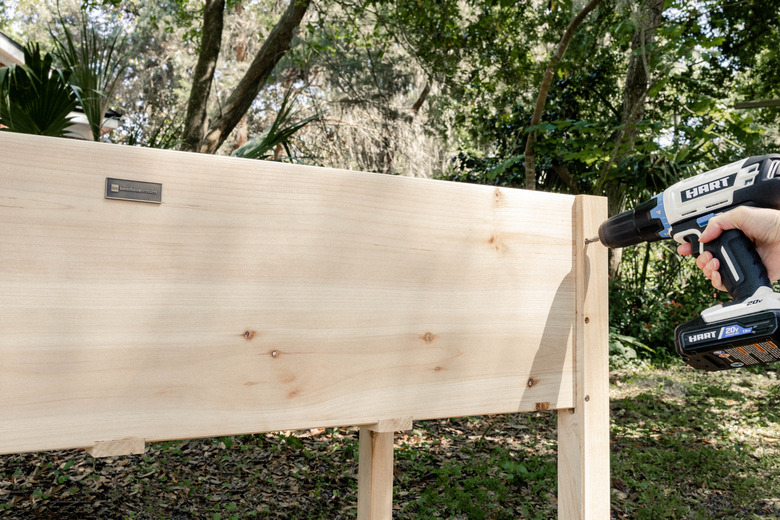
1. Assemble the Planter
Assemble your planter box per the instructions included in the packaging.
 Trisha Sprouse
2. Attach the Trellis
Set the trellis inside the planter box, centered against the back, and use a power drill to attach it to the planter box with wood screws. Our trellis conveniently came with 1 1/4-inch wood screws and already had the pilot holes pre-drilled.
 Trisha Sprouse
3. Sand the Planter
Sand the planter box and trellis with a fine-grit sandpaper in the direction of the wood grain. We used an oscillating multi-tool to speed up the sanding process. Wipe away any sanding dust.
 Trisha Sprouse
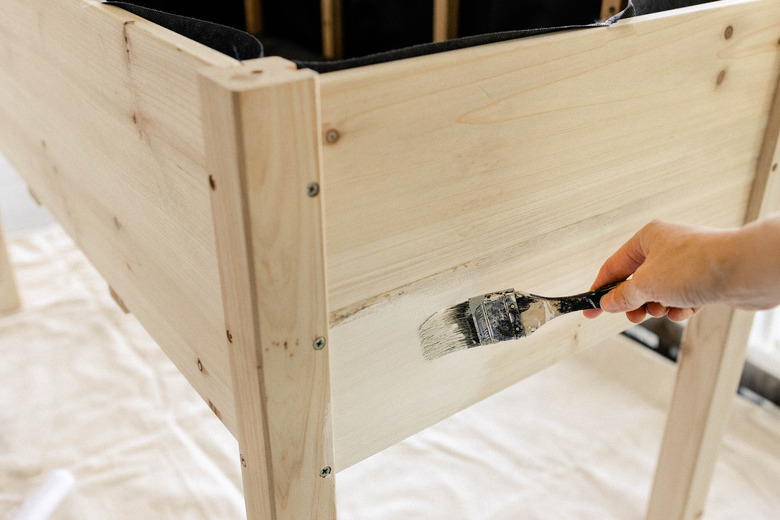
4. Prime the Planter
Since the planter box and trellis are raw wood, it's best to prime them with a shellac-based primer to prevent any tannins in the wood from bleeding through the paint.
 Trisha Sprouse
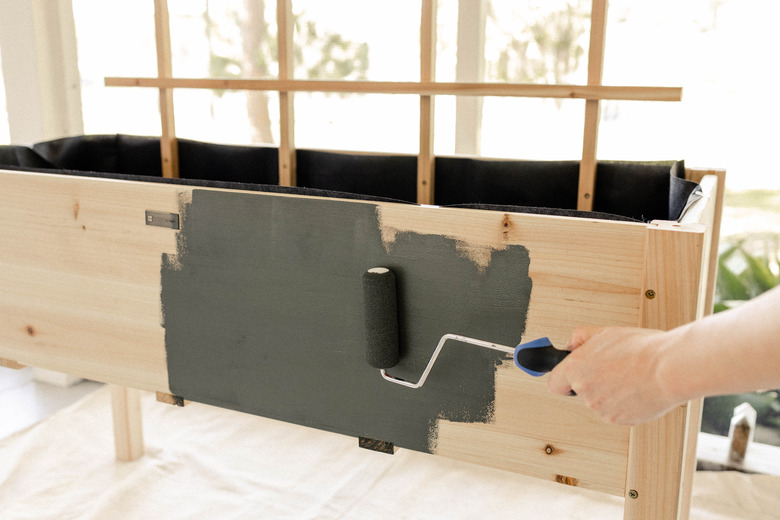
5. Paint the Planter
Once the primer is dry, paint the planter box and trellis with an exterior paint. We opted for a deep olive green color with gray undertones in a matte finish. Two coats was sufficient, and we allowed an hour of drying time between coats. You don't have to paint the inside of the planter box, since it'll be covered with soil and plants.
 Trisha Sprouse
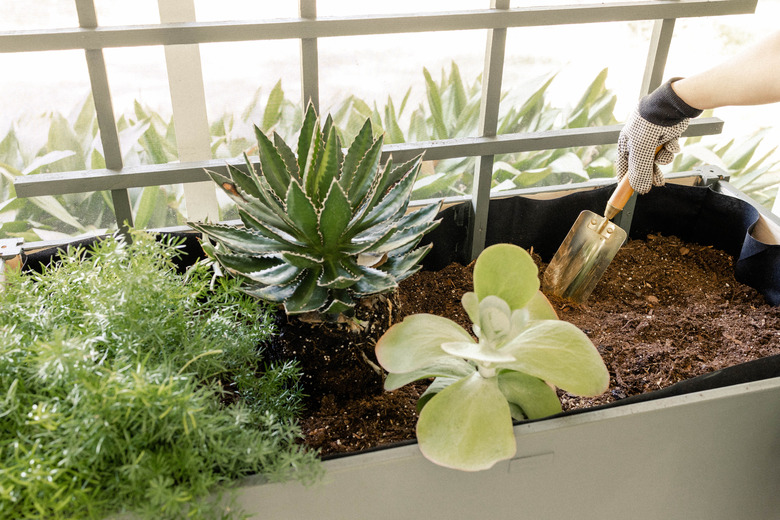
6. Plant Your Garden
After the paint has dried, move your planter box to the desired location on your porch, patio, or outdoor space, since it'll be too heavy to move once you fill it with plants and soil. Be sure to choose a location that gets plenty of sunlight (depending on the types of plants you choose).
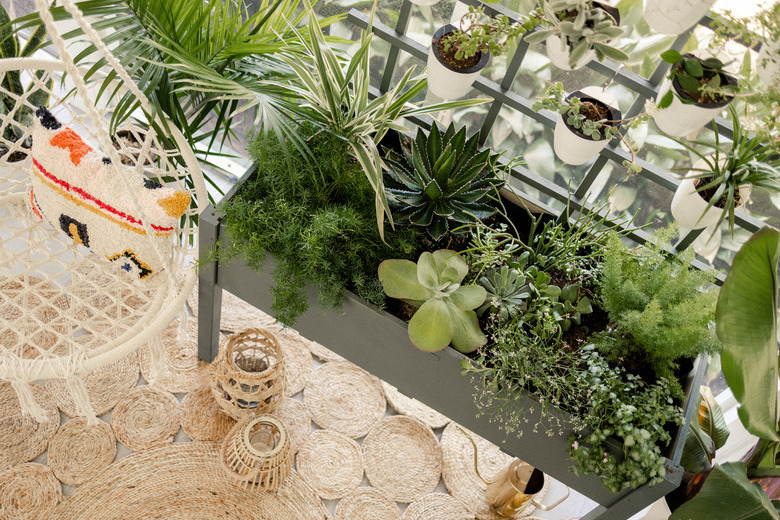
Fill the planter box two-thirds full with potting soil. Play around with the arrangement of your plants before you take them out of their pots, and then plant them once you're happy with the design. We used these gold gardening tools for planting.
 Trisha Sprouse
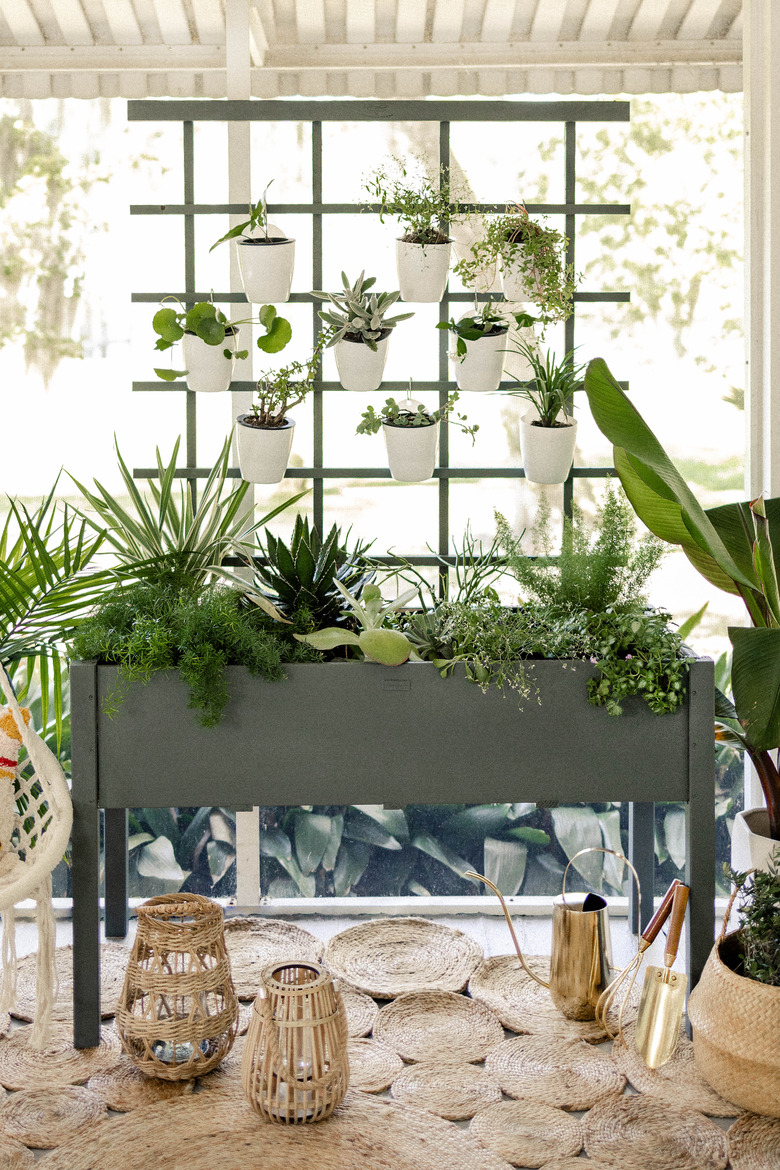
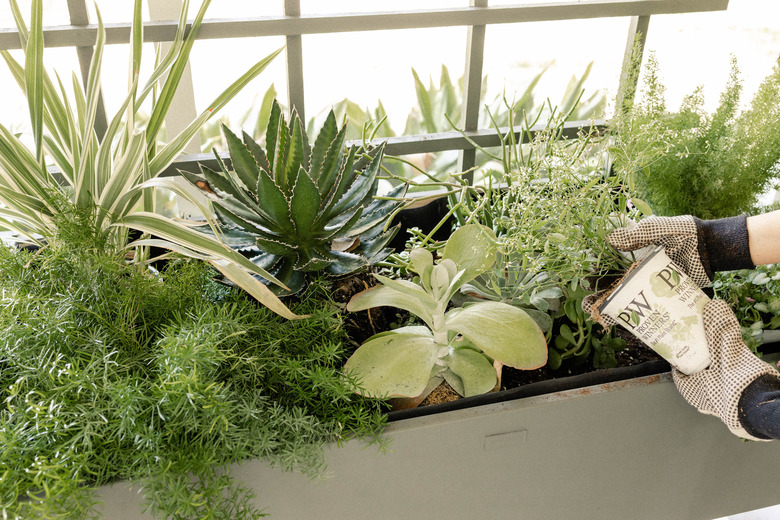
The basic principle is you want a mix of thrillers, fillers, and spillers. We used agave, Everest grass, and foxtail fern as the thrillers, succulents and diamond frost as fillers, and asparagus fern and nettle as spillers. But you could also use herbs or vegetables if you'd prefer to grow an edible garden.
 Trisha Sprouse
 Trisha Sprouse
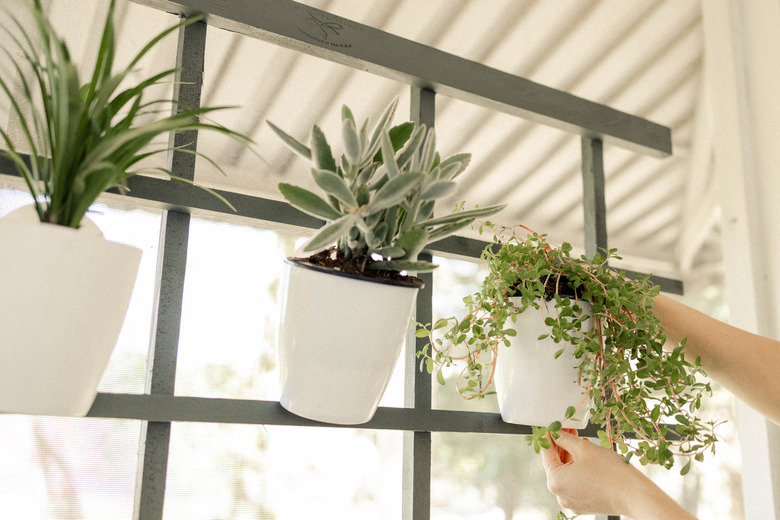
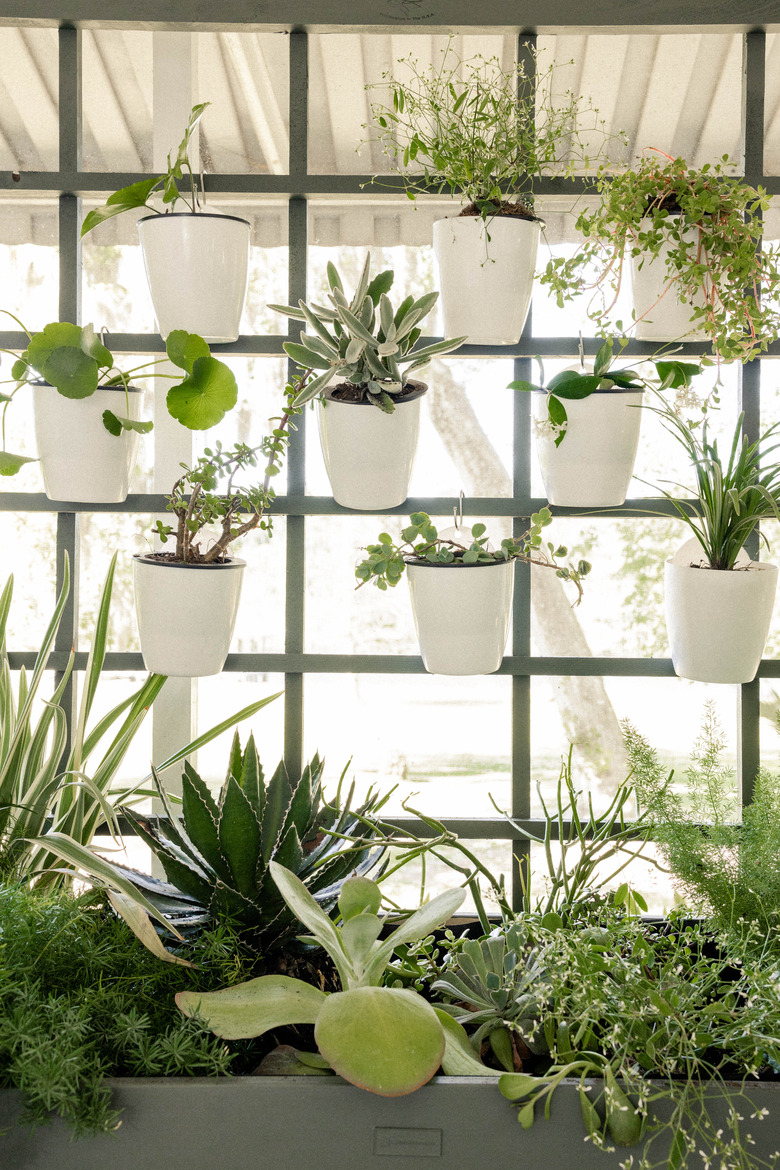
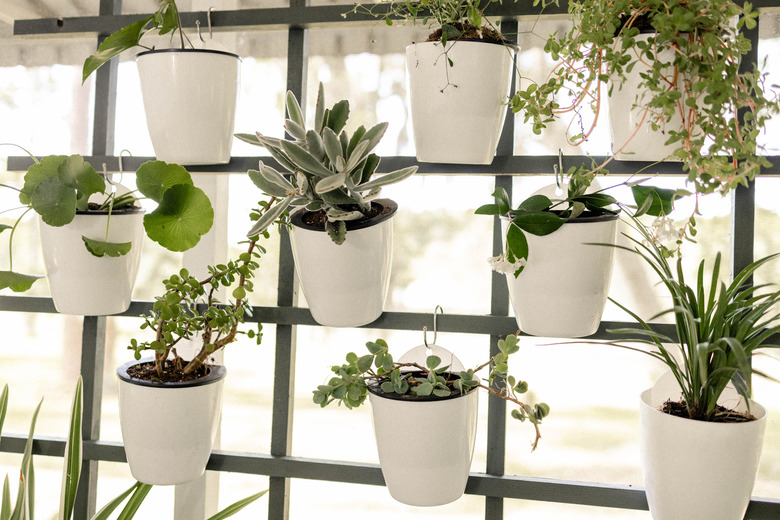
Lastly, plant a variety of plant shapes and textures in the hanging planter pots, and attach them to the trellis with the hooks.
 Trisha Sprouse
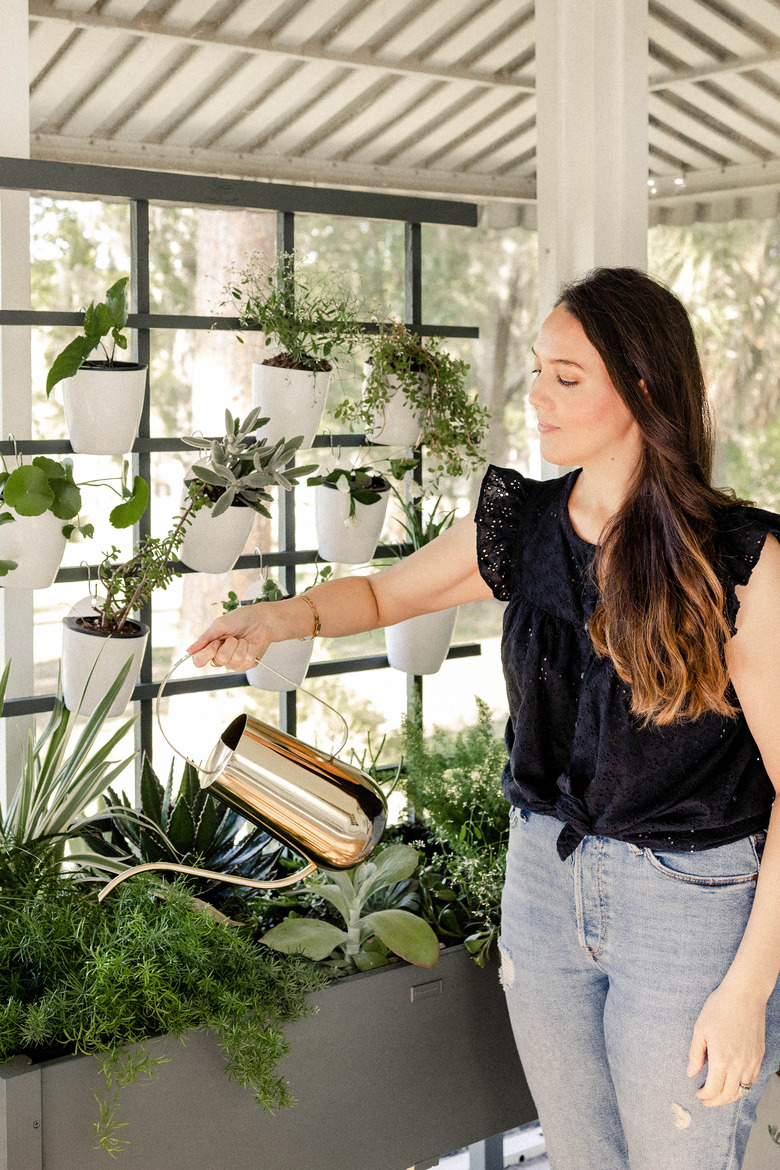
You're all set to enjoy your new living plant wall! Just be sure to water it routinely to keep your plants healthy and happy.
 Trisha Sprouse
 Trisha Sprouse
 Trisha Sprouse
 Trisha Sprouse