Create A Modern Vertical Garden Using IKEA Bed Slats
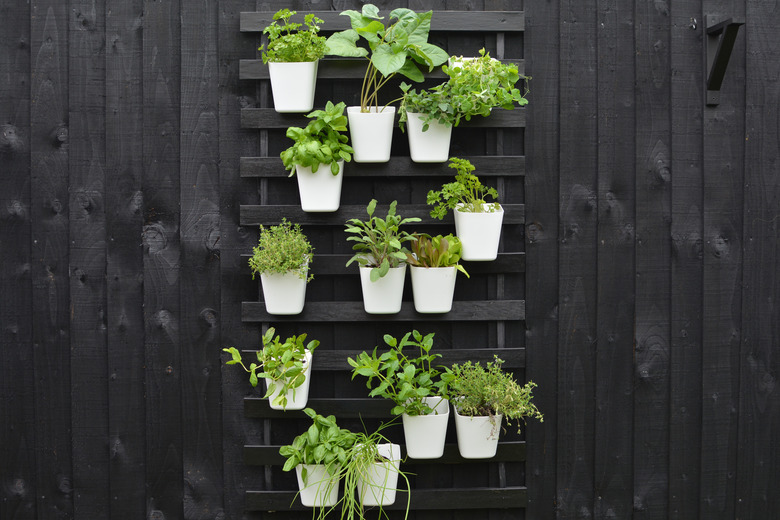
Vertical gardens are perfect fit for small spaces or urban gardens. They're a great way to add some greenery while maximizing your outdoor space. Use them to grow anything from fresh herbs to seasonal veggies. (Or maybe you just want to load them up with an abundance of flowers?) They're not just for smaller spaces though — they're just as useful for providing privacy in adjoining gardens and for creating shade in sunnier spots. It's an easy project to turn your fences into a feature with this DIY vertical garden ... and did we mention it's made using a surprising hack? Yup, IKEA Luröy bed bases!
 Caroline Burke
Things Needed
-
IKEA Luröy bed slats (we used the twin size)
-
Wood screws, 2 inch (10)
-
Power drill
-
Black external wood or fence paint
-
Paintbrush
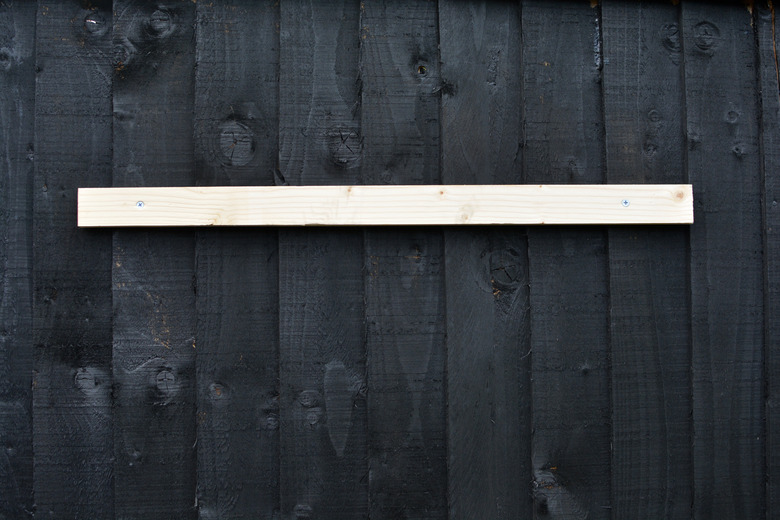
Step 1
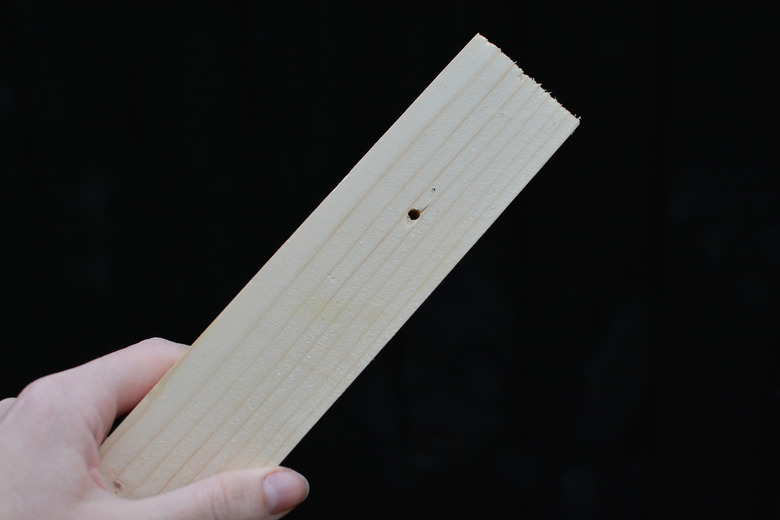
Take the 1-inch-by-2-inch-by-8-foot wood board and cut two pieces that measure 27 ½ inches long. (The same width as the twin IKEA bed slats.) You can do this yourself with a handsaw, or ask your local hardware store to cut them for you.
Drill a pilot hole approximately 4 inches from each end of the board.
 Caroline Burke
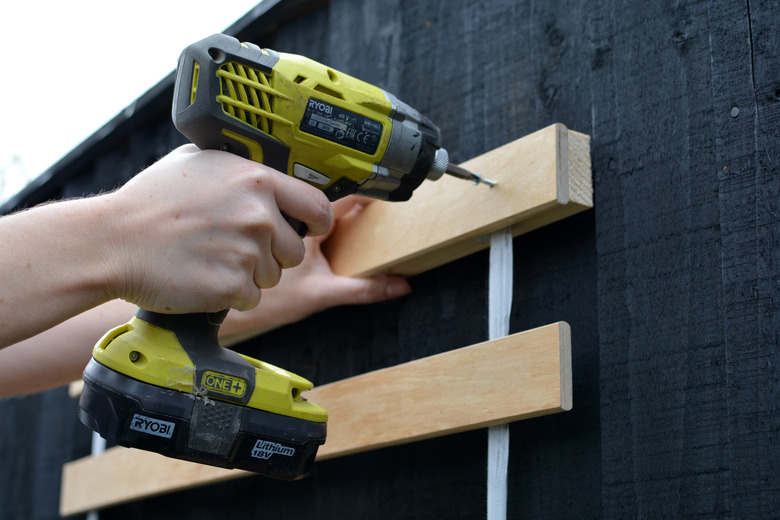
Step 2
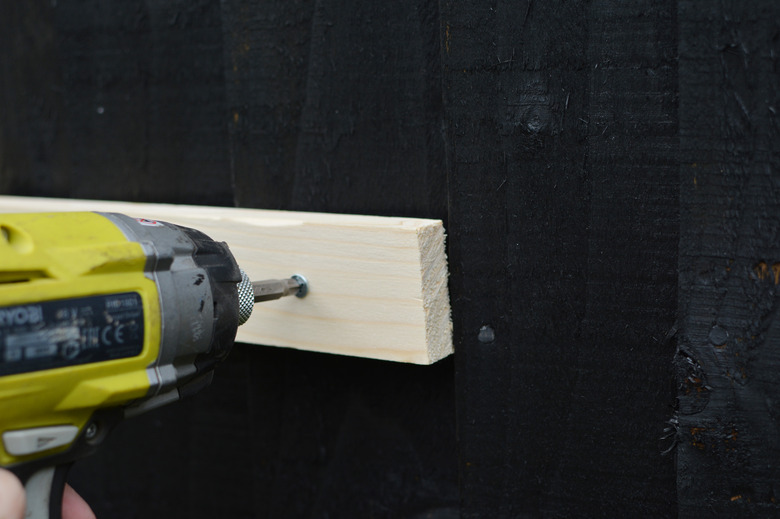
Drill the board to your fence using 2-inch wood screws. If you want to hang your vertical garden from a brick wall you'll need to drill the holes in the wall using a masonry drill bit first.
 Caroline Burke
We've drilled our top board approximately 1 foot from the top of our fence; it's tall enough for us to reach the top rung but still leaves some clearance if any of our plants grow taller.
 Caroline Burke
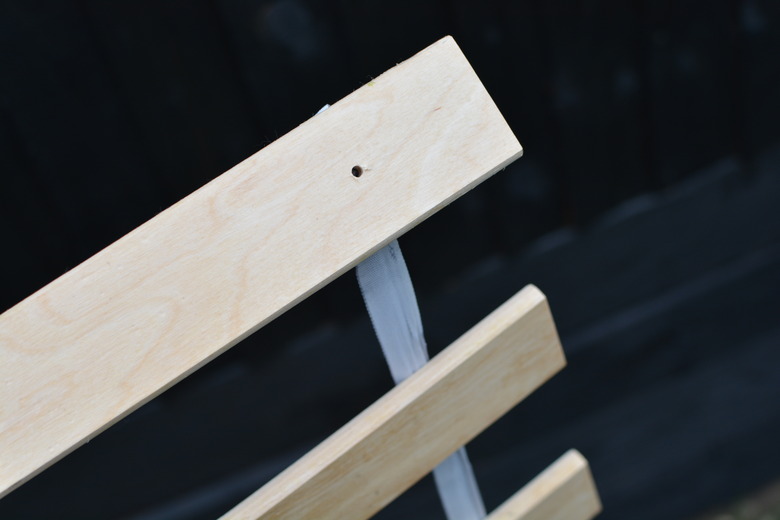
Step 3
Moving on to the bed slats, drill a pilot hole 3 inches from each end of the first slat.
 Caroline Burke
Step 4
Secure the bed slats to the top baton by screwing through the slat into the board with a 2-inch screw.
 Caroline Burke
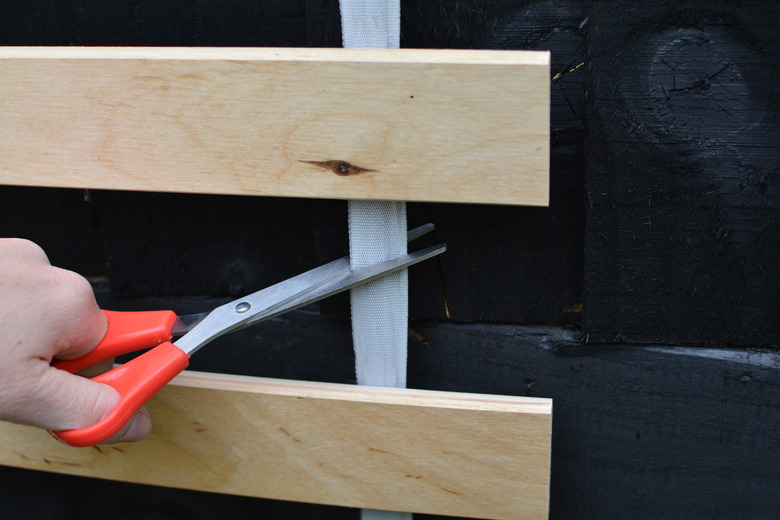
Step 5
Take some scissors and trim the bottom of the bed slats to a height that suits you. (We removed four slats from ours.)
 Caroline Burke
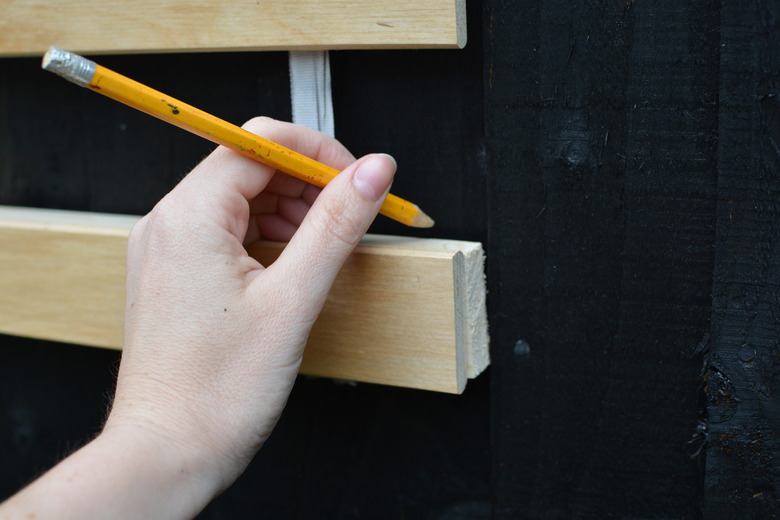
Step 6
Take the second board and line it up with the bottom slat, and then mark where the top of the board sits along the fence with a pencil.
 Caroline Burke
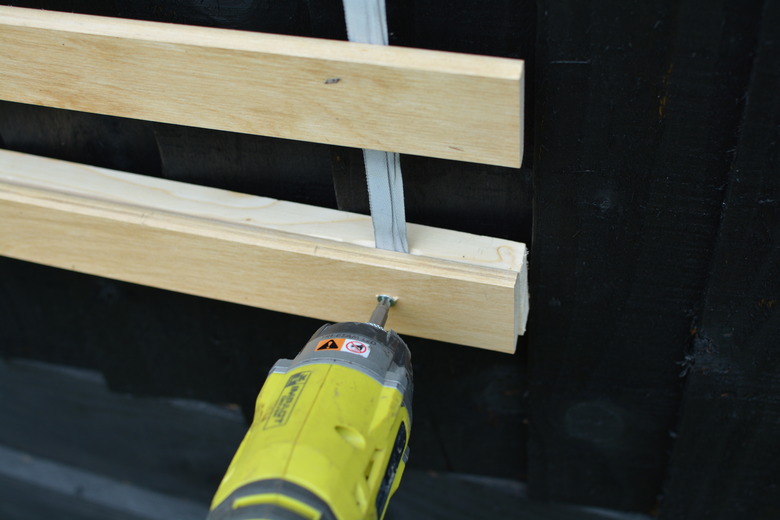
Step 7
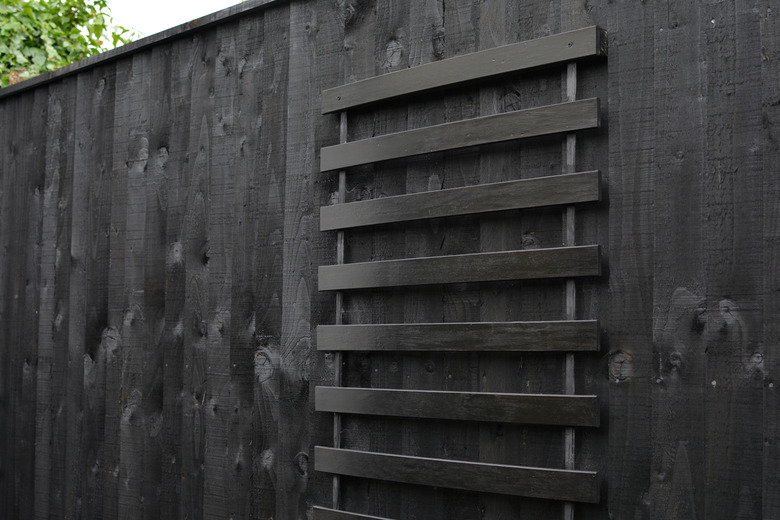
Repeat Step 2, and attach the bottom baton to the fence. Secure the last slat to the baton with a 2-inch screw on both sides.
 Caroline Burke
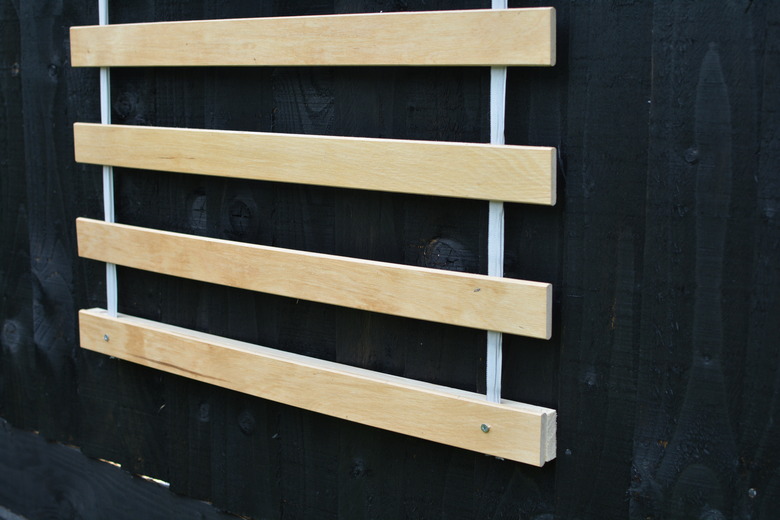
Now you have a wooden board at the top and bottom of the slats to keep them in place on the fence.
 Caroline Burke
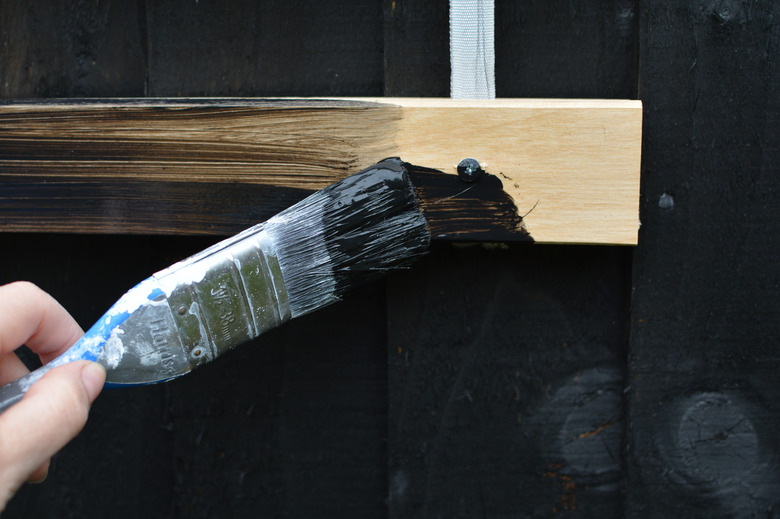
Step 8
Paint the bed slats. Use an exterior wood paint for this (we used some left over black paint from our garden fences!).
 Caroline Burke
Give the slats a few coats of paint and leave to dry.
 Caroline Burke
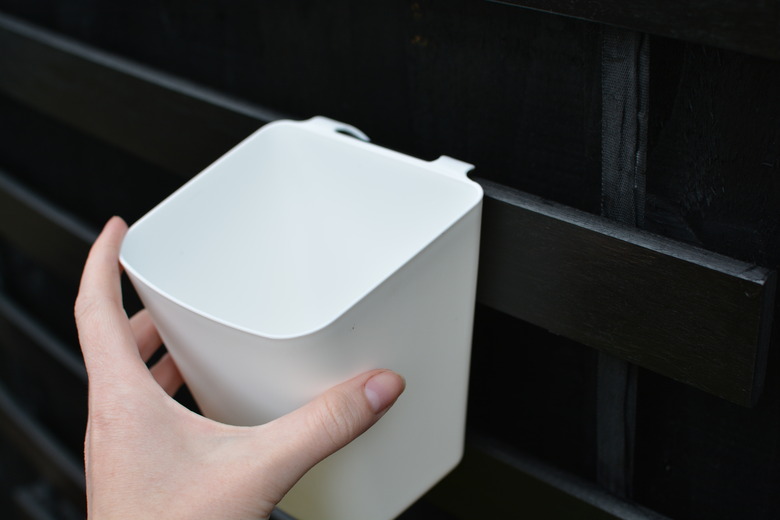
Step 9
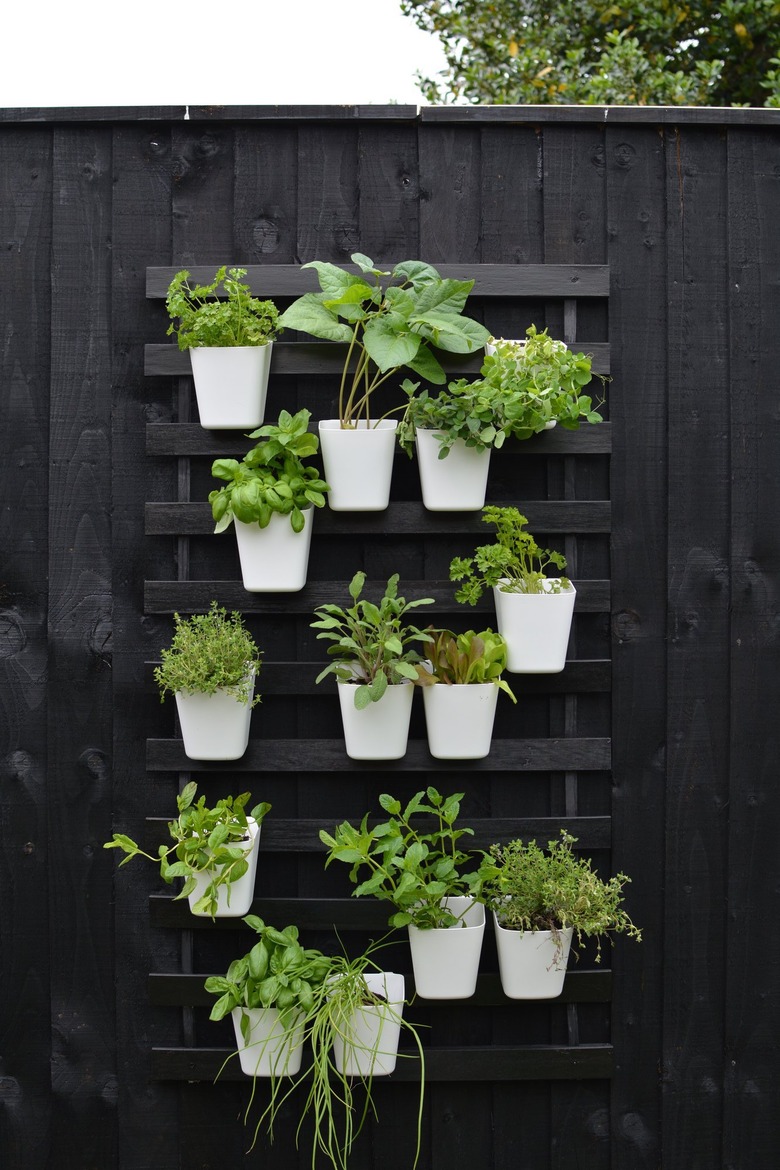
Take some hanging pots (we've used IKEA Sunnersta containers, which fit onto the slats perfectly) and place them along the slats in an arrangement that suits you.
 Caroline Burke
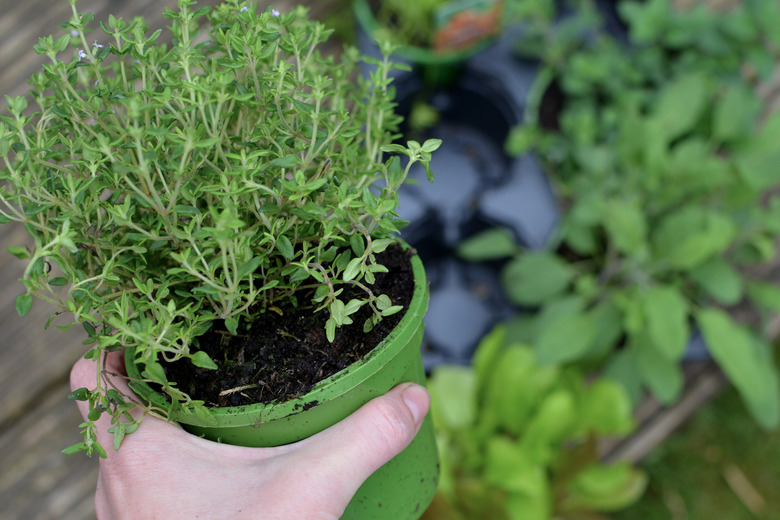
Take a selection of plants and herbs and replant them into the containers to create your vertical garden display.
 Caroline Burke
 Caroline Burke
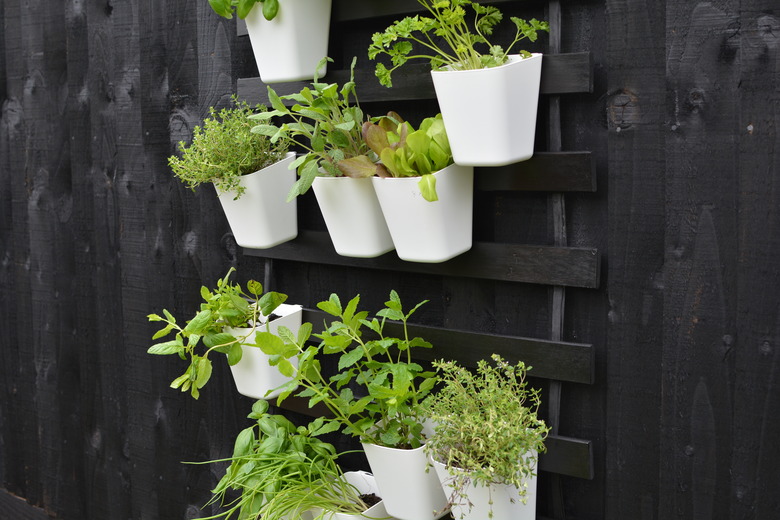
Step back and enjoy ... Just don't forget to water them!