Space-Saving Shoe Storage For Literally Every Home
We may receive a commission on purchases made from links.
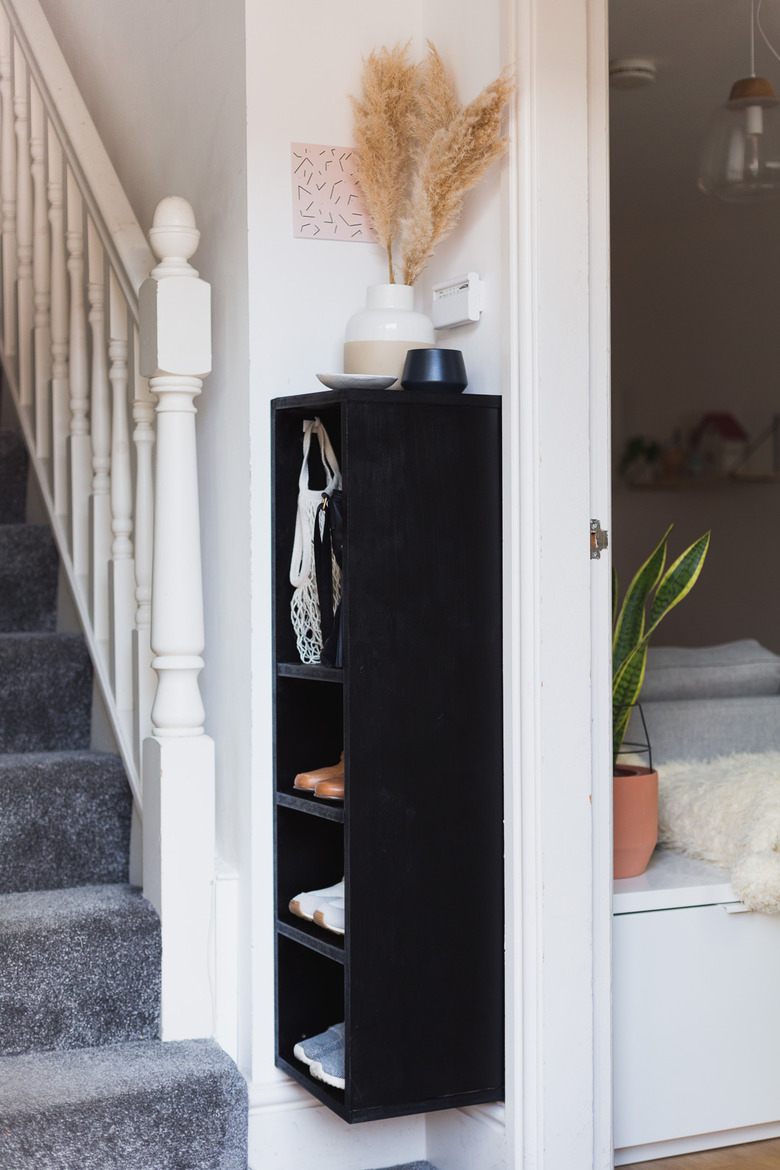
Need a smart storage solution for a small space? We say, make your own design. By using tailor-made dimensions, you'll be able to fit your specific needs without compromising on style.
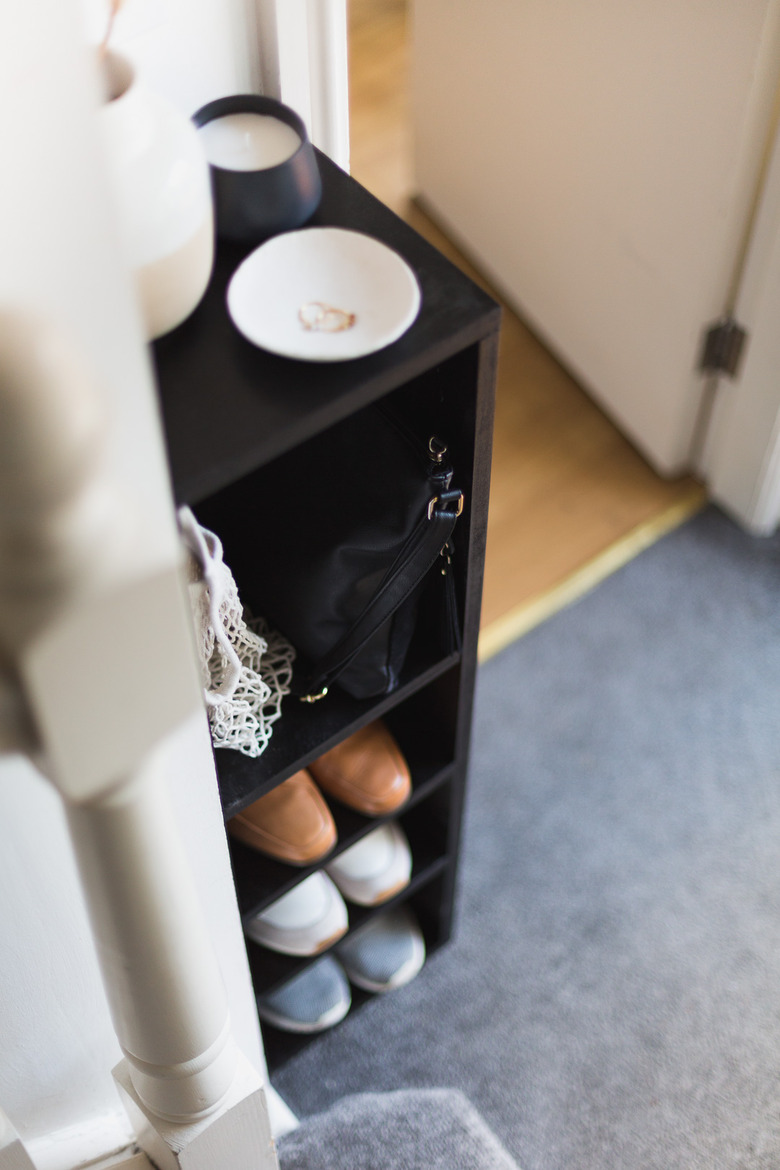
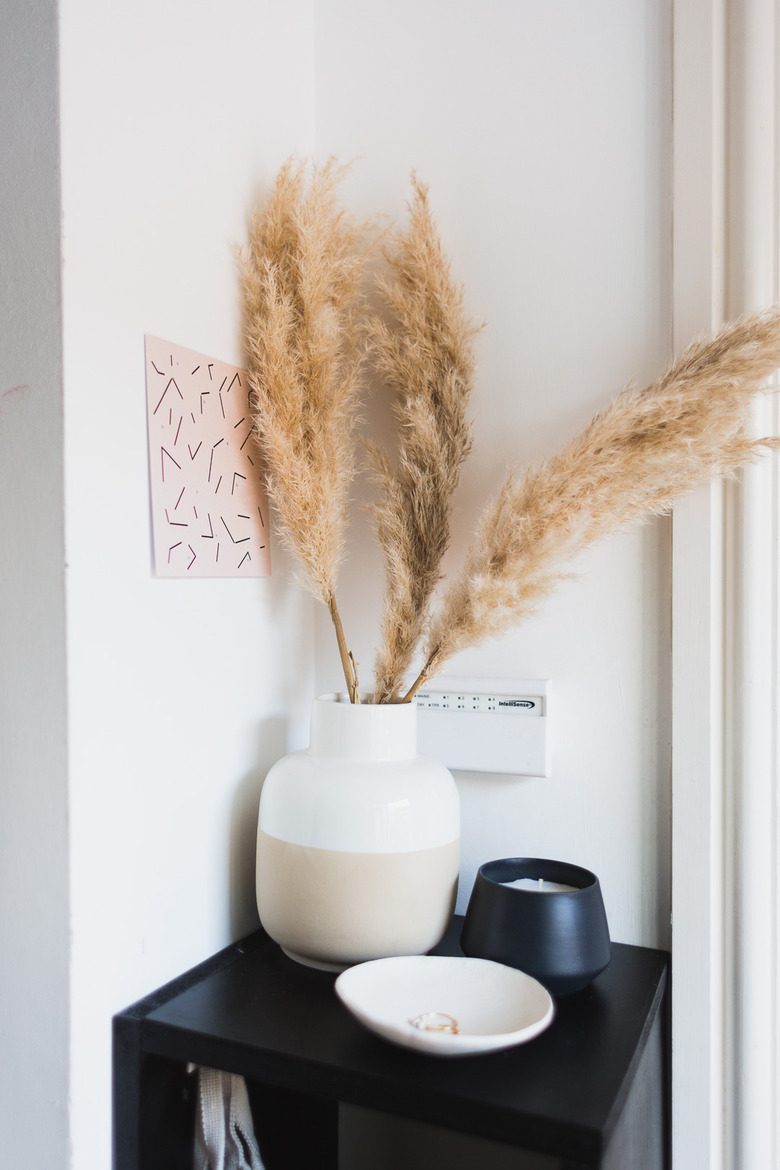
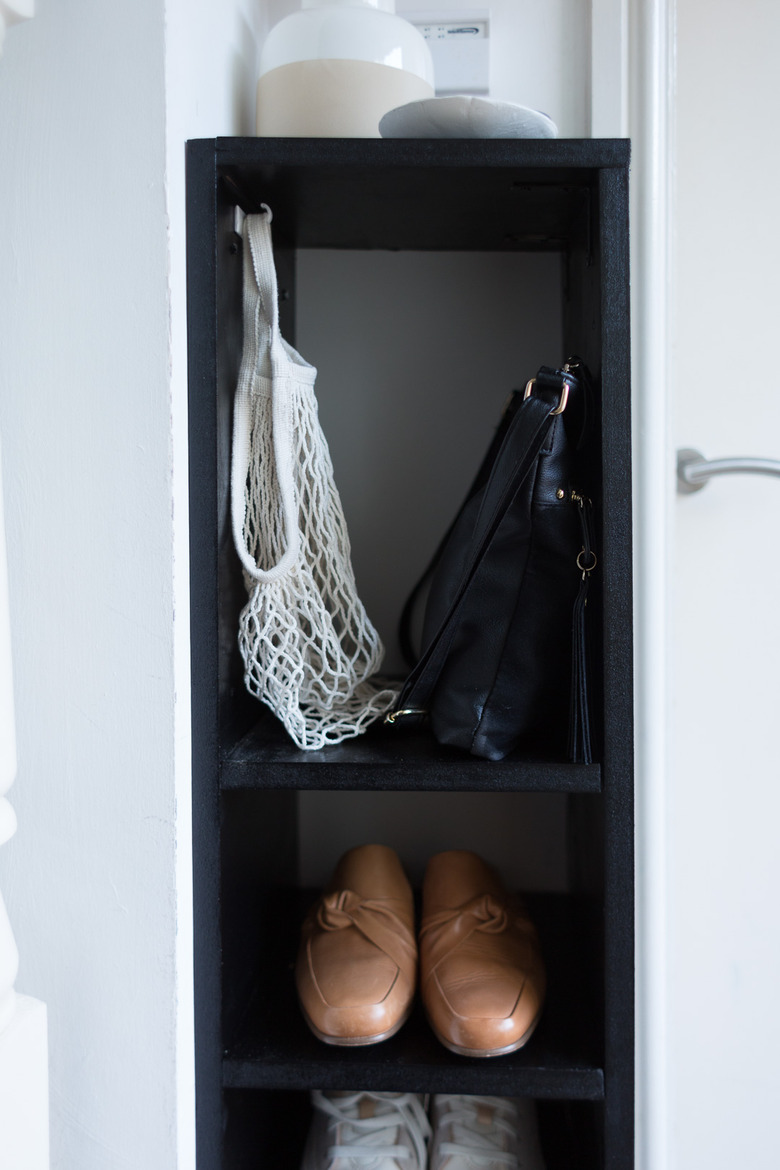
For this particular project, we needed to create storage that would hold shoes within the corner of a tiny entryway. It's not an area for collecting all shoes, just the everyday ones. We also added extra room to accommodate often used handbags and some added accessories. This area is immediately tidier!
 Francesca Stone
Things Needed
-
Wooden dowels (small for reinforcing joins)
Measure and Cut the Wood
Measure and Cut the Wood
Step 1
Measure the height and width of the area you want to put the shoe storage in and write this down.
Step 2
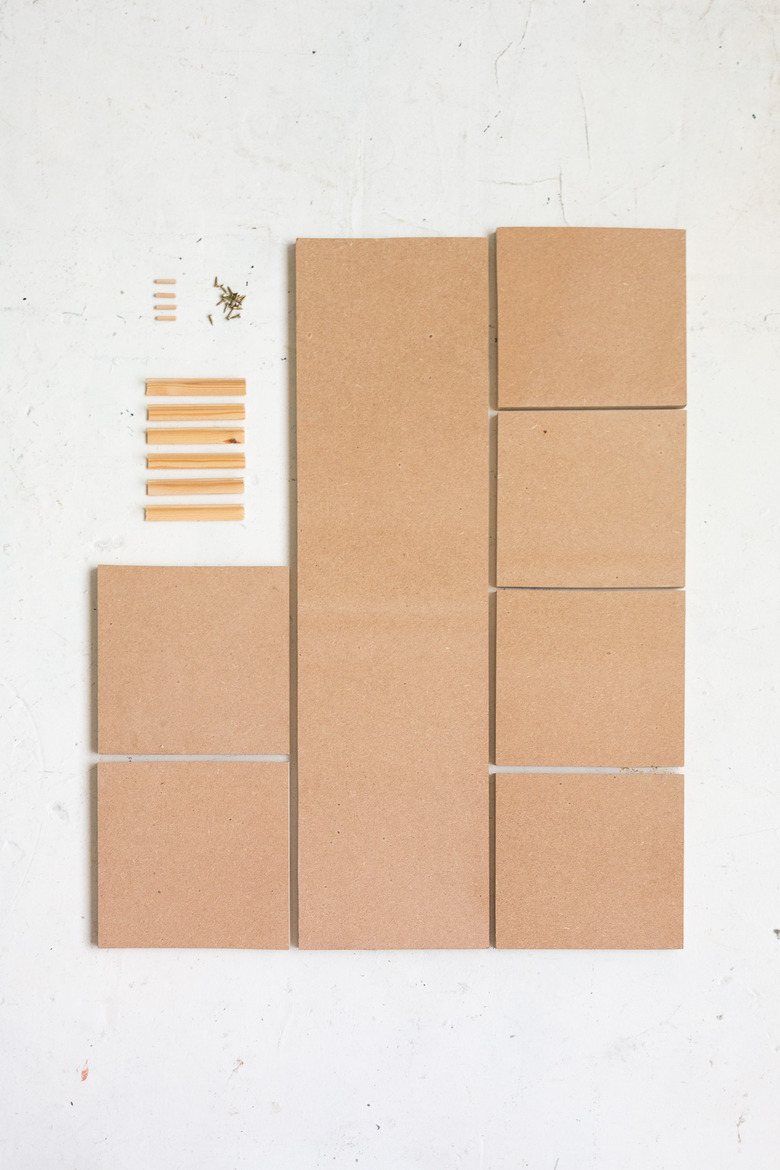
Cut the board into the sizes below. You can do this yourself with a circular saw (or jigsaw), or if you're not confident with power tools, get a local hardware store to cut them for you:
-
Piece A: height by width
-
Piece B: height minus 1 inch (double the thickness of the wood) by width
-
Pieces C: width by 10 inches
—
you'll need three pieces at this measurement
-
Pieces D: width by 10 1/2 inches (10 inches + the thickness of the wood)
—
you'll need two pieces at this measurement
Label the pieces A, B, C, and D (so there is no confusion later).
Building the Shelf
Building the Shelf
Step 1
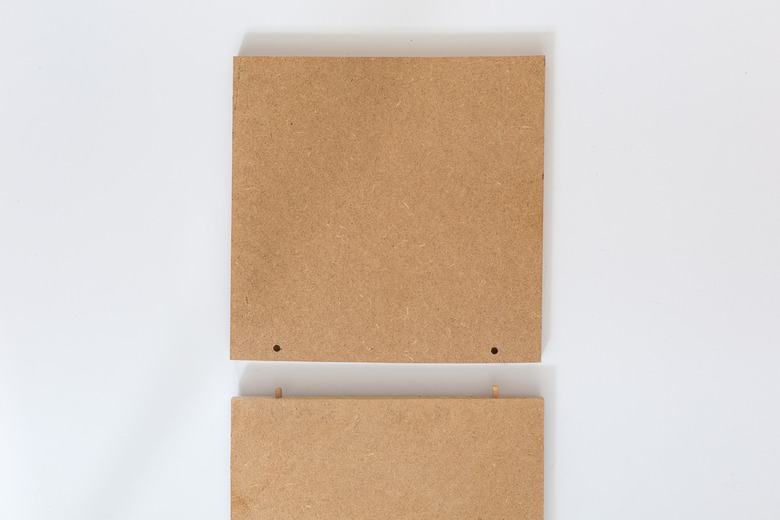
Using piece B, measure and mark 1 inch into each of the shorter ends. Find the center point along this line and drill a small hole. Insert the dowels.
Step 2
Take both D pieces and line them up with the sides you just inserted the dowels into to create two right angles at each end. Mark the point of the dowels and drill small holes at these points. Be careful not to drill all the way through the wood.
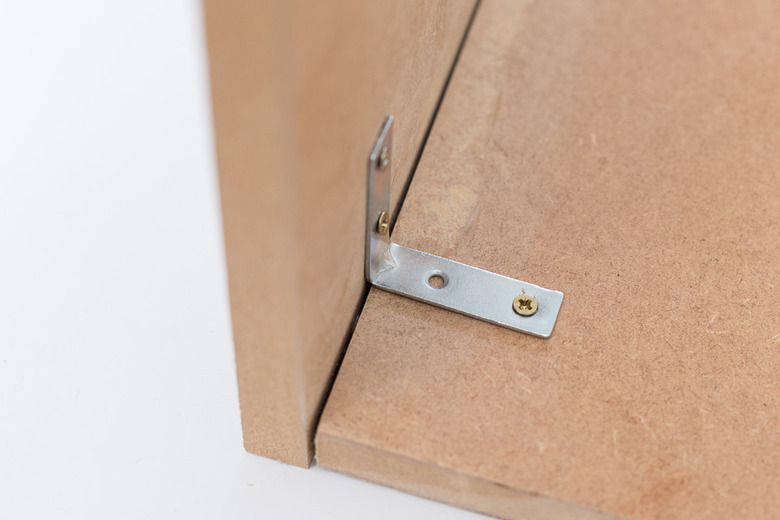
Step 3
Run glue along the ends of piece B between the dowels. Push the D pieces into place. Secure with a bracket on the inside of the right angle.
 Francesca Stone
 Francesca Stone
Step 4
Work out the placement of your shelves (the C pieces) and mark along piece B. You can divide the space equally, or create larger or smaller spaces for boots, bags, umbrellas, and so forth.
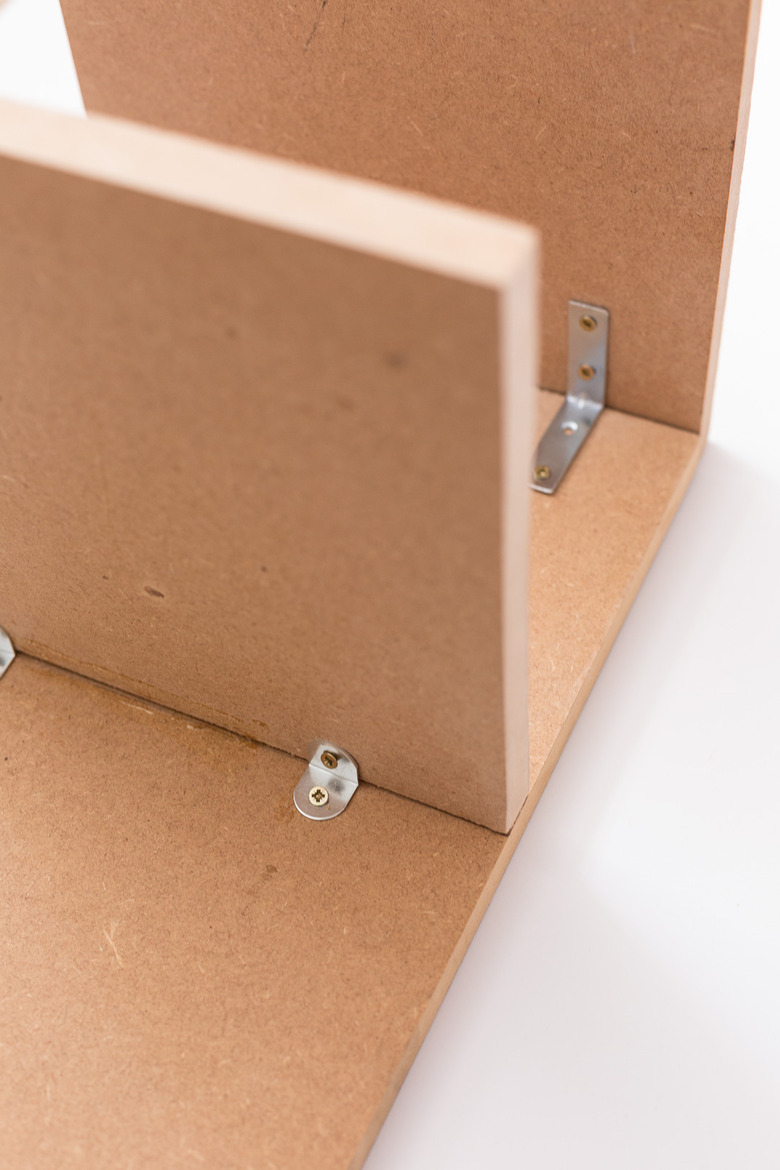
Step 5
Repeat the instructions to insert the dowels, glue, and add brackets to each of the C pieces. Make sure the brackets are underneath each shelf (remember which way up you want the piece to go).
Step 6
Finally place piece A on the opposite side of piece B. Use wood screws to attach the top, bottom, and shelves to piece A. Add brackets to the inside of the top and bottom to hold secure.
Finish the Shoe Storage
Finish the Shoe Storage
Paint the entire piece in black paint. I used BEHR paint with primer to speed up the process.
Use rawl plugs to attach to the wall. Make sure you use the correct plug for your wall type and secure well.
 Francesca Stone
 Francesca Stone