Problems With Vinyl Self-Stick Floor Tiles
We may receive a commission on purchases made from links.
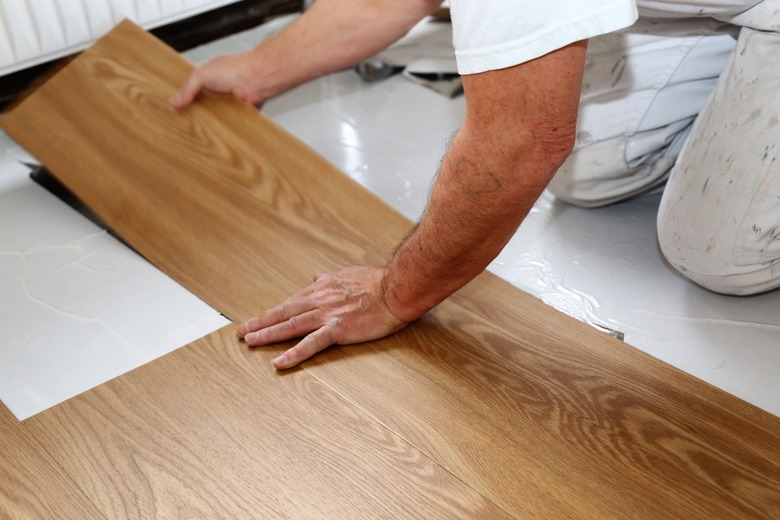
When you properly put down a layer of peel and stick floor tile on a clean surface, it should last for years. However, the occasional gap, tear or bubble can appear, causing the otherwise lovely installation to look terrible. When a problem arises with your vinyl flooring tile installation, you can quickly fix it with simple materials and tools before it becomes a bigger problem.
Benefits of Vinyl Floor Tiles
Benefits of Vinyl Floor Tiles
Peel and stick floor decals are versatile in the ways that they can be used to change a room's look. Running a few staggered lines of tiles along a kitchen or bathroom floor can open up the space. Self-adhesive floor tiles on walls create depth and texture on an otherwise bland expanse of empty space. Peel and stick floor decals can be placed on flat surfaces like wardrobes or dressers to cover up badly scratched siding, to create a detailed design or to help an outdated piece of furniture fit in with modern décor.
Filling Gaps in Peel and Stick Tile
Filling Gaps in Peel and Stick Tile
No matter how careful you are in measuring, cutting and applying the vinyl floor tiles, a gap, tear or misaligned tile can occur. Filling gaps in peel and stick tile is an easy repair and can usually blend in seamlessly with the surrounding tiles. This can also be used to blend in gaps that tend to happen around the edges of the floor close to walls or at the arches of entryways.
If the peel and stick tiles are colored, use caulk that closely matches the mottled shades or vibrant hues. Lift the curling tile near the gap and clean out any exposed edging as well as the flooring. Mask the edges around the gap. By doing this little step, you will save a lot of messy cleanup and get a crisp, clean repair. Get as close to the edge as possible without covering the gap. Run a bead along the gap. Use the smallest setting at the tip of the caulk gun if applicable. Tape will allow you to guide the caulk in a straight line down the length of the gap. Work the caulk deep down into the gap with a putty knife or narrow caulk application tool. Apply a second line of caulk if needed. Wait at least 30 minutes before applying a second coat if the gap is still noticeable.
Tips for Installing, Removing and Repairing
Tips for Installing, Removing and Repairing
Wait at least overnight if not 24 hours before walking on newly laid tiles. This allows the adhesive to do its job and set fully. Use gloves to smooth adhesive into gaps or tears. Adhesive will stick to fingers and create peaks and valleys rather than a smooth surface. Use a hand roller to go over the tile as it is laid down. This will remove unseen air pockets that can cause bubbling as the adhesive dries.
If a tile has been inadvertently laid in the wrong position or slides off-center during installation, it can be removed and replaced with a little heat. Lift a corner of the errant tile and use a hair dryer to heat the tile adhesive. Slowly peel back the tile as the hair dryer heats the adhesive. As the adhesive warms up, it will release its hold. Be patient so as not to damage the flooring underneath or the surrounding tiles that you don't want to remove.