How To Replace Vinyl Floor Tiles (LVT)
Back in 1994, the Resilient Floor Covering Institute estimated that enough vinyl flooring had been installed in American homes to cover the island of Manhattan. Since then, the number of vinyl floors in U.S. homes has only increased, and there's a good chance you have one in yours. Vinyl flooring comes in many forms, and vinyl tiles are perhaps the easiest to install and repair.
Vinyl floor tiles aren't without problems, and one of them is that the adhesive hardens with age. That's an issue when you damage a tile by scratching or ripping it and have to replace it, because hardened adhesive clings tenaciously to the floor and to the tile. There's an easy way to soften the adhesive, though. Just use heat. One you get the old tile out, gluing in a replacement is a simple matter.
Things to Consider Before You Start
Things to Consider Before You Start
If you're replacing a tile because it has been scratched or torn by an appliance or piece of furniture, the procedure is straightforward: Remove the damaged tile and glue in a new one. Tiles can sustain damage for other reasons, though, and some may call for a little extra effort on your your part.
- A crack in the middle of a tile often means it is straddling a depression in the floor. You'll need patching compound and a trowel to fill the depression.
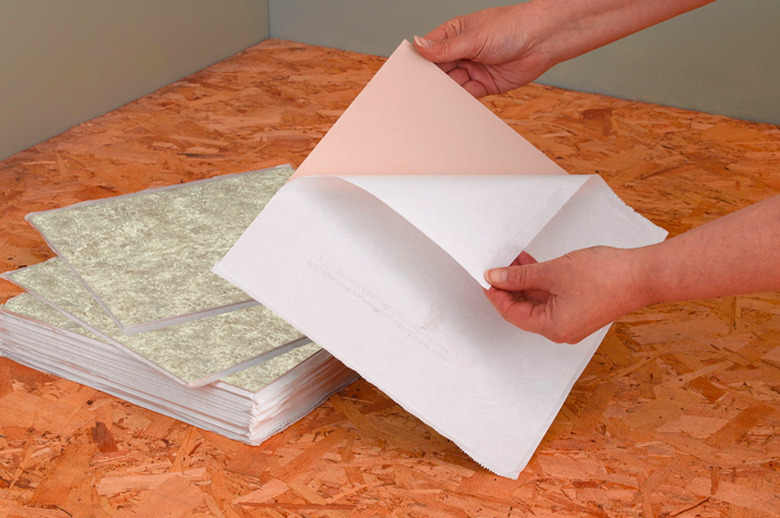
- Subfloor moisture can cause peel-and-stick tiles to come loose. Search for and correct the cause of the moisture before gluing in a new tile. Even if the floor is dry, don't rely on the peel-and-stick adhesive to hold the replacement. Use an adhesive intended for vinyl tiles.
You'll need a source of heat to soften hardened adhesive. A heat gun is probably the best tool to use for this, but if you don't have one, a clothes iron also works. In a pinch, you can also use a hair dryer set to maximum heat.
Tip
If you are lucky, you will have a few leftover replacement tiles stored away after the last flooring installation. If you have no leftovers, though, it can be hard to find replacements. The first place to try is the tile manufacturer, who may still stock and sell the tile you need. If not, try doing an internet search for tiles, by manufacturer and style. Discontinued tile may well still be available from discount retailers or even on eBay.
Tile Replacement Procedure
Tile Replacement Procedure
Things Needed
-
Masking tape
-
Heat gun, clothes iron or hair dryer
-
Stiff paint scraper
-
Sharp paint scraper
-
Pliers
-
Rag
-
Mineral spirits
-
Sander
-
Drill and screw bits
-
Leveling compound
-
1/16-inch notched trowel
-
Vinyl tile adhesive
-
Replacement tile
-
Rolling pin
1. Tape Off the Surrounding Tiles
Lay 1 1/2- or 2-inch masking tape along the edges of the tiles surrounding the damaged tile. This protects the good tiles from your scraper, tile adhesive and the solvent you need to remove old adhesive from the floor.
2. Apply Heat
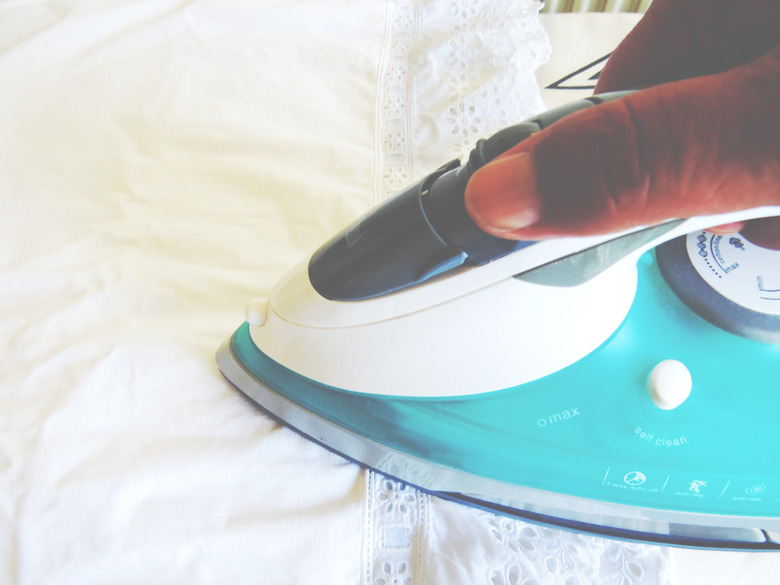
Point a heat gun or hairdryer at the damaged tile, keeping it a few inches away to avoid scorching the tile and creating fumes. Keep the tool moving over the surface of the damaged tile to soften the adhesive uniformly. If you're using a clothes iron to heat the adhesive, lay a sheet of newspaper or some fabric over the tile to prevent the vinyl from melting and sticking to the iron.
 japatino/Moment/GettyImages
3. Remove the Tile
Work a stiff paint scraper under one edge of the tile and force the edge up. Grasp the edge with a pair of pliers and pull the tile off the floor. If the tile breaks into pieces, remove each of the pieces separately. Scrape as much adhesive off the subfloor as you can while it's still soft.
Tip
If the tile is already loose, you may not need to apply heat. Just lift the edge with the paint scraper. If the tile doesn't pop off when you do this, pull it off with pliers. Peel and stick tiles often can be removed this easily.
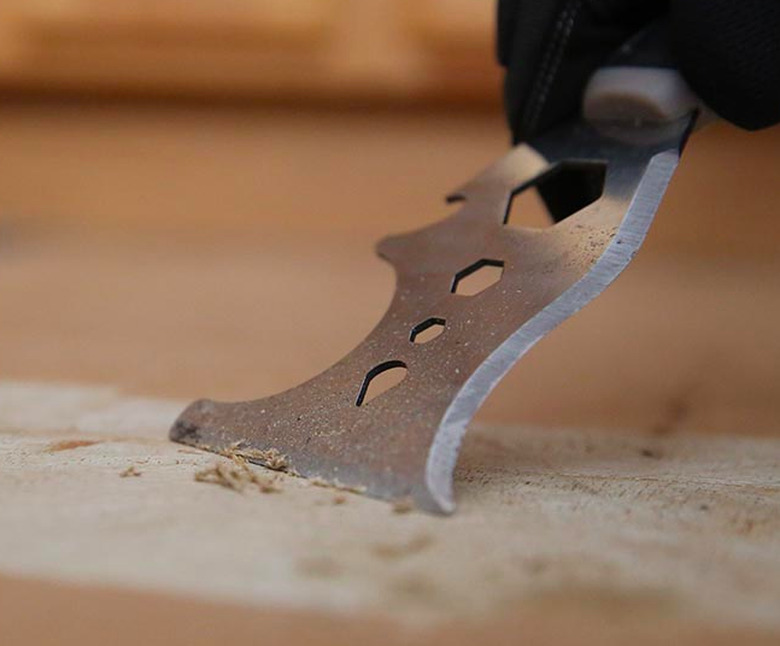
4. Remove the Adhesive
Soak a rag with mineral spirits and rub the rest of the adhesive off the subfloor. You may have to scrape while you do this to get it all off. The goal is to get the subfloor as clean and flat as possible. Some sanding may be required.
5. Make Necessary Repairs
Sand ridges flat with a sander and set protruding screws with a drill and screw bit. Fill depressions by applying patching compound with a trowel and scraping it flat. Wait 8 hours or more for the leveling compound to dry before proceeding.
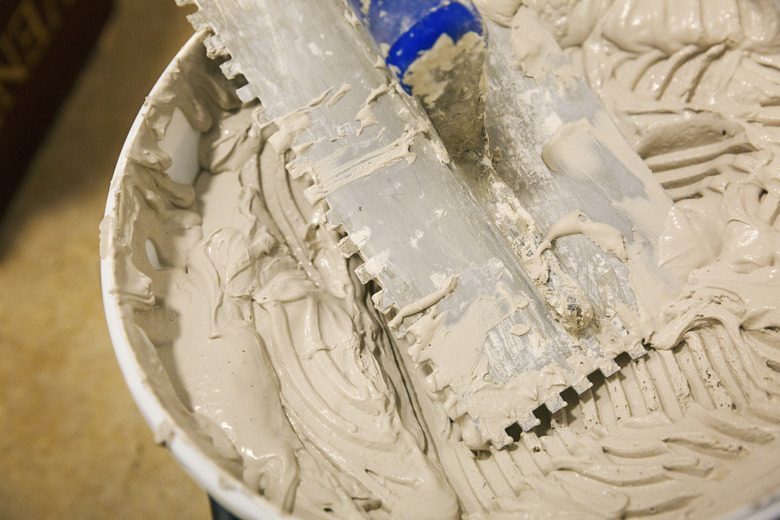
6. Apply Adhesive
Spread tile adhesive to the back of the tile with a 1/16-inch notched trowel, being sure to cover the entire surface evenly. You can skip this step if the tile is pre-glued and you feel confident it will stick. If the floor needs repairs, however, it's a good idea to spread adhesive even on pre-glued tiles.
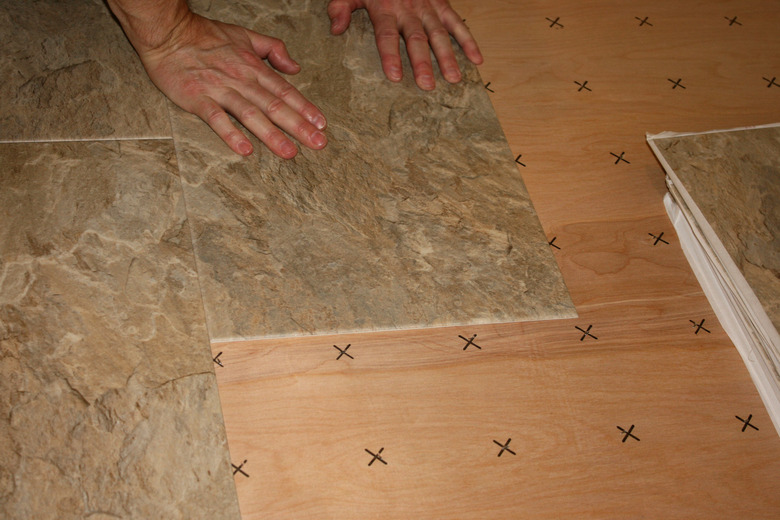
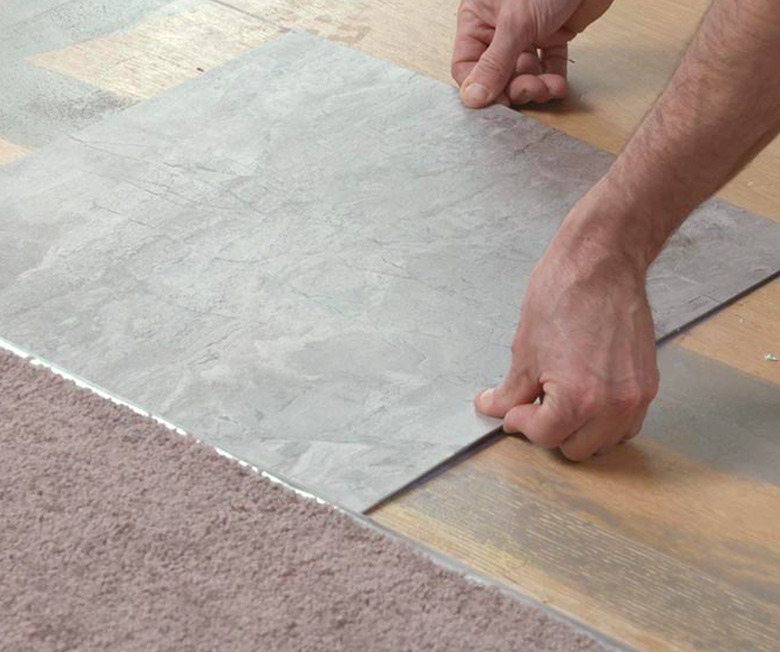
7. Set the Tile
 Lowe's
Position the tile carefully and press it into place. Clean up any adhesive that oozes out from the edges, using a rag and mineral spirits. Secure the tile by rolling it with a rolling pin or a J-roller. Remove the masking tape from the surrounding tiles, then wipe off any glue residue with mineral spirits. Wait for 24 hours before walking on the new tile.
Replacing a Glueless Vinyl Plank
Replacing a Glueless Vinyl Plank
Luxury vinyl tiles and similar products are engineered to fit together in the same way as laminate planks. They have a locking tongue-and-groove construction, and when you need to replace one of the tiles, you have two options. If the damaged tile is close to the wall, and the room doesn't have much furniture, you can usually disassemble as much of the floor as necessary to remove and replace the damaged piece, then reassemble the floor when you're done. If that's impractical, option 2 is to cut out the damaged plank, using a utility knife, and fit in a new one. The procedure is the same as that for replacing a wooden laminate plank, but you don't need a saw.