How To Use A Dremel Tool To Mount Door Hinges
Things Needed
-
Tape measure
-
Set square
-
Door hinge set with screws
-
Utility knife
-
Dremel rotary tool
-
Dremel bit changing wrench
-
Dremel plunge router attachment
-
Dremel 650 or similar straight router bit
-
Electric screwdriver
-
Protective eyewear
Used by professionals and novices alike, the Dremel is a versatile handheld power tool. With the plunge router attachment, the Dremel transforms into a surface router that can handle the size, speed, and detail of many small jobs. Mounting door hinges with the Dremel makes for fast, precise work.
Step 1
Mark the door for hinge positioning. Lay the door on its side, with the side that will receive the hinges facing upward. Measure 6 inches from the top of the door with the tape measure and make a mark with your pencil. Make a straight line perpendicular to the spine of the door by resting the set square in line with your mark. Measure 9 inches from the bottom of the door and draw a straight line perpendicular to the spine using the set square and pencil. If you're installing a panel door, the smaller panels indicate the top of the door.
Step 2
Prepare the wood for routing. Place one of the hinges on the door's spine so that its top end is in line with the pencil line. The hinge should rest folded over the edge of the door that will serve as an axis for opening. Hold the hinge down firmly and trace its three-sided outline into the wood with your utility knife. Keep the blade as close to the hinge as possible. Make three passes with firm pressure on the blade. Repeat this process to make the outline for the other hinge.
Step 3
Darken the hinges' outlines. Remove both hinges and draw an outline in pencil exactly over the blade's cuts. This will make it easier to identify the hinges' outlines when using the router.
Step 4
Prepare the Dremel for routing. Open the Dremel's spindle and insert the Dremel 650 router bit or a similarly sized straight router bit. Tighten the spindle using the Dremel wrench. Attach the plunge router body to the Dremel. Measure the width of the hinges you're using with the tape measure. Loosen the knob that controls the height of the router bit until the bit has a cutting depth equal to the width of your hinges.
Step 5
Use the Dremel to router the hinges' housings. Position the plunge router body over the hinge area. Turn on the Dremel and push the plunge body down until the bit is fully inserted into the hinge area. Follow the pencil outline as tightly as possible when routing. Remove all of the wood inside the outline. Turn off the router and blow out any dust or chips of wood. Try out the fit with the metal hinge. Stop routing when the hinge sits flush and sturdy in the hole. Repeat this process for the other hinge.
Step 6
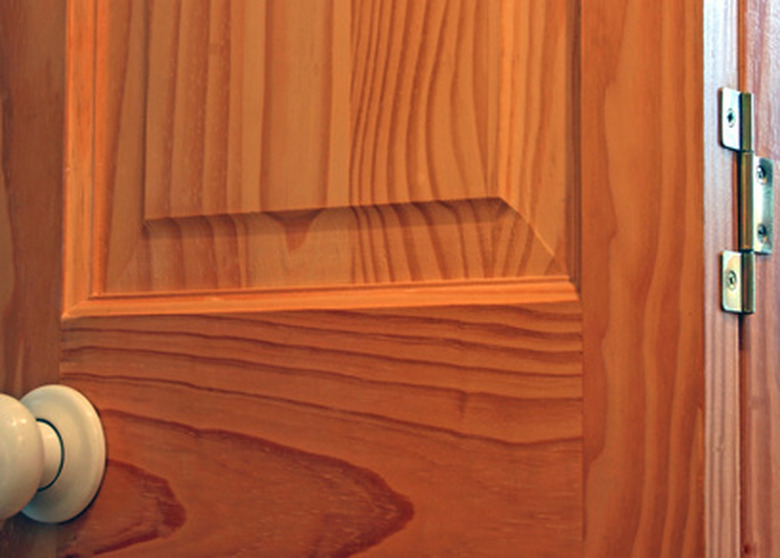
Secure the hinges. Place the hinges in their housings and screw them into place using the electric screwdriver and the screws that came with the hinge set. Secure the central screw first, holding the hinge's corners in place to maintain square positioning.
Tip
Keep in mind what type of flooring the door will have to open over when determining the position for your bottom hinge. Add a half inch or more for carpet, depending on its height.
Warning
Always wear protective eyewear when routing, which causes small chips and bits of wood to fly away from the surface. Skill with the router is required to achieve an accurate outer line. Practice on scrap wood before working on your door.