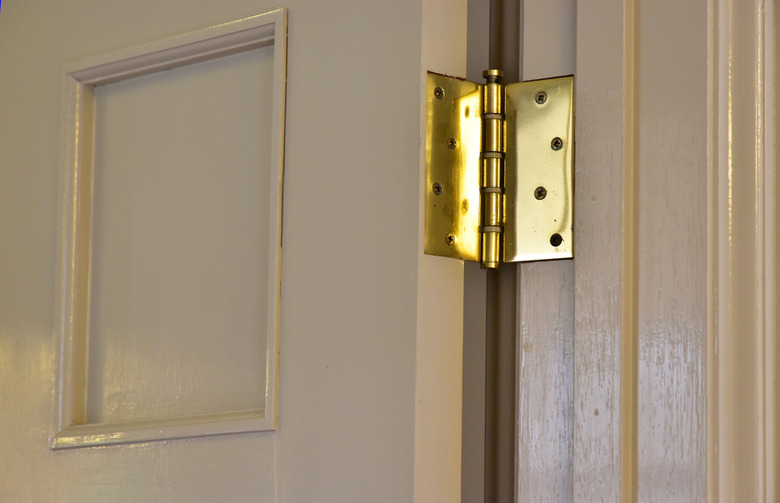
How To Cut Mortises For Door Hinges
A mortise is a recess or hollow space cut to fit a specific item, such as a door hinge or a lock mechanism. Mortising for a door hinge allows the hinge to install flush with the surface of the door edge or face. In some situations, a mortise is required for the door to close properly. In other cases, a mortise is merely cosmetic. But mortising hinges always makes for a neat, attractive installation.
 aozora1/iStock/GettyImages
You can cut a hinge mortise with hand tools or a power tool. The hand-tool method requires just a utility knife, a hammer (or mallet) and a sharp wood chisel. The power-tool method uses a router and hinge mortising jig. The jig is clamped to the door and guides the router through the cut. Because of the setup involved, the router method makes the most sense when you have a lot of mortises to cut or if you already own a jig.
Things Needed
-
Utility knife
-
Wood chisel
-
Hammer or mallet
-
Router with piloted bit
-
Hinge mortising jig
How to Mortise a Door Hinge by Hand
How to Mortise a Door Hinge by Hand
Cutting a mortise by hand starts with scoring around the hinge with a utility knife to mark the outline of the mortise. This results in a much cleaner, more accurate mortise than marking it out with a pencil.
1. Score Around the Hinge
Position the hinge on the edge of the door in the desired location, and hold it firmly in place with one hand. Trace around the three outside edges of the hinge with a sharp utility knife, scoring the wood about 1/16 inch deep (it's okay to go deeper).
Tip
Instead of holding the hinge in place while scoring, you can drill pilot holes and temporarily mount the hinge to the door with its screws. For perfectly centered holes, use a self-centering piloting bit. Remove the screws and hinge when you're done scoring the outline.
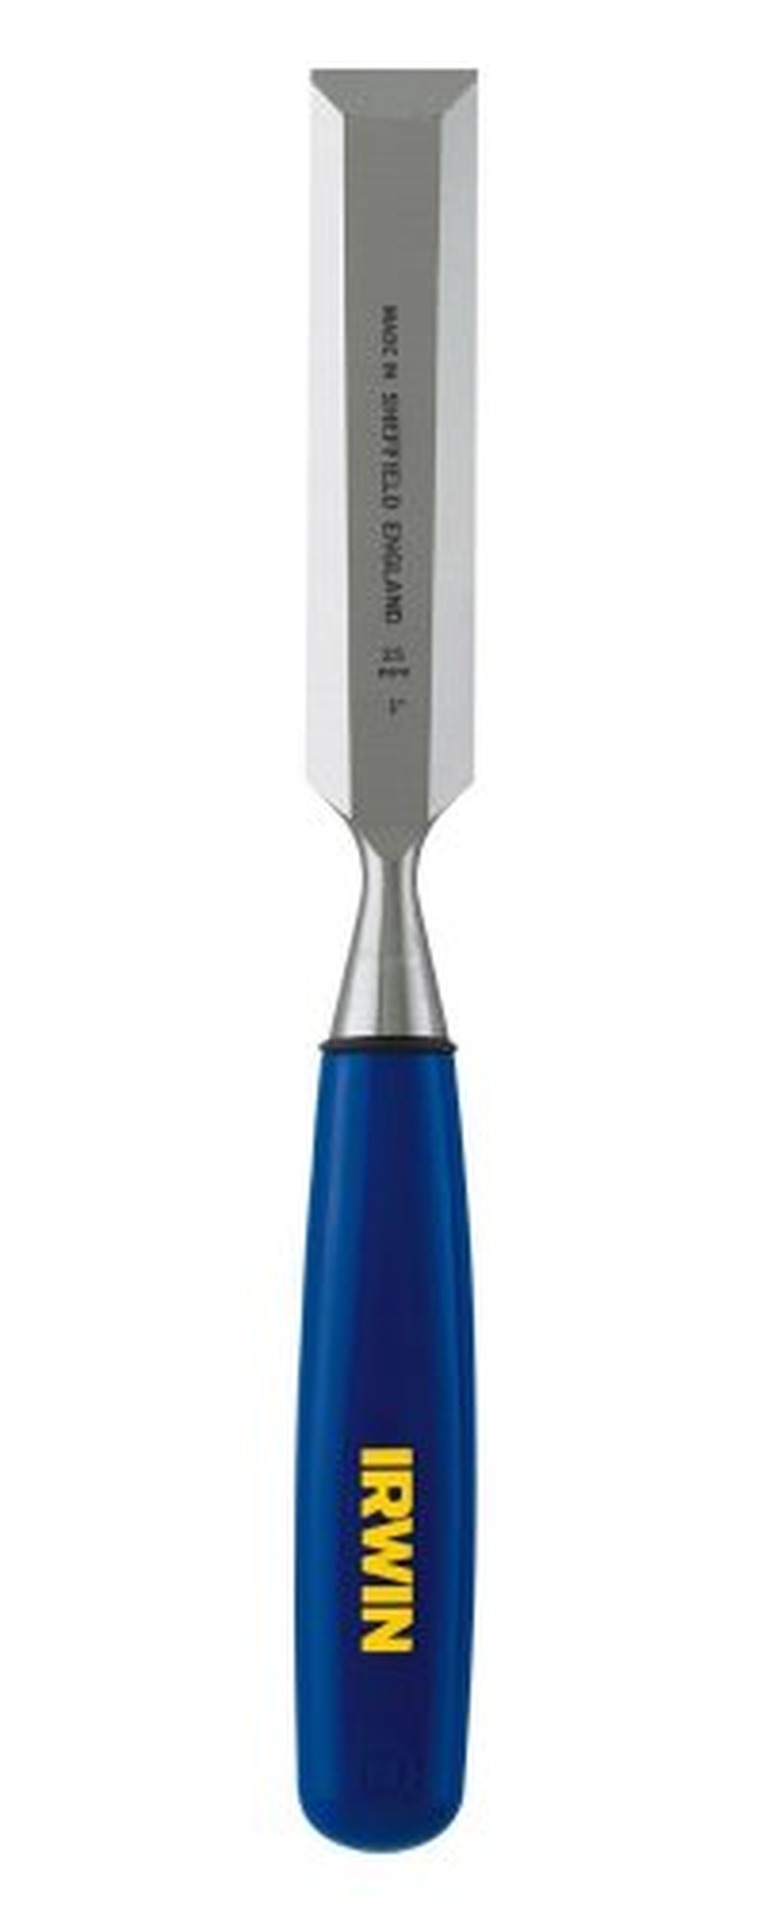
2. Chisel the Scored Outline
Hold a sharp chisel (a 1-inch or 1 1/4-inch chisel works best) vertically with the beveled side facing the mortise. Tap the chisel with a hammer to cut the wood about 1/8 inch deep, or to the precise thickness of the hinge leaf. Move the chisel over and tap again until you've cut along the entire scored outline. Be careful to stay within the scored lines so as not to enlarge the mortise or create a messy line.
 Irwin/Amazon
3. Cut Lines in the Mortise
Hold the chisel vertically about 1/8 inch away from one end of the mortise outline, inside the waste area. Tap the chisel with a hammer to make a 1/8-inch-deep cut (again, match the hinge-leaf thickness). Move the chisel as needed to cut along the full width of the mortise. Repeat the same process to cut parallel lines 1/8 inch apart all the way to the other end of the mortise.
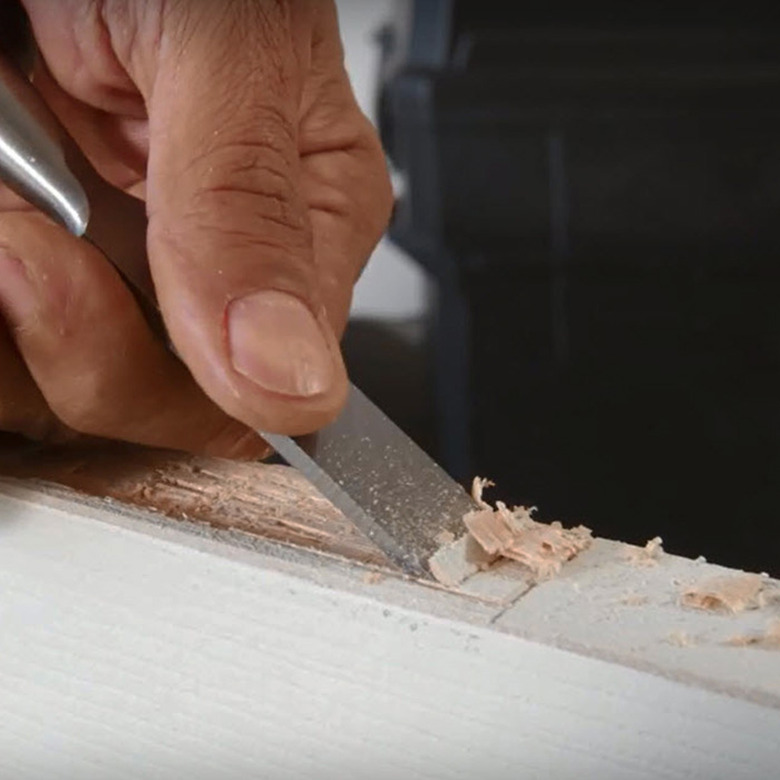
4. Chisel Out the Waste
Hold the chisel at a low angle to the door, parallel to the door's length, with the flat side of the chisel against the wood. Lightly tap the chisel with a hammer to remove the waste between each of the cut lines inside the mortise. Be careful not to cut deeper than the hinge thickness. You can also do this without the hammer—using just hand pressure—if that gives you more control.
 Lowe's
5. Clean Up the Mortise
Place the beveled side of the chisel flat against the wood and push the chisel—with hand pressure only—to remove any remaining bits of waste and flatten the bottom of the mortise. Be careful not to gouge the surface or cut into the shallow walls of the mortise. Test-fit the hinge in the mortise to make sure it is flush with the surrounding wood. If necessary, remove high areas in the mortise using the same cleanup technique with the chisel.
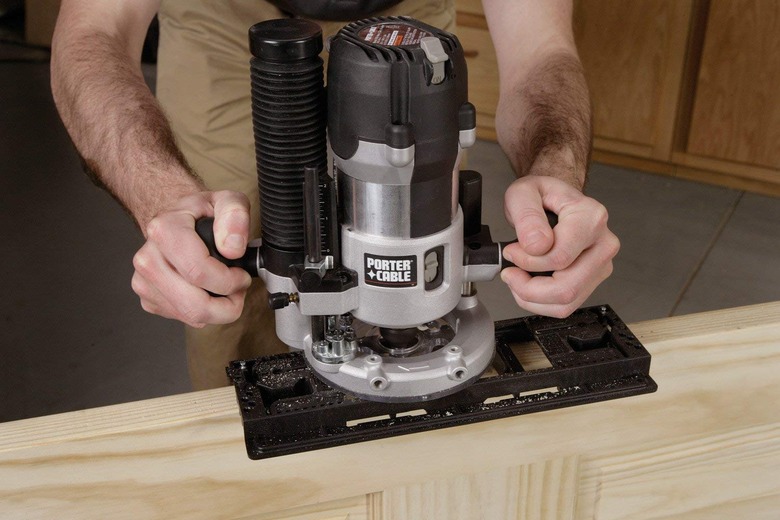
How to Mortise a Door Hinge With a Router and Jig
How to Mortise a Door Hinge With a Router and Jig
Mortising jigs for routers, also called door hinge templates, are fairly inexpensive and quickly pay for themselves through saved work hours. The basic design includes a rectangular frame that slips over the edge of the door and is secured with some kind of clamping device. Specific setup steps may vary by jig model.
 Porter-Cable/Amazon
1. Set Up the Jig
Adjust the mortising jig to the proper hinge size and door thickness. Install or remove the corner inserts, as appropriate: Depending on the inserts used, jigs can cut mortises with rounded or squared corners (squared corners must be finished later with a chisel). Fit the jig onto the edge of the door at the desired hinge location and secure it as directed by the manufacturer.
2. Set Up the Router Bit
Mortising jigs are used with a piloted router bit (which includes a guide bearing) that may be either flush-cutting or mortising type. Many jigs come with a bit. To set up the bit for mortising, chuck the bit in the router, then set the bit depth to match the thickness of the hinge leaf. Some jigs include a couple of depth gauges for two standard hinge thicknesses.
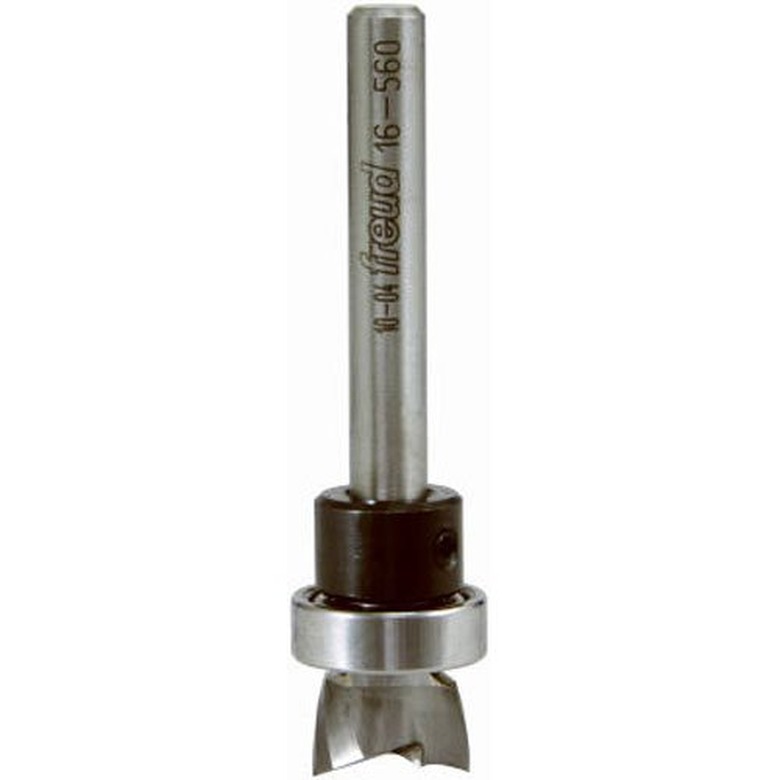 Freud/Amazon
3. Rout the Mortise
Set the router onto the jig, making sure the bit is not contacting the wood. Turn on the router and rout the mortise, starting along the perimeter and moving in a clockwise motion. Remove the remaining material in the mortise with repeated front-to-back or right-to-left cuts to clear out all of the waste. The bottom of the mortise should be perfectly flat and smooth.
4. Chisel the Corners (As Needed)
If the hinge has squared corners, use a chisel and hammer to square off each corner: Hold the chisel vertically with the beveled side facing the mortise interior. Tap the chisel with the hammer to cut one side of the corner, then repeat with the other side. Hold the chisel at a low angle with the beveled side facing up, and push the chisel by hand to cut out the waste.