How To Fix Or Replace A Kitchen Sink Sprayer

We may receive a commission on purchases made from links.
You don't know just how often you rely on your sink sprayer until it stops working. Once it does, you're likely to find yourself reaching for it all the time. Fortunately, both repairing and replacing your sink sprayer are easy jobs that you can do yourself. You need not get a plumber involved — even if you consider yourself quite the DIY home improvement novice.
How a Kitchen Sprayer Works
How a Kitchen Sprayer Works
Once you understand how your sprayer works, it's easier to troubleshoot and fix it. When you turn on the water to your tap, the water flows, and it's business as usual. When you turn on your sprayer, however, the water pressure drops. This opens a unit called the diverter valve. When open, this valve directs water away from the spigot and over to the kitchen faucet sprayer.
With the diverter valve open, the water runs through the hose to your sprayer head. It continues to do so until you release the button on the sprayer and return the water pressure to normal. You don't need to worry too much about the inner mechanics of the sprayer head. If it stops working, it's much more practical and cost-effective to simply replace the entire unit.
Tip
Note that this basic setup applies to most sink sprayer systems. Even if you have a fancy pull-out sprayer faucet that simply pulls out of its housing (as opposed to a separate unit), the kitchen sink faucet still utilizes a simple diverter system.
Finding the Right Parts
Finding the Right Parts
Troubleshooting a broken kitchen sink sprayer often leads to the need to replace parts. Replacing parts means first finding parts. Many use standard 1/2- or 3/8-inch fittings, but not every manufacturer opts for the standard. The easiest way to get the right parts is to contact the faucet manufacturer and ask about what you need. In some cases, you can even buy what you need directly from the manufacturer.
You may even be able to get the faucet parts you need for free. Moen, for example, offers a lifetime warranty on several of its faucets. Depending on the terms of the warranty and what went wrong, you might manage to acquire replacement parts at no charge.
If this isn't an option, the next best thing is to take your sprayer apart and take the parts you need to replace with you to the hardware store. When there, you can measure and compare the fittings to verify you're getting the right size. Alternatively, you can measure your fittings and order them online. In this case, be sure to compare the new part to the old one before you change it to verify that you have what you need.
When you're searching for the right parts don't forget about the aesthetics as well: You don't want a chrome kitchen faucet to be paired up with a brushed nickel or matte black sprayer.
Troubleshooting Your Sprayer
Troubleshooting Your Sprayer
If you start noticing problems with your sink sprayer, it's time to look for the culprit. One common problem is the appearance of mysterious puddles. If you're finding water under your sink but the faucet, water supply lines, and drains all seem intact, check your spray hose. Sometimes, sprayer hoses spring a leak and need to be replaced.
Although not quite as common, sometimes the sprayer head itself will spring a leak. In this case, replacing the head is the best course of action. While it isn't strictly necessary, some homeowners replace the head and the faucet spray hose together to be on the safe side.
You may also notice a significant reduction in water pressure when using your sprayer. The two main reasons for this issue are a clogged diverter or sprayer head. Both of these issues tend to occur more frequently in areas with hard water. To fix the problem, you need to remove the sprayer head and/or diverter and wash them out with a lime-removing product, like CLR.
Every once in a while, the hose on a sink sprayer may get stubborn and refuse to retract itself when you're finished with it. Sprayer hoses often have a small weight on them to help gravity pull the hose back into its hole. Look around under the sink and make sure this weight didn't fall off. If it did, simply pop it back on.
If the hose is old and starts to feel sticky or rigid, replace it. In this case, the hose probably isn't retracting because it's getting stuck to the side of the sink or other plumbing. The problem is only going to get worse with time, so just install a new hose.
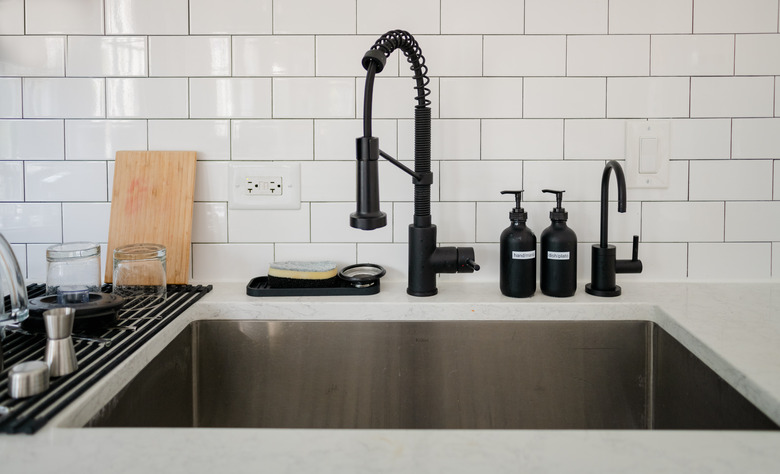 Cavan Images/Cavan/GettyImages
How to Replace the Sprayer Head
How to Replace the Sprayer Head
If you have a clogged or leaky sprayer head, you can replace it in just a few minutes. The job is easy and requires only a small screwdriver and a pair of needle-nose pliers. Remember to turn off the water to the sink before you begin and then drain out any water left sitting in the faucet or sprayer hose.
To do this, look under your sink and locate the hot and cold water supply lines. Each will have either a metal knob or a lever. To turn off the water, you need to turn each knob counterclockwise as far as you can. If you have levers instead, simply turn them so that they are perpendicular to the pipe. Drain out any remaining water in the lines by turning on the tap.
- Grasp the hose of the sprayer and hold it still while you unscrew the sprayer head from its base on the end of the hose.
- Remove the washer on the end of the sprayer base. Then, remove the small metal clip beneath it on the end of the sprayer hose with a small screwdriver.
- Slide the spray head base off the end of the hose and slide the new one on in its place.
- Reinstall the small metal clip. You can do this with your fingers, but a pair of needle-nose pliers makes the task easier.
- Seat a washer over the metal clip and screw the replacement spray head onto the hose. It's best to install a new washer during this step. Washers deteriorate over time, so you may as well replace yours while you have the sprayer head apart. Some replacement sprayer heads come with a new washer.
How to Replace the Hose and Sprayer Head
How to Replace the Hose and Sprayer Head
Because they're installed together, a problem with your sprayer hose could mean your sprayer head is getting past its prime as well. The opposite is also true. You can replace just one or the other, but replacing them both at the same time doesn't add much time or expense to the repair, so consider doing it all at once.
When replacing the sprayer hose, be aware that it may attach with a quick-connect device. A quick-connect device is a two-part system that makes fast and easy plumbing connections. One half of the device will thread onto the hose connector on your faucet. The free end of the unit will look like a nipple.
Next, screw the collared portion of the quick-connect device onto the end of your hose. When you're ready to make the connection, pull down the collar on the quick-connect device and then push it onto the nipple under the faucet.
- Turn off the water to the sink by closing the valves on the hot and cold water supply lines. Drain any remaining water from the lines by turning on your tap and giving the sprayer a quick squeeze.
- Follow your sprayer hose down under the sink and find where it's connected to the underside of the faucet. Unscrew it using a wrench if it's too tight to remove by hand. Some hoses attach via a quick-connect device rather than screwing into place. In this case, pull down the quick-connect collar while pulling the hose away from the connection.
- Pull the sprayer head and hose out of the sink. The piece on top of your sink that the hose comes out of is the hose guide. This is also the base on which the sprayer sits when you're not using it. To remove it, unscrew it from under the sink and then simply pull it off your sink. The hose guide should lift out easily, but it may take a little muscle if it's corroded into place.
- Place the new hose guide in the old one's place and tighten the nut.
- Unscrew the nut on the bottom of the sprayer and slide it onto the new sprayer hose. Install the small C-clip that holds it in place.
- Seat the nylon washer over the end of the hose followed by the rubber washer. The washers should come with the sprayer and hose set you purchased. Note that some kits come with only one washer. If so, simply use that washer by itself.
- Screw the sprayer onto the hose. Do so by hand and make sure you don't overtighten it.
- Feed the hose through the hose guide from above and set the sprayer in place.
- Insert the small washer into the hex nut on the end of the hose. Screw the quick-connect adapter to the end of the hose if you're using one.
- Apply two to four wraps of plumbers' tape onto the male threads where the hose will connect to the faucet. Wrap in a clockwise direction.
- Screw the nut onto the hose connection. If you're using a quick-connect setup, you'll screw the quick-connect adapter onto the hose connection.
- Pull back the collar on the quick connector if applicable and push it onto the quick-connect adapter.
How to Replace a Diverter Valve
How to Replace a Diverter Valve
If you get water from the faucet but not the sprayer, you probably need a new diverter valve. The same is also true if you can get water from the sprayer but not from the faucet. Low water pressure can also indicate diverter valve problems, although in this case, a cleaning may solve the problem rather than a sprayer replacement.
- Turn off the water to the sink and drain the lines. To turn off the water, close the valves on the hot and cold supply lines under your sink. Then, open the tap to drain out any excess water.
- Remove the spigot. Some spigots screw off. Others are held in place by a small setscrew. If you can't turn the spigot, look for and loosen this screw first.
- Lift away the spigot. Sometimes, the spigot itself lifts off. On other sinks, the spigot is attached to a sleeve that lifts off the faucet base as one piece. The diverter often sits just under the spigot or sits sideways in the front or back of the faucet base.
- Lift or pull out the diverter valve from the faucet base with a pair of pliers. Some diverters are threaded. If yours is, you will need to turn it counterclockwise to remove it rather than pulling it straight out.
- Replace the old diverter valve with the new one.
- Reassemble the spigot by reversing the removal procedure.
References
- Sunsrise Specialty: 7 Common Pull-out Spray Kitchen Faucet Problems (Tips to Fix)
- Mr. Kitchen Faucets: How to Find the Right Kitchen Spray Head Replacement
- Kitchen Infinity: The 7 Most Common Pull-Out Spray Kitchen Faucet Problems and Their Solutions
- YouTube: Danco, Inc. – How to Change a Kitchen Sink Spray
- YouTube: Family Handyman – How to Repair a Sink Sprayer
- YouTube: Kohler – Fix Leaky Faucet Base – How to Replace Single-Control Faucet Diverter
- Kohler: Replace the Diverter on a Single-Control Kitchen Faucet