How To Choose And Install Window Film For Privacy And Reducing Glare
We may receive a commission on purchases made from links.
Window film offers an easy way to reduce indoor glare and improve privacy, but it can do much more than that. Some films include multiple layers of polyethylene teraphthalate — a polyester material from which most window films are made — that can protect people indoors from shattering glass and improve thermal insulation. Some types of window film add a decorative touch while they provide privacy, and some can keep you healthy by rejecting up to 99 percent of harmful ultraviolet radiation, protecting indoor furnishings from fading in the bargain.
Window film is typically applied to the inside of standard windows, and installing it is an easy DIY project for any homeowner. Most products come with installation instructions, and while it's always a good idea to read them, the procedure differs very little from one type of film to the next. The exception to the rule (there's always an exception) is that products designed to protect windows from graffiti must be installed from the outside, and that may call for a bit more preparation than what is required for indoor installation.
Why You Need Window Film
Why You Need Window Film
When shopping for window film, the main consideration isn't necessarily the types of windows you have because window film adheres equally well to all plain window glass. The number-one concern is what you actually want the film to do, and there is a type for almost every purpose:
Glare Control
Are you tired of direct sunlight and reflections from shiny objects hurting your eyes while you're working on your computer? Reflective window film can reduce that glare to a comfortable level or eliminate it altogether by reflecting light of the most damaging wavelengths while letting natural light pass through. You still have great visibility without having to squint to appreciate the view. Dual-reflective film filters light in both directions to reduce glare on both sides of the window. Glare-reducing film is rated by its glare coefficient; the higher the number, the better the glare reduction.
UV Blocking
Protect your prized Persian rugs and your valuable upholstery from fading by installing UV-blocking film that cuts incident ultraviolet rays — which are the most damaging light rays — to almost nothing.
Thermal Insulation
Whether you want to reduce the energy consumed by your air conditioner or you want to keep the cold air outside and reduce your heating costs, window film can help by reducing the thermal conductivity of your window. Thermal insulation film can be reflective, or it can be completely neutral to light transmission so you don't even know it's there. Unlike other films that install directly onto glass, this type of film is installed over the window frame to create a sealed air chamber on the interior side of the window.
Security
A 4-mil or thicker security film acts as a safety barrier, preventing shards of glass from flying around the room if the window ever breaks, and it's a deterrent for burglars. Thicker 8- to 15-mil films can even protect against bomb blasts, although they have to be anchored to the window frame to be effective.
Privacy and Decoration
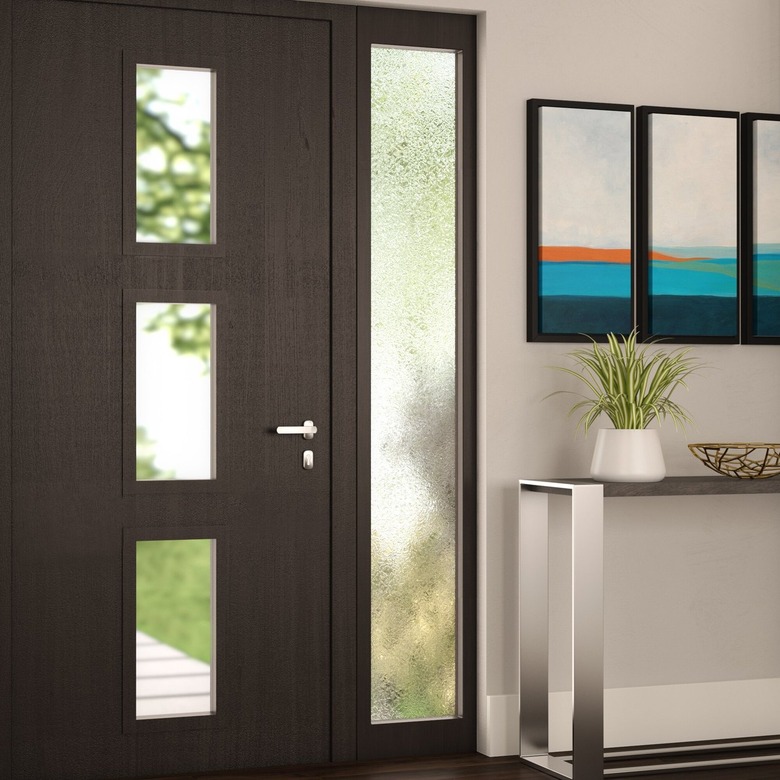
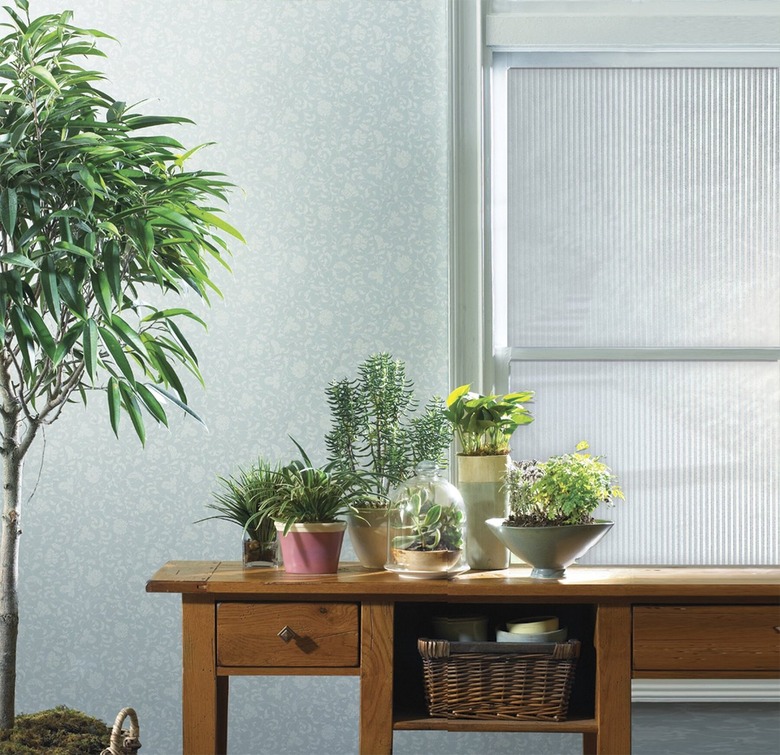
You can use window film to create a one-way mirror effect so you can see what's outside without being seen yourself. If your house could use a bit of an aesthetic upgrade, you can also install decorative window film with a frosty or translucent surface that provides privacy in both directions.
Things Needed
-
Application solution
-
Baby shampoo (if needed)
Installing Window Film
Installing Window Film
Window film installation is on the easy side of home DIY projects, but don't forget to read the manufacturer's instructions and familiarize yourself with anything that is supplied with the film. Many products come with a proprietary application solution that you'll need to wet down the film to help it adhere.
If a solution isn't provided, you can make your own by adding a teaspoon of baby shampoo to a gallon of water. It's important to use soapy water and not a regular window cleaner, especially not one that contains ingredients like ammonia or vinegar, which will degrade the film.
1. Clean the Window
Using a microfiber cloth and the cleaning solution that comes with the film (or one you made yourself), wipe down the entire pane of glass, making sure to get all the little pieces of dirt and lint and being sure not to leave any oily residue. It may help the process go quicker if you put the cleaning solution in a spray bottle and spray the window as you wipe it down. Wipe the cleaning fluid off the window with a squeegee before it dries and use paper towels to dry the edges of the window frame.
2. Prepare the Window Film
Unroll the window film onto a flat, clean surface with the backing facing up. Using a utility knife, cut out a section of film that is 1 inch larger than the window pane on all sides.
3. Remove the Backing
Work the backing away from one corner of the film with your fingers and gently pull it off the film. It helps to wet your fingers first with the cleaning solution to avoid leaving fingerprint marks on the film. Another strategy is to stick pieces of tape to the film and the backing and use those to pull them apart.
4. Place the Film on the Window
Spray cleaning solution on the window side of the film to wet it down and improve static cling. Install the film on the window pane, keeping a 1-inch overlap on all sides and ensuring that at least one side is parallel to the frame (if one side is parallel, all sides will be parallel).
5. Get Rid of Air Bubbles
Use the cleaning solution to wet down the side of the film facing you and then use your palms to press the film onto the glass surface and move air bubbles to the edges where the air can escape. Start at the center of the window and work your way to the top edge and then toward the bottom. If you have a squeegee, you can also use this to flatten the film and remove air bubbles. Some kits come with a credit-card-size squeegee that you can use for this purpose.
6. Secure the Edges
Flatten the edges of the film against the window using the credit card squeegee that came with the kit, a plastic paint scraper, a cabinet scraper, or a real credit card (not an active one). Press down firmly, especially at the corners, to prevent the film from lifting in the future.
7. Trim the Excess
Trim the excess film from around the edges using a sharp knife — preferably a utility knife — or a razor blade safely installed in a razor blade holder. Work the blade away from each corner to avoid having a piece of film hanging from the corner and lifting the rest of the film off the window.
8. Remove Excess Moisture
Wrap the tool you used to secure the edges with a piece of low-lint microfiber cloth. Spray cleaning solution on the film and then run one edge of the scraper sideways along the film to move excess moisture underneath it to the edge of the pane.
9. Wipe the Window Clean
Spray the window one final time with the cleaning solution and wipe it down with a microfiber cloth. The film will permanently attach itself to the glass, but if you used an adhesive, it takes some time for it to harden. The bond should be more or less permanent about 30 minutes after installing the window film, but it may take four to eight days for it to fully cure.

