DIY Plinth To Elevate Common Objects
We may receive a commission on purchases made from links.
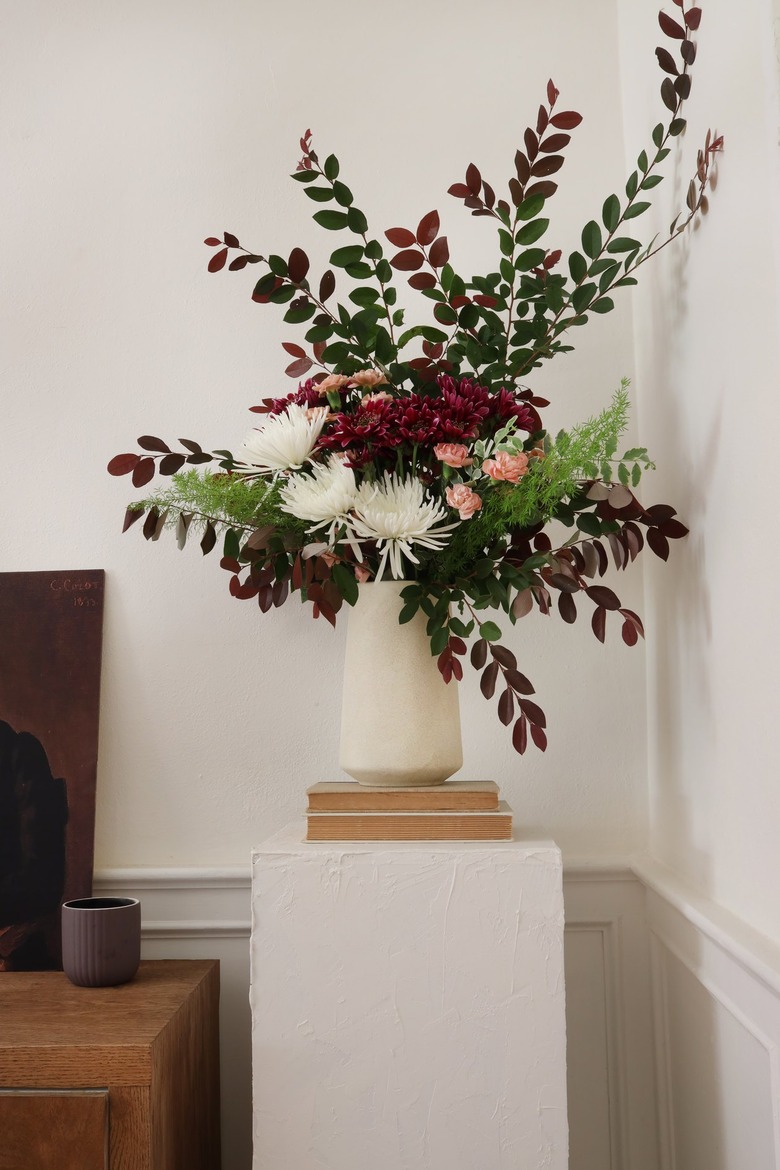
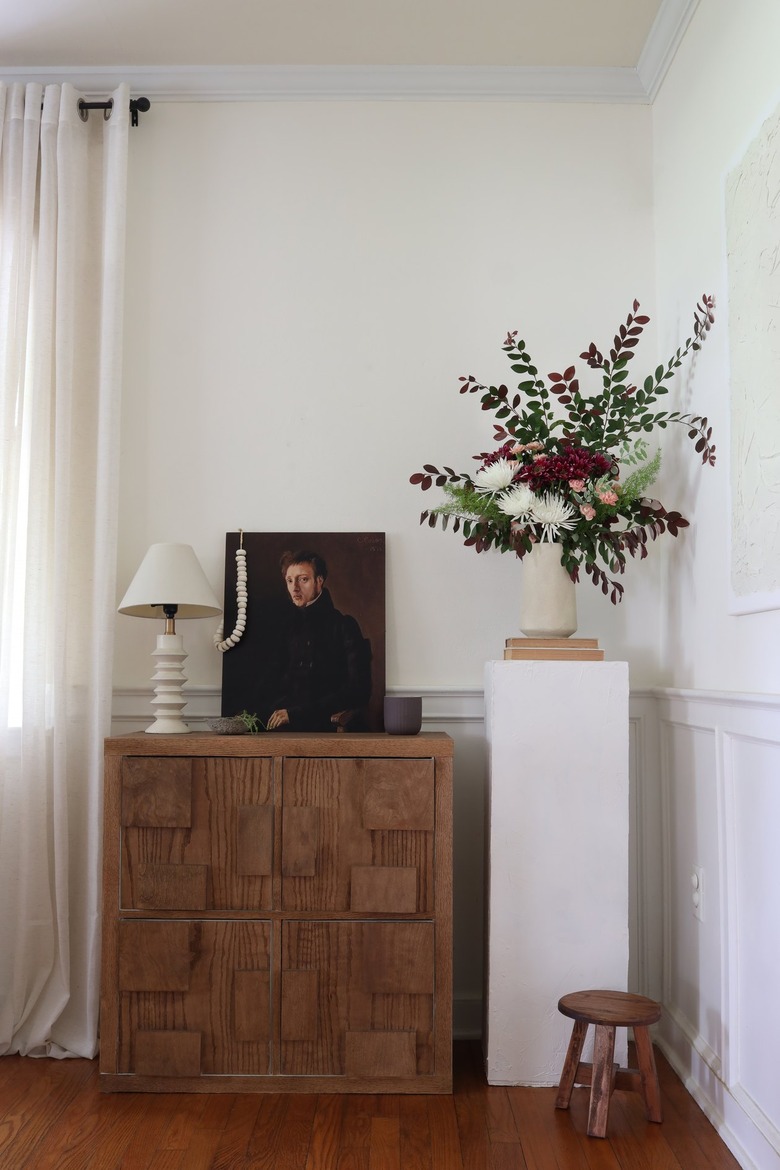
Plinths — also known as pedestals, columns, or display stands — are commonly used in museums and retail stores to give objects both height and stature. But more recently, they've gained popularity in home decor use as well. Not only do they elevate common objects like vases and vessels, they also lend a more curated, sculptural look to your favorite accessories. We decided to make our own, and gave it a cool textured look while we were at it. It's easy to build, and you can customize the size to fit your space. Style it with flowers, sculptures, or other objet d'art to add instant visual interest to any little nook or corner!
Things Needed
Step 1
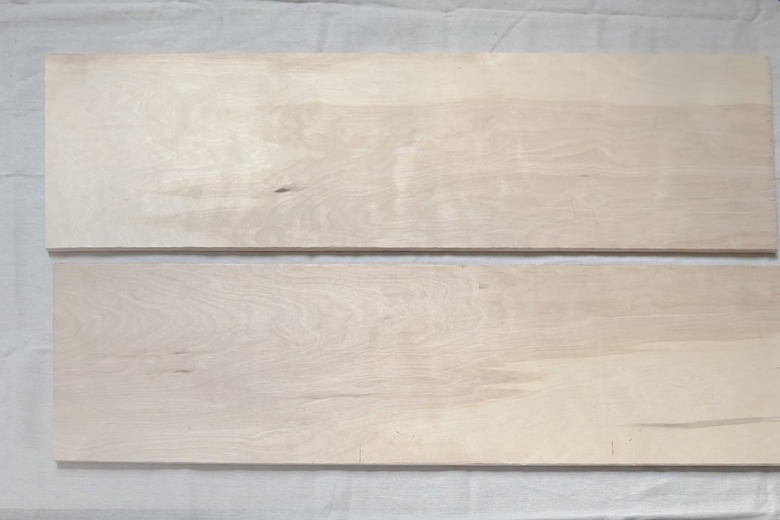
Cut the plywood or MDF into the following sizes:
- Two boards that are 12 inches by 36 inches (for the front and back)
- Two boards that are 11 inches by 36 inches (for the side pieces)
- Two boards that are 12 inches by 12 inches (for the top and bottom)
Tip
If you don't have a saw to cut the wood yourself, you can ask them to do it for you at the hardware store.
 Trisha Sprouse
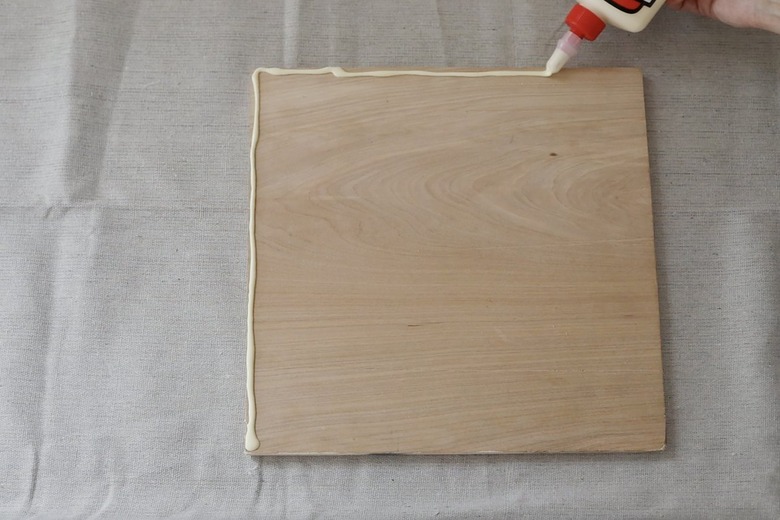
Step 2
Pipe wood glue along two sides of the 12-inch-by-12-inch bottom piece.
 Trisha Sprouse
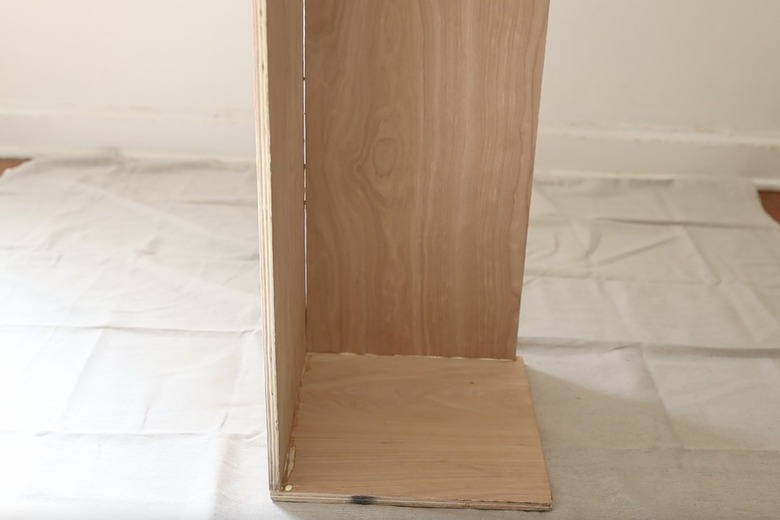
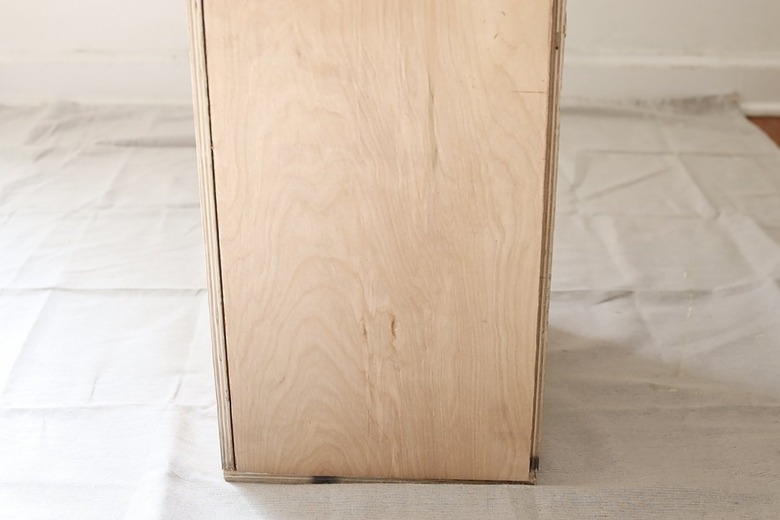
Step 3
Glue the 12-inch-by-36-inch back piece and one of the 11-inch-by-36-inch side pieces to the bottom piece. Be sure to also glue the back and side pieces together.
 Trisha Sprouse
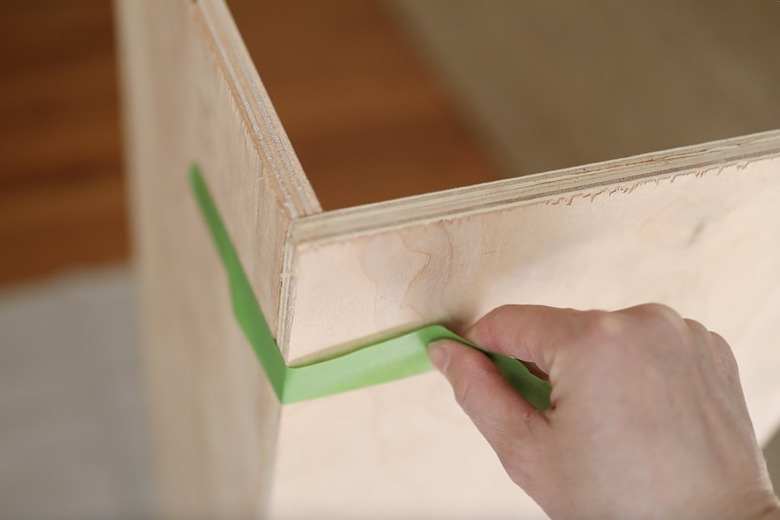
Step 4
Use painter's tape to hold the pieces together while the glue dries.
 Trisha Sprouse
Step 5
Glue the 12-inch-by-36-inch front piece and the other 11-inch-by-36-inch side piece to the bottom piece. Be sure to glue the front and side pieces to each other as well, and tape them together while the glue dries.
 Trisha Sprouse
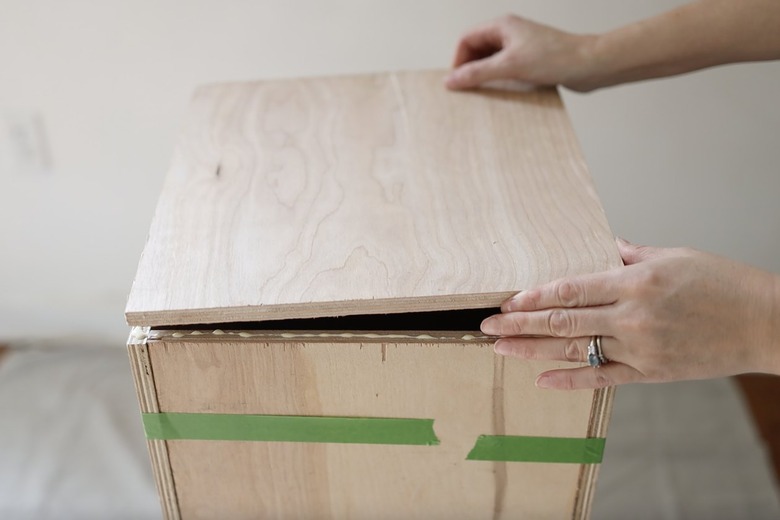
Step 6
Glue the the 12-inch-by-12-inch top piece to the top of the plinth.
 Trisha Sprouse
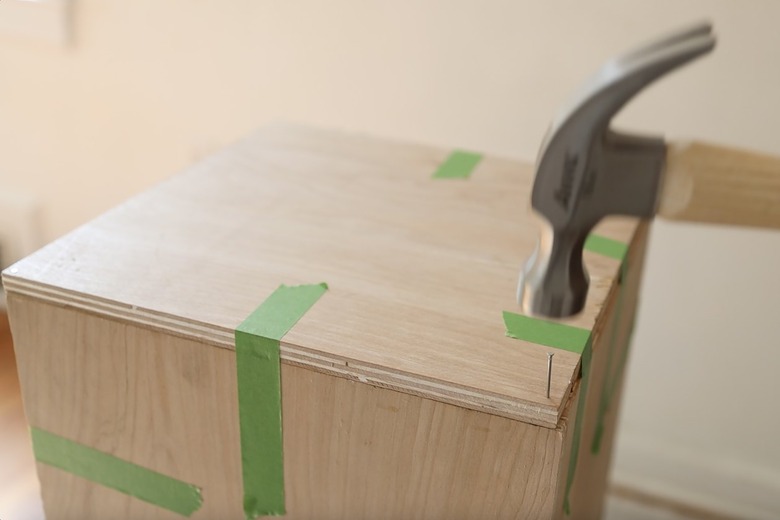
Step 7
Nail all of the pieces together. You should nail each corner of the top and bottom piece, and then at least three evenly spaced nails along each side of the front and back pieces.
 Trisha Sprouse
Step 8
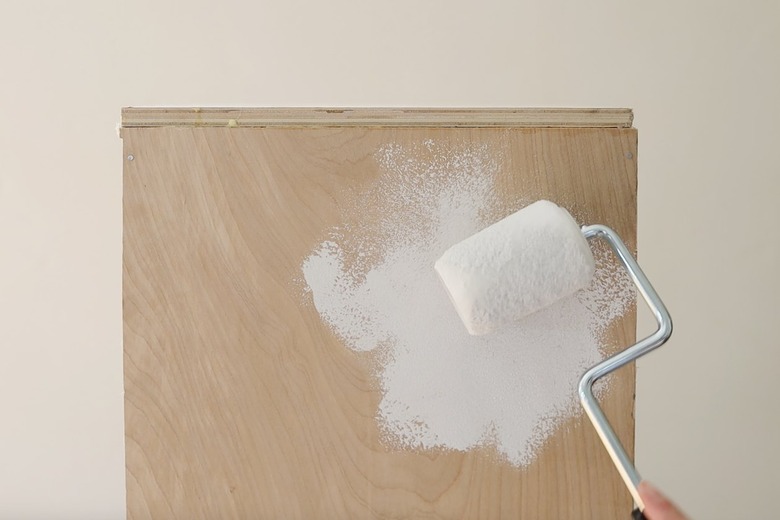
Remove the tape, and paint a coat of primer on the entire plinth. Let the primer dry completely.
 Trisha Sprouse
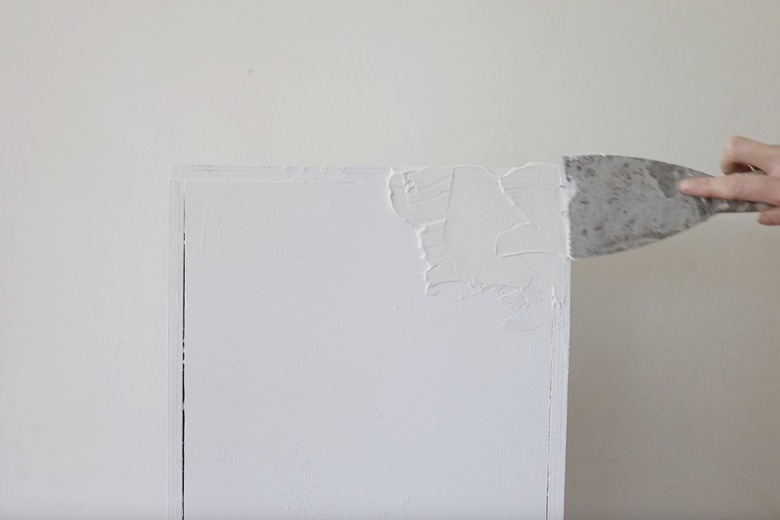
Step 9
Once the primer is dry, apply a thin coat of joint compound to the entire plinth. Not only will this hide the seams and the nails, but it will also add great texture. Let dry completely, and seal with a clear topcoat if desired.
 Trisha Sprouse
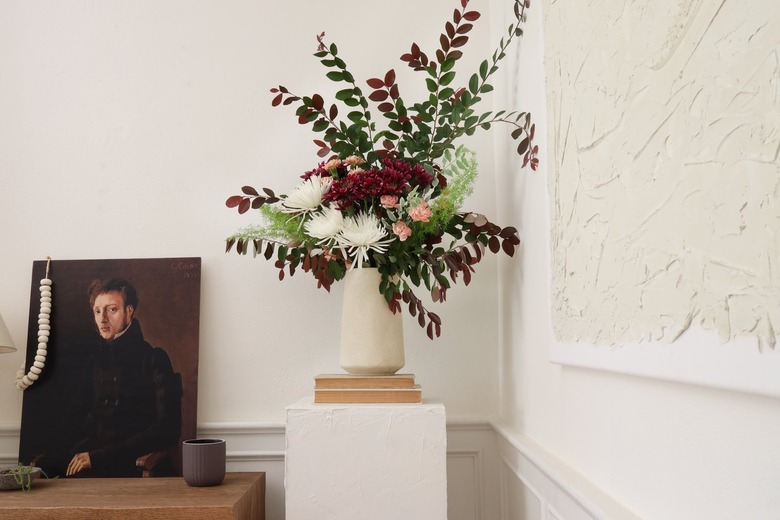
Now all you have to do is put your best accessories on display!
 Trisha Sprouse
 Trisha Sprouse