This DIY Raffia Mirror Is The Perfect Accent Piece For Any Room
We may receive a commission on purchases made from links.
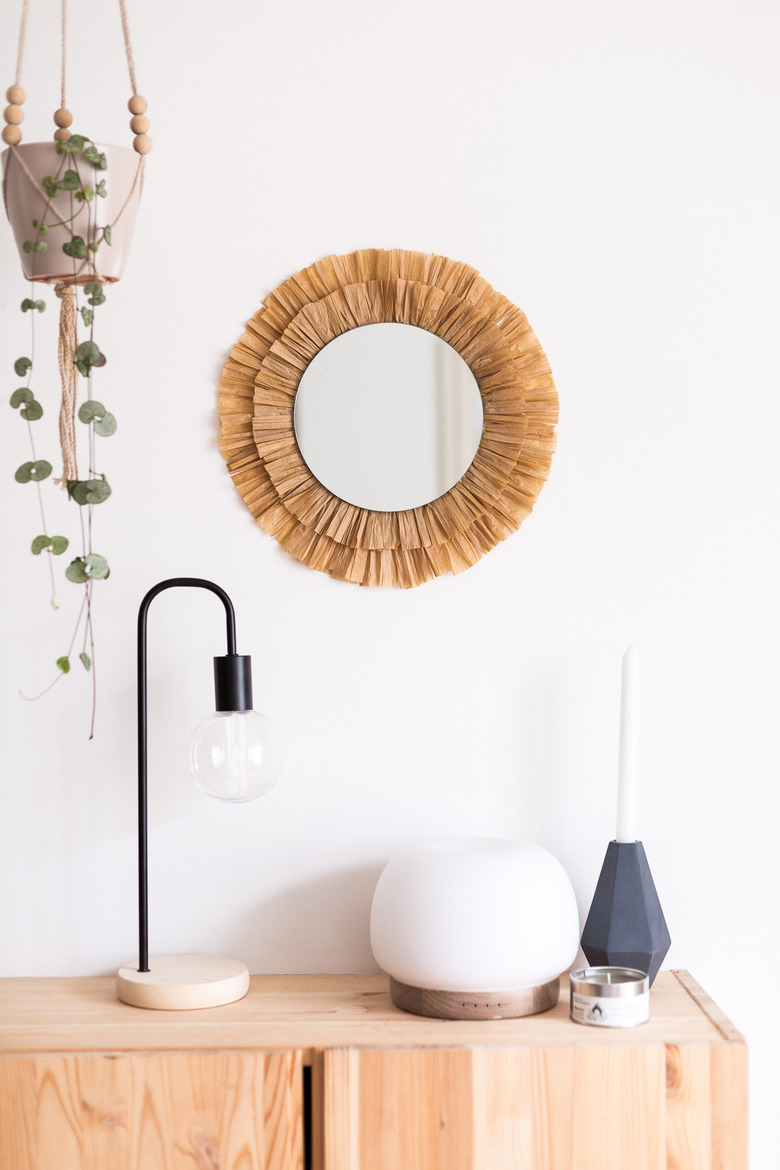
Natural texture is a hot trend right now. Think rattan, hessian, raffia, and jute. These slightly rough around the edges, tonal materials are not only fun and easy to work with, but they're also inexpensive and very accessible. This makes for a perfect DIY project (or 20). We love teaming these textures up with natural woods and minimal accessories.
 Francesca Stone
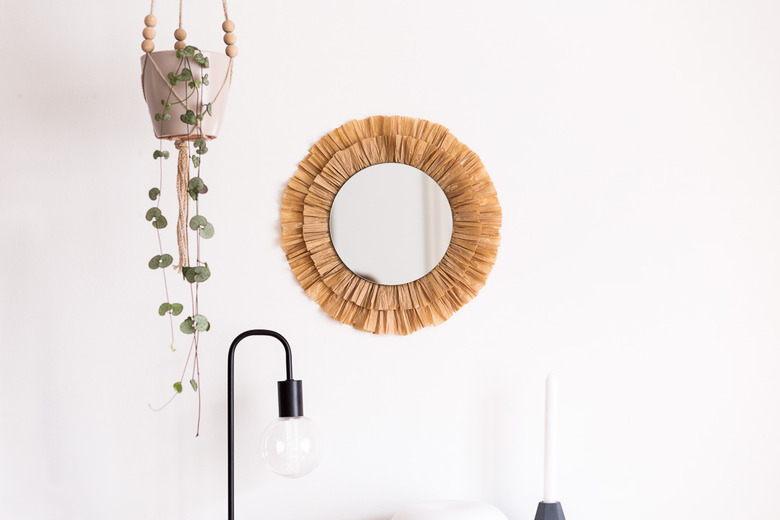
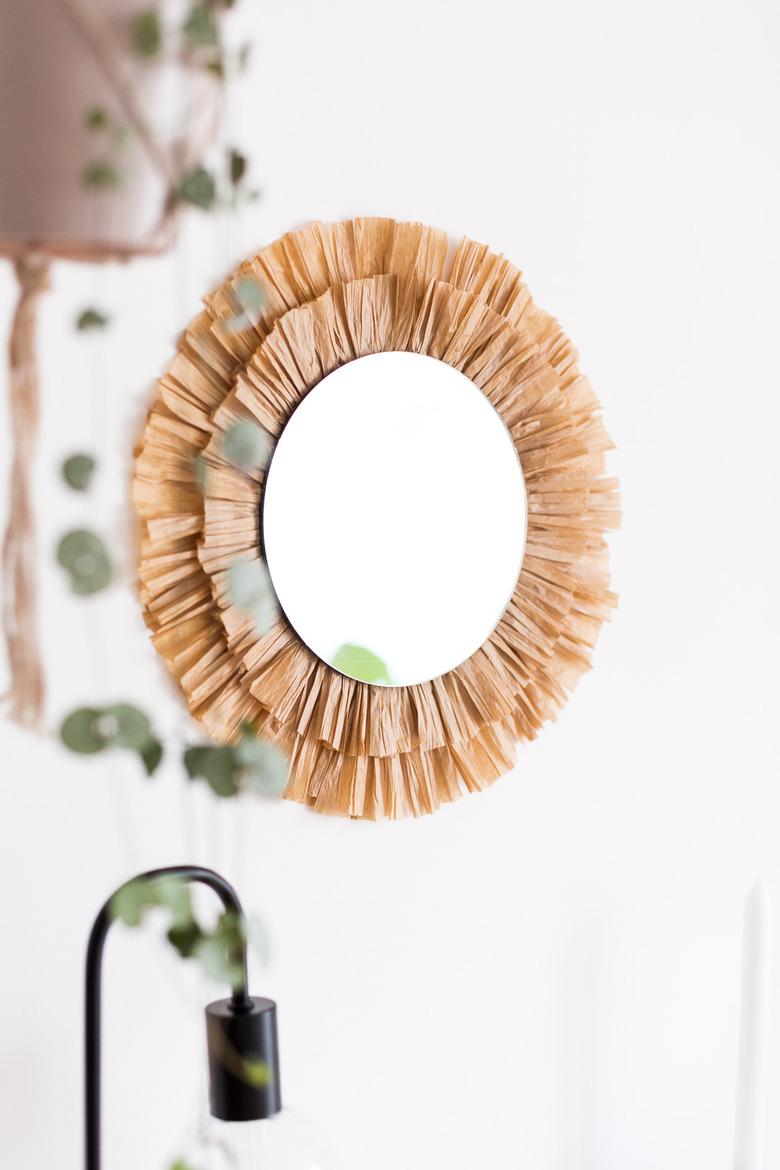
This raffia mirror is the perfect accent piece for any room. In fact, we love that the raffia looks like a lion's mane! Use chalk markers to draw a face on the mirror and you have a cute wall piece for a kids' room. For now, we're keeping things simple and making something you'll want to keep all for yourself.
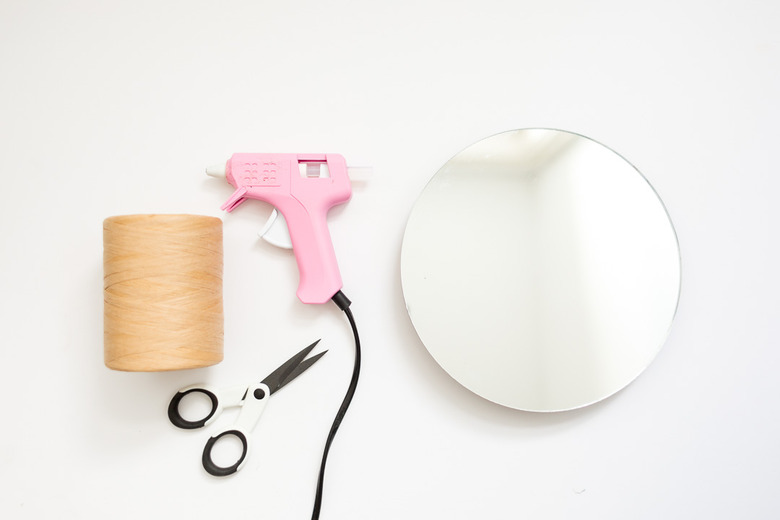
Things Needed
-
Scissors
-
Piece of cardboard, 2 inches by 3 inches
 Francesca Stone
 Francesca Stone
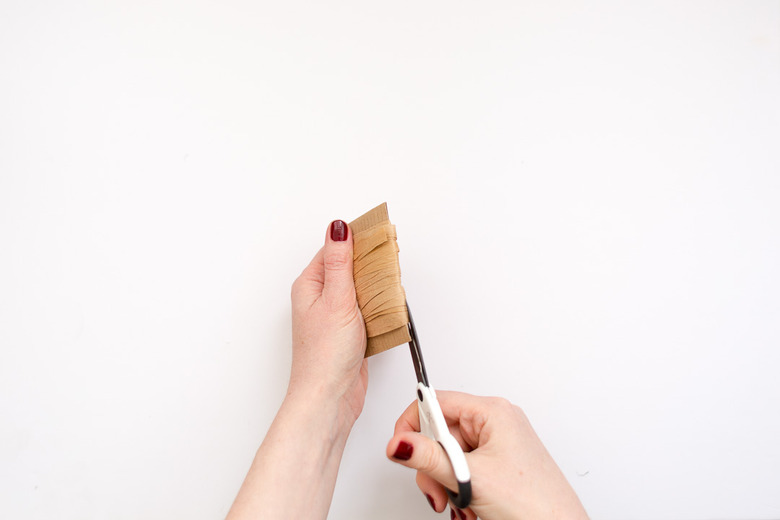
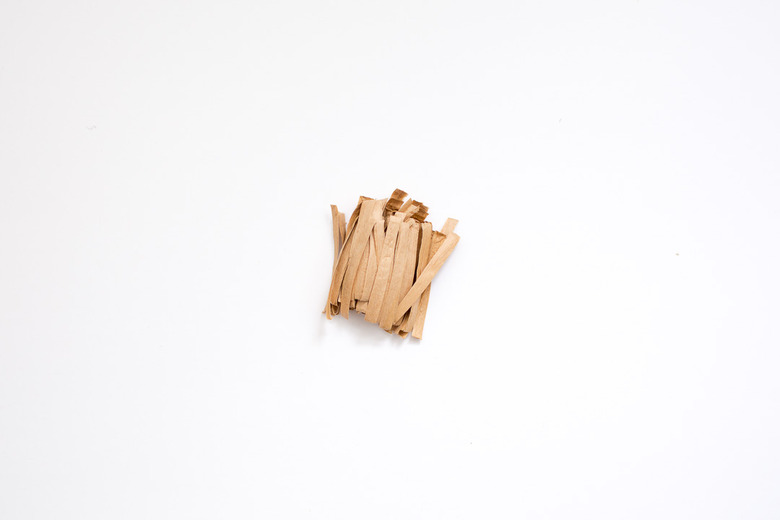
1. Cut the Trim
Wrap the ribbon around the 2-inch cardboard side. Keep wrapping until the cardboard is covered. Then, holding all of the raffia in place with one hand, cut along one edge to create a trim. Carefully turn the cardboard over, keeping the raffia in place by holding it while you cut down the opposite edge.
 Francesca Stone
 Francesca Stone
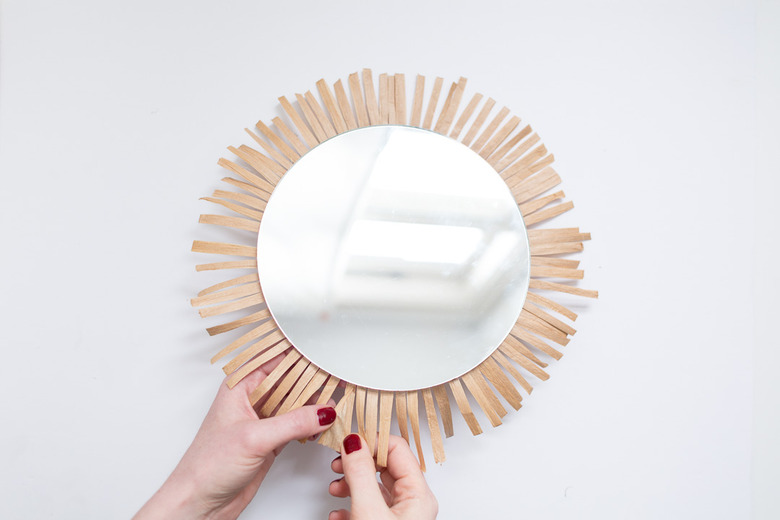
2. Secure the Trim in Place
Using a hot glue gun, secure the raffia pieces around the back of the mirror. (I find it helpful to start with 12, 3, 6, and 9 o'clock positions to help even out the spacing.)
 Francesca Stone
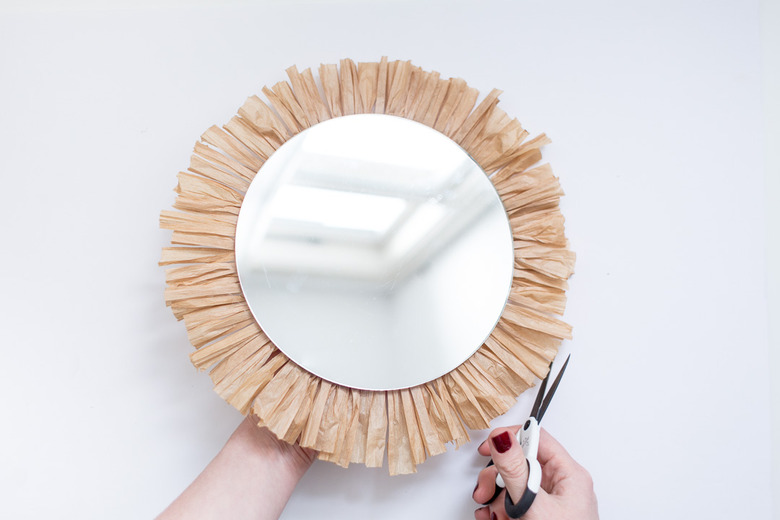
Once the raffia is glued in place, open up each section of ribbon to create a ruffle. Then trim any excess to form an even circle.
 Francesca Stone
 Francesca Stone
Repeat these steps, wrapping the raffia around the longer side of the cardboard. This will create the longer second layer of ruffles to finish your mirror. And then repeat the process in Step 2 for this second layer.
 Francesca Stone