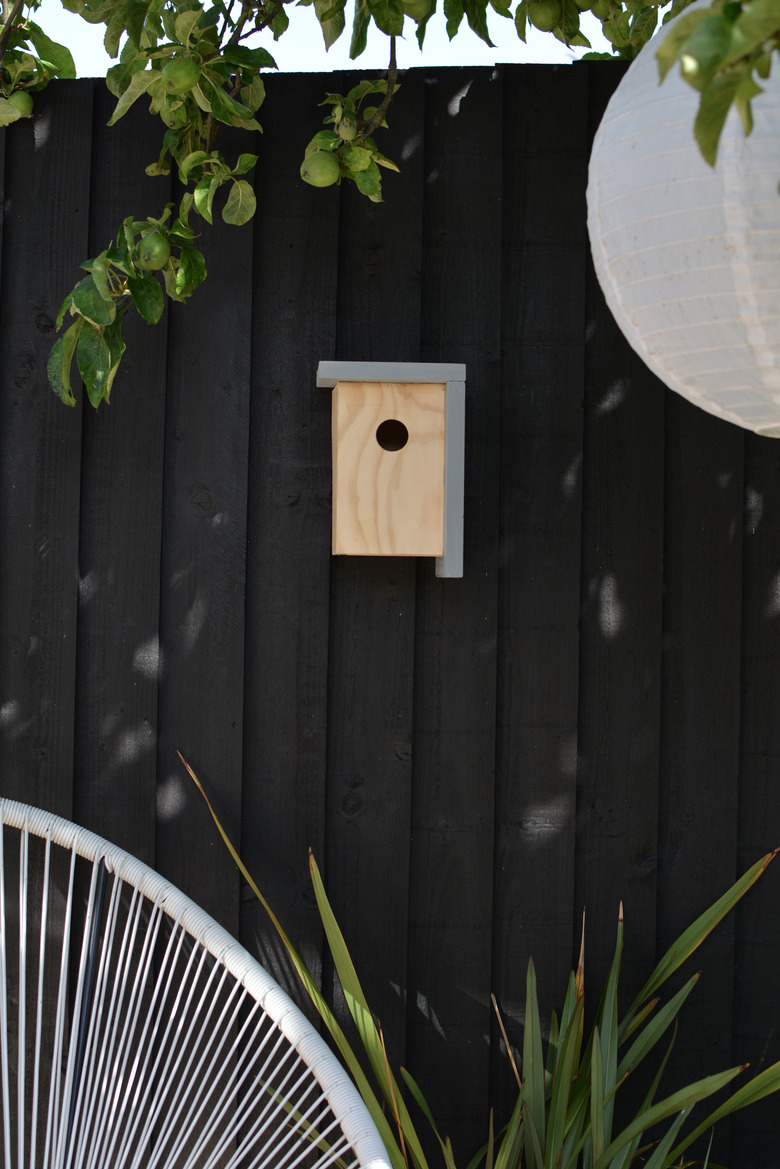
Attract Birds Into Your Yard With This Modern Birdhouse DIY
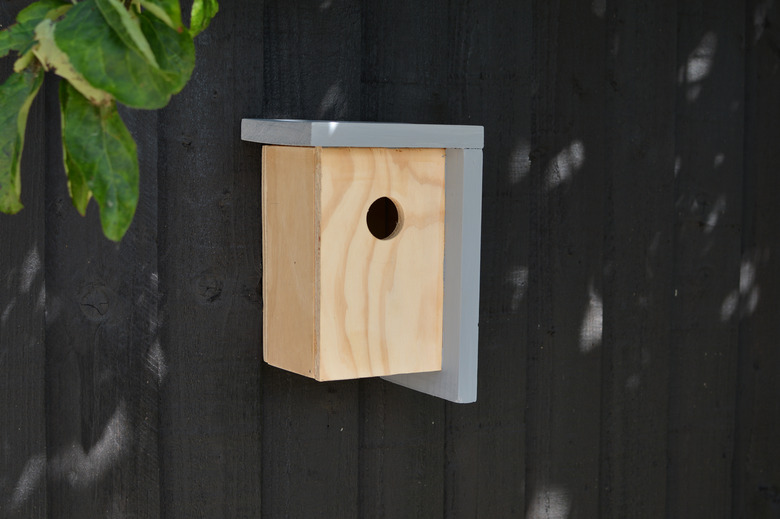
This modern birdhouse is a great summer DIY and the perfect way to encourage wildlife in your backyard. (Also, dare we say, it's pretty easy to do.) With its stylish design, it's sure to be a conversation piece and a favorite spot for feathered friends to hang out.
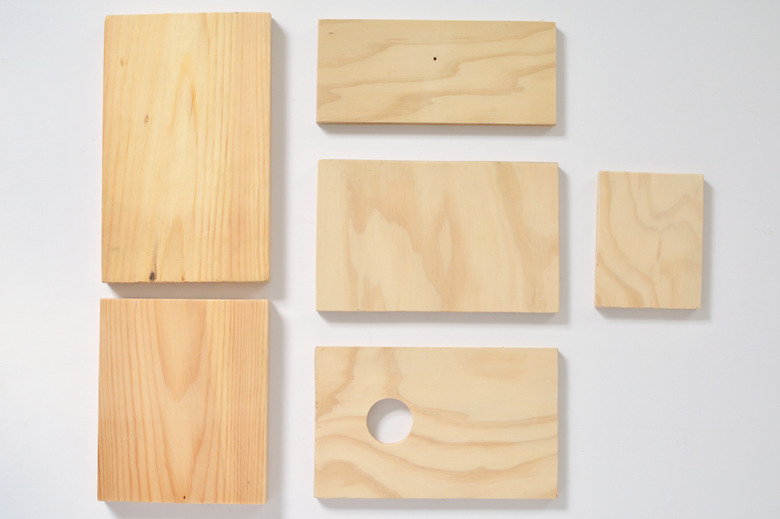
This is an ideal project for using pieces of scrap wood, but if you don't fancy cutting your own lumber just take our dimensions to your local hardware store and have them cut for you!
 Caroline Burke
Things Needed
-
Exterior plywood or hardwood (like cedar, pine, or oak)
-
Finishing nails
-
Exterior wood paint or varnish
-
Handsaw (if cutting your own wood)
Step 1
Cut your wood to the following dimensions with a saw. (We've used scrap wood for our birdhouse, which was a mix of exterior plywood for the main body and pine for the painted top and side panel.)
- Front and back panels, 5 inches by 8 inches, (2)
- Small side panel, 3 1/2 inches by 8 inches, (1)
- Base panel, 3 1/2 inches by 4 1/2 inches, (1)
- Large side panel, 5 1/2 inches by 9 inches, (1)
- Top panel, 5 1/2 inches by 7 inches, (1)
 Caroline Burke
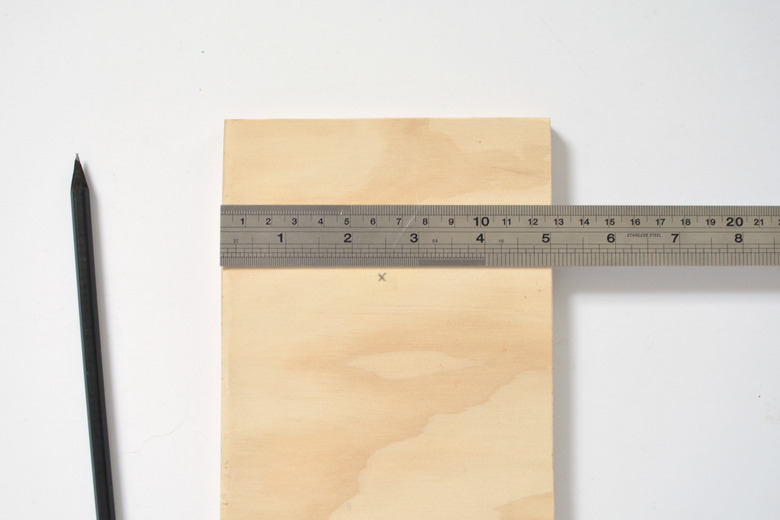
Step 2
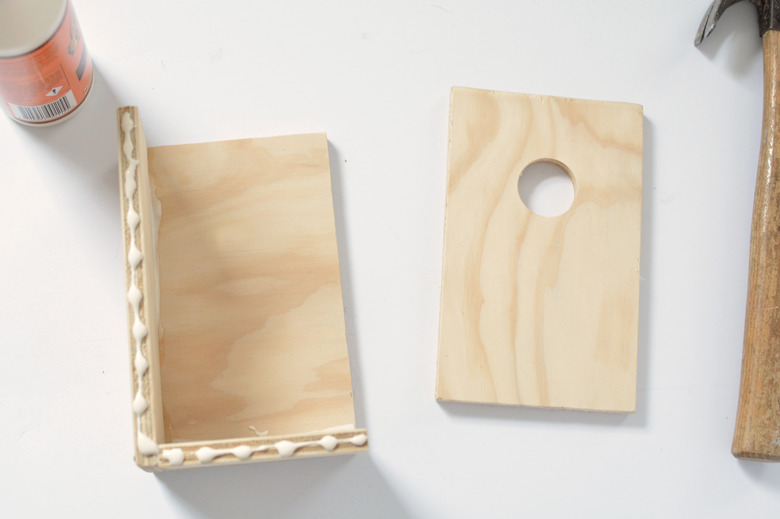
Before we assemble the birdhouse we need to drill an entrance hole for the birds. Take one of the 5-inch-by-8-inch panels and mark a drill point that's 2 ½ inches from the top and 2 ½ inches in from the sides.
 Caroline Burke
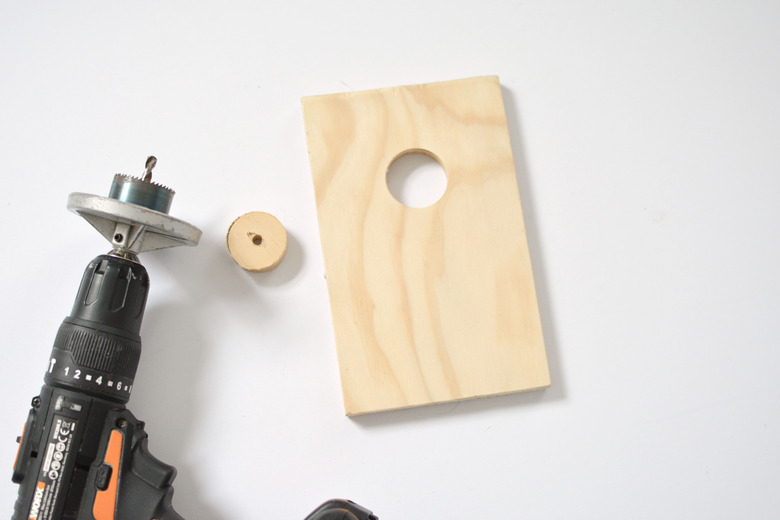
Step 3
Cut the hole using a power drill with a 2-inch hole saw attachment.
 Caroline Burke
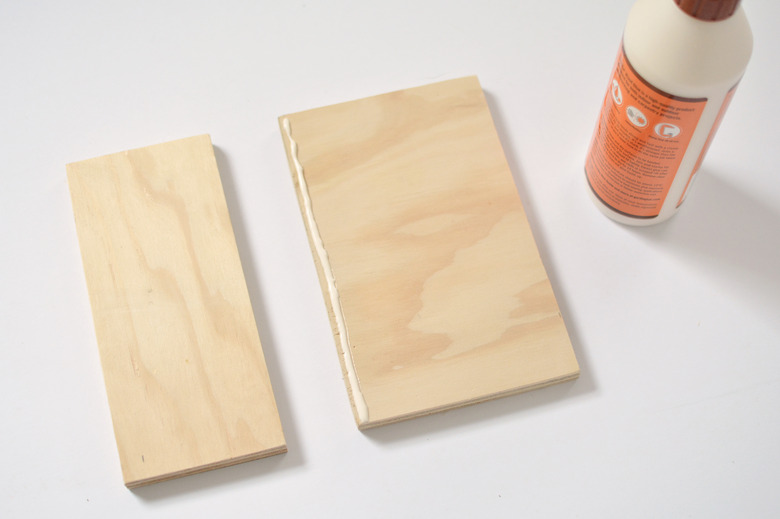
Step 4
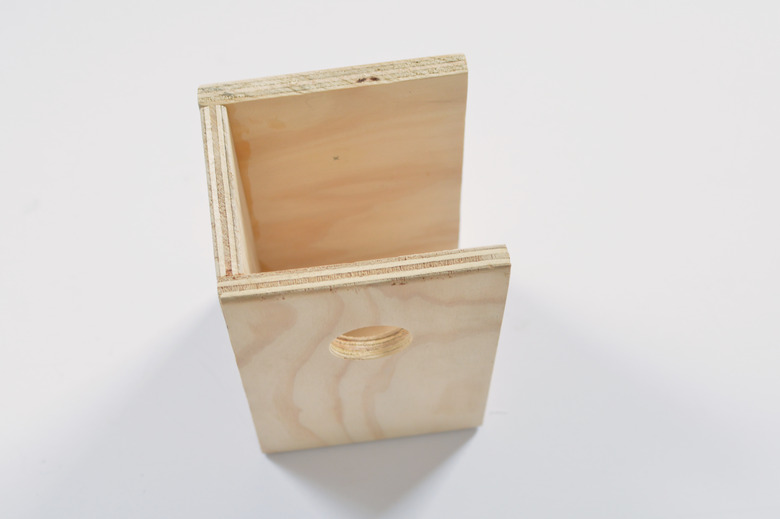
Start to assemble the birdhouse. Take the back panel and smaller side panel and run some wood glue along the edges where they'll meet.
 Caroline Burke
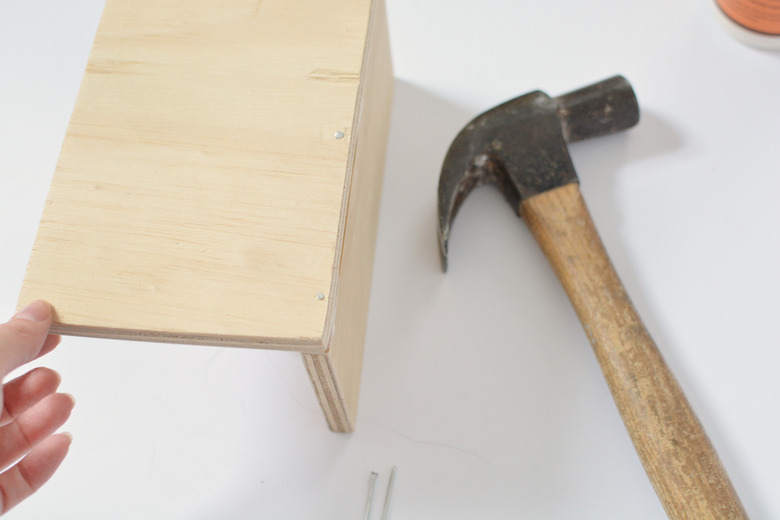
Step 5
You can hammer finishing nails through the back panel into the side panel for extra support.
 Caroline Burke
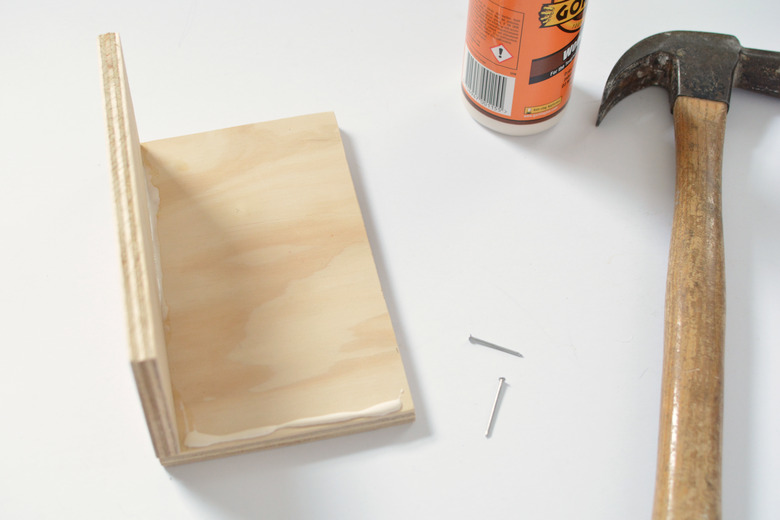
Step 6
Next, glue the bottom panel of the birdhouse into place — you can nail the panels together if you wish.
 Caroline Burke
Step 7
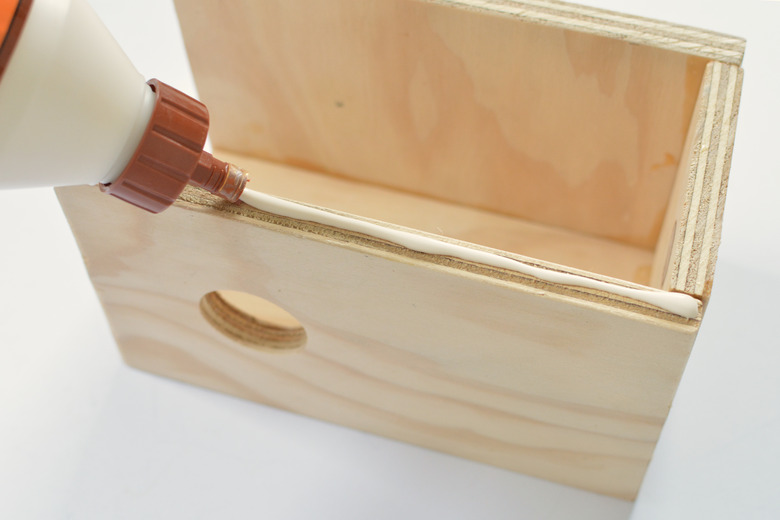
Run glue along the edges of the side and bottom panel.
 Caroline Burke
Place the front panel into place and leave the glue to dry.
 Caroline Burke
Step 8
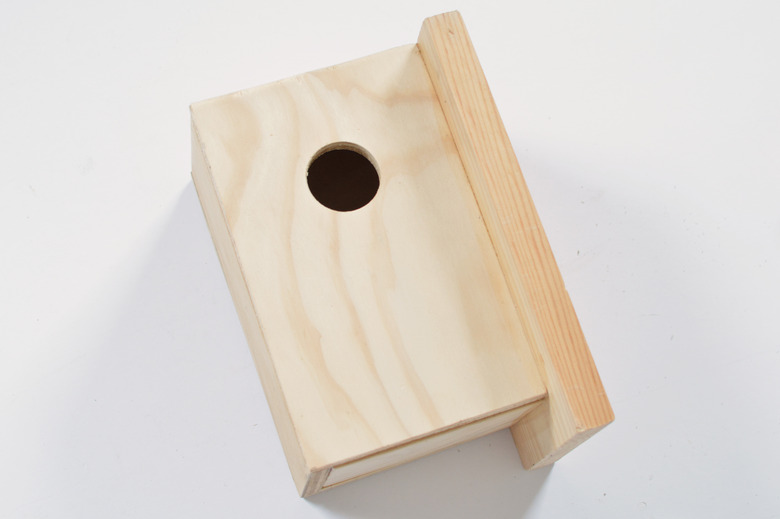
Run glue along the side edges before placing the side panel into position.
 Caroline Burke
Line up the side panel so it sits flush with the top and back of the house to create an overhang along the front side and bottom.
 Caroline Burke
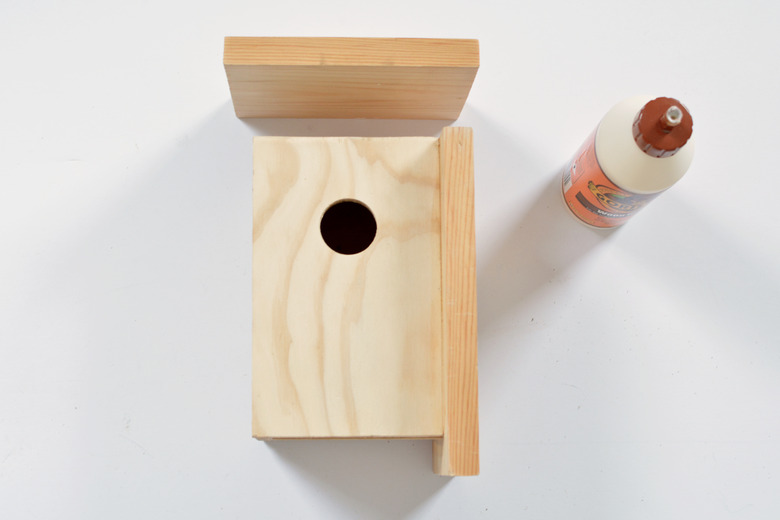
Step 9
Glue the remaining top panel into place; line it up to match the overhang from the side panel.
 Caroline Burke
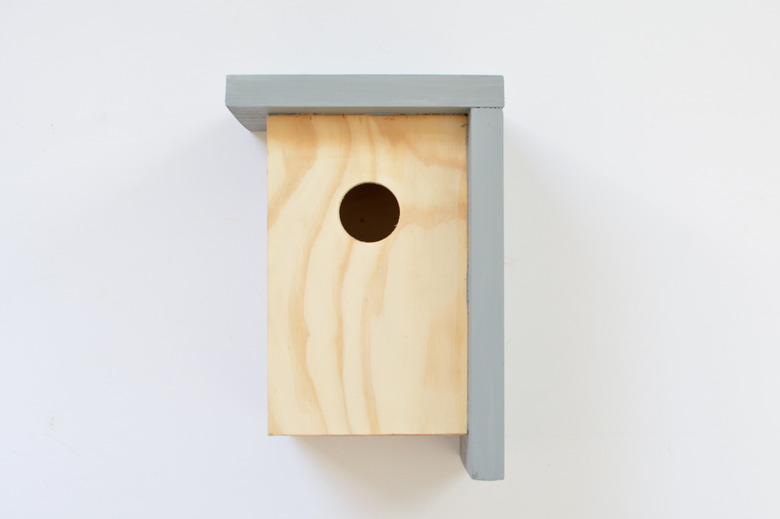
Step 10
Once the house is finished you can decorate it. We've painted the top and side of ours with exterior wood paint. If you don't want to add any color you can just seal it with clear varnish.
 Caroline Burke
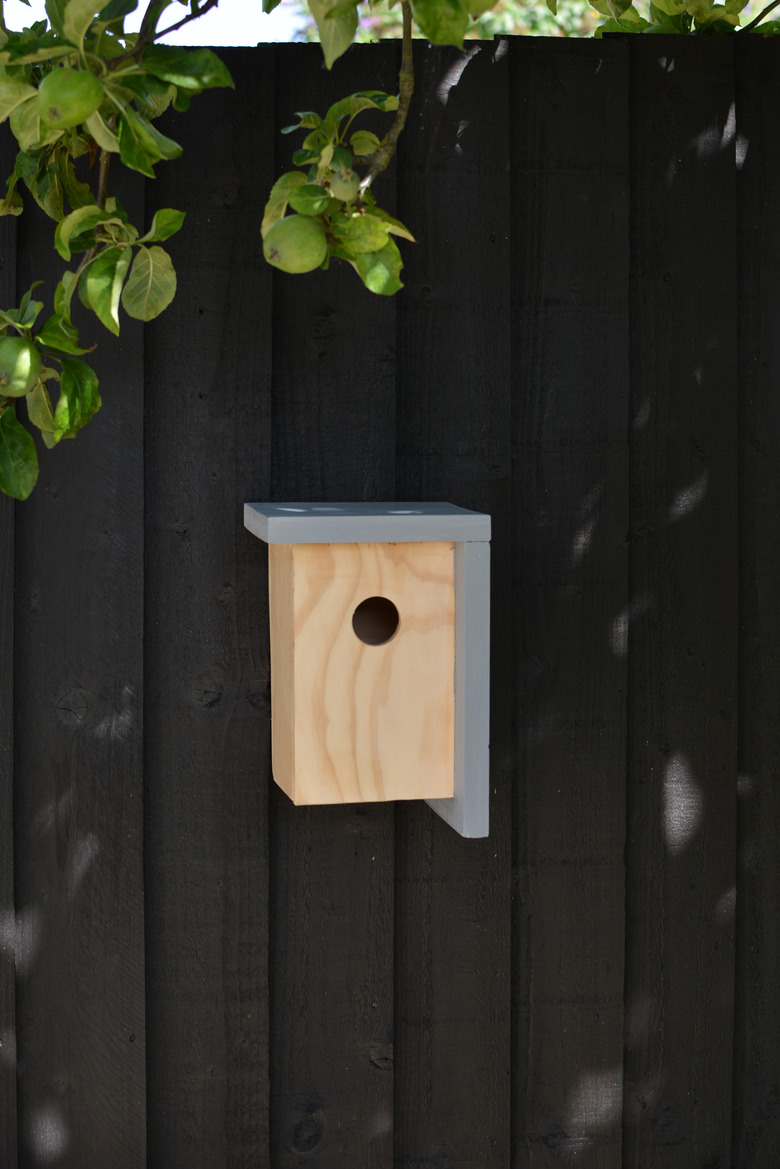
Then you just need to decide where to hang it!
 Caroline Burke