How To Convert A Closet Into A Pantry In 13 Easy Steps

If you're limited when it comes to kitchen organization and food storage space and have always wanted to sort out your sundries, snacks, and dry goods in one place, you may want to convert a closet into a pantry. Whether it's a coat or linen closet that's adjacent to your cook space, it'll be fairly easy to clean one out and reconfigure it into an organized pantry with DIY built-ins, wire baskets, spice racks, and more.
Tackle this makeover on a weekend when you have ample time to declutter all those unnecessary and expired food items. And trust us — the end result will be much more efficient and aesthetically pleasing than shoving your canned goods into random kitchen cabinets and pull-out drawers.
These 13 steps will get you on the way to having the small pantry of your dreams. But first, let's talk supplies.
Supplies
Supplies
You can hire a professional for this job. However, by converting a closet into a kitchen pantry yourself, you'll save money and have a way bigger sense of accomplishment. Expect to spend around $400 tops to get the job done. But before you dive headfirst into the closet conversion, make sure you have all of the right supplies. Take into account of what you want to splurge on versus what you can save on.
Things Needed
-
Plywood planks for pantry shelves or pre-made shelving
-
Brackets for shelves
-
Overhead lighting or stick-on LED fixtures
-
Spackle and spackling tool
-
Sandpaper
-
Paint (or removable wallpaper if you want a temporary fix)
-
Paint roller and tray
-
Painter's tape
-
Power drill
-
Level
-
Stud finder
-
Bins, baskets, jars, hooks, lazy Susans, and labels for organization
How to Convert a Closet into a Panty

How to Convert a Closet into a Panty
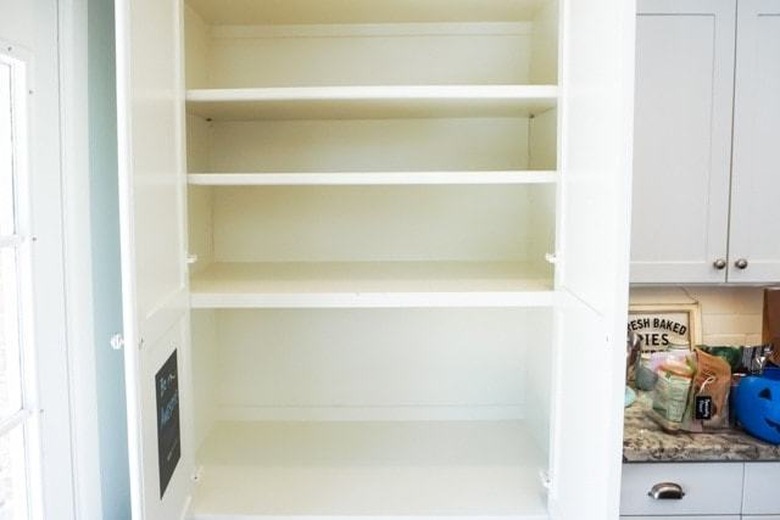
Now that you have your supplies, you will ideally need to pick a closet that is dark, dry, and cool. One far from any appliances that give off heat is perfect. Also avoid spaces that get an ample amount of sunlight, as this can make food deteriorate faster. Finally, make sure there isn't a lot of humidity in your kitchen storage closet, as this can lead to mold growth.
Wondering how much space you need? The closet should be big enough to store your most used items. It doesn't need to be the size of a typical walk-in pantry, but there should be room for a shelf or two. For this kind of remodel, you may want to steer clear of closets that won't be able to accommodate shelves that are at least 12 inches deep.
1. Gather tools and supplies.
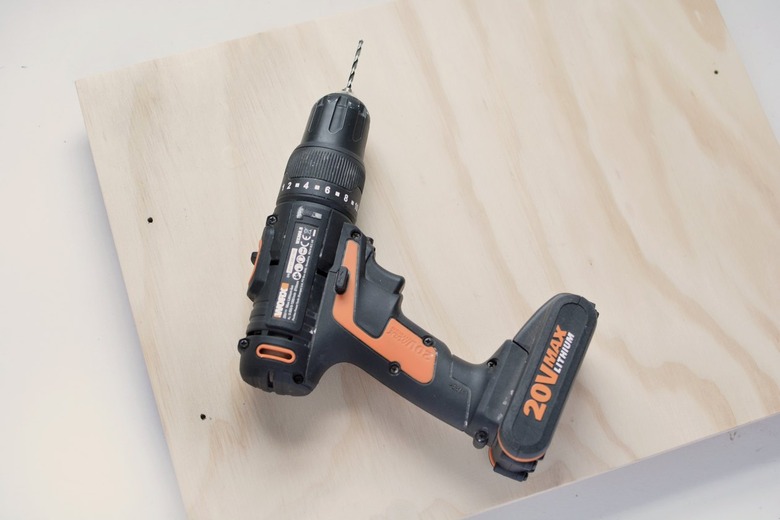
1. Gather tools and supplies.
This step is imperative. Without the proper tools, your DIY project will be much harder than necessary. Consider borrowing anything you may not already have to save money.
2. Uninstall what's there.
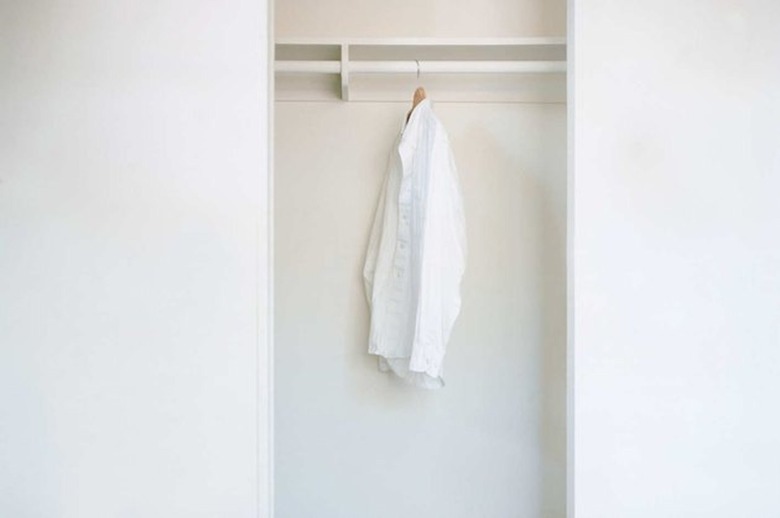
2. Uninstall what's there.
Any closet rods or shelving you don't want in the new pantry have to go. Do your purge and clean out any dust and debris.
3. Use spackle and sandpaper.
3. Use spackle and sandpaper.
Spackle over any holes in the soon-to-be pantry cabinet, and smooth out walls with sandpaper. You want a clean canvas, so all of your surfaces will be ready for primer.
4. Use painter's tape.
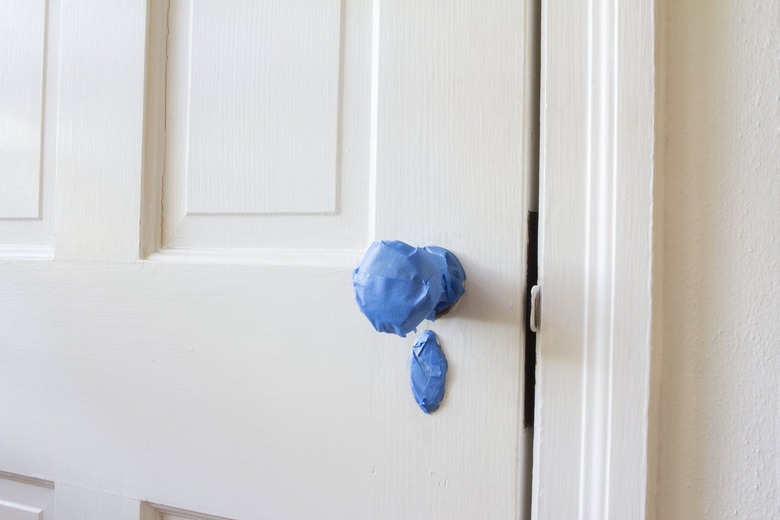
4. Use painter's tape.
Protect floorboards, light switches, doorframes, and doorknobs with painter's tape. If, however, you're nervous about adding color, once you've sanded and cleaned the walls, you can try some removable wallpaper in a fun pattern instead.
5. Measure and plan.
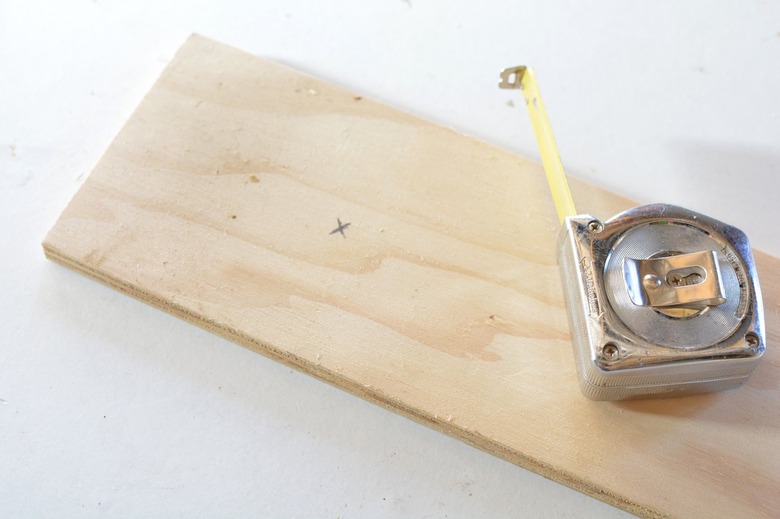
5. Measure and plan.
Measure the length and depth of the clean closet, and plan where you want the shelves to be. Go left to right and top to bottom. Write down all of these numbers. And when you go to get plywood for shelves, make sure to take a few inches off of the depth. You don't want the shelves to come all the way out, so there will be room for hooks. This pantry organization idea will also make supplies easier to see.
6. Prime and paint your shelves (if necessary).

6. Prime and paint your shelves (if necessary).
Prime, paint, or stain your plywood shelves and let them dry outside. Make sure you use a sealant or paint that will protect the wood from any moisture.
7. Map things out.
7. Map things out.
Use painter's tape to map out where to hang or place your shelving. We recommend giving the top shelf some extra height for tall cereal boxes, mason jars, and appliances.
8. Make sure you have enough support.
8. Make sure you have enough support.
Read the labels and instructions on the brackets to see how much weight they can hold, and take into account the shelf and which pantry items are going on it. (For an even easier storage solution, you can purchase ready-made bookshelves to place inside the closet.)
9. Use a stud finder.

9. Use a stud finder.
Use a pencil to mark where the studs are. It's best to mount your brackets on them for extra support. If you don't have enough studs, you can use drywall anchors to make things more secure.
10. Use a level.
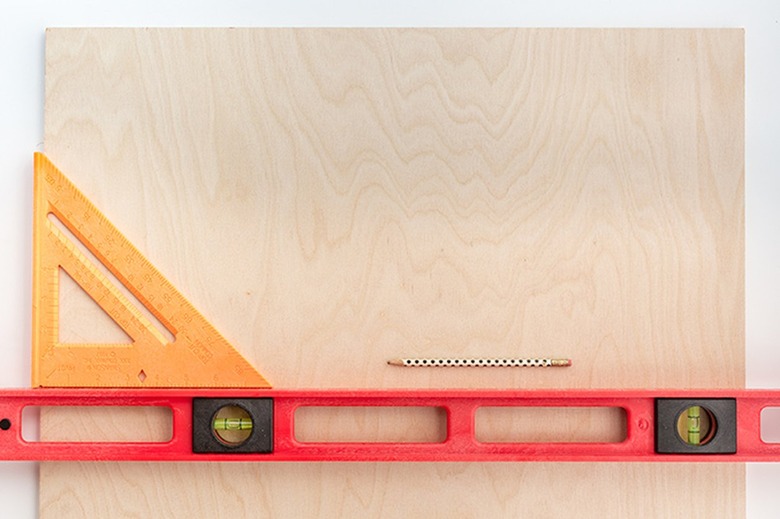
10. Use a level.
The level will help you draw an even line where the shelves should go. You don't want anything to be slanted!
11. Start drilling in supports.
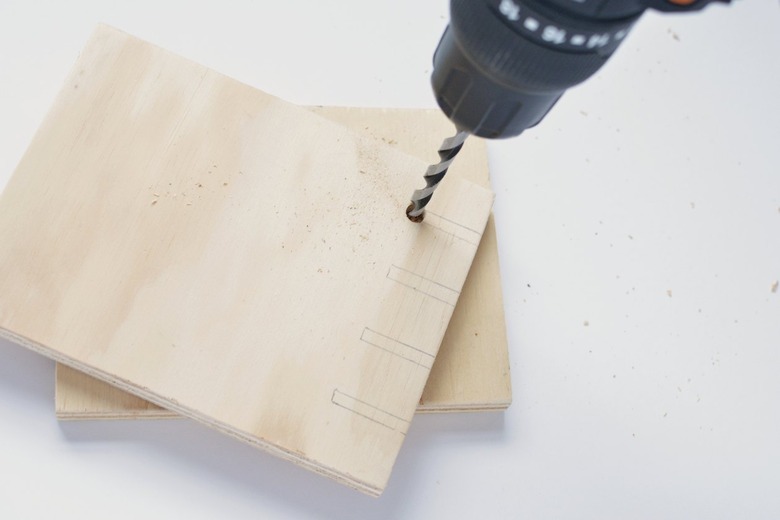
11. Start drilling in supports.
The shelves can either rest on top of the brackets or be nailed into them. The former approach will make it easier to remove the shelving for cleaning, but the latter will keep things from moving around too much.
12. Add lighting.
12. Add lighting.
Again, your pantry should ideally receive very minimal natural light. So install an overhead bulb if you already have electricity in your closet or opt for battery-operated LED fixtures above and below the shelves.
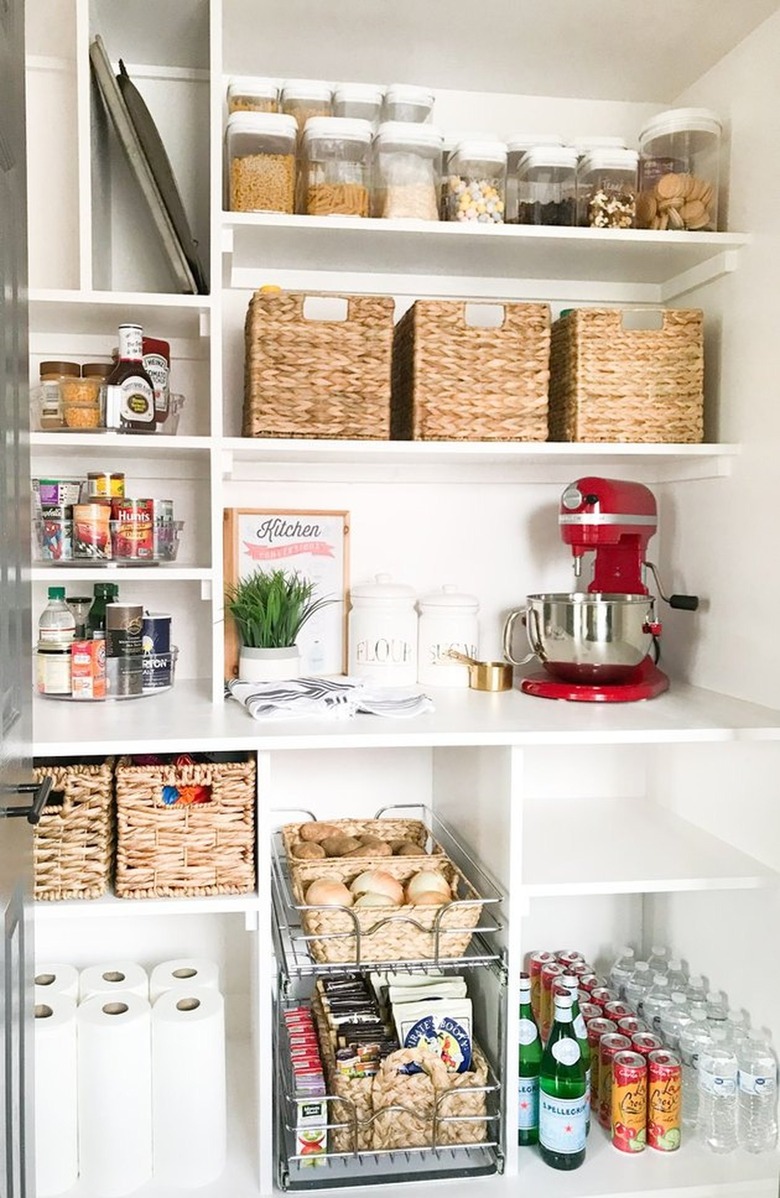
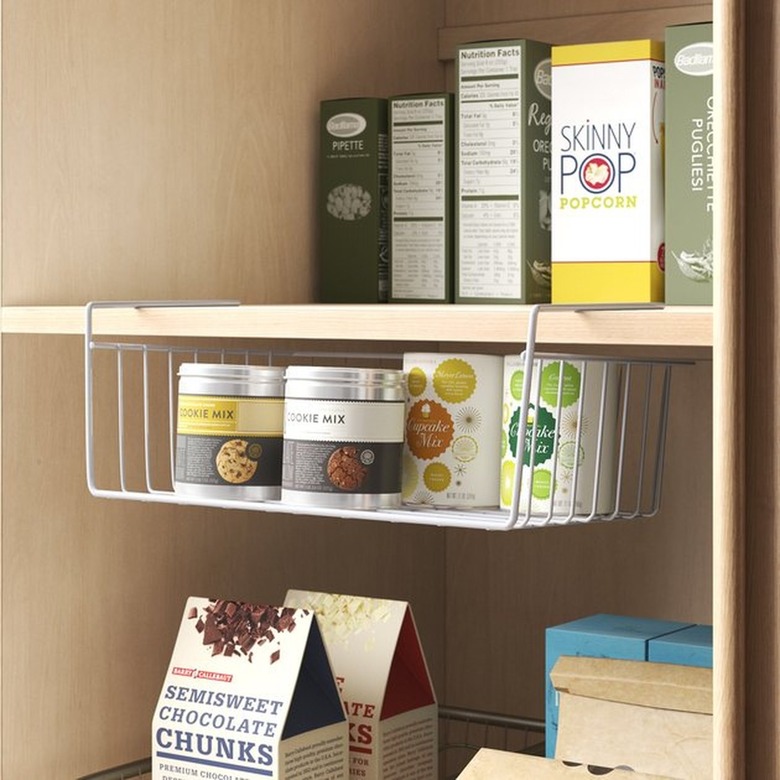
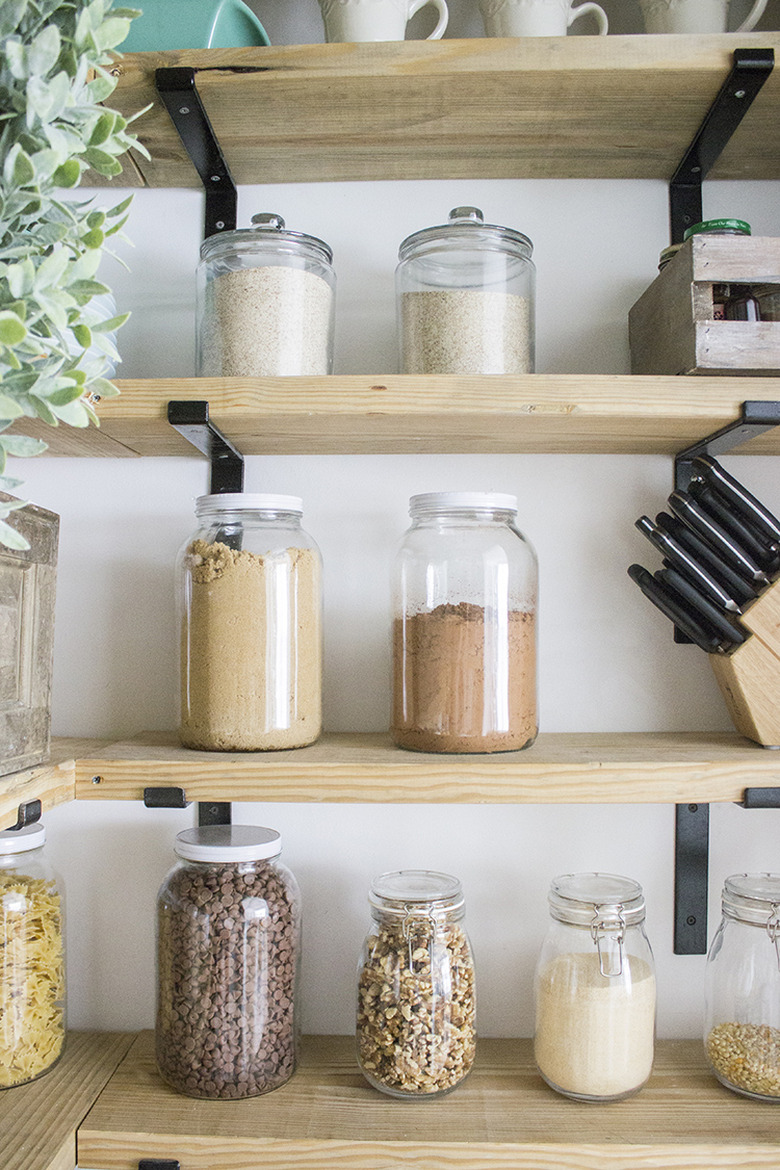
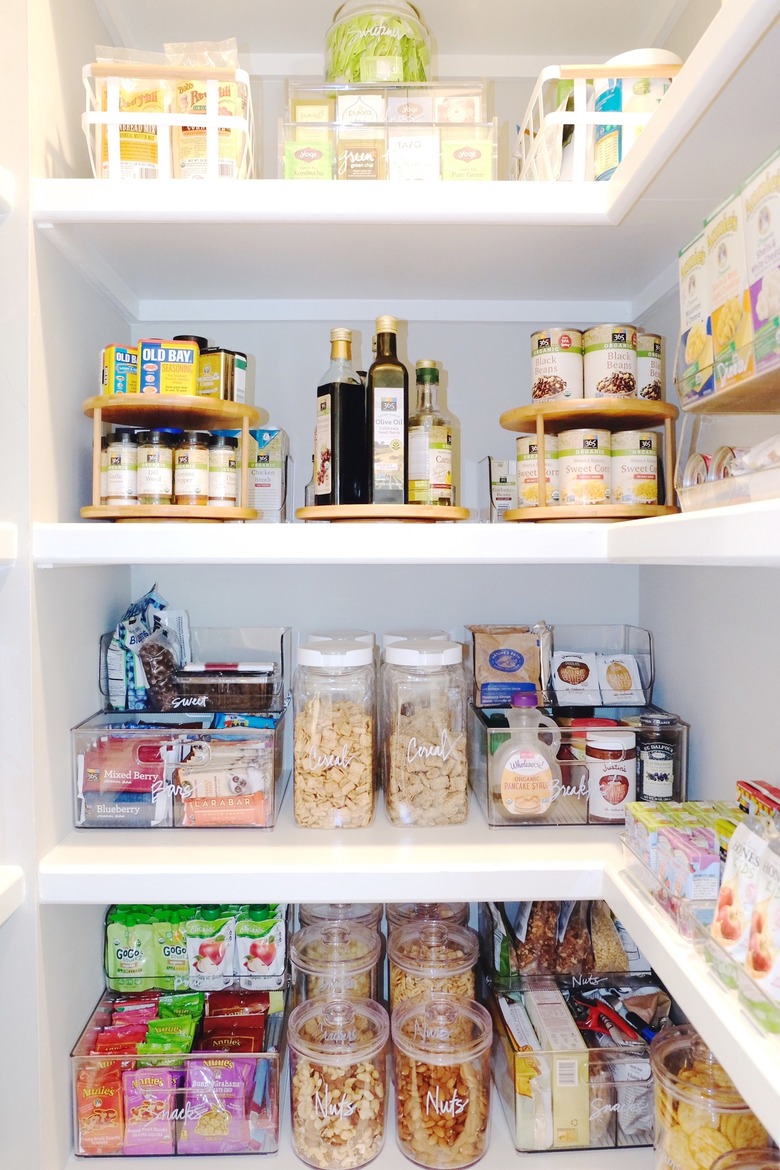
13. Start the pantry organizing process.
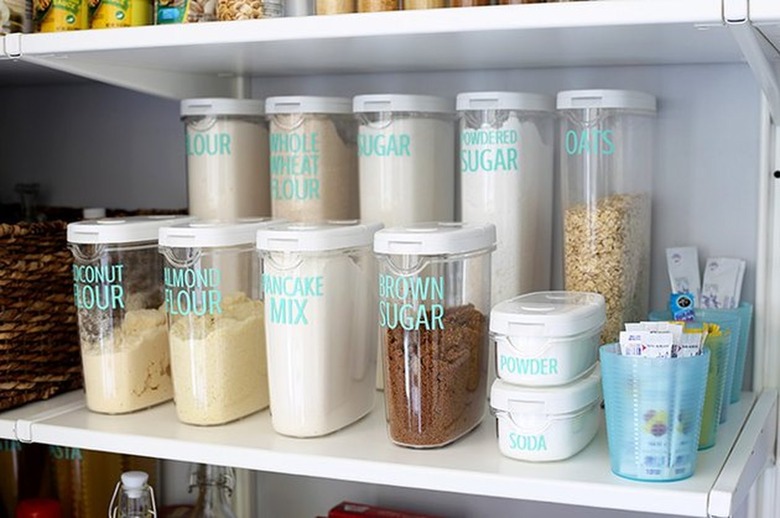
13. Start the pantry organizing process.
Give everything one last wipe down, and you are ready to start organizing. How you approach any pantry storage idea really depends on personal preference. However, here are the essentials: Put newer food in the back. Corral similar items together, and seal everything tightly. We also love adding labels to make things look more uniform. Pro tip: Cut out the calorie information and cooking instructions from disposable packages, and tape them to the back of your containers for quick and easy reference.