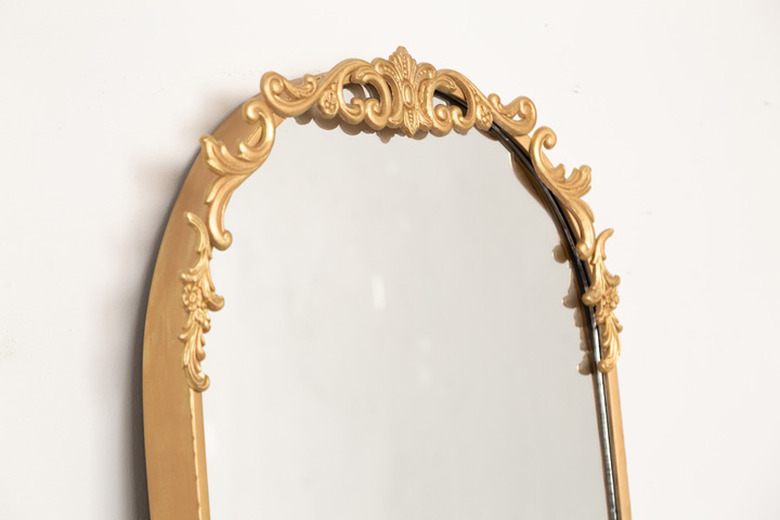
DIY Vintage-Inspired Gold Mirror

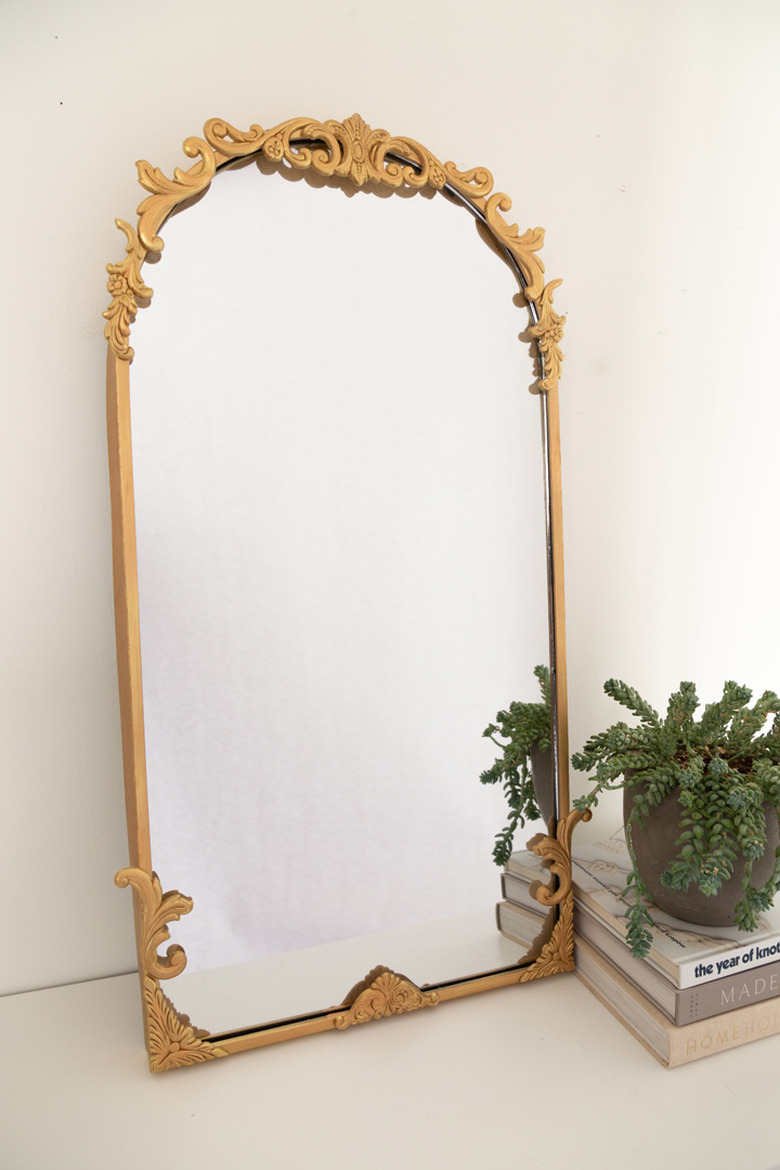
In this DIY, we're showing you how to create a vintage-inspired gold mirror that features beautiful detailing. You can find decorative wood appliqués at craft stores and even Amazon. Add gold spray paint and Rub 'n Buff in antique gold. The Rub 'n Buff gives a gorgeous finish to the decals.
Using an arch mirror provides a vintage vibe, however any shape will work. Our step-by-step tutorial will get you started!
 Sara Albers
Things Needed
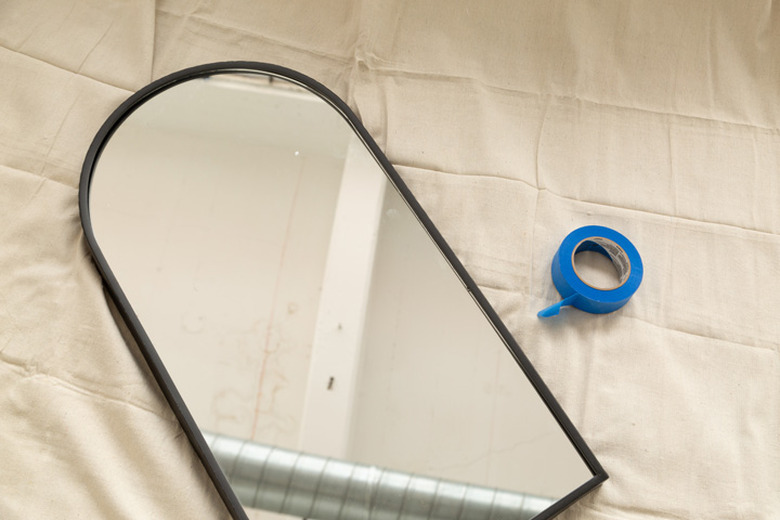
Step 1
To prep the mirror, place blue tape around the edges of the frame and mirror. Instead of taping down paper to cover the mirror, just tape over the entire mirror to protect it from spray paint.
 Sara Albers
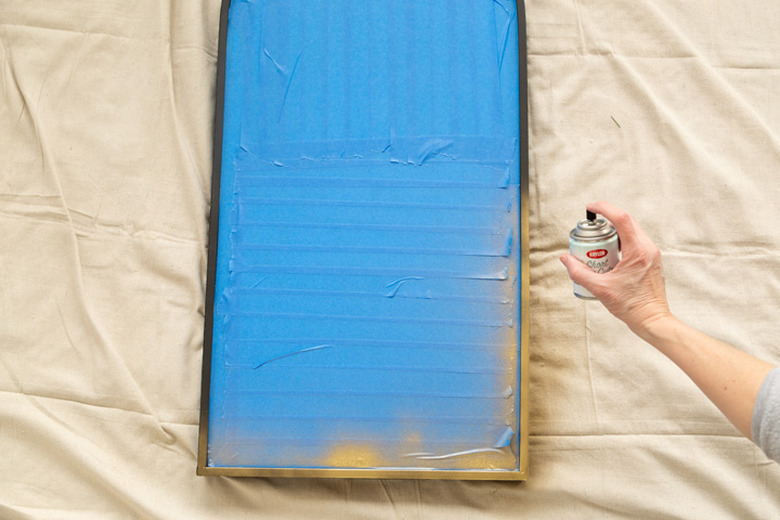
Step 2
In a well-ventilated area, spray the frame over a drop cloth. Allow to dry.
 Sara Albers
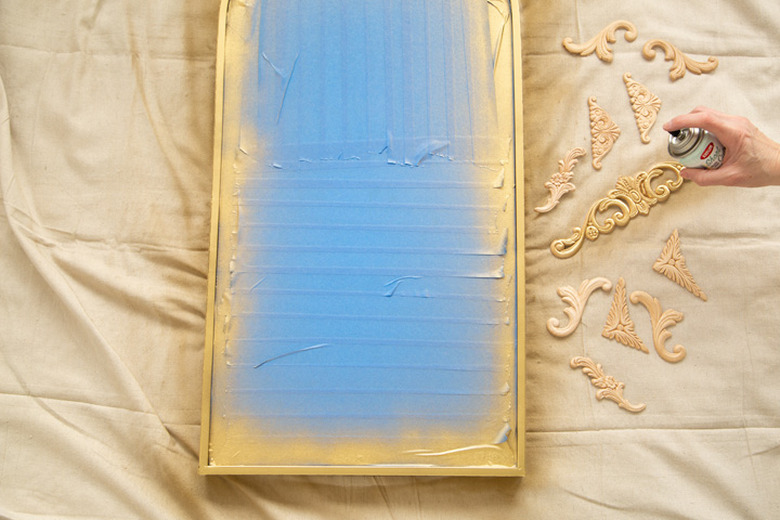
Step 3
Cover the decorative wood appliqués with the gold spray paint. Allow to dry. One coat should be good, as long as they are completely covered in paint.
 Sara Albers
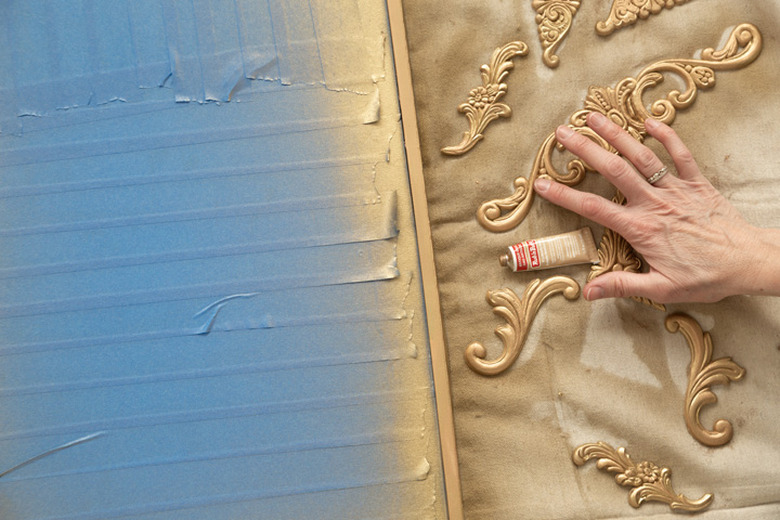
Step 4
Now it is time for finger painting! Add the Rub 'n Buff antique gold finish to the mirror frame and the wood decals. Simply use your fingers to rub in the finish.
 Sara Albers
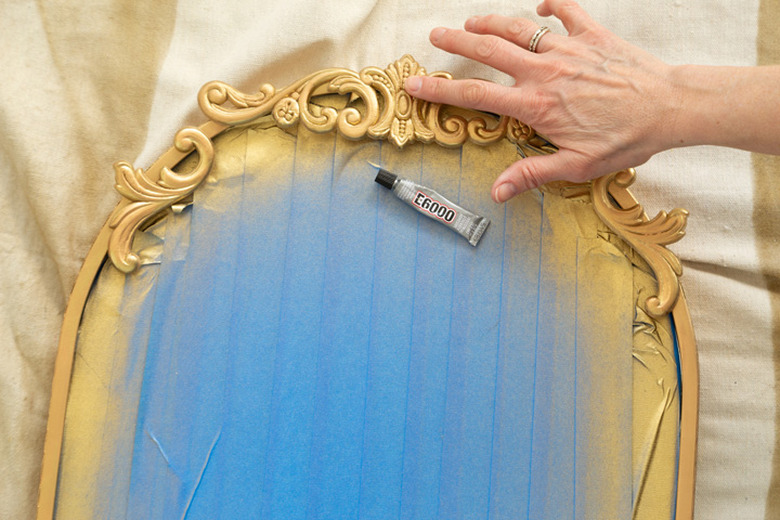
Step 5
Using the E6000, glue the wood decals to the mirror following the pattern we've used in this tutorial. Allow to dry overnight.
 Sara Albers
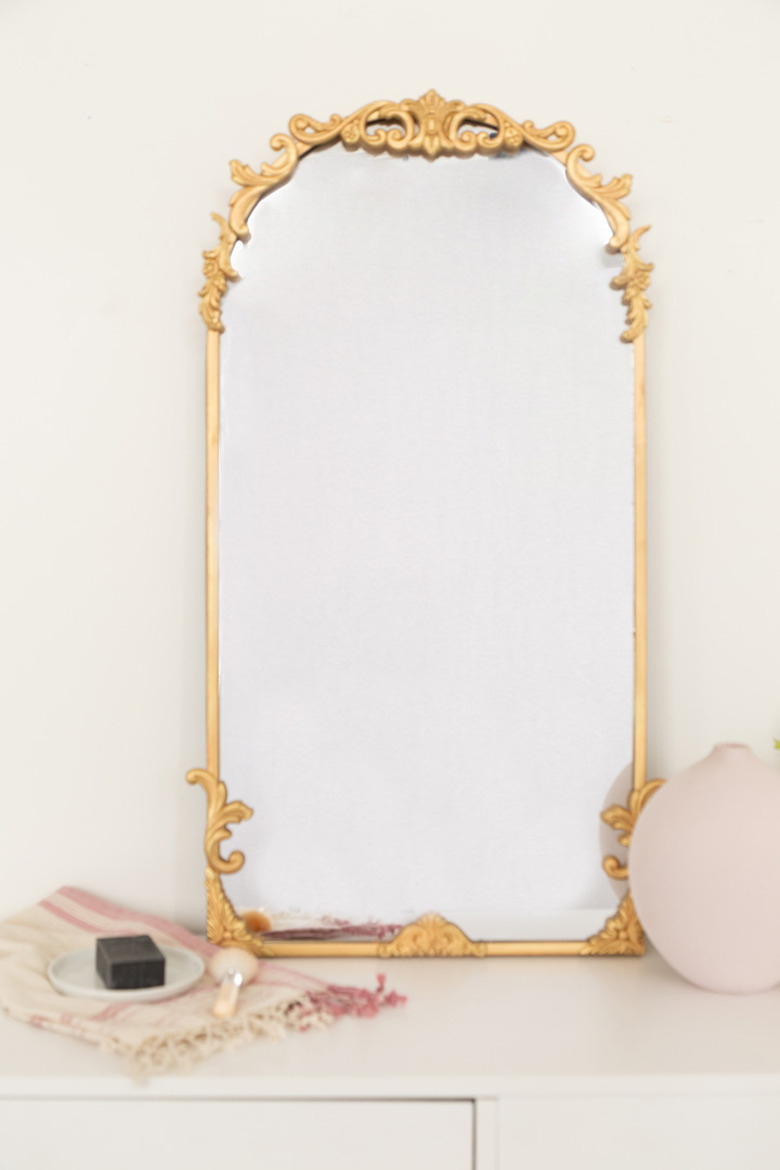
Your mirror is now ready to be put on display.
 Sara Albers
 Sara Albers