How To Add Shiny Wood Finish To Any Piece Of Furniture
We may receive a commission on purchases made from links.
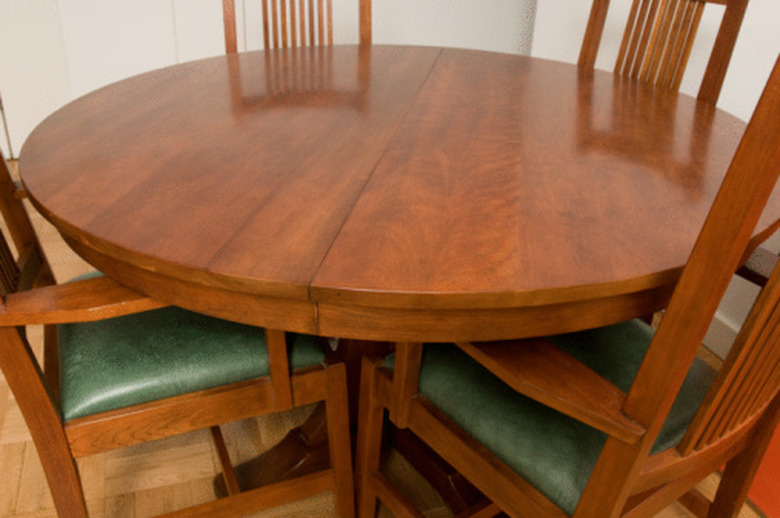
When you see shiny wood, it's likely that the wood's shine is caused by a coat of polyurethane. You can take virtually any piece of wood and add a DIY shiny wood finish using polyurethane. The process is not difficult but it is time consuming. It takes a lot of hard work to get a smooth, flat, shiny finish. Since the process is not overly complicated, it is a great place to start learning about woodworking.
Things Needed
How to Get a Shiny Wood Finish
1. Sand the Wood
Sand the surface of the wood with 600-grit sand paper to remove any imperfections and to give the polyurethane a gripping surface. You can sand freehand or you can use an electric sander like an orbital sander or a belt sander if the project is large. If you use electric equipment, be cautious: An electric sander can remove a lot of wood very quickly.
2. Remove the Wood Dust
Wipe the surface clean with a rag dampened with mineral spirits. This removes all of the wood dust from the wood pores.
3. Treat the Wood With Pore Filler
Brush clear pore filler or sanding sealer onto the wood surface with a paint sponge. Pore filler is essentially thick polyurethane designed to fill up the pores in wood. Allow the pore filler adequate time to completely dry before moving on. This timeframe depends on many factors. For example, the humidity, temperature and brand of filler all affect drying times. Follow the drying times on the container.
4. Sand the Surface Until Smooth
Sand the surface of the pore filler with 600-grit sand paper. As you sand the filler you will remove it from the wood surface and you will leave the filler inside the pores. Duplicate Steps 3 and 4 until the surface of the wood is smooth and you can no longer see the pores in the wood surface.
5. Clean the Wood Surface
Wipe the surface of the wood with mineral spirits and allow the chemicals time to dry before moving on.
6. Add Coats of Polyurethane
Paint a coat of polyurethane onto the wood surface. Again, allow adequate drying time before sanding with 600-grit sand paper. Complete a light "scuff" sanding just to give the next coat an adhering surface. Complete three coats of polyurethane.
7. Sand With Finer Grits
Sand the surface of the polyurethane flat with 600-grit sandpaper. Graduate the sandpaper from 600-grit to 800-grit, then move to 1000-grit and then to 1200-grit sandpaper. As you graduate to finer grits of sandpaper you remove scratches from the surface of the polyurethane. Be careful not to sand through the hard-coat and into the wood surface. If you do, apply an additional three coats of polyurethane and start this step over.
8. Buff the Wood Surface
Apply a buffing compound to a cotton rag and buff the surface of the wood with the rag. This will apply the shine to the wood surface.