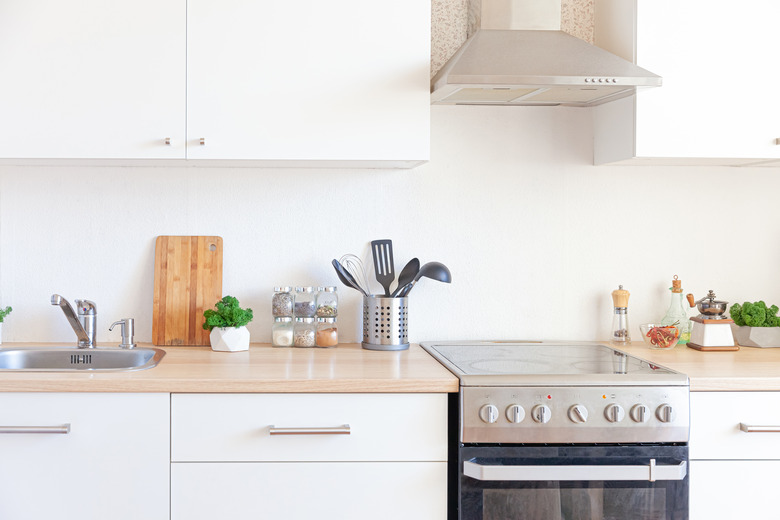
6 Easy Home Repair Hacks Everyone Should Know
We may receive a commission on purchases made from links.
Whether you're a seasoned renovator or a rookie DIY-er, knowing how to repair certain things around your house can save you time and money. "Not only can being handy around the house save you a lot of money, it provides inner empowerment knowing that you can take care of something yourself, versus relying on someone else to do it for you," says Brent Gentling, host of Bring Your Own Tools on Smart Healthy Green Living.
Curious what home repairs the pros say everyone should know how to execute? From touching up a paint job to loosening a stuck door and more, we asked a few DIY experts to share what home repairs can help make you more handy around the house — and tips for doing them.
1. Touching up a paint job.
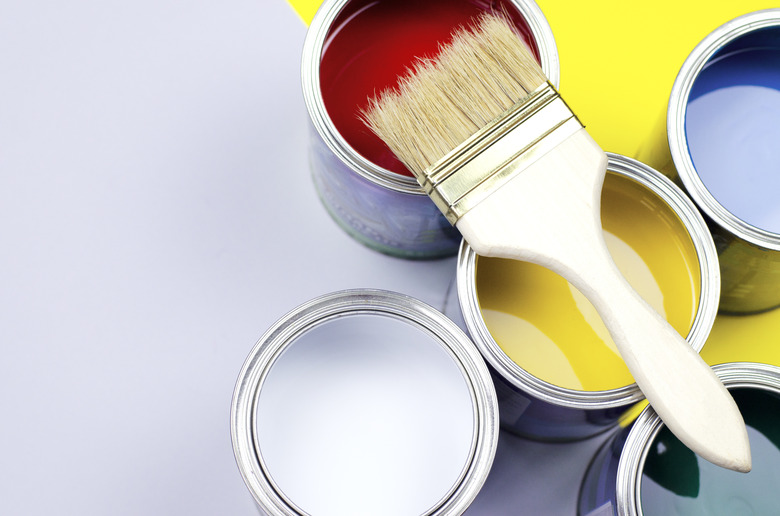
1. Touching up a paint job.
A little bit of paint can go a long way when you're updating a room, which is why Tina Nokes, owner of Five Star Painting, a Neighborly company, believes everyone should know how to touch up scratches, marks, and stains on a painted wall. "Using the original paint that is on the wall is best because it will most likely blend right in," she explains. "However, if you must go to the paint store for some new paint, make sure you get the same store brand, same paint type, same sheen, and same color so it's less likely that a line of demarcation will show around the spot."
To touch up a paint job like a pro, gently clean the area with a damp sponge and mild soap. Once dry, apply a high-quality primer with a small or medium sized-brush, depending on the size of the area, and allow it to dry completely. Lastly, using the same applicator you used to apply the original coat of paint, lightly apply the paint to the area beginning at the inside of the touch-up, and then moving out toward the edges. "If you can see the touch up after the paint dries, then painting the wall corner to corner will make it look smooth and clean again," Tokes says.
2. Fix a door that sticks.

2. Fix a door that sticks.
If you're new to DIY-style home repairs, Kevin Busch, VP of Operations for Mr. Handyman, says that learning how to fix a door that sticks is a great way to get your feet wet. "Closely examine the gaps between the door and the frame, then look for areas where there aren't any gaps to determine where the issue resides," he advises.
Once you've figured out where the problem lies, Busch says to tighten or loosen the hinge screws in the door and the jamb until the reveal — aka the space between the door and jamb — is even. "If the door is still sticking at the top or bottom, you will need to remove some material, which can be done with a hand plane and sanding," he says. "Start by marking the door where it rubs against the side or top of the jamb. Then remove the door and use a plane or belt sander to remove a majority of the unwanted material. Once you are close to the scribe line, use sandpaper to smooth the door's edge before putting it back up."
3. Make drywall repairs.

3. Make drywall repairs.
For a beginner-friendly home improvement project that only takes a few minutes but can make a huge impact in a space, Nokes suggests fixing and repairing holes in your drywall. "To fill nail holes, simply fill the hole with wall compound using a flat-edged trowel," she says. "Let the compound dry for the recommended amount of time, then sand the surface until it feels smooth to the touch and flat with the wall."
If you aren't sure what wall compound to use, Gentling says you can't go wrong with DryDex Spackling by DAP. "It has a built-in color indicator which makes it turn from pink to white once it's completely dry, which makes it super easy for any level of DIY'er out there to tell once it's ready to sand," he explains.
4. Switch out kitchen cabinet hardware.
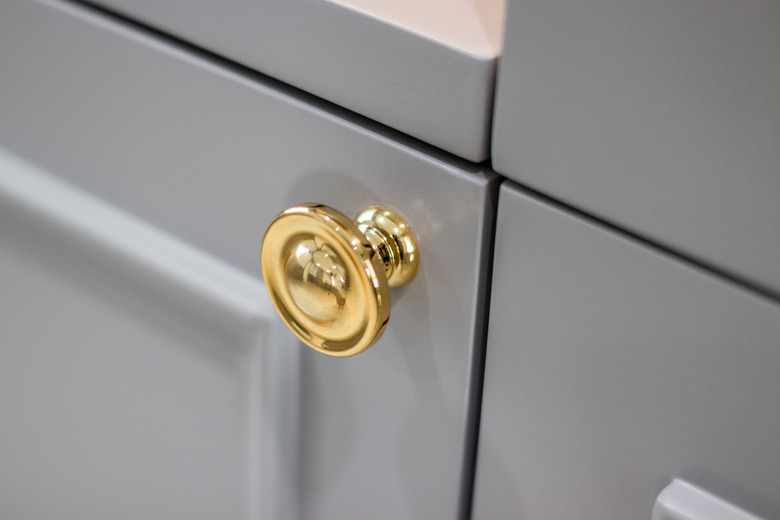
4. Switch out kitchen cabinet
hardware.
Swapping out the hardware and door hinges on your kitchen cabinets is an easy and effective way to upgrade the space without any heavy lifting. "To change out kitchen cabinet hardware you will likely need only a screwdriver, drill and screwdriver bit, and possibly a drill bit for pilot holes," Busch says.
To avoid tapping pilot holes (and having to patch up old ones), Busch recommends bringing an old hinge with you to the hardware store so you can find new hardware that aligns with the mounting holes. "To install the new hardware, simply unscrew the existing hardware with a screwdriver or drill, place the new hardware in its place and screw it back in," he says.
5. Weatherproof your doors and windows.
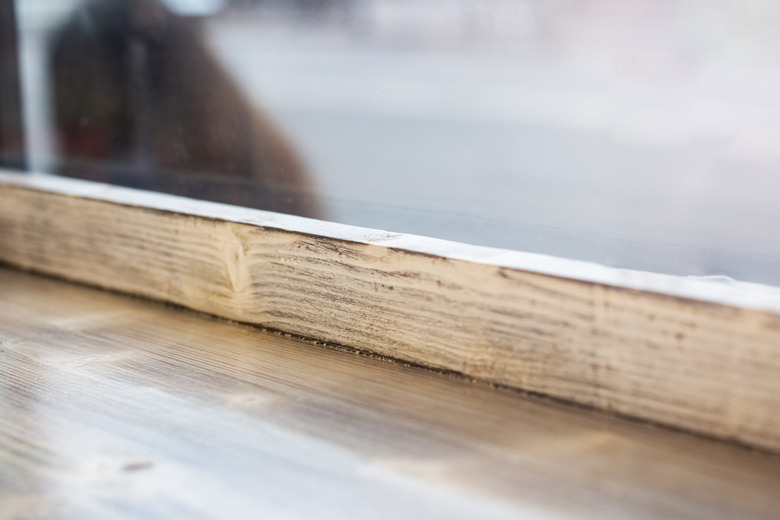
5. Weatherproof your doors and
windows.
According to Robin Lewis, host of Robin Lewis Makes, weatherproofing the entrances of your home, including doors and windows, can make your space more comfortable and help lower your electric bills. "Adding a simple weather strip to the bottom of your doors or around your windows can help your home stay warm by keeping drafts at bay," he explains. "This can help lower your heating bills and increase the real estate value of your home."
6. Install a new mailbox.
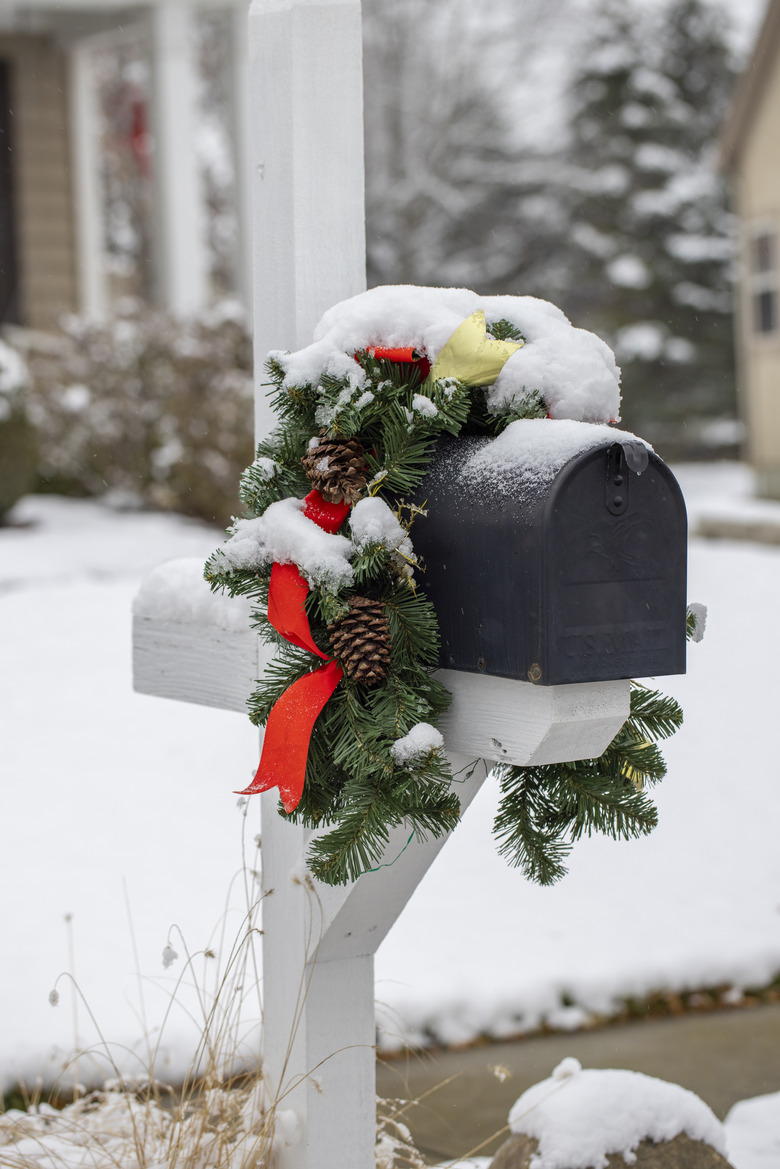
6. Install a new mailbox.
Installing a new mailbox is an easy and cost-effective way to boost the curb appeal of your home while honing your DIY skills. "Remove your old mailbox by digging up the post with a shovel," Busch says. "Pouring water in the hole can help soften the soil to make it easier to wiggle out."
Once the old mailbox and post are out of the way, Busch says you'll need to anchor the post of your new mailbox with concrete. "Insert the new post into the hole, making sure the top is at the required height, and prop the post up with secure supports on all sides to ensure that it's level and won't shift after the concrete is poured," he advises. "Prepare and pour concrete into the hole around the post, and once it dries, mount the new mailbox to the post using mounting brackets and the directions provided by the manufacturer."