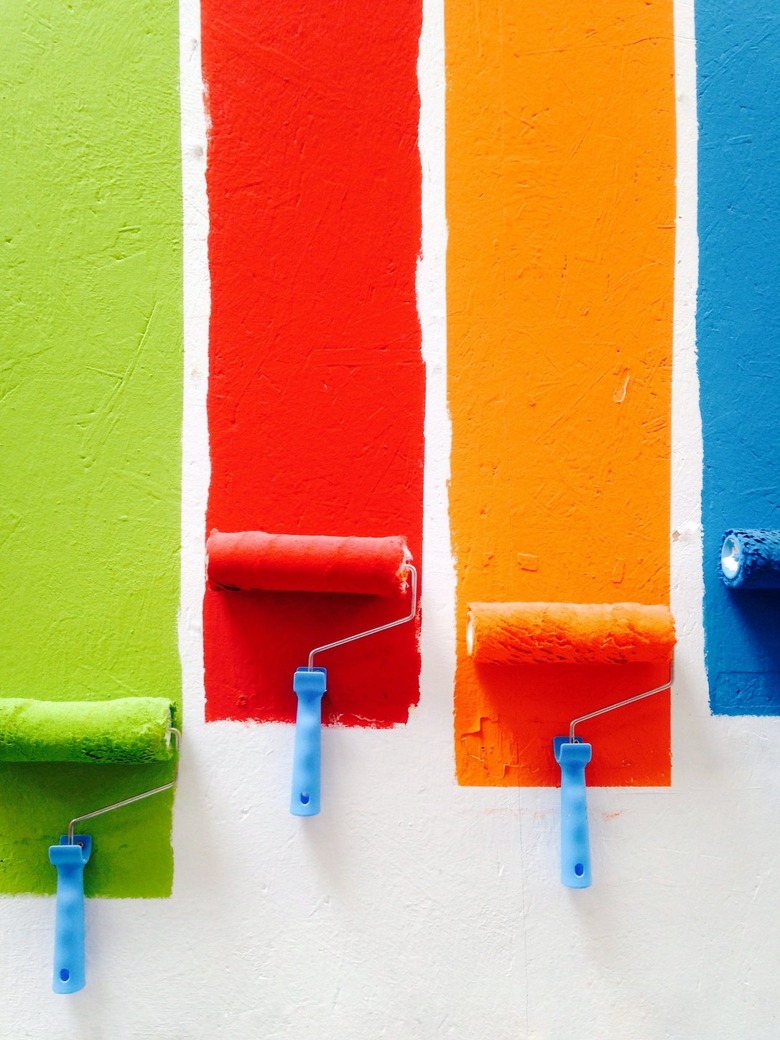
23 Essential Room Painting Supplies For Your DIY Project
We may receive a commission on purchases made from links.
Whether your goal for an upcoming home painting project is to liven up your space with a new paint color, challenge your DIY chops, or simply save money (instead of hiring out the professionals), these essential painting tools are what you'll need to paint a room from start to finish. All of the items featured on our list are expert-recommended paint supplies and are ideal for rooms of all shapes and sizes. Plus, we've got plenty of tips for what you'll need in order to paint stairways, trim, kitchen cabinets, and everything in between with ease and longevity in mind.
How to Paint a Room in 12 Steps
1. Visualize the look you want.
Before you dive right into your paint job, spend some time thinking about how you want the finished product to look. If you have molding, do you want it highlighted in a contrasting shade or texture? Or how about whether you want your room to be all one color? Maybe you want to do an accent wall in a bold shade. And don't forget to take a look at your ceiling and decide if it needs a fresh coat as well.
2. Pick out your colors.
 Stephen Paul for Hunker
Choosing a paint color can be overwhelming, especially if you're looking through a ton fan decks and chips. Start by narrowing down the general tone you want. Do you picture the room in warm or cooler tones? Are you thinking of going with a neutral palette or something bold or dark? Think about the furniture and accessories that are going in the space and what colors would work best with them. Narrow it down based on this and try some shades out. You can get small cans of the colors you're considering, or brands like Backdrop and Clare will send you stick-on patches for walls you're planning on painting. Look at the samples at different times of the day and see how you feel before taking the plunge.
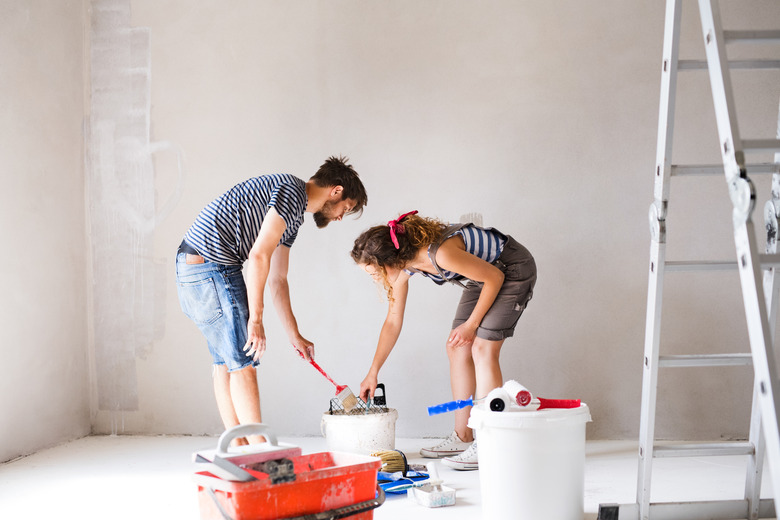
3. Get the right tools and supplies (including paint).
 Jozef Polc/500Px Plus/GettyImages
Painting a room is hard work. But it's much easier and your results will be much better if you have the right tools on hand to complete the job. So, get what you need first to avoid getting frustrated later. We have a list of specific supplies below that will help your nail your DIY painting project. But here are the must-need basics:
- Paint: Behr Dynasty 1 Gallon Stain Blocking Paint and Primer, $52.98
- Rollers: Wooster Standard 9" Paint Roller, $8.77
- Roller Extension: Wooster Brush Roller Extension Pole, $47.30
- Roller Covers: Purdy White Dove Roller Covers, $13.50
- Paint Brushes: Purdy Paint Brushes 3 Pack, $21.99
- Drop Cloths: Sigman Canvas Drop Cloth, $42.39 or Trimaco Plastic Drop Cloth, $6.60
- Paint Tray: Wooster Metal Deluxe Paint Tray, $4.48
- Sandpaper: 3M Assorted Grit Sandpaper, $5.19
- Spackle: DryDex Time Indicator Spackling Paste, $7.48
- Painters Tape: Painter's Mate Green Tape, $3.27
- Rags: Precision Fiber Cloth Paint and Cleaning Rags, $12.98
- Putty Knife: Anvil Putty Knife Set, $2.97
And this includes making sure you have enough paint on hand to finish the job. Measure your space, including the walls and ceiling, and consult with a paint expert at your local hardware or paint store so they can help you with how much you need to purchase. Then, you won't end up with excess paint. There are also paint calculators online, like the one from Benjamin Moore, to help you figure it out as well. The general rule of thumb is 1 gallon per 400 square feet.
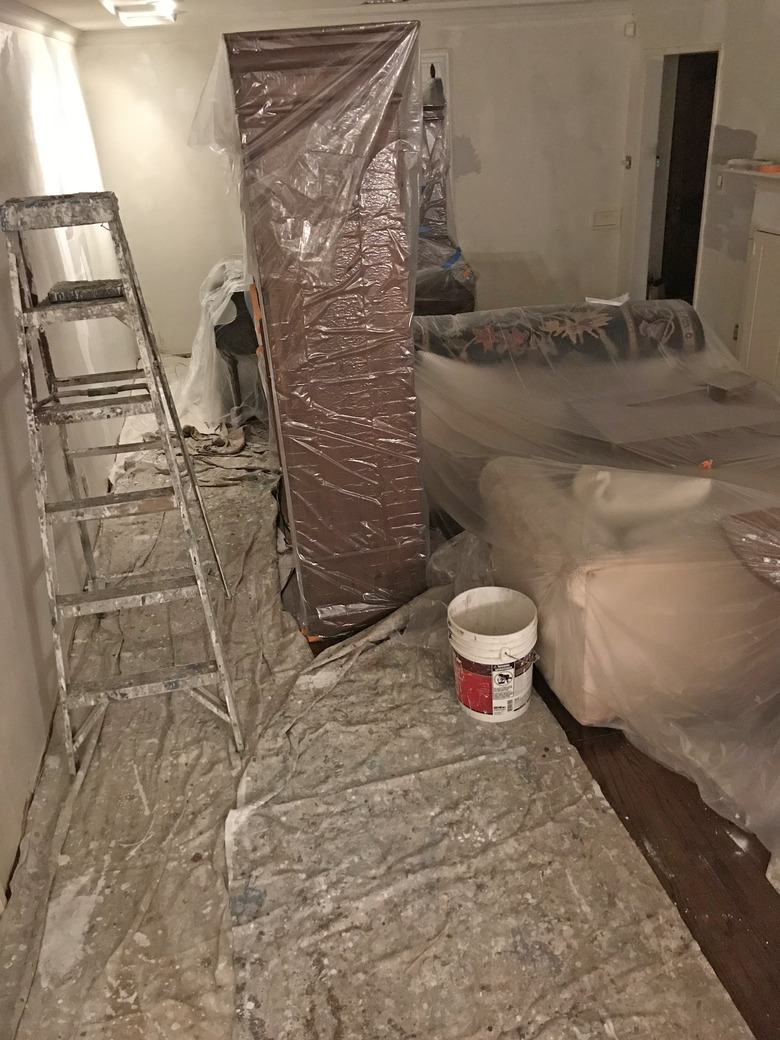
4. Prep the room.
 Kathryn Donohew Photography/Moment/GettyImages
Ideally, you'll want to empty the room of all furniture and anything hanging on the walls before you even think about starting your paint project. But if you can't take everything out, move what's left to the center of the space and cover it all with a drop cloth or disposable plastic (ideally made from recycled material). And don't forget to cover the floor, cabinets, or any counters completely too. Don't skip this. No matter how careful you are, the paint will splatter.
5. Clean the areas you plan to paint.
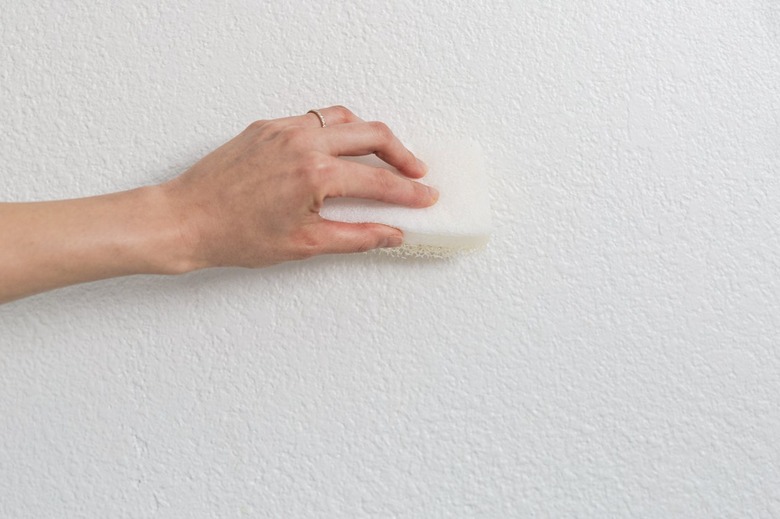
Wipe off dust, dirt, and grease spots with water, a bit of mild detergent, and a cellulose sponge. Then, rinse walls with clean water to remove any soap residue. Cleaning surfaces ensures your paint will go on smooth and flawless the first try and you'll avoid any imperfections during the process.
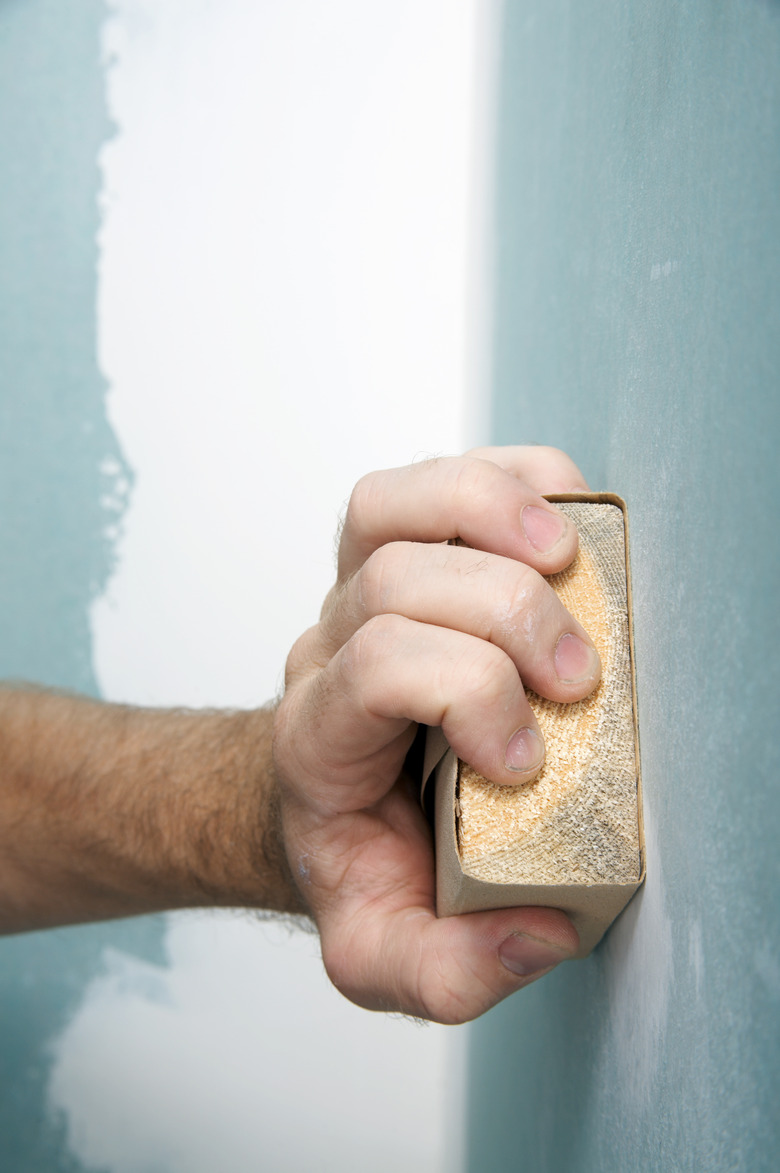
6. Repair any imperfections on walls.
 tacojim/E+/GettyImages
Make sure the surfaces you are painting are as smooth as they can be before you go for your first coat. Fill any nail holes with spackle using a putty knife. Use sandpaper to fix any imperfections. The smoother the surface, the better the paint will look. Just make sure any repairs are completely dry before applying that first coat.
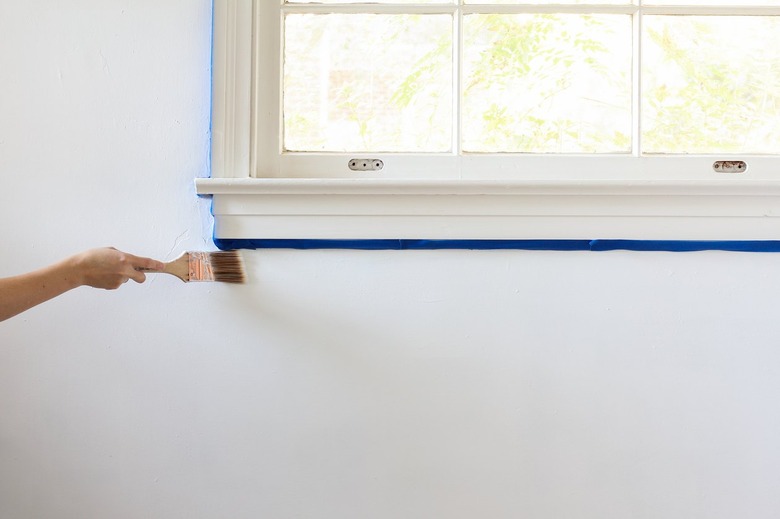
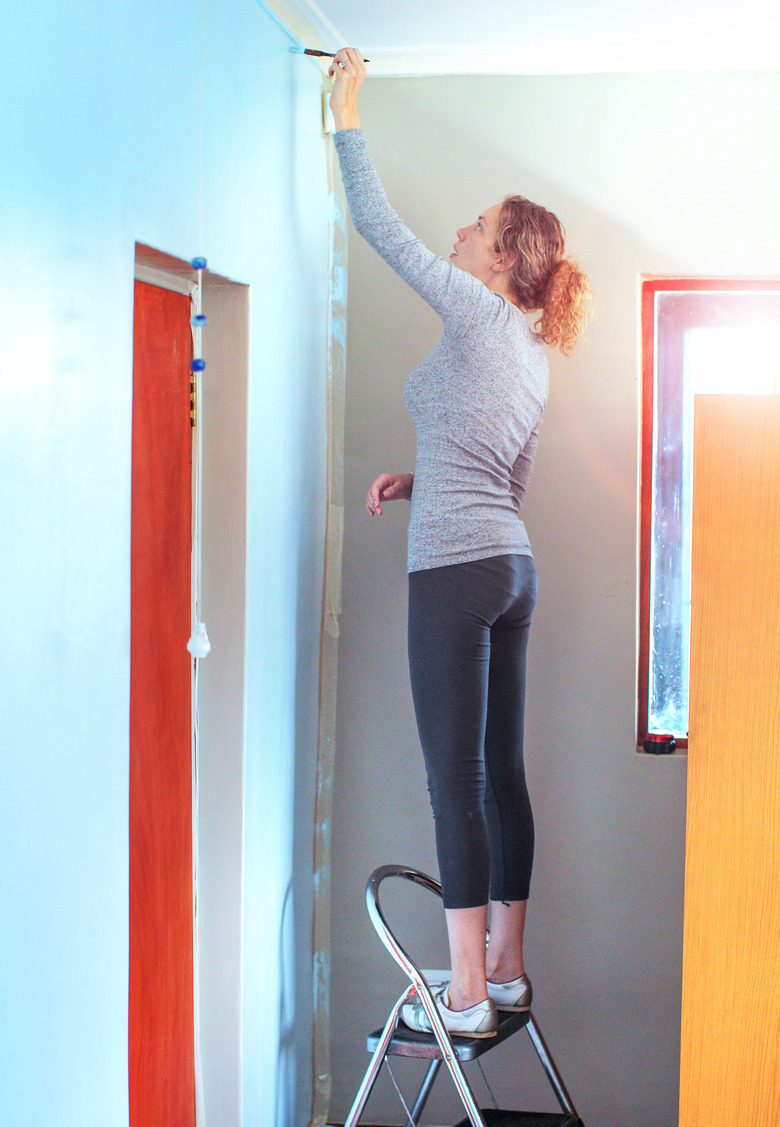
7. Tape the trim, windows, and door frames.
 Trisha Sprouse for Hunker
Grab a roll of painter's tape and apply it firmly to the edges of each corner in the room. Tape along the baseboards, crown molding, doors, and window frames, and around any outlets. Use a putty knife, spoon, or even your thumbnail to help seal it securely. And don't forget things like doorknobs and hinges.
8. Remember ventilation.
 Steven Puetzer/Photographer's Choice RF/GettyImages
Even if you're using water-based paint, the smell can be strong. Make sure you have proper ventilation in the area you're painting. Whether it's a fan pointed away from where you are applying paint or some open windows nearby, keeping the space aired out will guarantee your safety and also help with how the paint dries. Just avoid letting any moisture in.
9. Tackle the trim first.
 Petri Oeschger/Moment/GettyImages
According to the pros, there is a better order to paint any space, and most say it starts with the trim. This is followed by the ceiling and then the walls. Why is this the best way to do it? It's easier and faster to tape off the trim than the walls. And if you paint the trim first, you don't have to be ultra perfect. You just need to focus on getting a smooth coat on the wood. You can cover any mistakes that end up on the walls or ceilings later.
10. Prime and paint the walls with a roller.
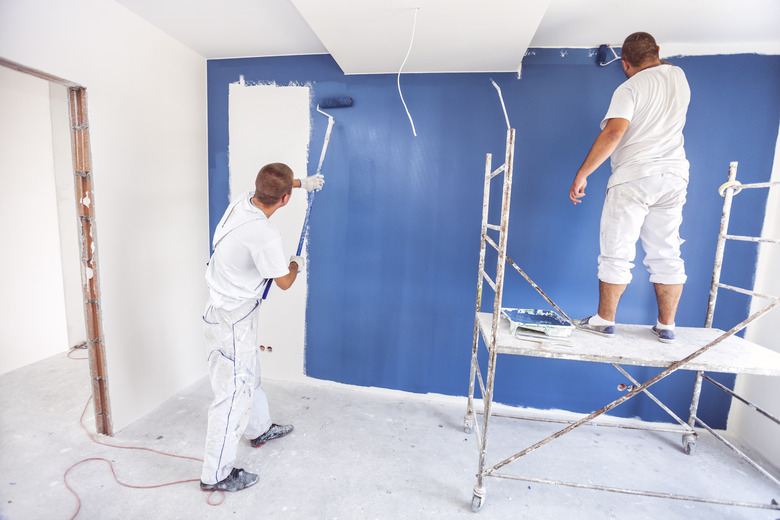 Avalon_Studio/E+/GettyImages
A lot of people think if a wall is already painted, you can skip the primer. Priming really helps how well the paint goes on the wall and creates more sheen. There are paints that include primer, so if you're covering a wall in a similar tone, you can try this approach also. Be sure to paint one wall at a time.
PRO TIP: Start in the corner of a wall and roll on a 3 x 3 foot W pattern, then fill it in without lifting the roller. Continue in sections until you're done.
11. Use a brush where you can't roll.
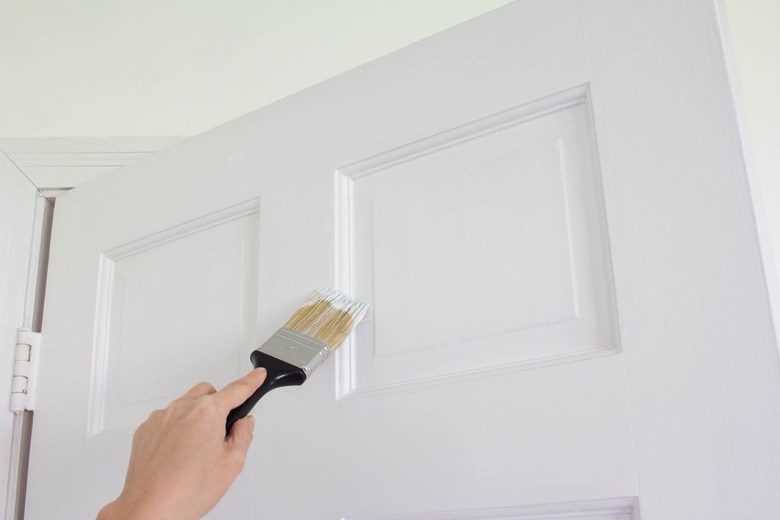 Trisha Sprouse for Hunker
Use a 2-inch angle brush to apply paint along the trim and in the corners of a space. Extend the paint out about 2-3 inches from the spots so it's easier to cover the wall with a roller.
12. Clean up before the paint dries.
 Dougal Waters/DigitalVision/GettyImages
This is probably one step that will save you the most headaches later. Do not wait until the paint dries completely to remove any painter's tape or clean up any splattered paint. Wipe up mistakes you spot with a soft damp cloth. Sometimes waiting to remove painter's tape until after everything is completely dry (beyond 24 hours) results in some of your new coats being pulled off with it. Use a sharp utility knife or box cutter and hold it along where the paint meets the paint as you pull it off to avoid any mishaps.
23 Essential Tools for Painting Your Home
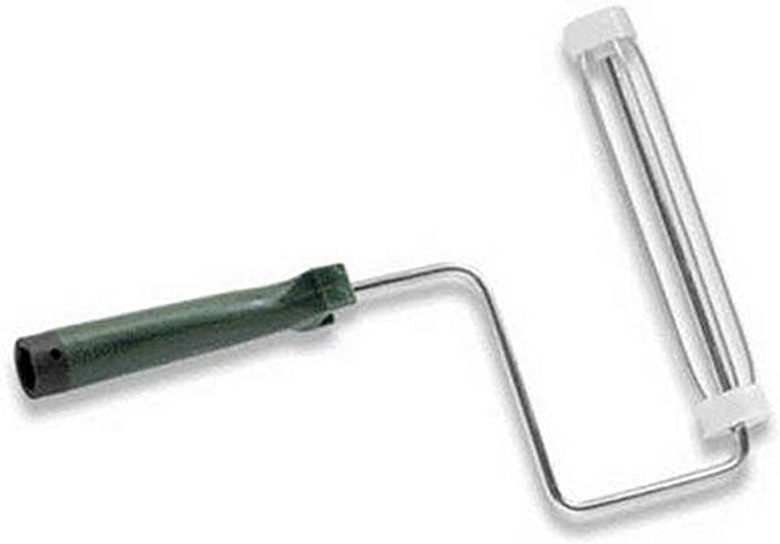
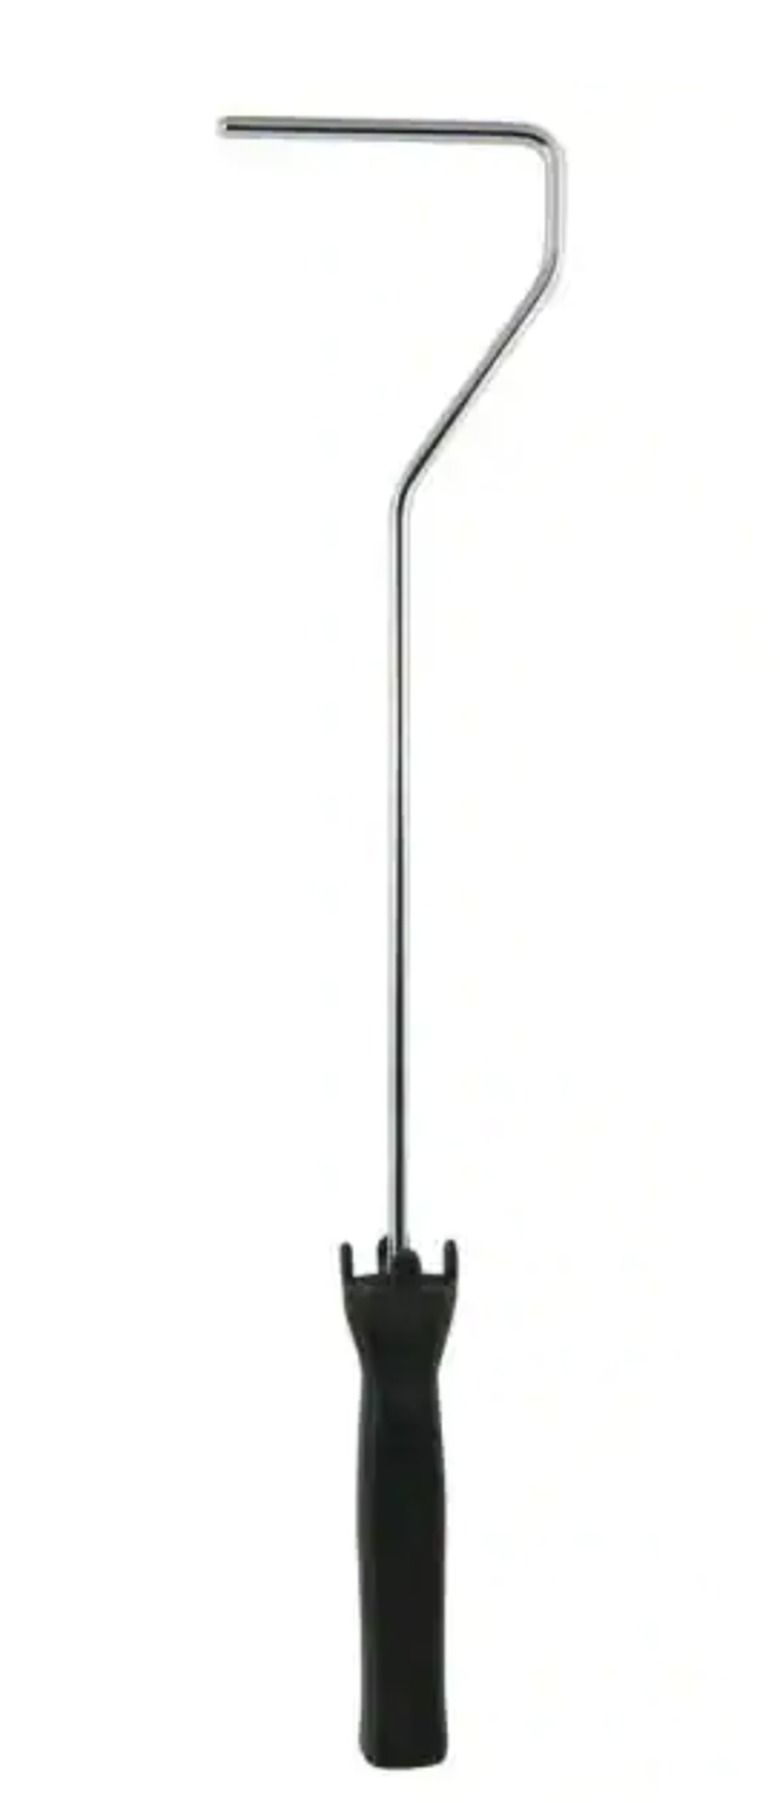
1. Standard 9-Inch Roller Frame
The pros use moderately priced painting tools, avoiding the less expensive brands that tend to break more easily. The Wooster Brush Company, established in 1851, seems to be the brand of choice among painting veterans (Purdy being a close second). The standard 9-inch roller frame comes highly recommended for walls in most standard-sized rooms due to its sturdy wire cage and chrome-plated shank.
Our pick: Wooster Brush 9-Inch Roller Frame, $8.53
2. Extra-Wide Adjustable Roller Frame
 Amazon
You could literally double your productivity when painting large rooms and hallways with an 18-inch roller frame that can adjust from 12 to 18 inches with ease. Its custom-designed angle will give you better wall coverage by allowing the frame to get closer to the baseboards and ceiling.
Our pick: Purdy Adjustable Paint Roller Frame, $24.98
3. Heavy-Duty Paint Bucket
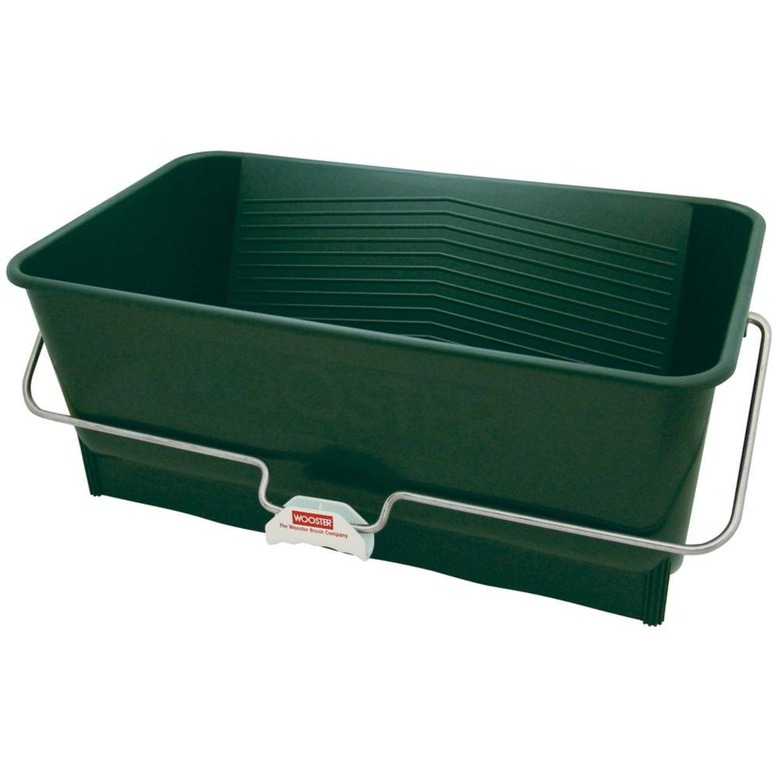 The Home Depot
You will need to purchase an extra-wide paint bucket to accommodate your extra-wide roller, but the time you'll save could be worth any extra cost. With its large 5-gallon working capacity and durable seamless polypropylene material that resists solvents and paint buildup, the Wooster Wide Boy will act as a bucket and tray all-in-one.
Our pick: Wooster Wide Boy 5 Gal. Bucket, $34.98
4. Roller Covers
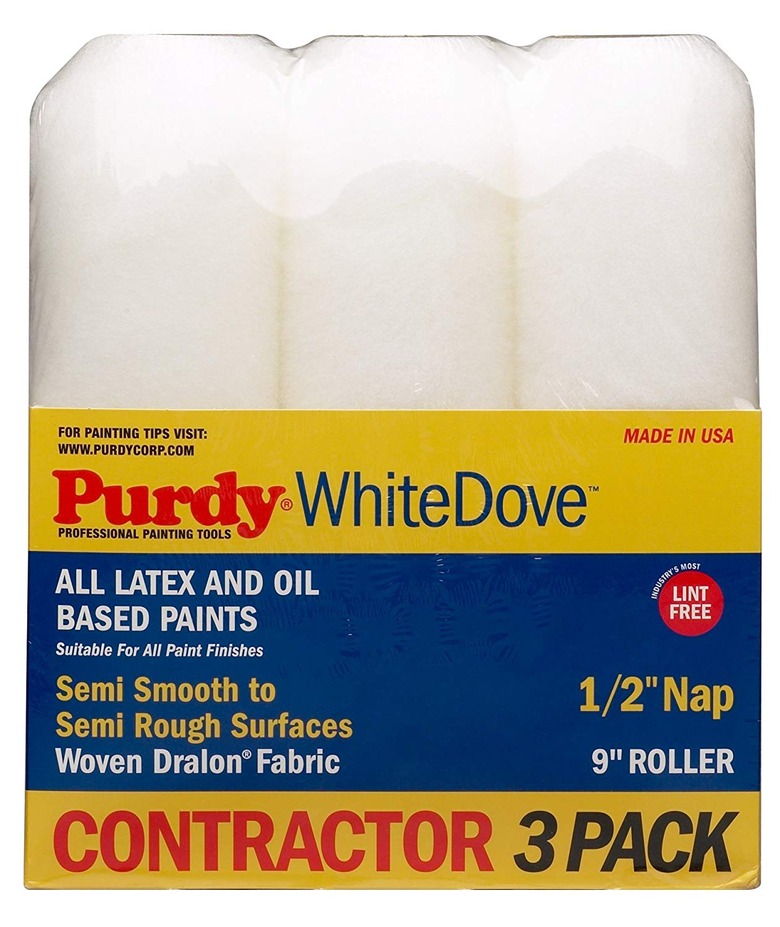 Amazon
When selecting a roller cover for your paint job, opt for wool or a wool/poly blend, say the pros. The best paint roller cover for your buck is by Purdy. With its half-inch nap, it's perfect for most interior work (don't use it on stucco or popcorn ceilings) and it won't shed or leave any tick marks on your wall. Plus, it'll hold a good amount of paint with each dip. Don't waste your money with any special roller covers; to keep your roller clean in between paintings, soak it in the water right inside of the bucket, or simply wrap your wet roller with a recycled plastic bag (and a few drops of added water) to keep overnight or even a few days.
Our pick: Purdy White Dove Roller Cover, $16.91
PRO TIP: If you find any dried paint chips in your bucket after pouring fresh paint, take an old nylon sock and use it as a handy DIY paint strainer.
5. Roller Bucket and Metal Grid
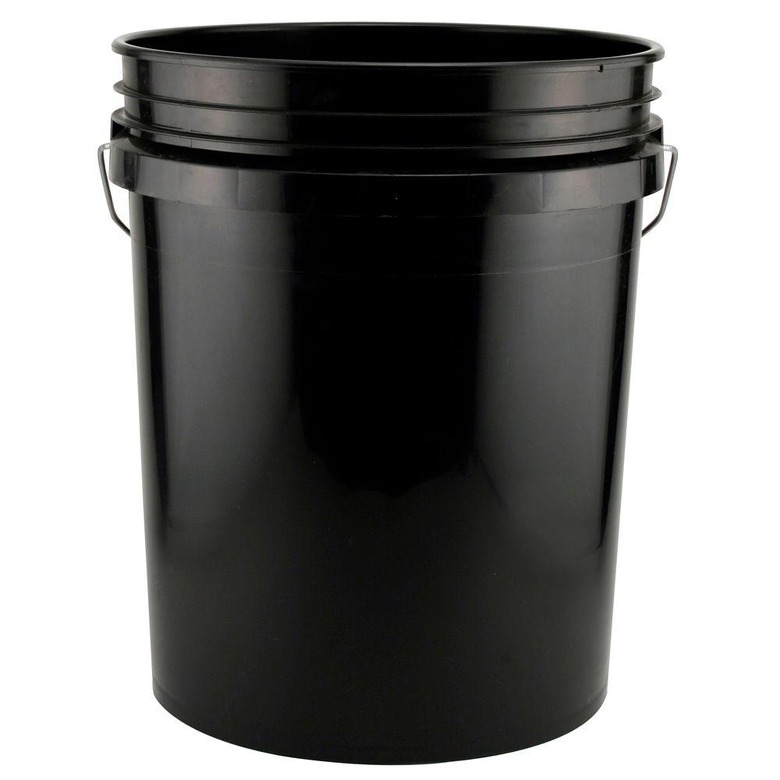 The Home Depot
A roller bucket is by far the most economical choice and much faster than a tray or pan. It has a large 5-gallon capacity and optional air-tight lid for long-term storage (definitely buy a screw-top lid). If you're just storing paint overnight, an airtight plastic bag will do the job. You'll also need a 5-gallon bucket grid to fit inside. The bucket and metal grid system will save you a ton of time and money, and prevents much of the drips and spills that come with a tray or pan situation.
Our pick: 5-Gal. Black Bucket, $5.98
6. Mini-Roller
 Home Depot
You will need a smaller roller for tighter spots that your standard 9-inch roller can't get to, like cabinetry, doors, and the narrow spaces around trim or behind toilets. Choose one with a useful extra-long frame that includes a high-capacity roller.
Our pick: Wooster 4 in. Mini-Koter Long Handle Frame, $3.95
7. Extension Poles
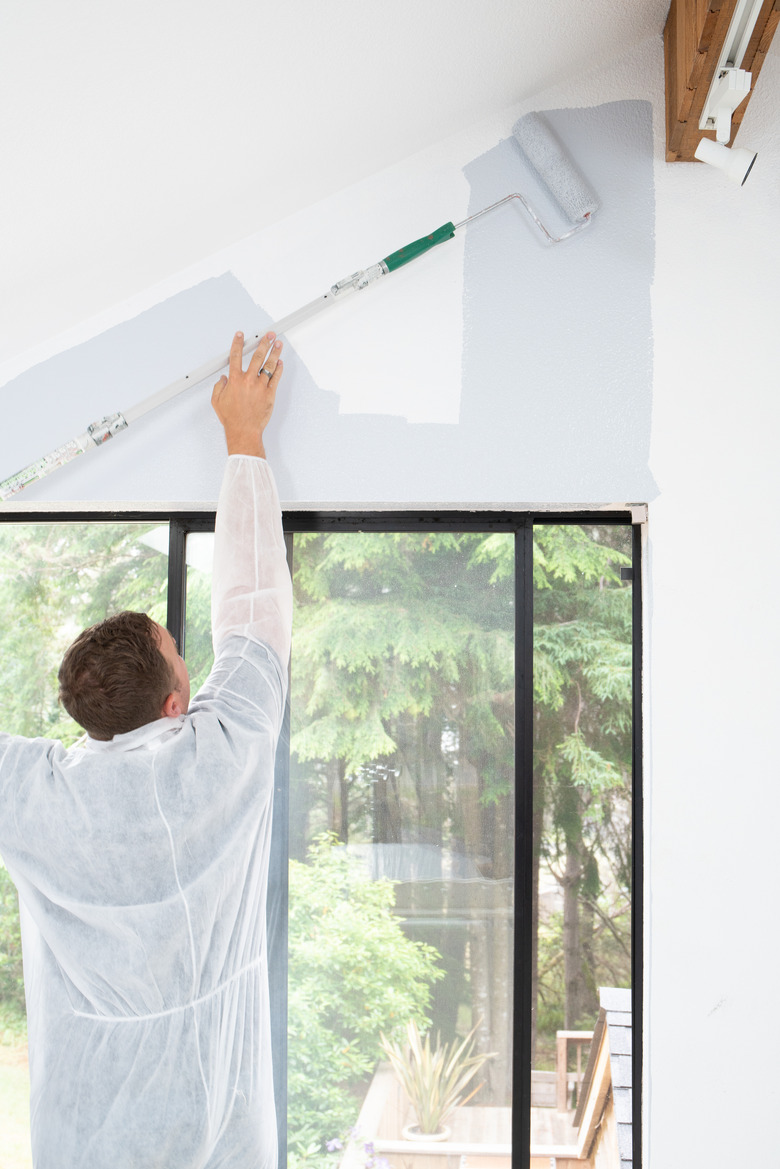 Bill Oxford/E+/GettyImages
Opt for quick-lock extension poles. The other option is screw-thread types, which tend to loosen with motion. This one comes with a special conversion tip to make all threaded tools GT compatible so that you won't have to worry about changing poles. Painting experts recommend getting both a 6- to 12-foot extension pole for higher ceilings and a 2 to 4-footer for tighter spots. Any larger, they say, and you'll experience bending at full extension. Instead, use a ladder or platform when necessary.
Our pick: Wooster Brush SR092 Sherlock GT Convertible Extension Pole, $47.77
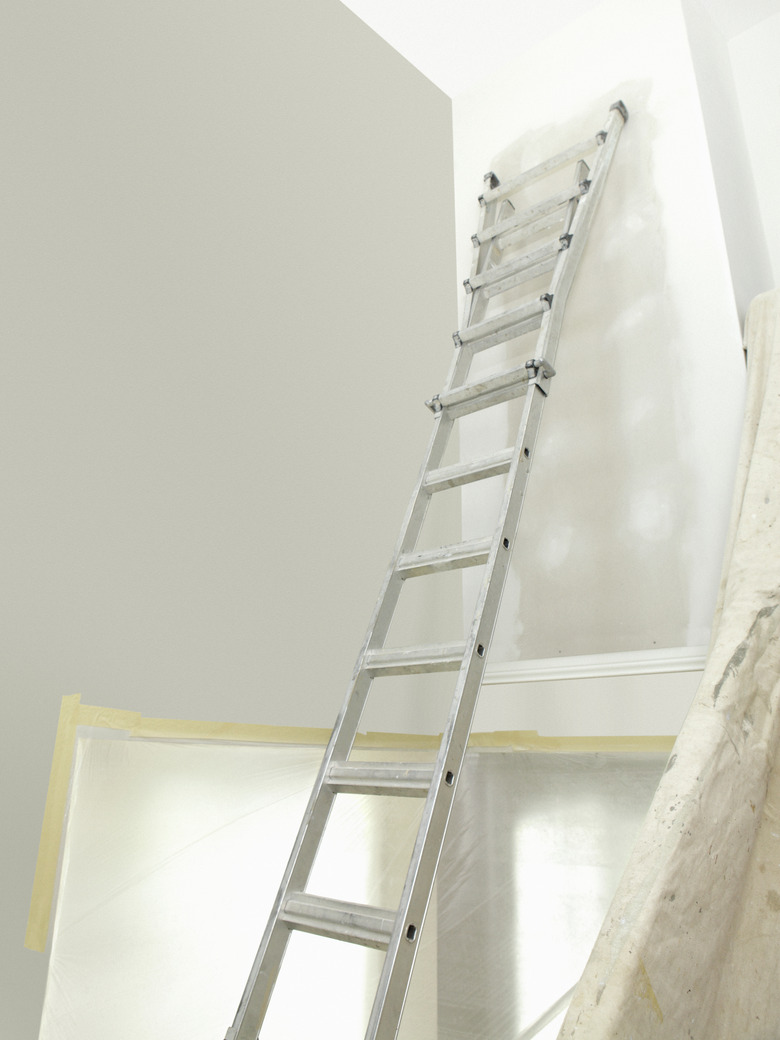
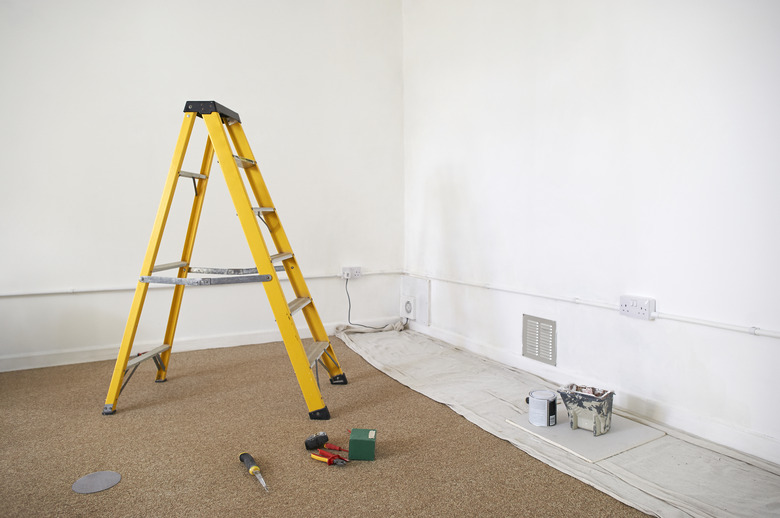
8. Extension Ladder
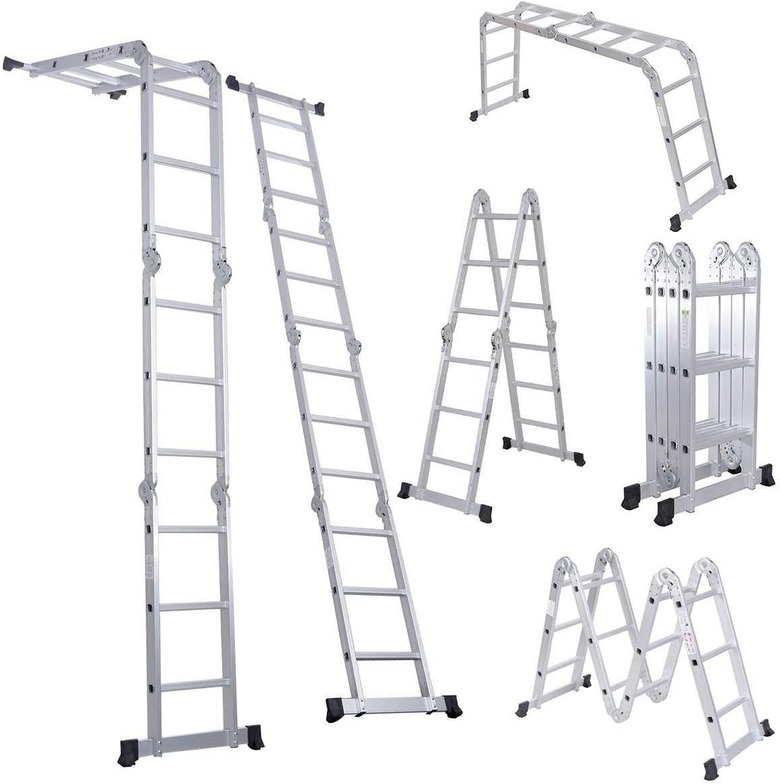 Amazon.com
If borrowing a ladder isn't an option, it might be worth buying a quality 12-foot multi-purpose aluminum extension ladder for around the house, or even a 22-footer for painting high ceilings, stairwells, and outdoors (depending on your budget). Make sure you've got enough indoor space to store your ladder, because keeping it outside will cause rapid degradation. We want these babies to last a lifetime.
Our pick: LuisLadders Multi-Purpose, Folding Aluminum Extension Ladder, $139.99
9. Platform or Scaffold
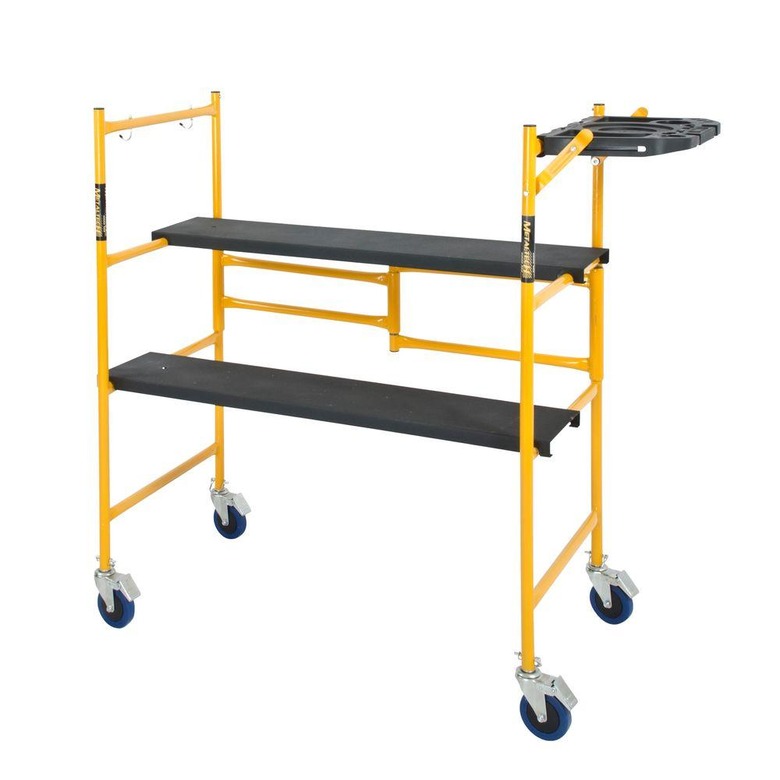 Home Depot
If you happen to fancy yourself a painting pro, consider investing in a platform. This will take away all of the heartache and anxiety usually associated with ladders, as the hassle of constantly moving a ladder around the room can quickly become cumbersome. Or, better yet, go for a rolling scaffold. Your new platform or scaffold will come in handy especially if you've got multiple projects, like painting, sanding, or staining a ceiling.
Our pick: MetalTech Jobsite Series Baker Mini Scaffold Platform with Wheels, $104.00
10. Step Stool
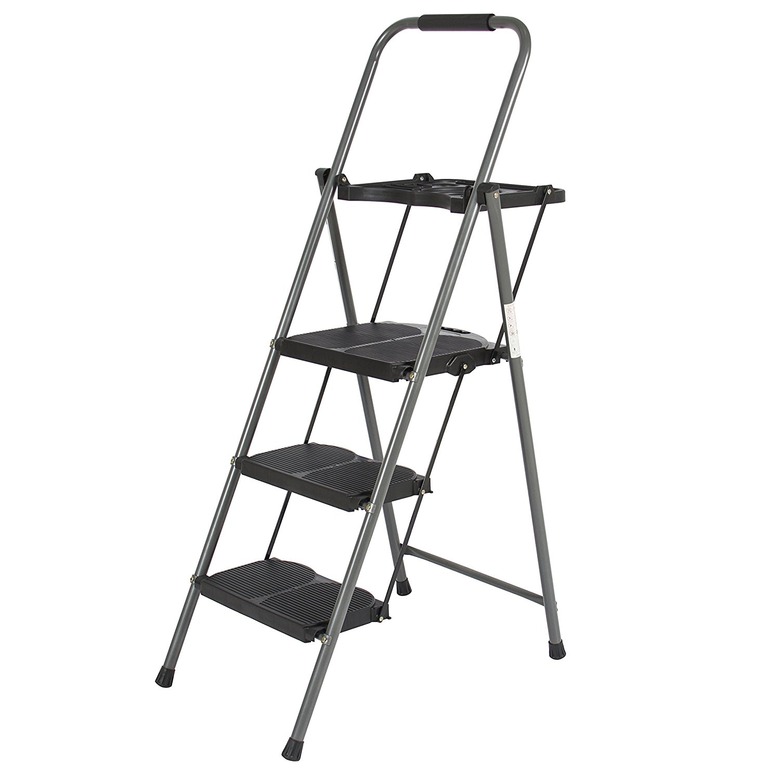 Amazon
Step stools will pretty much come in handy whether you need them for a painting project or not, making them a great investment for the home. Go for a taller three-step folding ladder, like this one for indoor and outdoor use; its durable high-quality, high-grade steel frame will last for many years to come. Or, if long-term storage space is an issue, go for a classic two-step kitchen step stool. And when aesthetics are among your top priorities, choose a pretty bamboo one-stepper. You really can't go wrong here.
Our pick: Best Choice Products 3-Step Ladder, $69.99
11. Angle Brushes
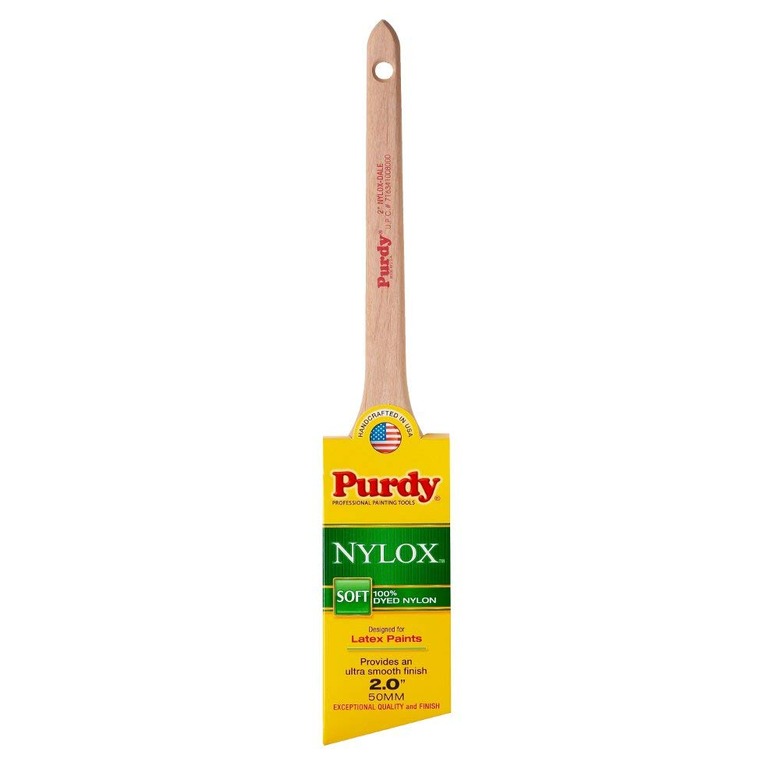 Amazon
The professional angular paintbrush minimum size for trim is 2.5 inches, but consider going with 2 or 1.5 inches if you're new to the game, say the experts. For angled brushes, it's all about Purdy, which is a lifetime painting tool and well worth the upkeep. An angle cut brush is required for trim and pretty much all detail work, as flat cut brushes don't do so well in corners. Consider this value three-pack, which contains a variety of sizes suitable for any interior or exterior trim job. (Up to 3 or 3.5 inches can hold more paint and save time with less dipping.)
Our pick: Purdy Nylox Series Dale Angular Trim Paint Brush, $15.89
12. Painter's Tape
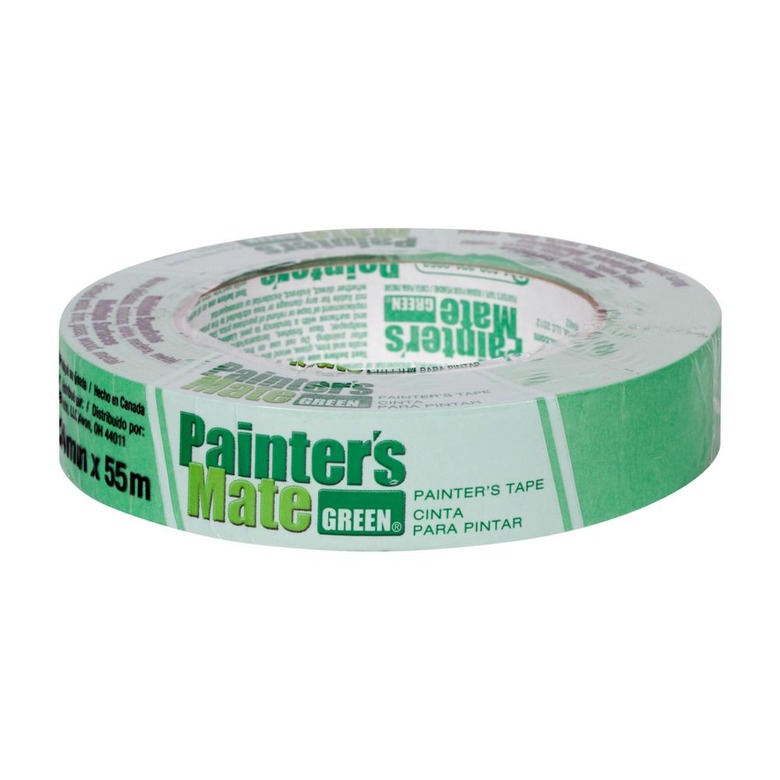 The Home Depot
A decent painter's tape, like this one, is essential if you need to paint edges or protect the trim in tight corners. But at the same time, having a decent paintbrush on hand could help you skip this more time-consuming step. Painter's tape is crucial for painting straight lines and it's a great tool to use when you want to paint stripes or patterns on your walls.
Our pick: Painter's Mate Green Masking Tape, $3.27
13. Hand-Masker Kit
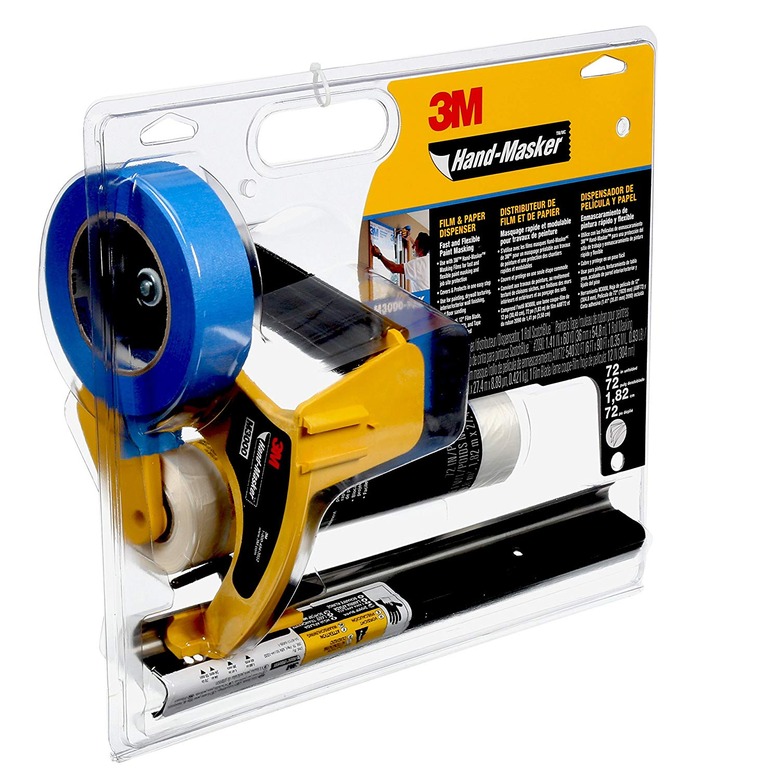 Amazon
This hand-masker pre-assembled masking film kit includes painter's tape. It also has a few other items you might find especially time-saving, like a film blade and roll of clear film. Using hand-masker film with or without the kit is an absolute must for keeping paint flakes, dust, and overspray when painting outdoors contained, especially for masking windows, doors, cabinets, floors, or walls in windy conditions, or when using a paint sprayer.
Our pick: 3M Hand-Masker Pre-assembled Masking Film & Tape Kit, $61.68
14. Paint Sprayer
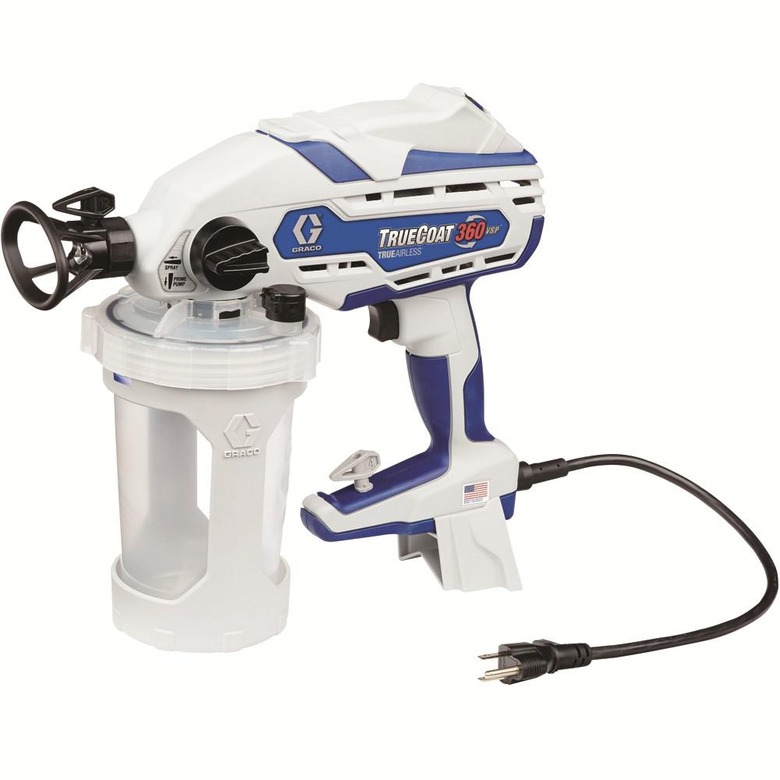 Amazon
A paint sprayer might seem more like a luxury item, but these days there are plenty of options out there for all budgets. For a top-of-the-line non-commercial paint sprayer that will last a lifetime with proper care, go for one by Graco (retails for about $220). Wagner offers a more budget-friendly model for about $60 to $70. No matter which model or budget you're working with, a paint sprayer might be well worth the cost, depending on how large the space is or how often you need to apply a few coats of paint, indoor or out, as these will work on just about any sized surface, whether it's trim, decks, or even cabinets.
Our pick: Graco TrueCoat 360 VSP Airless Paint Sprayer, $274
15. 14-in-1 Multi-Tool
 Amazon.com
Meet your new best friend: the 14-in-1 titanium painter's tool. This thing does it all: It acts as a Phillips and flat-head screwdriver, putty knife, can opener, nail extractor, and scraper, and even has a solid hammer end that sets drywall nails, plus so much more. It will fit in the special pocket in your painter's pants designed just for a putty knife.
Our pick: Clauss 14-in-1 Painters Tool (2-pack), $40.43
16. Painter's Pants
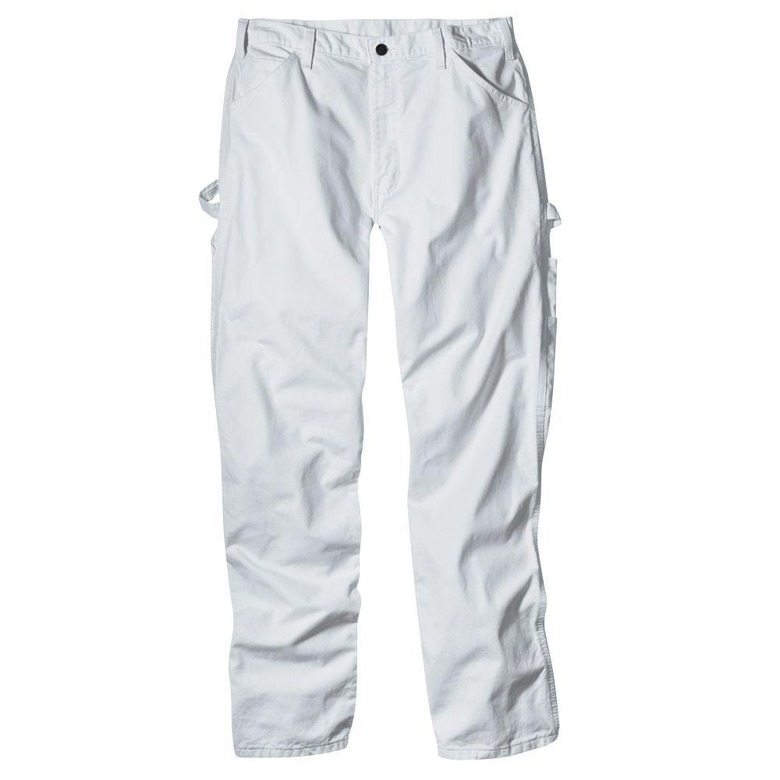 The Home Depot
Speaking of, with painter's pants, it's all about the pockets. The 100% cotton painter's pants by Dickies come with multiple tool pockets and loops, known as "the standard in painter's pants." Their durable drill fabric with triple-stitched seams and extra-large double back pockets will make you look and feel like a true painting pro. Style points? That, too.
Our pick: Dickie's Relaxed Fit White Painters Pants, $18.98
17. Drop Cloths
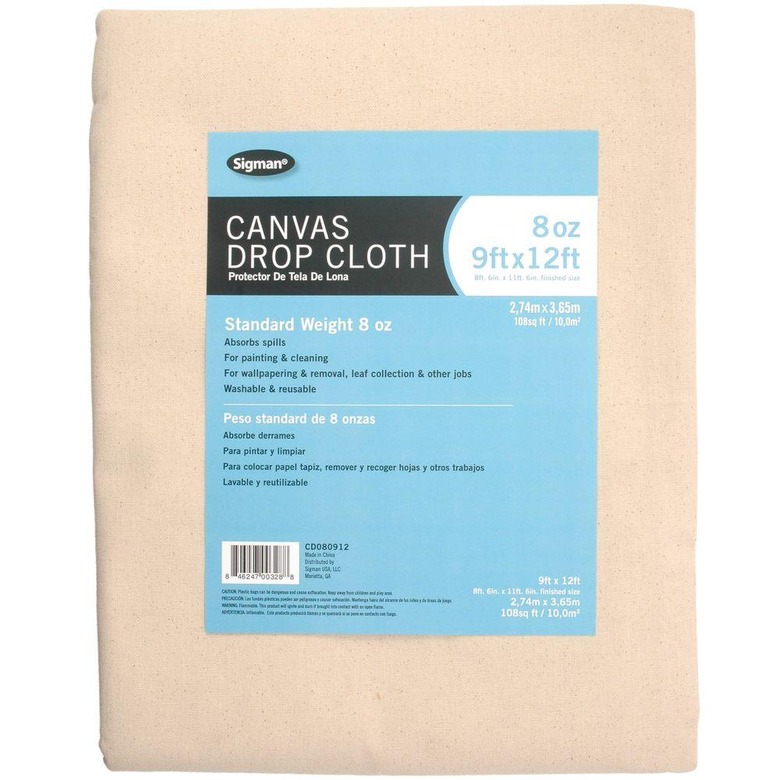 The Home Depot
You will want to have a drop cloth or two around while painting unless you're planning on replacing your existing floors anyway. Professional painters tend to use canvas drop cloths to protect floors and plastic drop cloths on nearby furniture. Use 4-foot wide canvas runners along walls, and be sure to wipe up any drips that end up on the cloths to prevent tracking paint when you step onto the non-covered floor. Drips are the enemy.
Our picks: Sigman Canvas Drop Cloth, $22.56; Sigman Canvas Drop Cloth Runner, $18.12, HDX Plastic Drop Cloths, $10.98
18. Quick-Dry Spackle
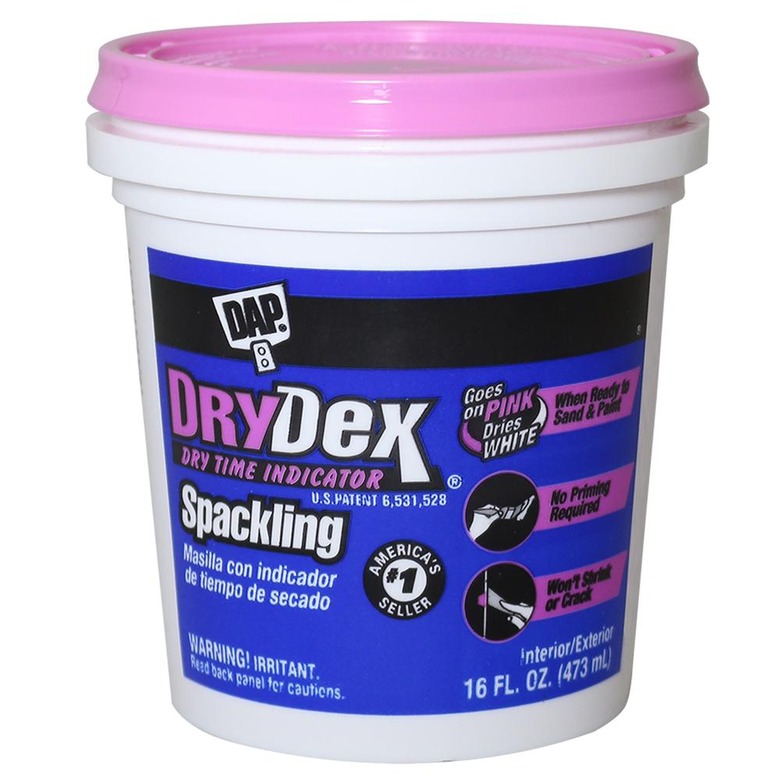 The Home Depot
In addition to a putty knife, spackling is good to have on hand during any painting project in order to fill holes or cracks before applying the first coat. Selecting a quick-drying spackle is the way to go, but for larger repairs, consider keeping some pre-mixed drywall compound handy. It will dry more slowly, so keep that in mind (you'll need a wider putty knife to apply).
Our picks: DryDex Time Indicator Spackling Paste, $8.48; Anvil Plastic Putty Knife Set, $2.98; DryDex Premium Lightweight Low Dust Joint Compound, $8.48
19. Sandpaper
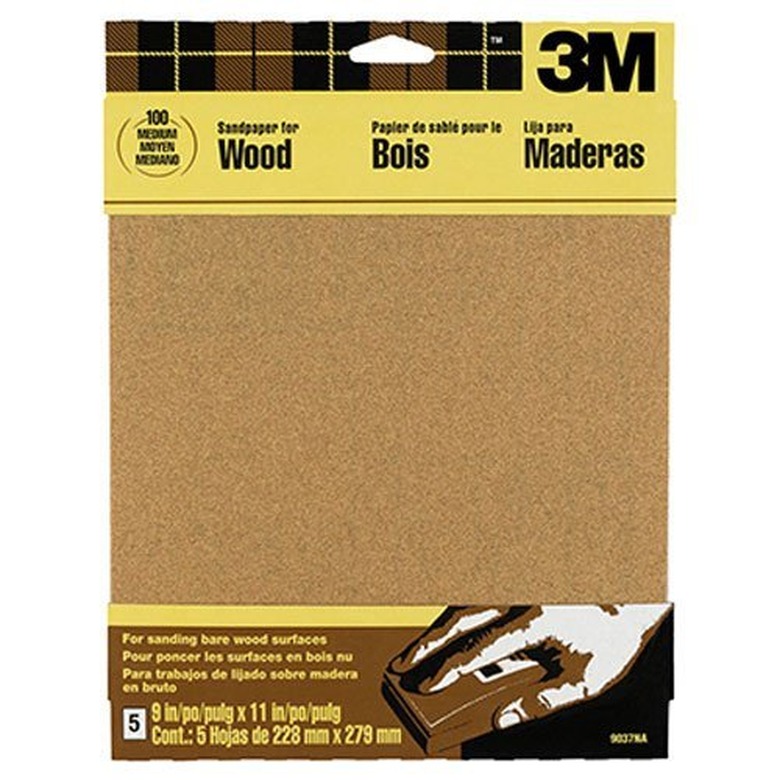 Amazon
Keep some various grits of sandpaper handy, like 120-150 and maybe even some 80, but tread lightly, so you don't damage your walls. Look for an assorted pack by a decent brand and try not to let it get wet. Also, get a sanding block or use a scrap piece of wood to keep your walls nice and flat.
Our picks: 3M Garnet Sandpaper 9 x 11 inch Assorted Grit, $6.21; Warner Rubber Sanding Block, $10.35
20. Caulk Gun
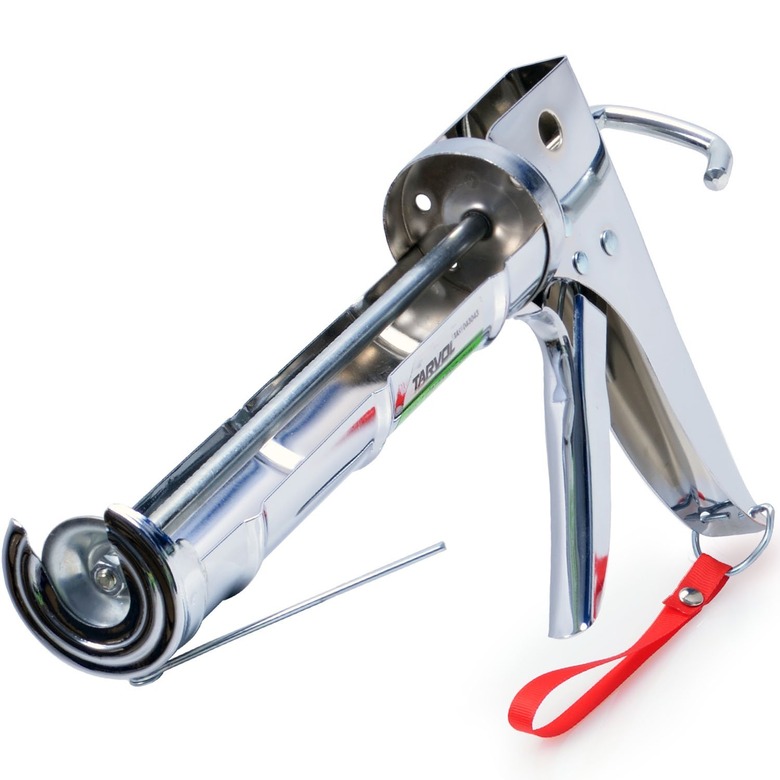 Amazon
Buy a decent caulk gun, like this heavy-duty one, to caulk in corners for perfectly straight lines where two different colors meet. You'll also need caulk for cleaner seams between painted trim and walls. However, avoid the silicon stuff — silicon is not usually paintable, and silicon-based caulk takes a long time to dry (it's specifically designed to be used in wet areas, like outdoors and around plumbing).
Our pick: Newborn 240 Super Smooth Revolving Caulking Gun, $26.32
21. Work Light
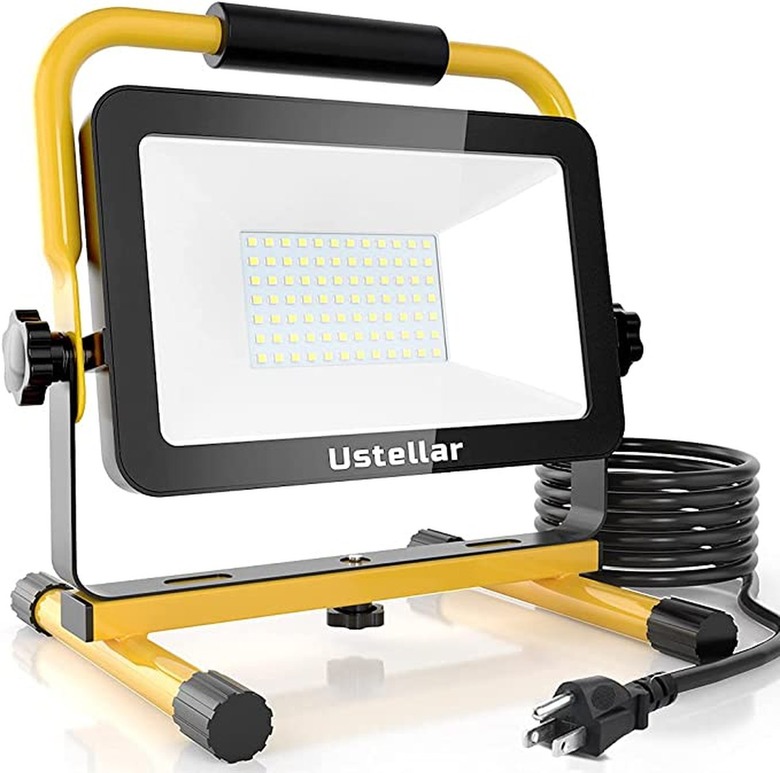 Amazon.com
Never again underestimate the value of decent lighting while painting. Indeed, a work light will save you a lot of heartache down the line. Imagine that moment after your second or third coat dries and you've already started hanging things, only to notice later there's a dreaded bald spot in the paint that you didn't catch before (and now it's all you see). We've all been there. Once you experience using a super bright LED work light, you'll soon consider it an essential painting tool.
Our pick: Ustellar 60W LED Work Light with Stand, $39.99
22. Paint Edger
 The Home Depot
While many painters recommend using an angled brush along taped-off trim to fill in the gap between the trim and the rest of the wall, this nifty tool from The Home Depot is also a great solution to paint edges straight. And the good news is you can pick it up at most hardware stores for under $5. It really speeds up the whole process, especially on larger walls.
Our pick: Shur-Line Paint Edger Pad, $3.97
23. Paint Trays
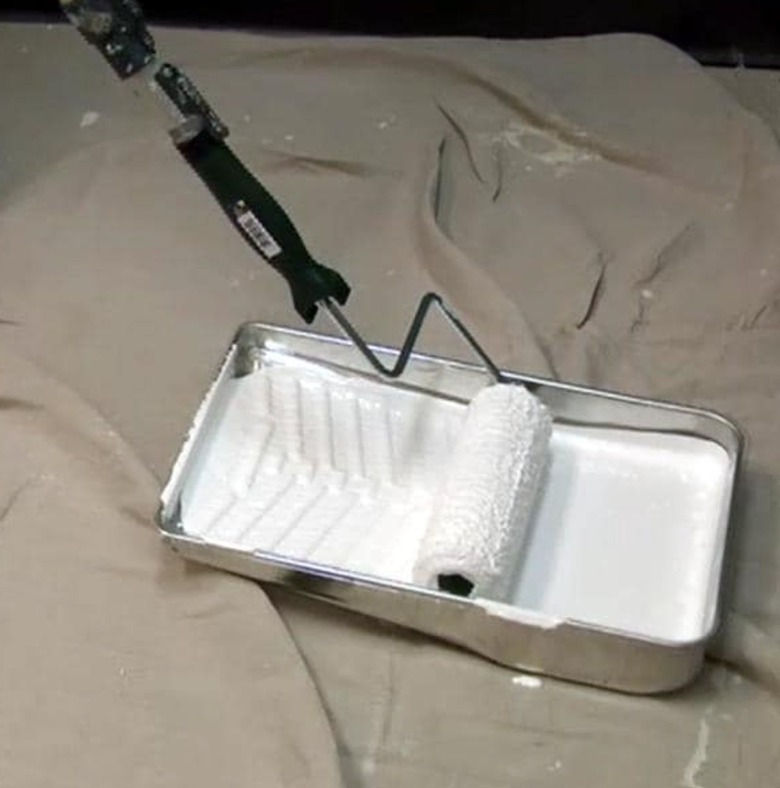 Home Depot
And don't forget paint trays. You will need to pour your paint into them to use your rollers. Make sure you get one wide enough to accommodate the different-sized rollers you may be using. Disposable plastic tray liners are also a good idea for when you are using different colors and want to switch out your paint without the hassle of rinsing your entire tray in between.
Our pick: Wooster Metal Deluxe Roller Tray, $4.98; Wooster Clear Plastic Deluxe Tray Liner, $3.48