Woodworking Project For Kids: Gender-Neutral Dollhouse

We may receive a commission on purchases made from links.
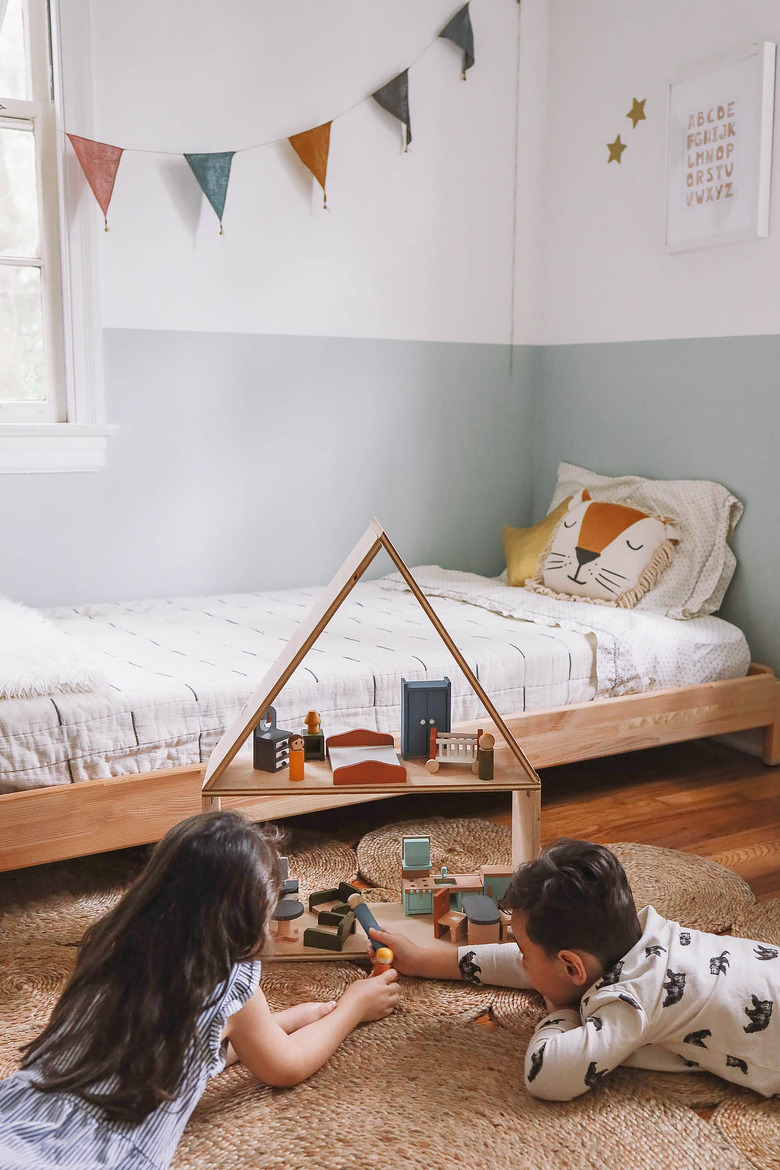
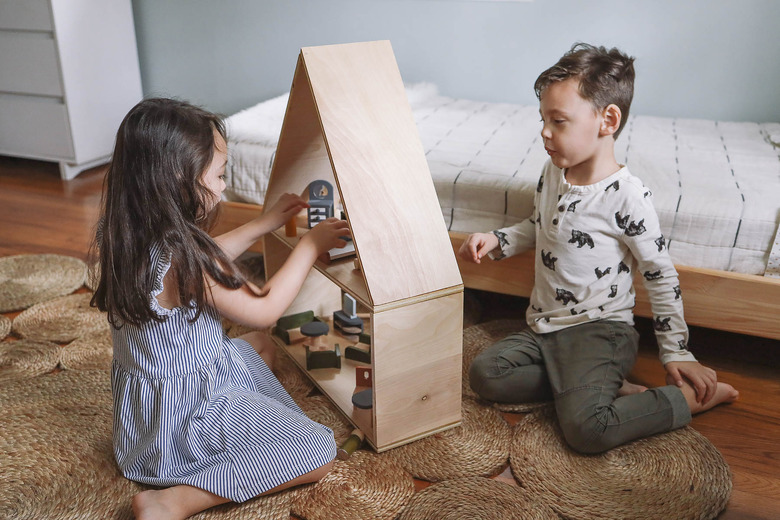
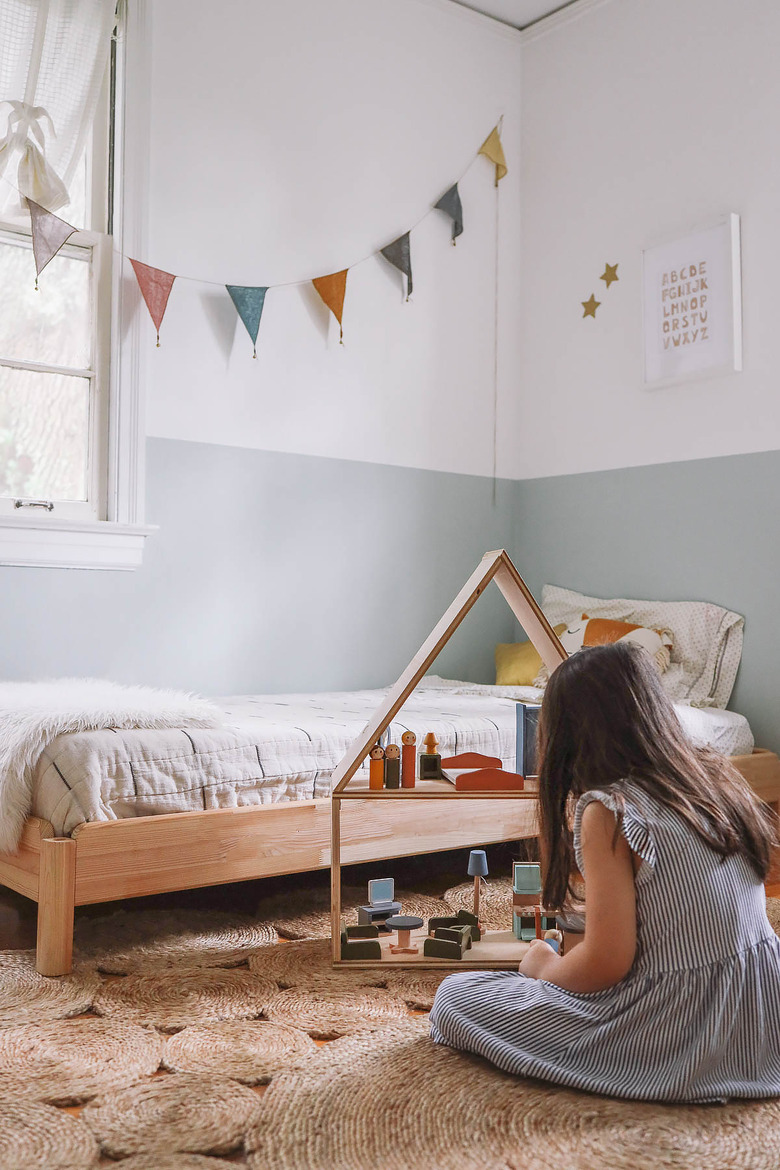
Between virtual classrooms for kids and parents working from home, it's recently been a screen-heavy season for many of us. If you've run out of offline activity ideas, consider a family woodworking project. This simple dollhouse (complete with wooden dolls) is a great introduction into carpentry, offering educational value and also an exercise in imagination. Teamwork makes the dreamwork with parents handling the power tool duties and little ones assisting with the construction and painting. The result is a fun day of family bonding and an adorable Scandi-style dollhouse they can play with for many years to come!
 Trisha Sprouse
Things Needed
-
Circular saw (optional)
1. Cut the Wood
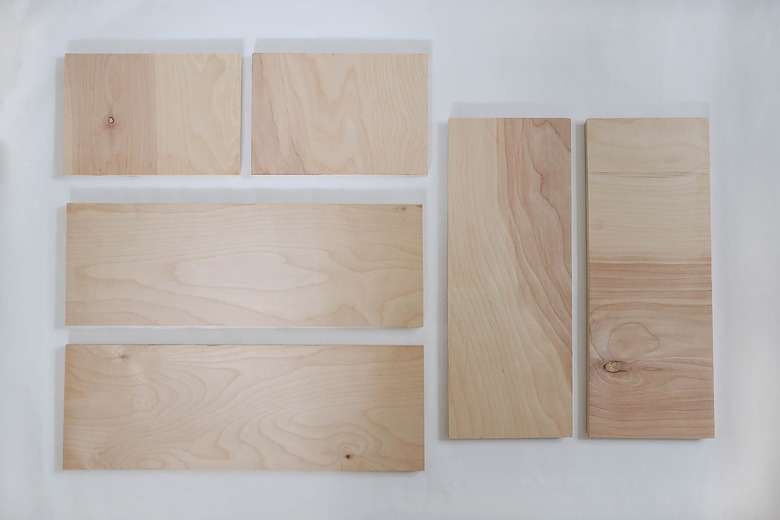
It's best to leave the wood cutting to the adults or older teenagers for this part of the project, but don't worry — little kids will still have plenty of opportunities to help in other steps. You'll need to measure and cut (or have it done at the hardware store ) six pieces from the 1-by-8 wood board:
- Two floor pieces that are 20 inches long
- Two wall pieces that 11 inches long
- Two roof pieces that are 17 inches long
 Trisha Sprouse
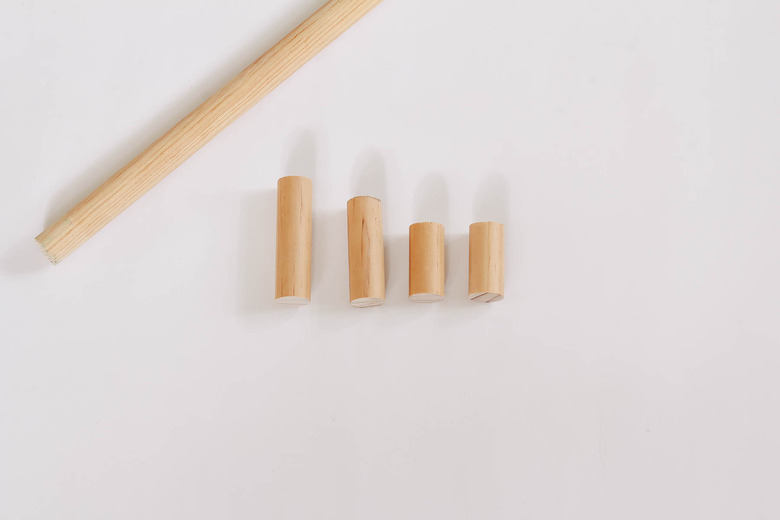
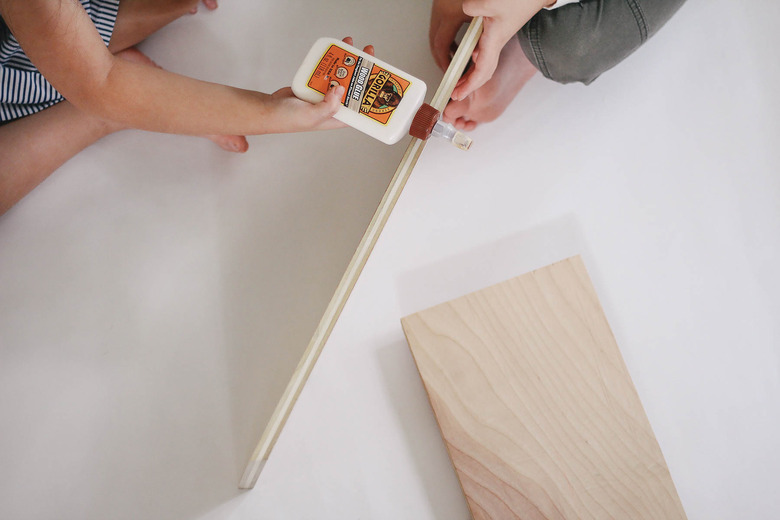
You'll also need to cut the wood dowel into 2-inch and 3-inch pieces for the dolls.
 Trisha Sprouse
2. Miter the Roof Pieces
On both of the 17-inch roof pieces, use a miter saw to cut a 30-degree angle on each end. Start by mitering one end of the board, rotate the board 180 degrees, and then miter the opposite end. In other words, keep the same side facing up when you miter each end (don't flip the board over). This will ensure your angles are facing in the correct direction.
 Trisha Sprouse
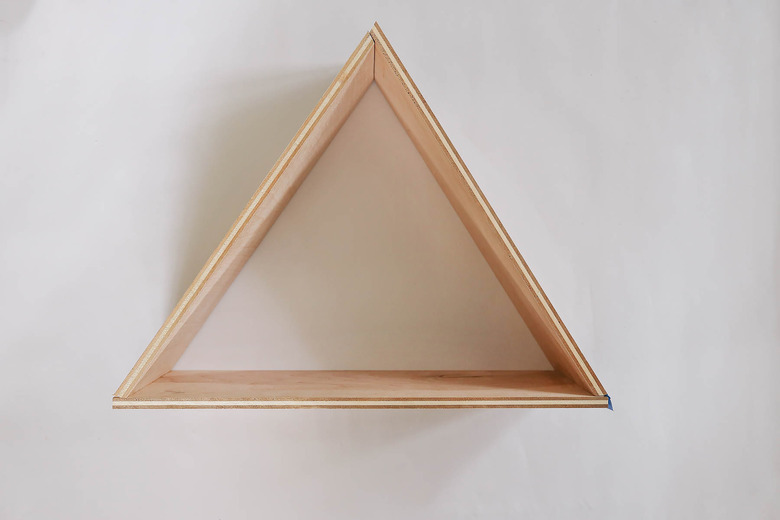
3. Assemble the Top of the House
Have the kids join the two roof pieces with one of the 20-inch floor pieces so that it forms the shape of a triangle.
 Trisha Sprouse
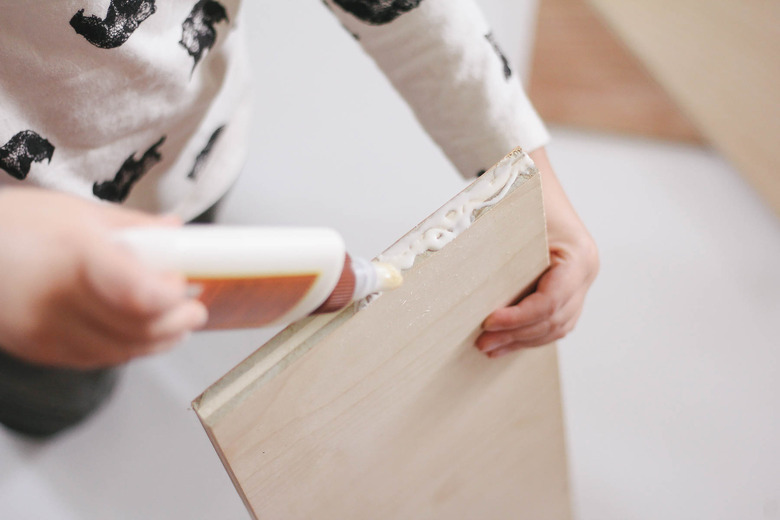
Then ask them to pipe wood glue along the edges that connect with each other. Keep a paper towel handy in case any little ones get a overzealous with the glue!
 Trisha Sprouse
 Trisha Sprouse
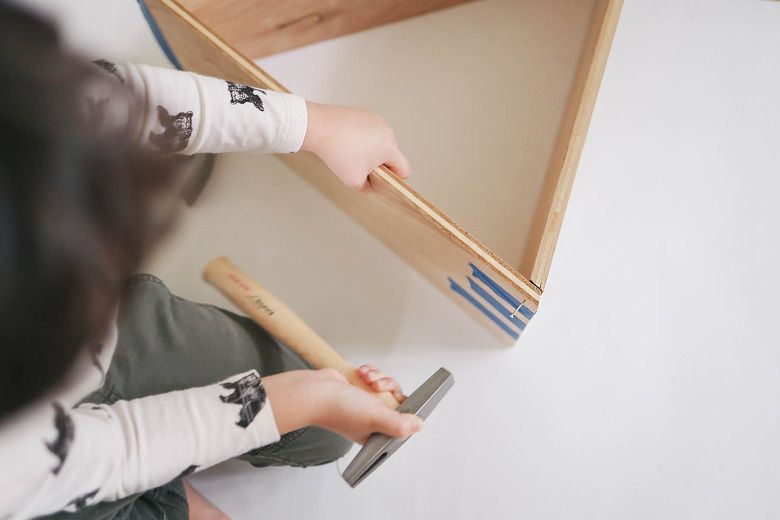
Use painter's tape to hold the pieces together until the wood glue dries, and then hammer the pieces together with wire nails in each corner.
 Trisha Sprouse
TIP: If your children are too small to work with a real hammer, you can give them a lighter weight tack hammer to practice, or even a toy hammer. The adults can follow up with a real hammer once the kids get an idea of how the construction works.
4. Assemble the Bottom of the House
Glue the two 11-inch wall pieces vertically onto the remaining 20-inch floor piece. Similar to the top of the house, tape the pieces together while the glue dries, and then hammer wire nails into each corner.
 Trisha Sprouse
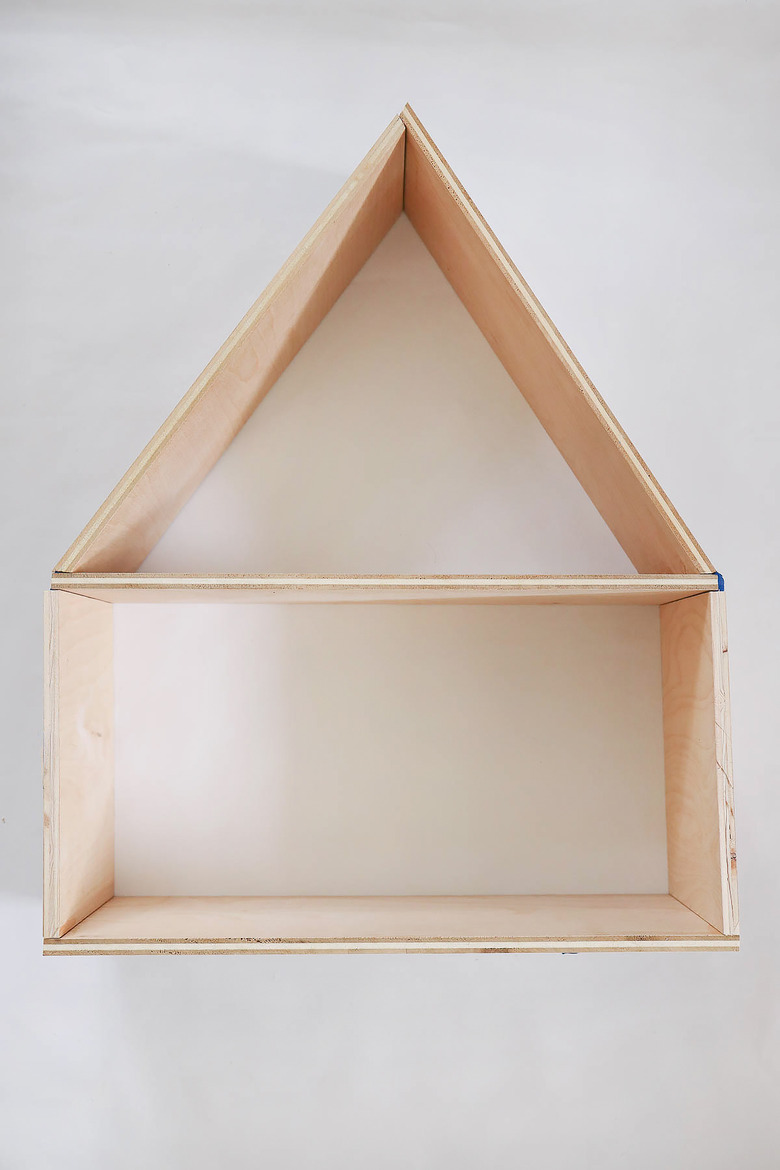
5. Attach the Top and Bottom Pieces
Glue the top of the house to the bottom of the house, and tape them together until dry.
 Trisha Sprouse
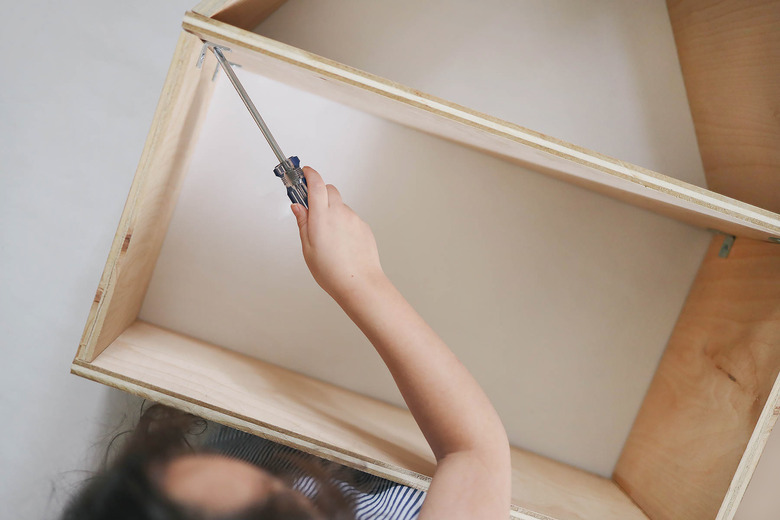
Once the glue is dry, attach a corner brace in each of the four corners between the top and bottom pieces to add stability. It's best to start by marking the placement of the braces with a pencil, and having the adults pre-drill pilot holes for the screws. Then the kids can use a screwdriver to drive the screws through the wood.
 Trisha Sprouse
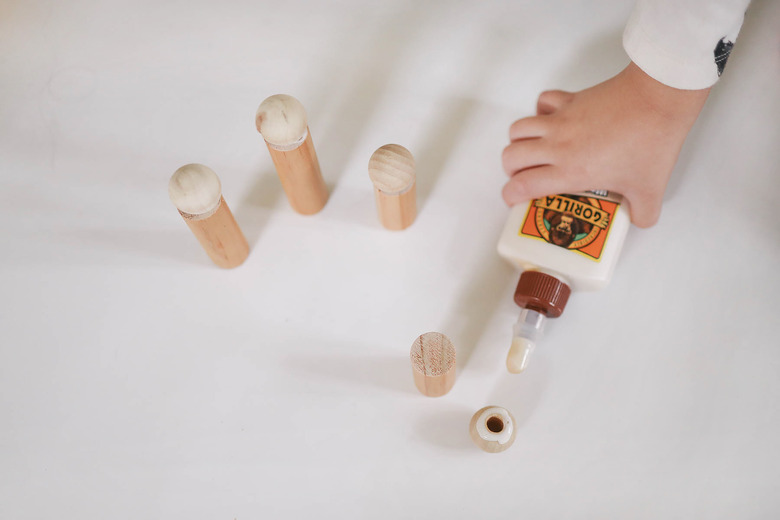
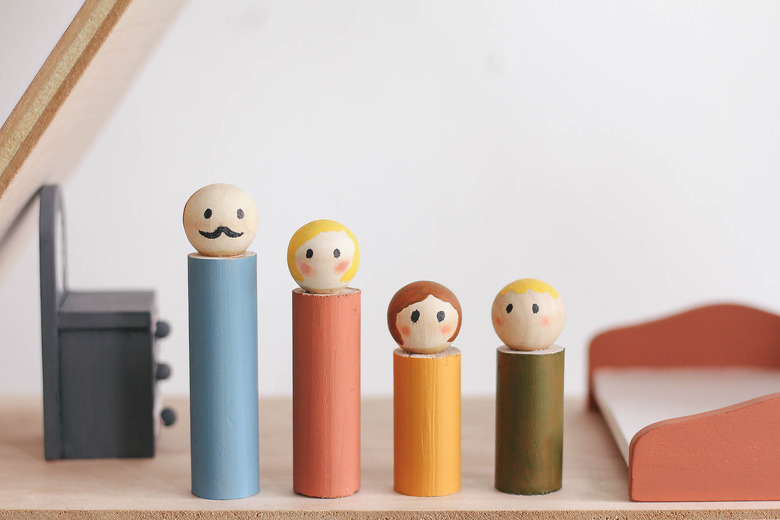
6. Make the Dolls
Attach a wood bead on top of each dowel piece with wood glue. Let dry.
 Trisha Sprouse
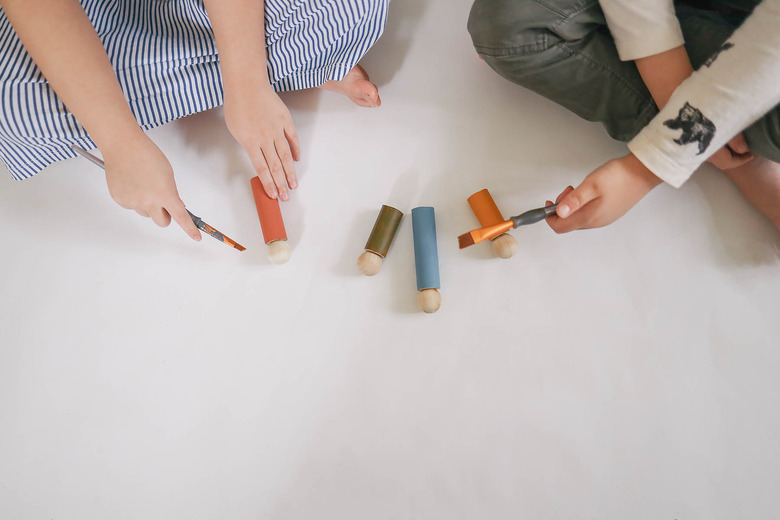
Once the glue is dry, kids can paint the dowel segments with their favorite colors.
 Trisha Sprouse
After the paint has dried, add little face details with a black marker, and paint some hair and rosy cheeks onto the dolls.
 Trisha Sprouse
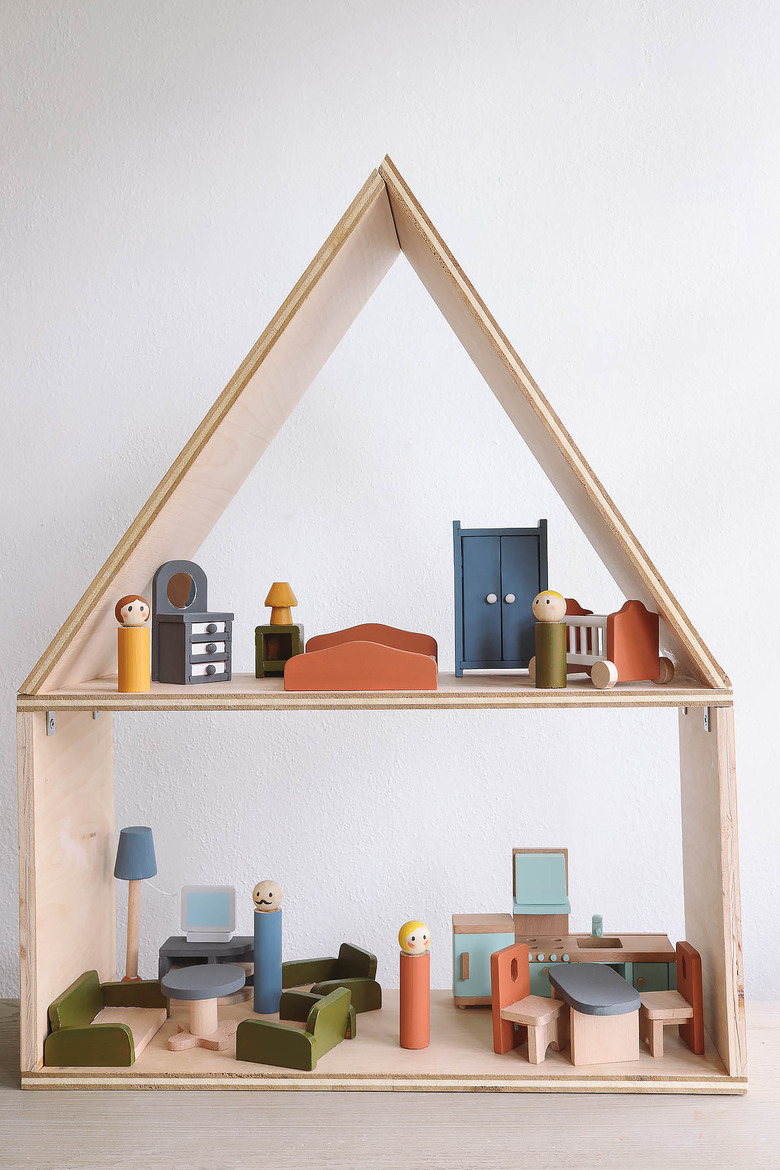
Now the only thing left to do is add some furniture, and your adorable little dollhouse is ready for action! We painted the furniture with our favorite colors as well so everything had a gender-neutral look and feel.
 Trisha Sprouse
 Trisha Sprouse
 Trisha Sprouse