An IKEA Hack Every Parent Should Do For Their Kitchen
We may receive a commission on purchases made from links.
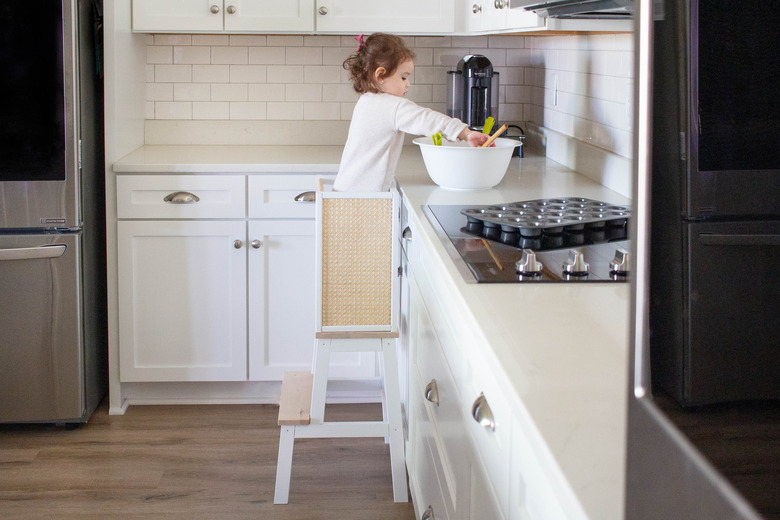
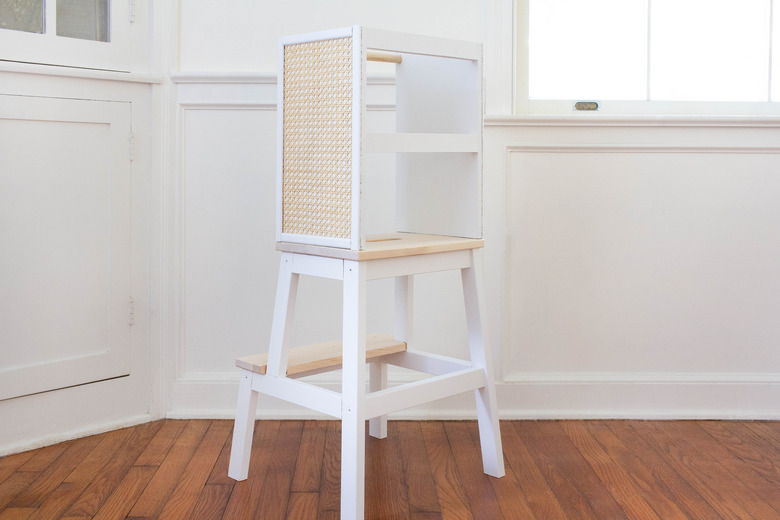
If you have toddlers underfoot in the kitchen, you know how quickly it can cramp your culinary space. The solution? A learning tower that puts them right up at counter level and makes them feel part of the action. Part stool, part baby gate, little ones can happily cook alongside you while also staying secure. There are many cute learning towers out there, but some can be quite costly, so we hacked a $19.99 IKEA stool into one instead. And bonus — it features our editor-favorite cane webbing — so your littles can stay safe in style.
 Trisha Sprouse
Things Needed
-
Circular saw (optional)
-
Medium-grit sandpaper
-
Paint, primer, and paintbrush
-
Scissors
-
Power drill
-
Painter's tape
Warning
Learning towers must always be used under adult supervision. Never leave a child unattended in a learning tower.
Step 1
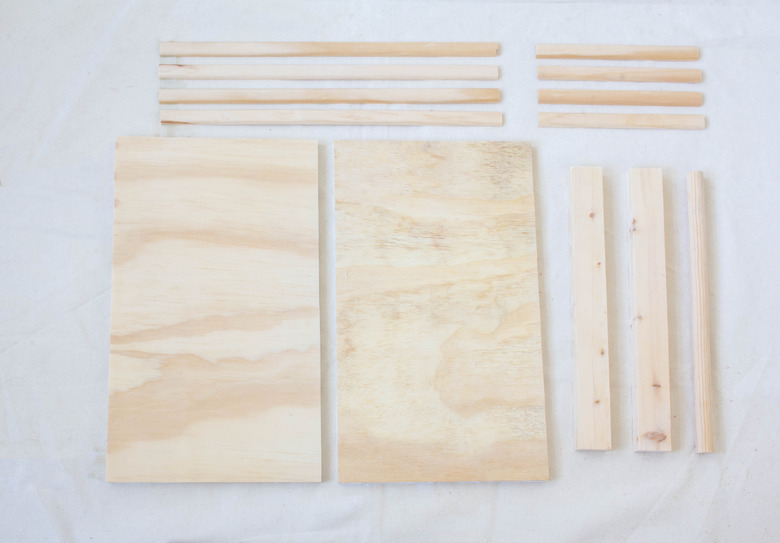
Either use a circular saw or have your hardware store cut your wood to the following sizes:
- 1/2-inch thick plywood cut to 16.25 inches by 9.5 inches, (2 pieces)
- 1-inch-by-2-inch wood board cut to 13.25 inches, (2 pieces)
- 3/4-inch wood dowel cut to 13.25 inches, (1 piece)
- 3/4-inch wood moulding cut to 16.25 inches, (4 pieces)
- 3/4-inch wood moulding cut to 8 inches (4 pieces)
 Trisha Sprouse
Step 2
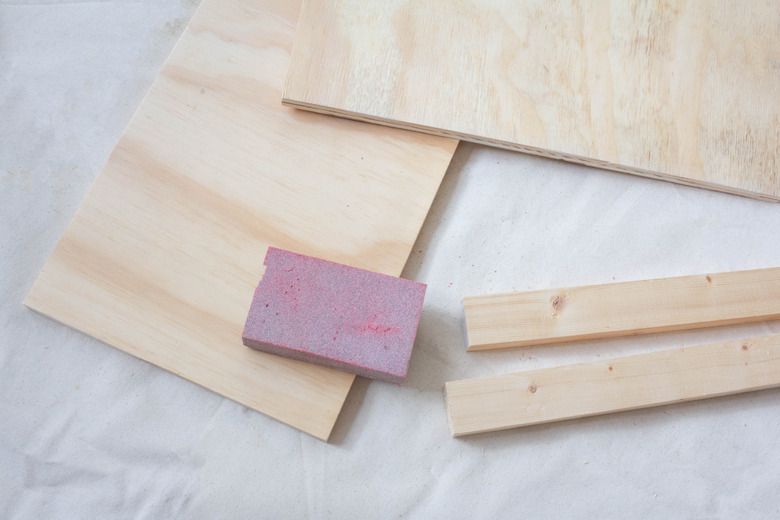
Use a medium-grit sandpaper or sanding block to sand all of the wood pieces completely smooth so that curious little hands and fingers won't get any slivers.
 Trisha Sprouse
Step 3
Since we used pine, which has knots that have a tendency to bleed through paint, we primed both sides of our 16.25-by-9.5-inch wood boards and then painted them with two coats of this white chalk paint. Allow the paint to dry thoroughly between coats. We also painted all of the wood moulding pieces at this point, too.
(For all you need to know about how to use chalk paint on furniture, check out our comprehensive guide.)
 Trisha Sprouse
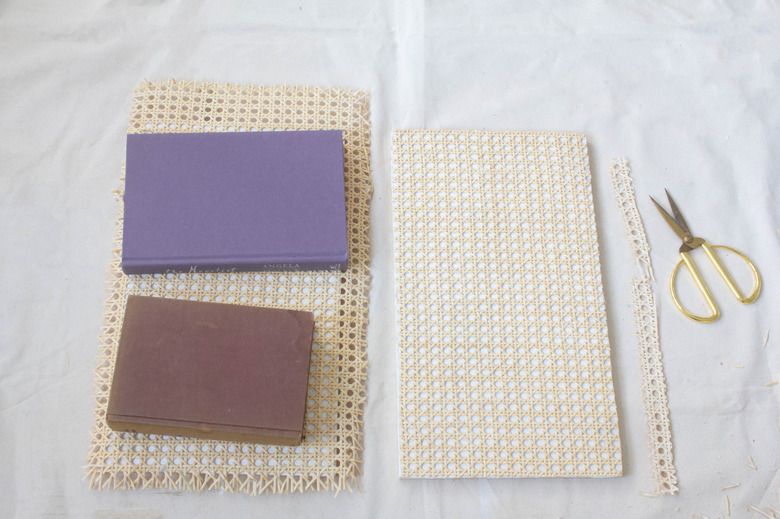
Step 4
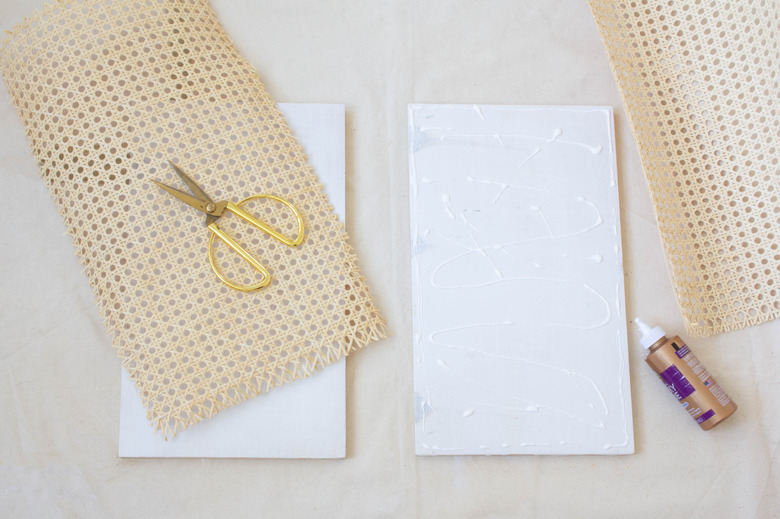
Once the paint is dry, cut two cane webbing pieces that are slightly larger than the two wood boards, and glue one to each board. Be generous with the glue, and don't worry if some seeps up through the holes, as it'll dry clear.
 Trisha Sprouse
Place heavy books on top to keep the cane webbing flat while the glue dries. Once dry, trim off the excess along the sides of the boards.
 Trisha Sprouse
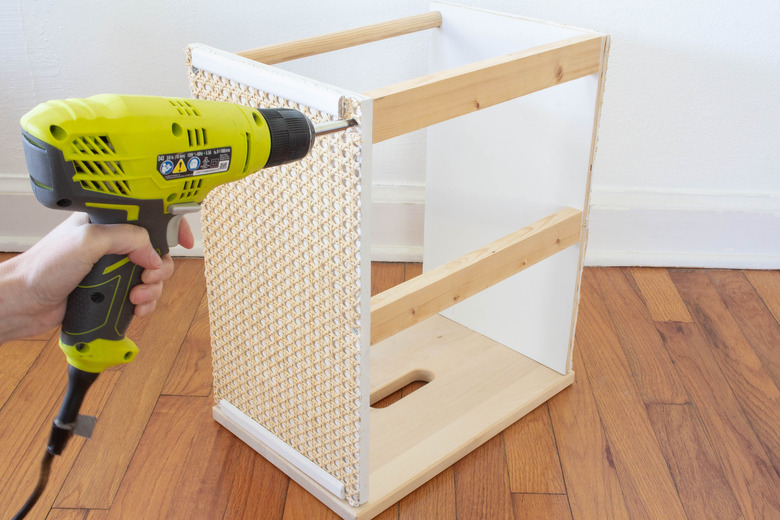
Step 5
Remove the top step of the Bekvam stool from the package, and attach the two wood boards with cane webbing on top of it. Drill wood screws through the bottom of the Bekvampiece into each wood board. We recommend pre-drilling pilot holes first, and using no less than three screws per board to ensure a secure connection.
 Trisha Sprouse
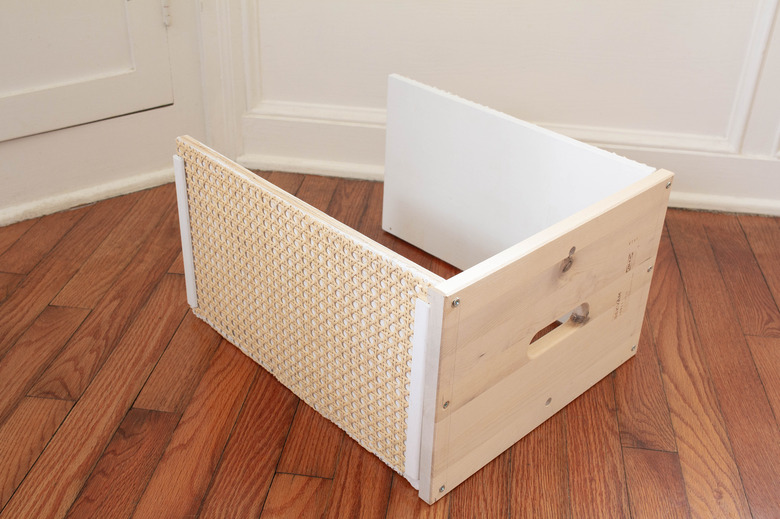
Step 6
Insert the two 13.25-inch wood boards in between the two cane webbing boards. Position one at the top and the other halfway down. Attach each board with a bit of wood glue, and secure them in place with painter's tape. Once dry, remove the tape and drill a wood screw into each side of the boards. Attach the wood dowel on the opposite side of the cane webbing boards using the same method — we positioned it about a 1/2 inch down from the top.
 Trisha Sprouse
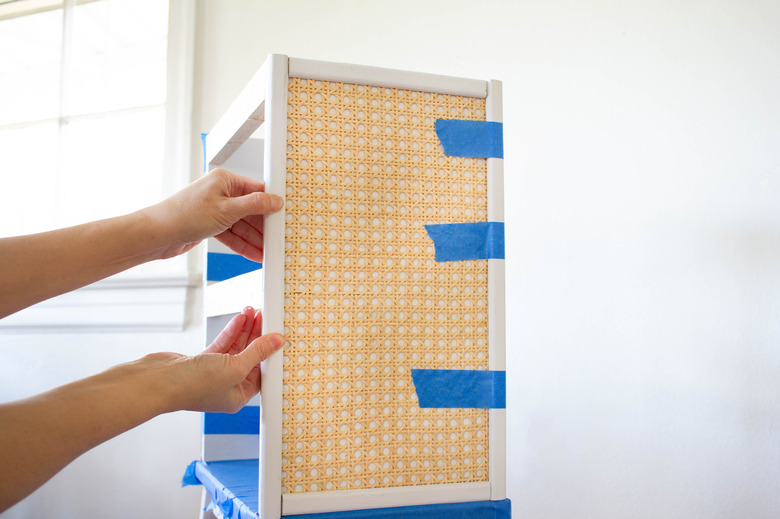
Step 7
Glue the wood moulding pieces on top of the cane webbing to create a finished trim. Again, use a generous amount of glue, and then tape them firmly in place with painter's tape while they dry, about 40 minutes.
 Trisha Sprouse
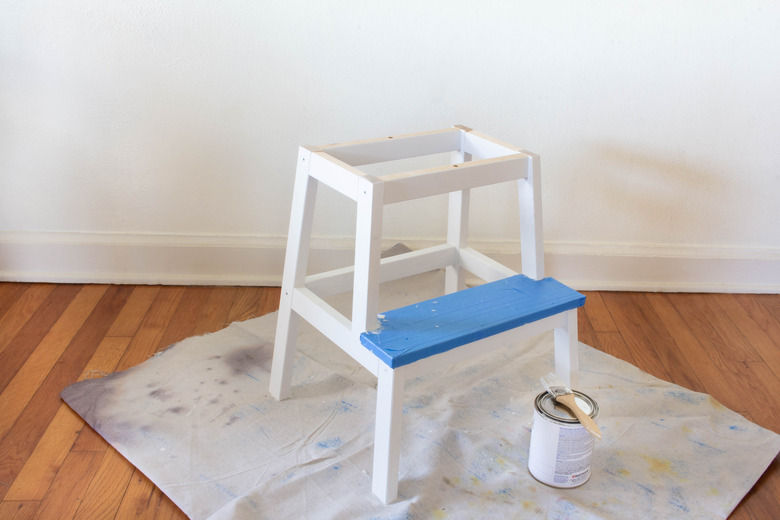
Step 8
Assemble the bottom of the Bekvam stool, and paint it white. We first taped off the bottom step to leave the wood unpainted for a two-tone look.
 Trisha Sprouse
Step 9
Once the paint is dry, attach the top step/top half of the tower to the stool with the two screws included in the IKEA packaging. Paint the two guard-rail boards in front of the learning tower, and let dry.
 Trisha Sprouse
Now place the learning tower right against the counter, and your little chefs are all ready for action!
 Trisha Sprouse