Face Mask Tutorial Using Fusible Tape And A Hot Iron (No Elastic Required)
We may receive a commission on purchases made from links.
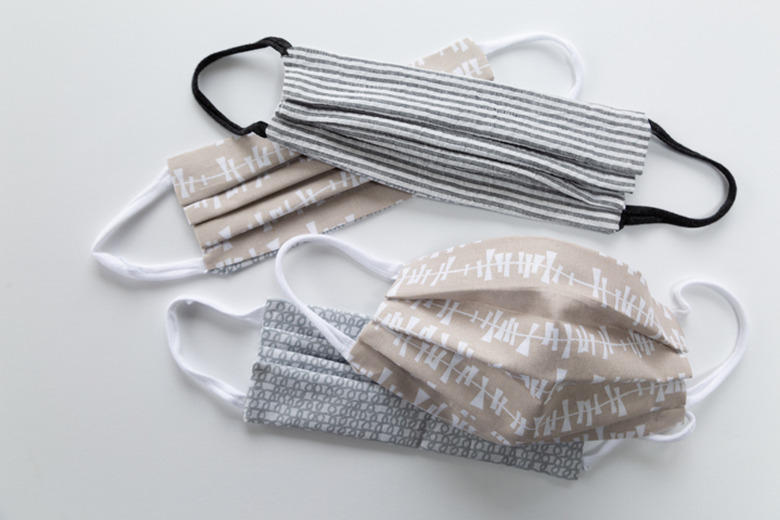
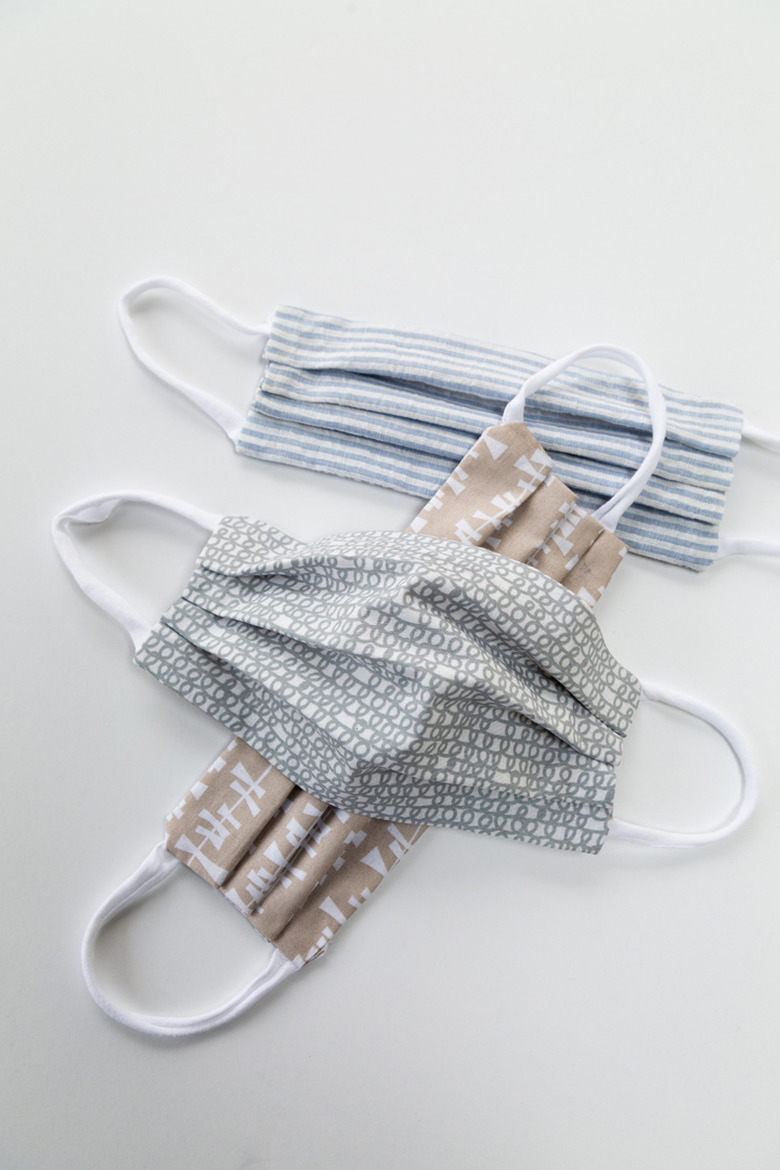
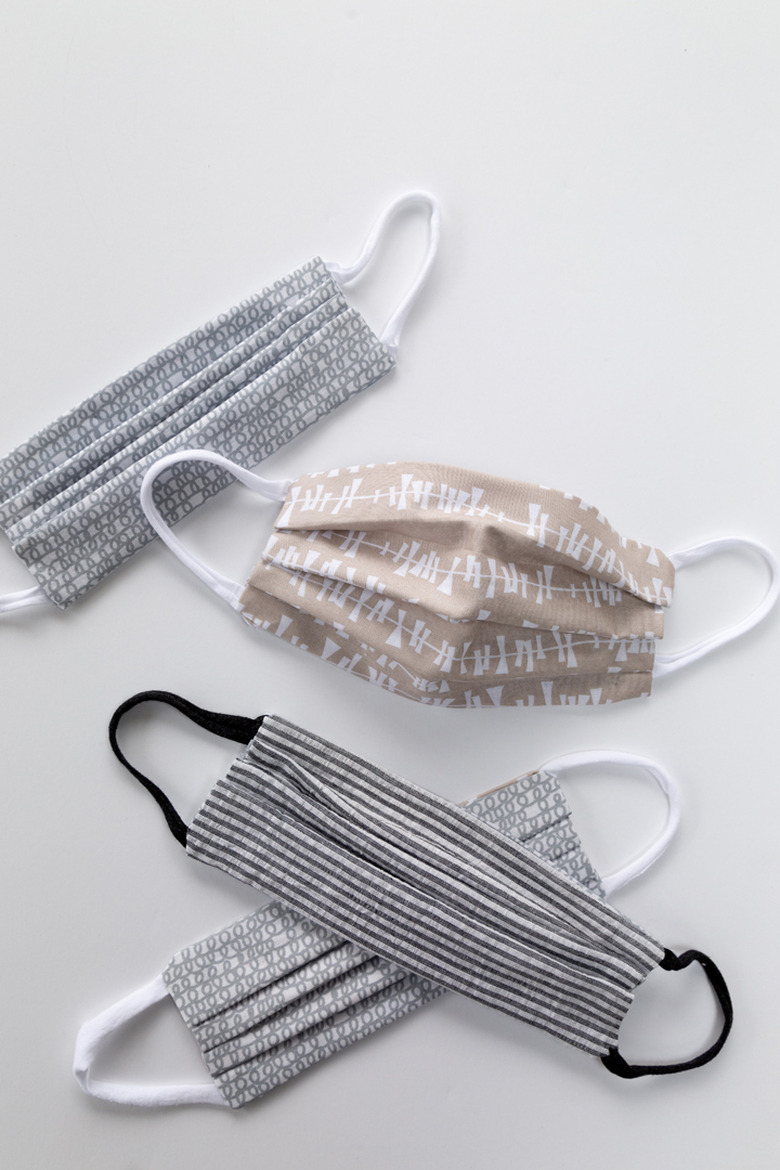
These days, a cloth face mask is your most important accessory. Sure, you can buy them online or in the store, but why not show off your personality with a DIY version instead? You don't even need to have a sewing machine for this easy, no-sew DIY, which uses iron-on tape. You just need woven cotton fabric in a pattern you love, fusible hemming tape, and an old cotton T-shirt to use as a substitute for elastic.
 Sara Albers
Tip
This no-sew face mask is simple to make and will last you a while. We recommend hand washing and hanging it dry.
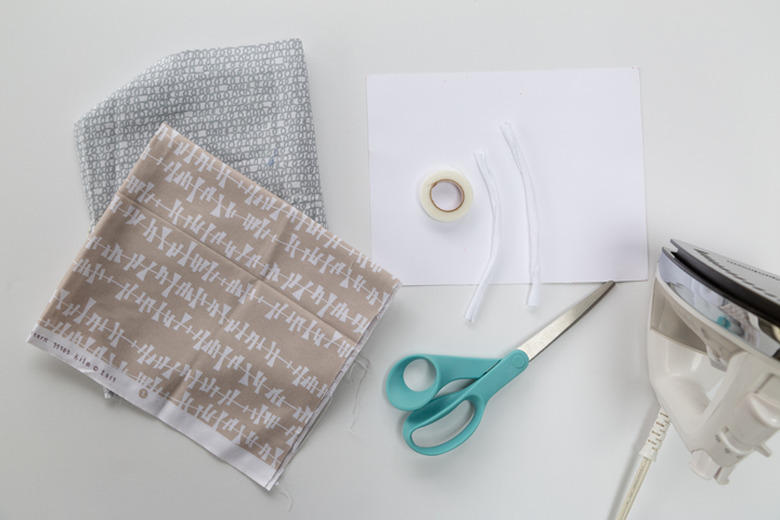
Things Needed
-
100% woven cotton fabric
-
Old cotton T-shirt (to use as "elastic")
-
Fusible hemming tape, (3/8 inch)
-
Scissors
-
Iron
-
Ironing board
 Sara Albers
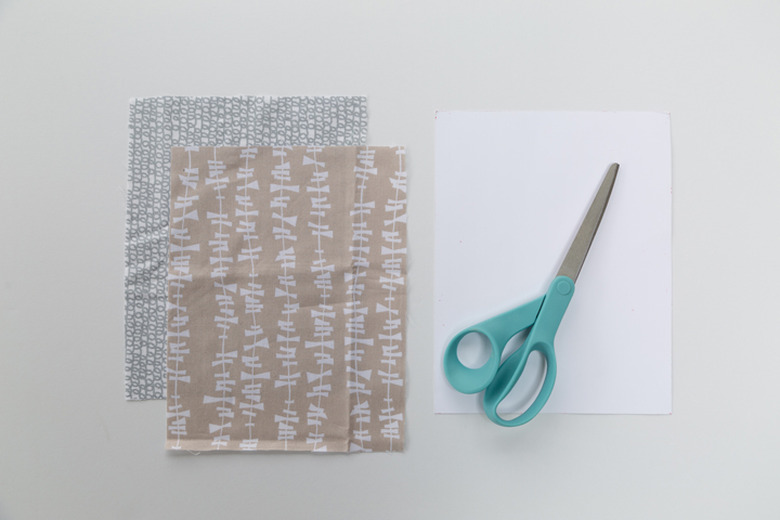
1. Cut Fabric
Cut two pieces of different patterned fabric into 9-inch-by-7-inch pieces. Next, use an old T-shirt to mimic the elastic: cut 1/4-inch strips of the T-shirt into 6-inch pieces. You will need two strips of 6-inch pieces per mask.
 Sara Albers
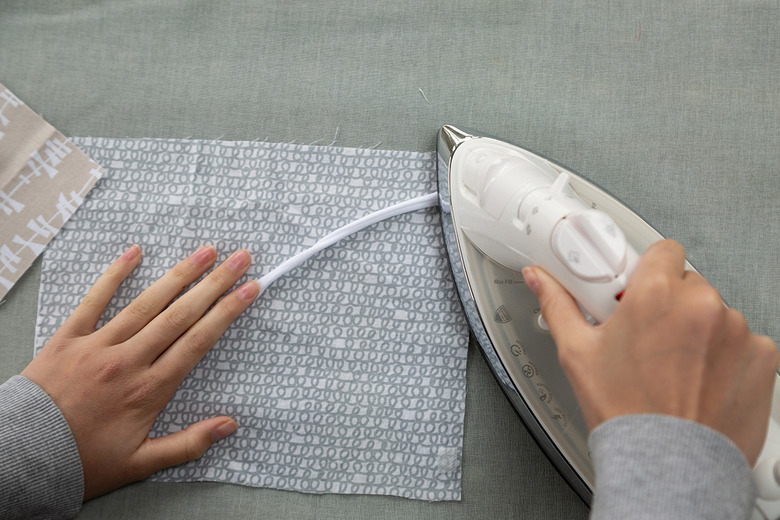
2. Attach Ear Loops
With the pattern side of your fabric facing up, place the ends of the T-shirt "elastic" into each corner of the fabric. Cut four small pieces of fusible tape, each 1/4-inch long, and then place in each corner. Then, lay the ends of the T-shirt "elastic" strip onto each piece of the tape and iron on (per the instructions on your fusible tape packaging). Allow to cool.
This creates the loops for the mask to stay on your face and attach around your ears.
TIP: Be sure to look at the directions on the fusible tape packaging regarding how long you should heat-set the tape onto the fabric, and at which iron setting.
 Sara Albers for Hunker
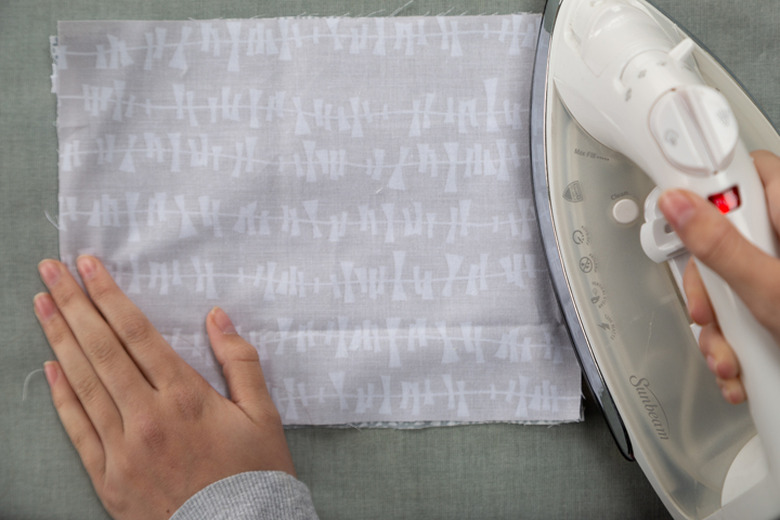
3. Layer the Fabric and Create Side Seams
Next, cut two 6 1/2-inch pieces of fusible tape. Lay these pieces on top of the T-shirt "elastic" strips at the side edges of the fabric. Then place your second piece of patterned fabric on top of that with the pattern side facing down. Iron the pieces together. Allow to cool.
 Sara Albers
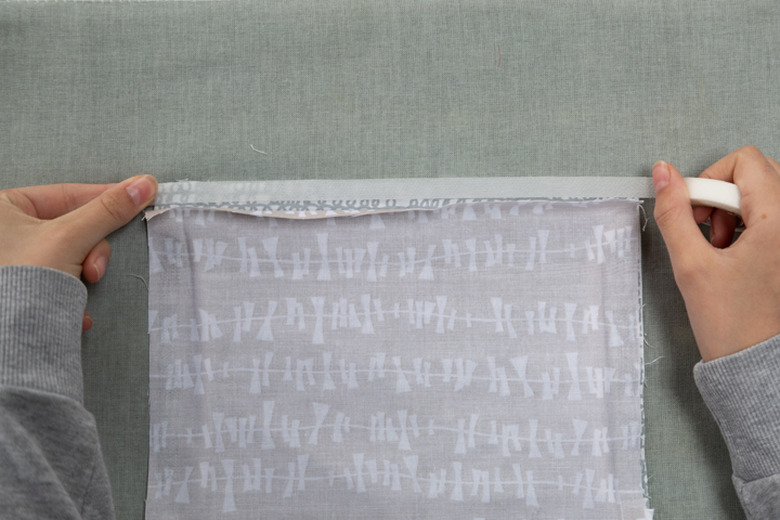
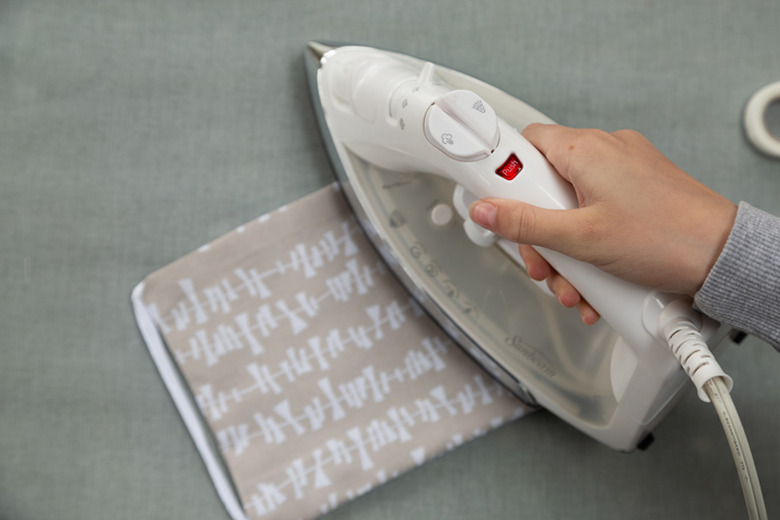
4. Create Top Seam
Cut a 9-inch piece of fusible tape and lay in between the layers of fabric, on the top seam. Iron and then allow to cool.
 Sara Albers
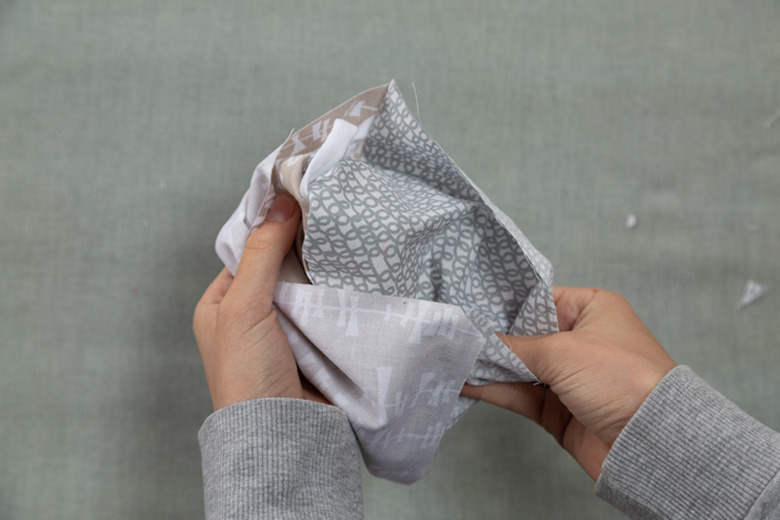
5. Turn Fabric Inside Out
At the bottom of the mask that is still open, pull the fabric inside out so that the pattern side is now visible. Press with your hand to flatten.
 Sara Albers
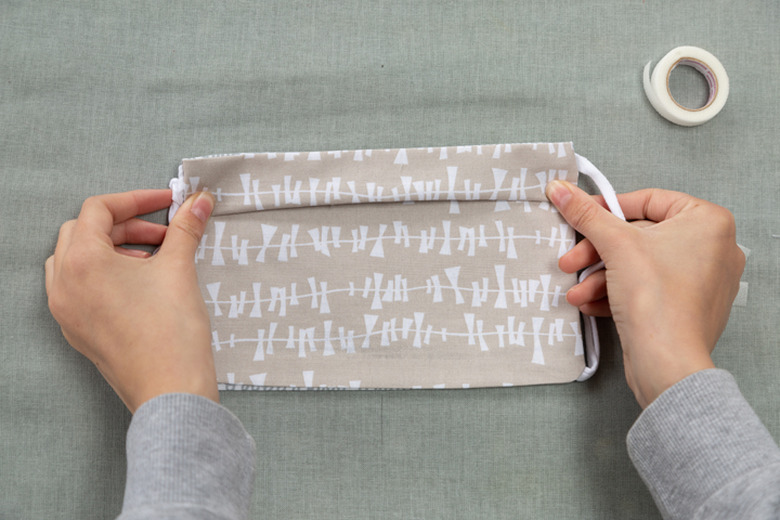
6. Close Final Seam
Cut an 8 3/4-inch piece of fusible tape and lay in-between the remaining open seam. You will need to first roll in the fabric to get a nice seam. Iron and then allow to cool.
 Sara Albers
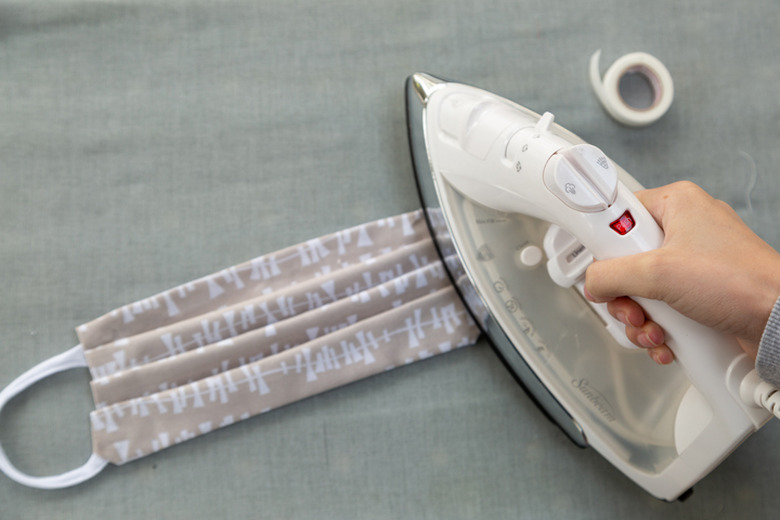
7. Make Pleats
Cut 12 pieces of 1/4-inch fusible tape. Now it is time to pleat. Pleating allows for the mask to expand over your nose and mouth. Fold down the top of mask 3/4 inch and add a piece of tape. Hold the iron down to fuse. You will need to add a weight of sorts to hold down the pleats while they set. We used a heavy book. Wait a few minutes and then fold down another pleat, and then do the same as above. You will make three pleats in total. Add fusible tape to the back side of the mask as well, under each pleat.
 Sara Albers
 Sara Albers
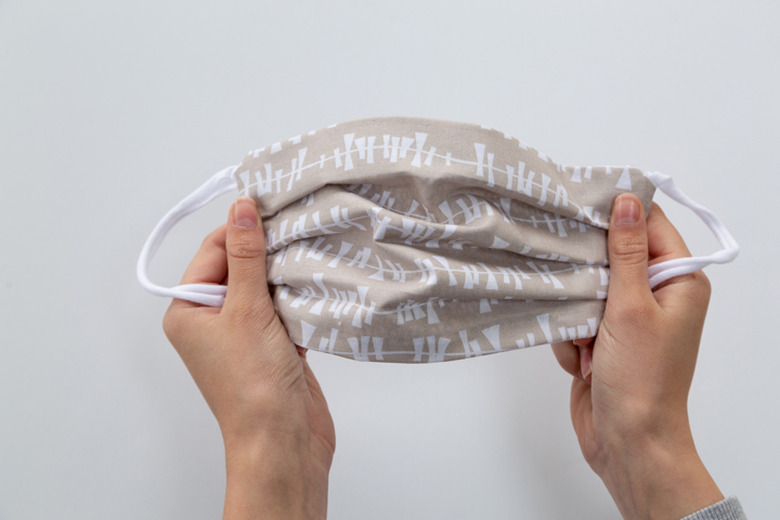
Your mask is now ready to go! We recommend washing it after every use and hang to dry.
 Sara Albers
 Sara Albers