Sew Together A Geometric Table Runner
We may receive a commission on purchases made from links.
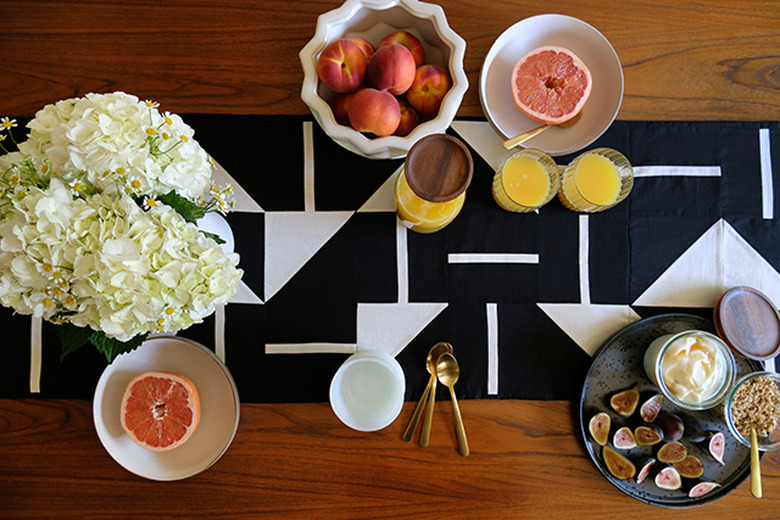
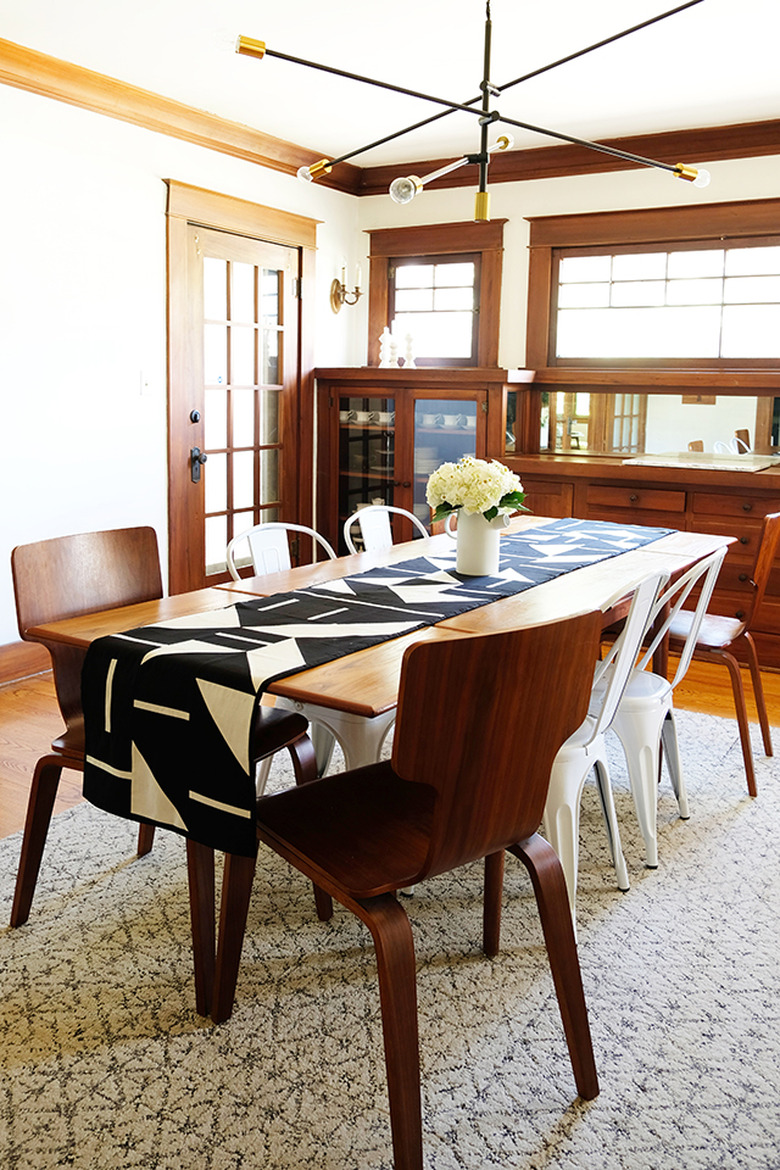
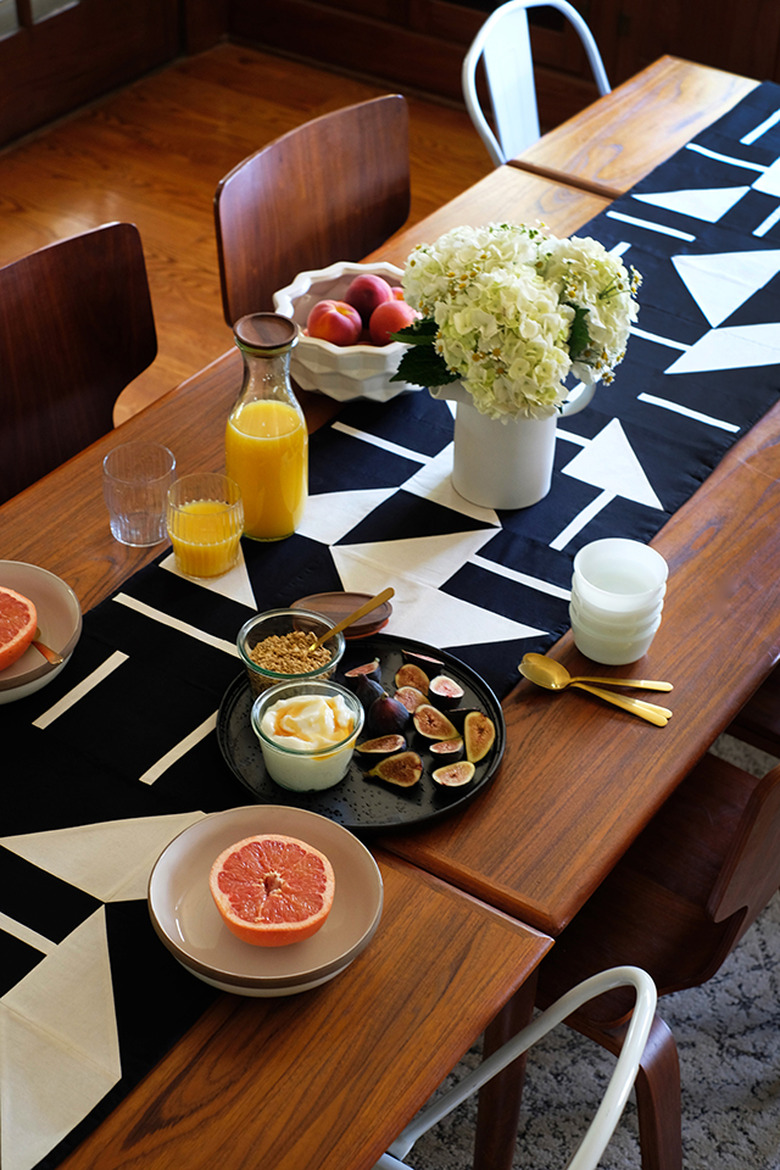
A table runner is the perfect accessory when you want to add a little color and pattern to your dining room. And if you own a long table (like mine) that requires a nine foot runner, customizing your own with this DIY is the way to go. But of course, this project works for any size table, too!
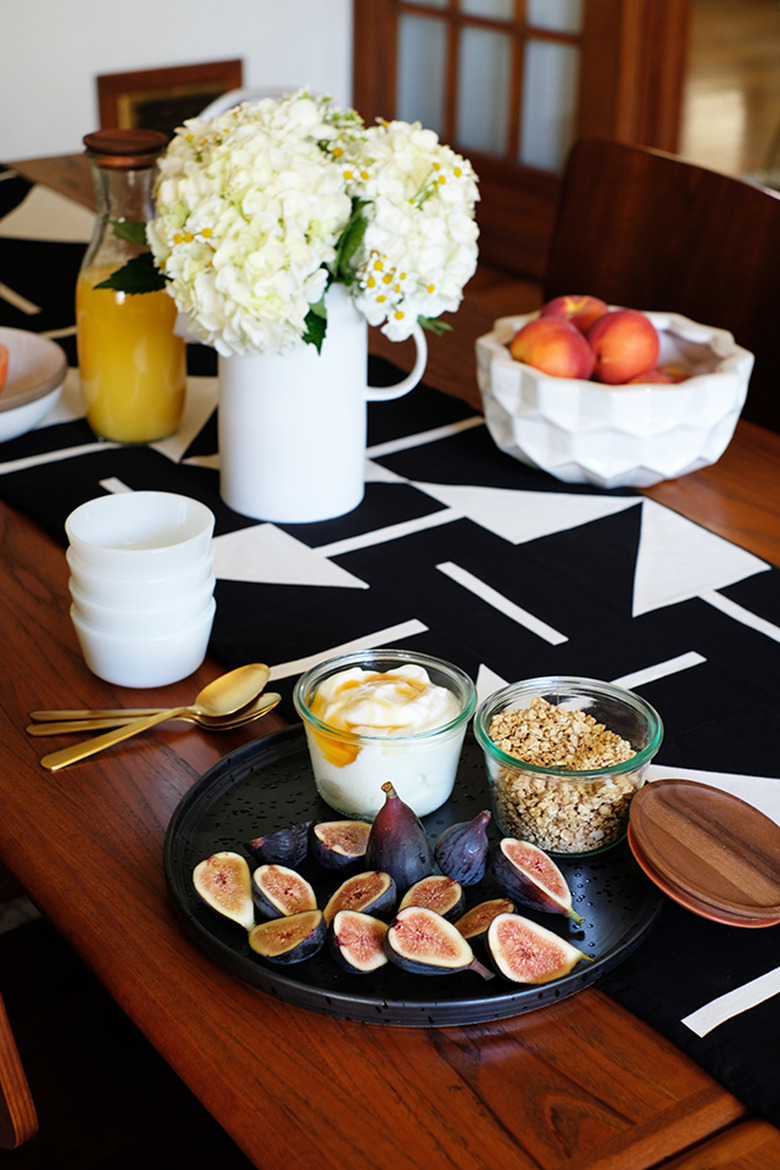
I love geometric patterns and shapes, so when I came across some interesting floor tile that combined striped tiles with triangles, I decided to create my own take on this look with fabric. While this could be made in any color combination to complement your home, I chose black and white because I'm a huge fan of this high contrast combo.
 Jeran McConnel
I wouldn't call myself a quilter, but I have made quite a few quilts. All my quilts are simple bold shapes, that start without a plan or pattern. I usually just start by making squares and then play around with combinations. The beauty of this simple "quilting" method is that you really don't have to have awesome sewing skills. You just have to be able to cut and sew straight lines, and then iron lots (and lots) of seams open. And, ok, you also need a healthy amount of patience as there are many steps to this tutorial. But trust me, you'll love the final result!
 Jeran McConnel
Things Needed
-
Rotary fabric cutter, mat, and ruler (get this set and call it a day)
-
Cotton fabric, 2 colors (one yard of white; four yards of black)
-
1 ½
yards Pellon Fusible Fleece (one-sided low loft fusible fleece)
-
Sewing machine
-
Pins
-
Scissors
-
Iron and ironing board
 Jeran McConnel
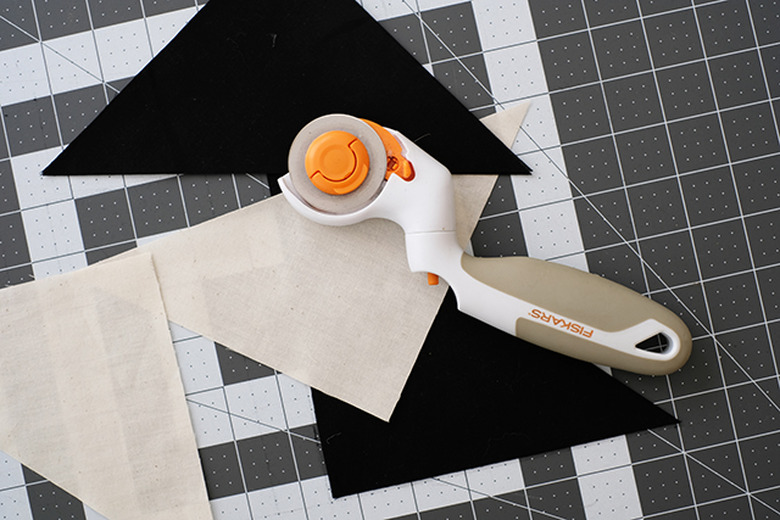
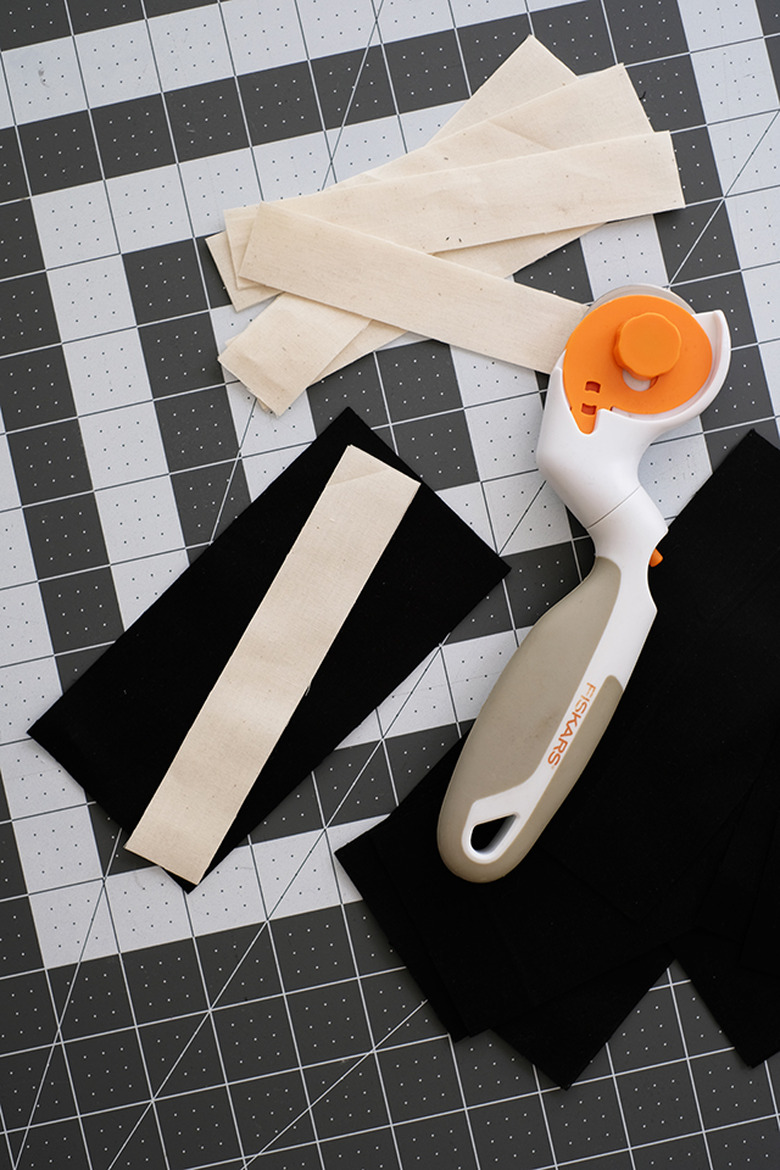
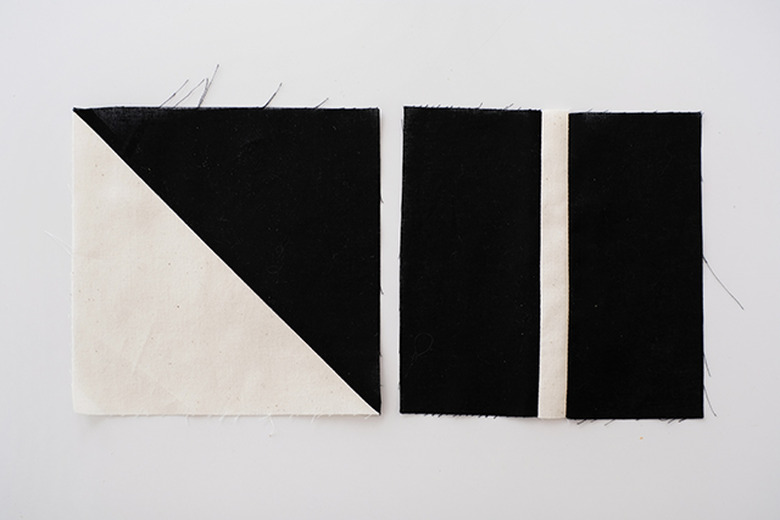
Step 1
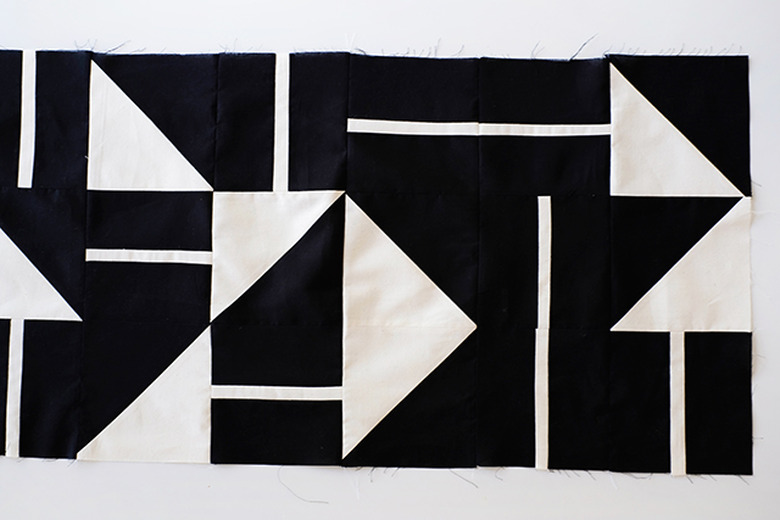
Start by cutting out all the fabric for the blocks. You will be making two different blocks: one is a black and white triangle, and the other is a single white stripe on a black square. I'll refer to them as a triangle block and a stripe block.
My runner is nine feet long, so I needed three quilt blocks by 20 quilt blocks, which is a total of 60 blocks. I made half of my blocks as triangles and the other half the stripe block.
Using a rotary cutter, mat, and ruler, cut the triangles first: cut 6 ½-by-6 ½-inch squares, and then cut the square diagonally to make triangles.
Now cut the pieces for the stripe blocks. For each block, you will cut a 1-by-6-inch piece of white fabric, and two 3-by-6-inch pieces of black fabric.
 Jeran McConnel
 Jeran McConnel
Tip: The more accurate you are with cutting the pieces and sewing in straight lines, the easier it will be to match up all the lines on the quilt top. So, take your time with these steps.
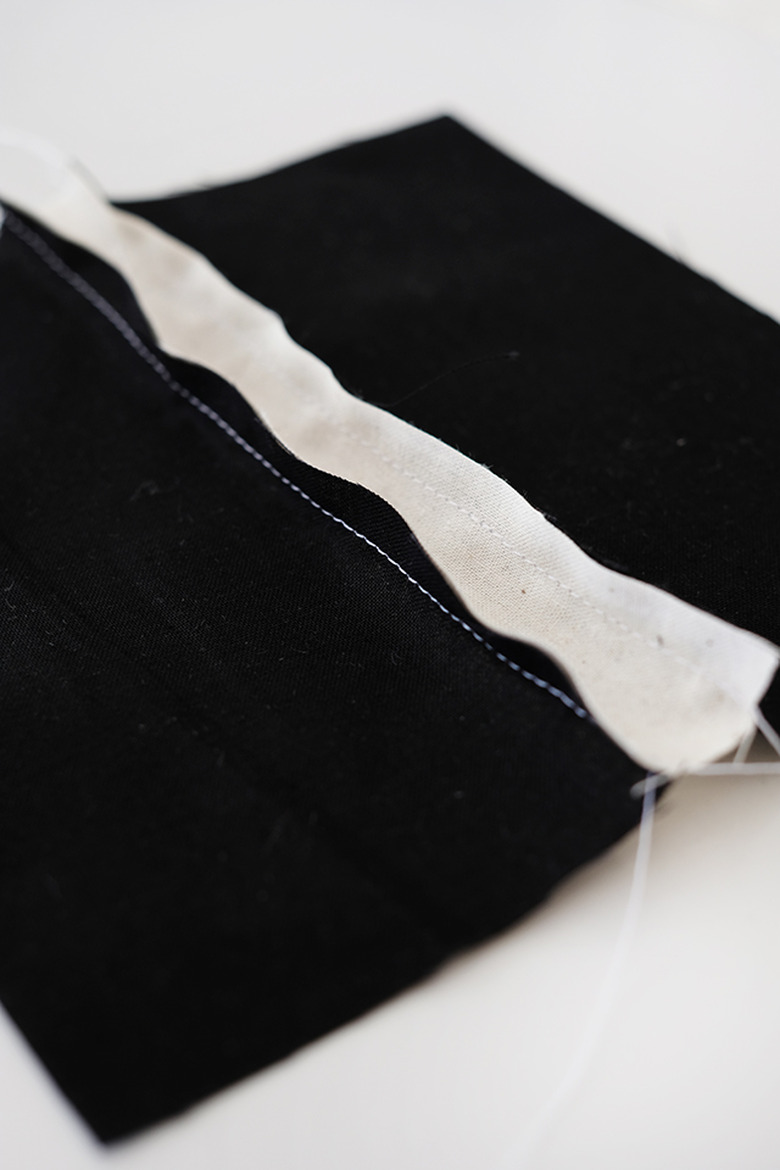
Step 2
Sew the blocks together. You will put good sides of the fabric together and stitch a ¼-inch seam allowance.
 Jeran McConnel
 Jeran McConnel
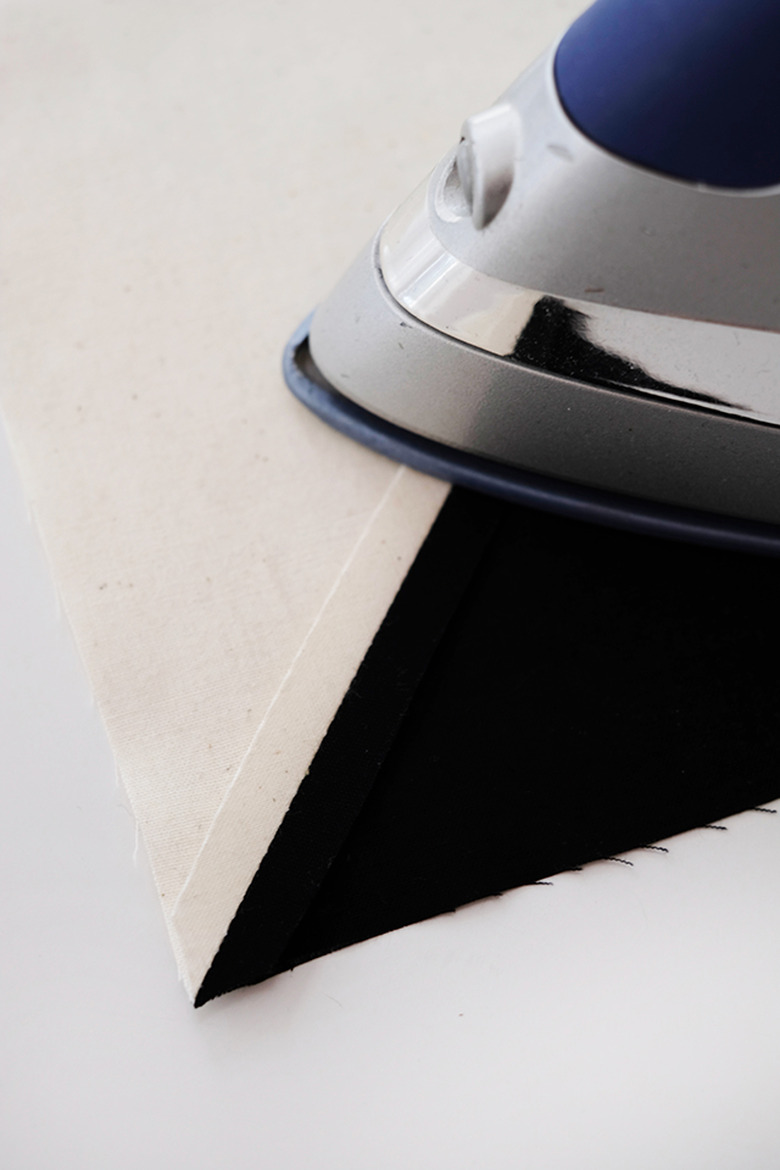
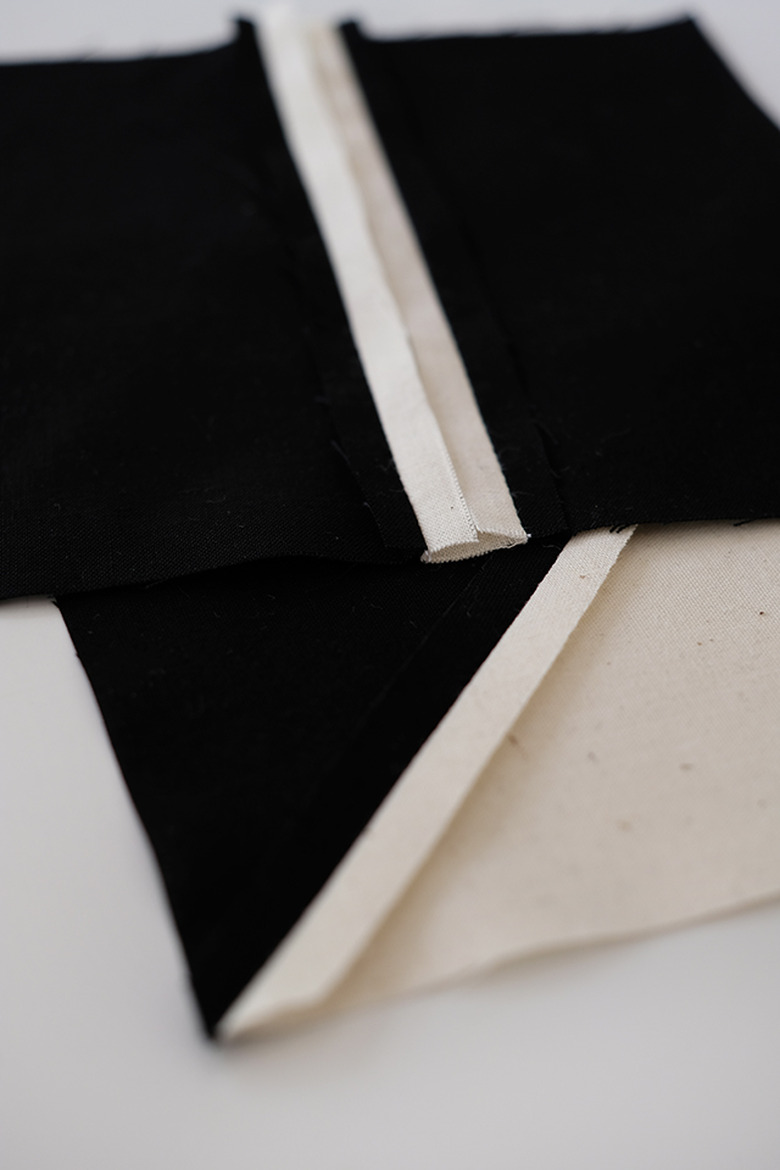
Step 3
Open up all the seams and iron them flat.
 Jeran McConnel
 Jeran McConnel
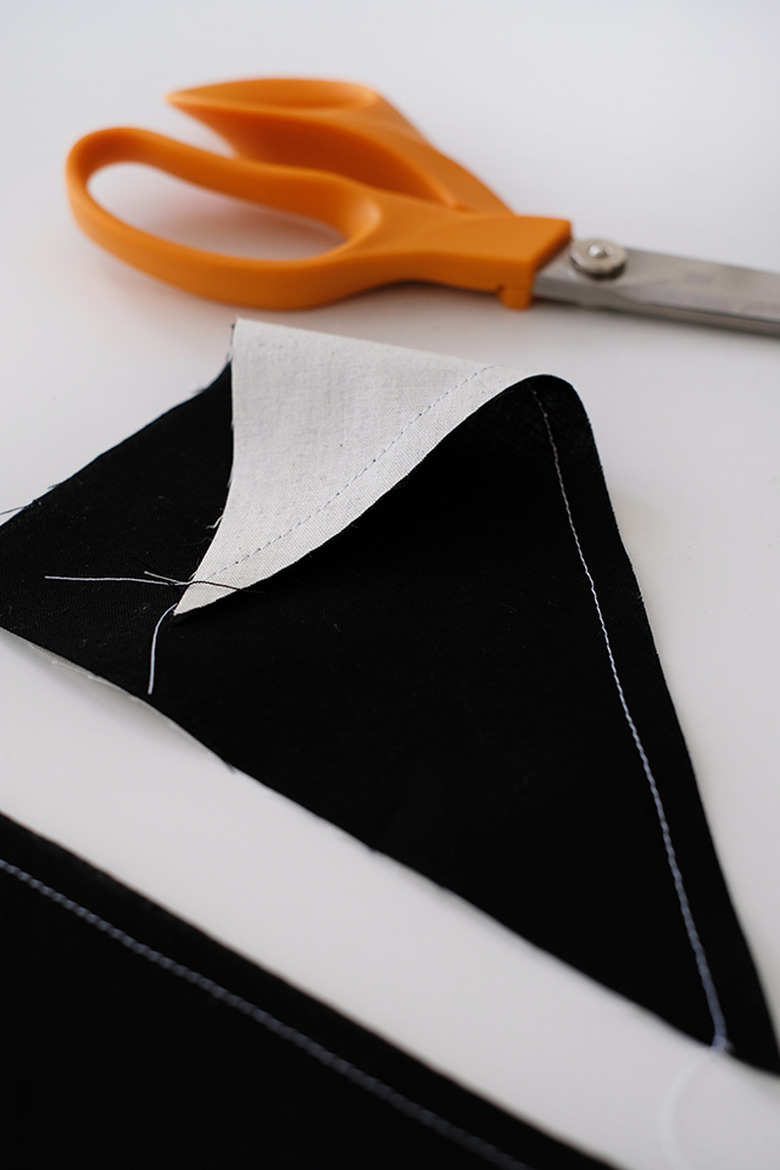
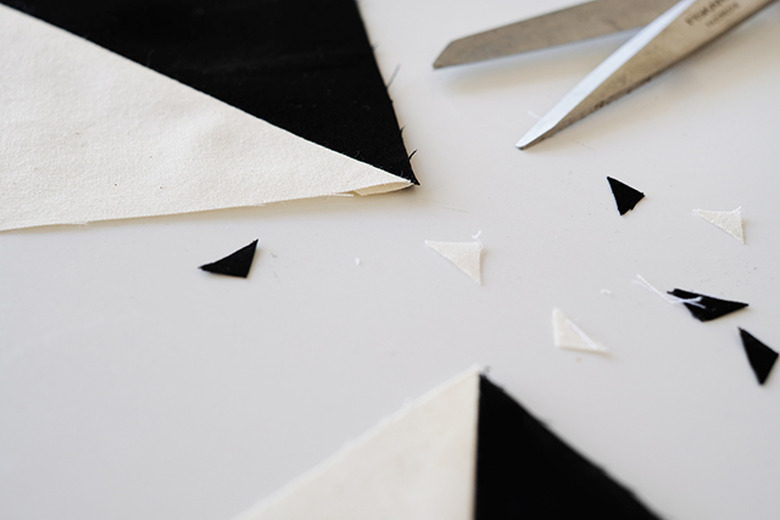
Step 4
Trim off all the corners that hang over on the triangle blocks once the seams are ironed flat.
 Jeran McConnel
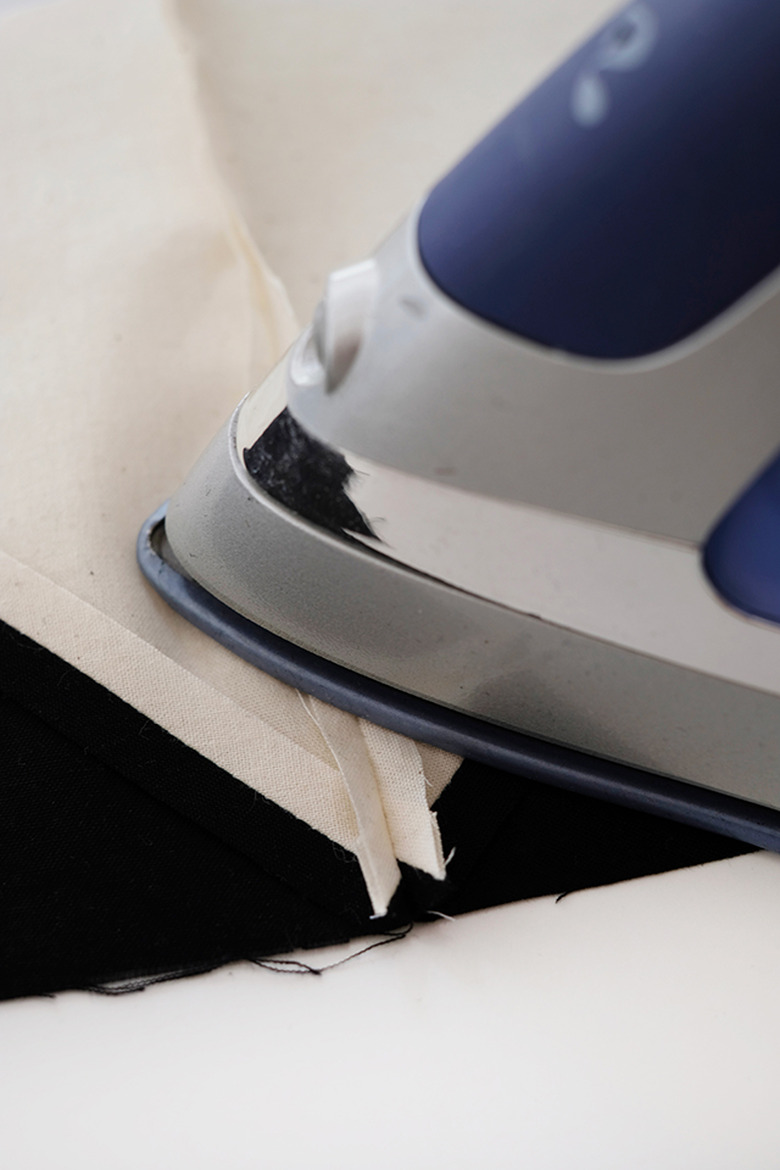
Step 5
Trim off all the lose threads and then flip over the blocks and iron them again to make sure all the seams are laying flat and the blocks have no creases.
 Jeran McConnel
Step 6
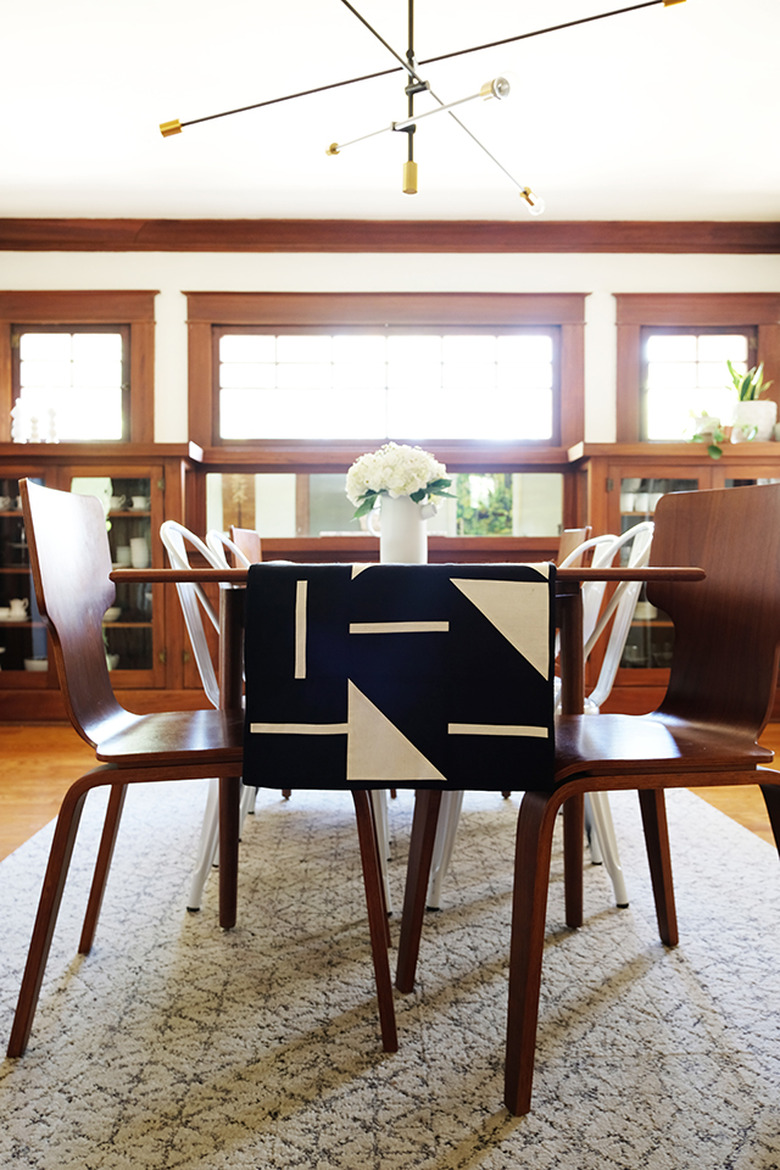
Lay out the pattern of your runner on the table or floor. The beauty of this runner is that anything goes! There is not right or wrong way to place these blocks.
 Jeran McConnel
Step 7
Sew the rows of three blocks together. Again use only a ¼-inch seam allowance.
Step 8
Iron open all the new seams.
 Jeran McConnel
Step 9
Now begin to sew one row onto the next row. You can pin these together to make sure the corners match up at each block.
 Jeran McConnel
Step 10
Iron all the seams open AGAIN! Then flip over the quilt top and iron the runner really well so that there aren't any bubbles or lumps or wrinkles.
Step 11
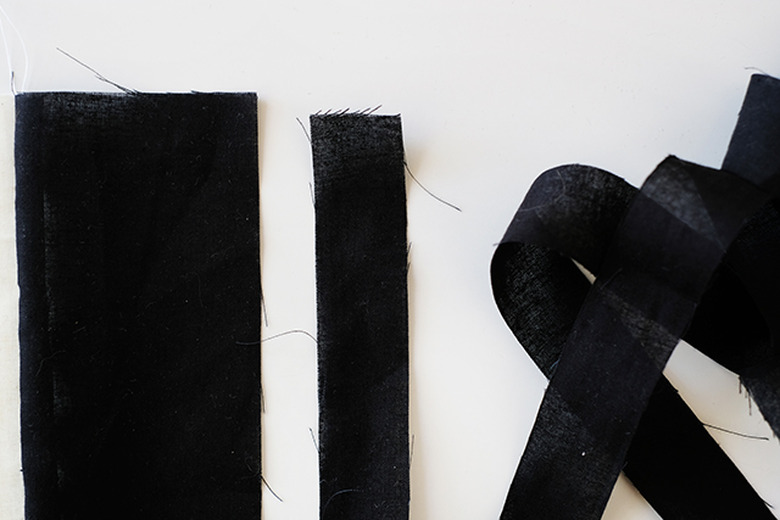
Cut 1-inch strips of black fabric for a quilt border. Cut these down the length of the four yards of fabric so that they don't have to be joined. Sew this border to all sides of the quilt top with good sides together a just a ¼-inch seam allowance.
 Jeran McConnel
Step 12
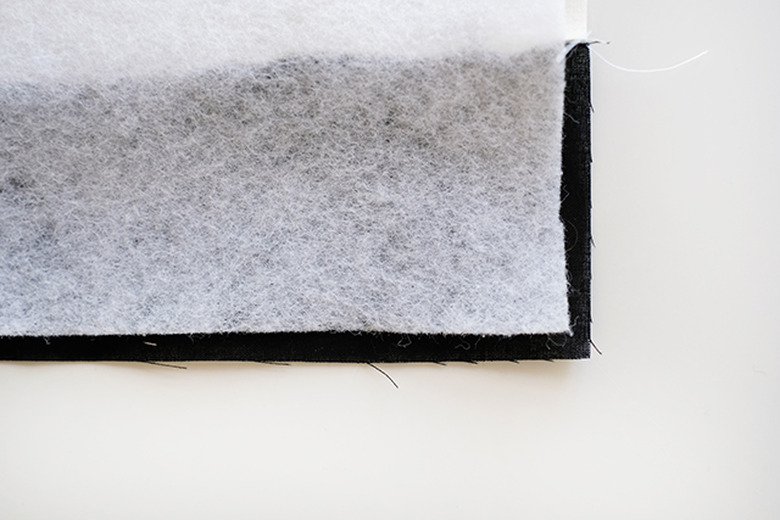
Cut the piece of Pellon into two 17-inch wide strips. The batting should be ¼ smaller than the quilt top all the way around. Place the adhesive side against the wrong side of the quilt top.
 Jeran McConnel
Step 13
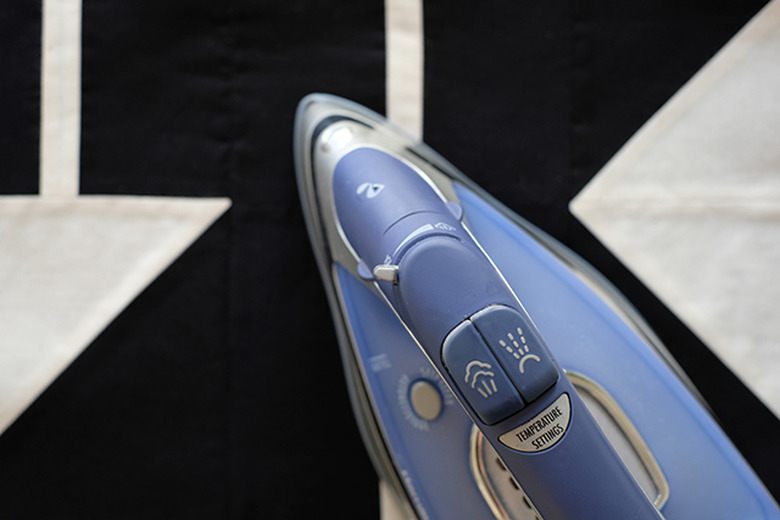
Smooth out the quilt top and batting, and then flip them both over and iron the quilt top down for quite awhile, or until the batting begins to adhere to the fabric.
 Jeran McConnel
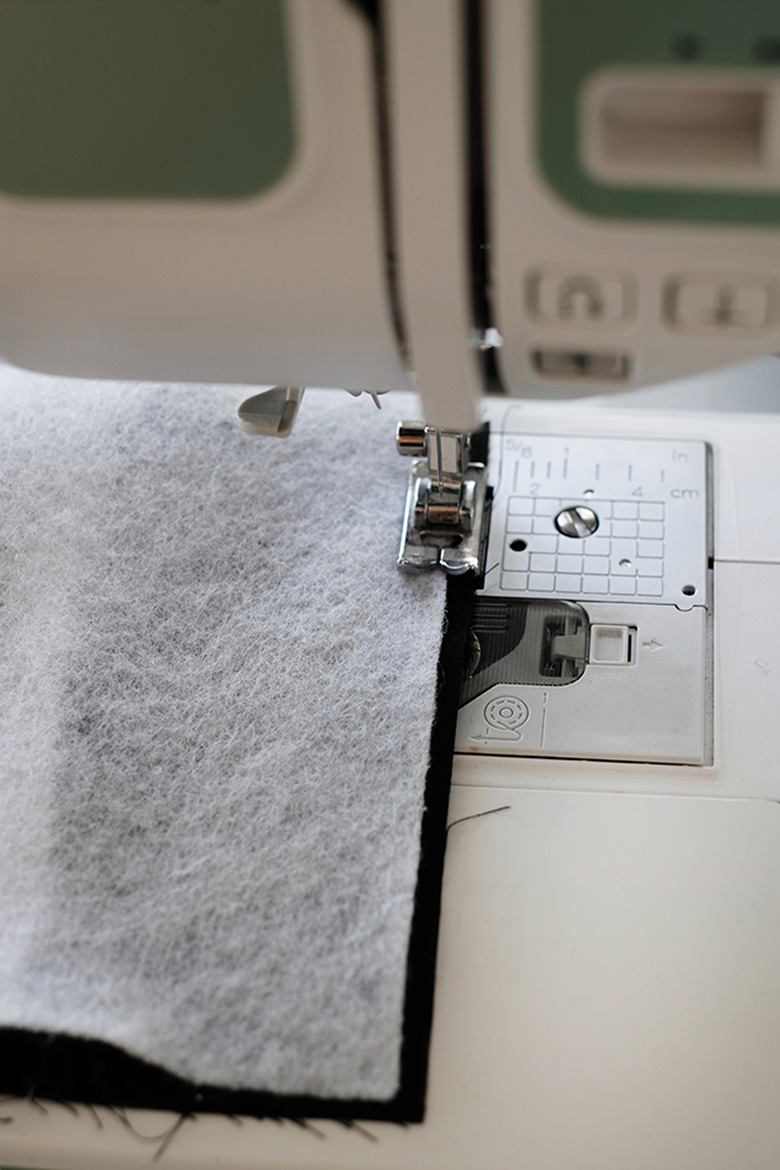
Step 14
This is an optional step, but you may want to "stitch in the ditch" on a few of the rows. This is simply stitching down a few of the rows right on the seam. This will keep the Pellon in place even more securely.
Step 15
Cut what's left of the black fabric into two 18-inch wide strips that are 1 ½ yards long each. Sew the two lengths together to make one long piece for the back of the runner. Iron the piece well and then place the good side of the fabric against the good side of the quilt top. Pin in place and stitch all the way around the outside edge with a ¼-inch seam allowance. Sew the layers together in this order: backing on the bottom with good side up, quilted top in the middle with good side down, and batting on top. Leave a 5-inch opening somewhere on one of the sides (not a corner), use this opening to turn the runner right side out.
 Jeran McConnel
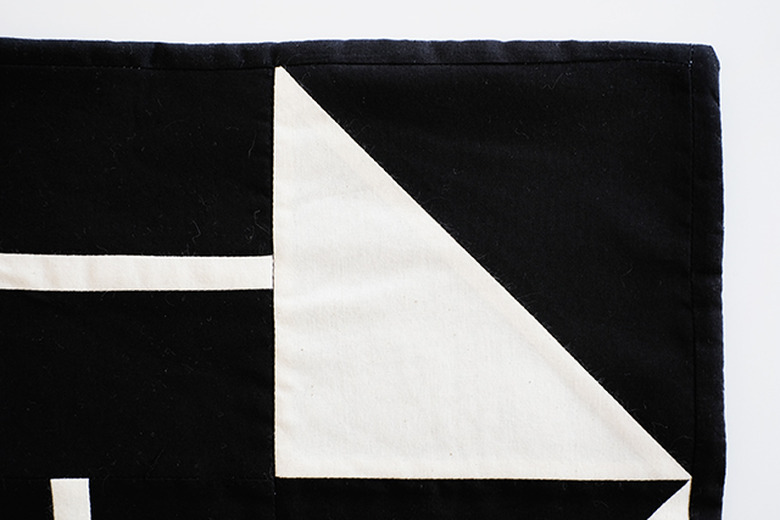
Step 16
With the runner turned right side out, iron out all the edges and pin closed the opening that you left for turning the quilt. Top stitch the opening closed right along the edge of the quilt.
 Jeran McConnel
 Jeran McConnel
 Jeran McConnel
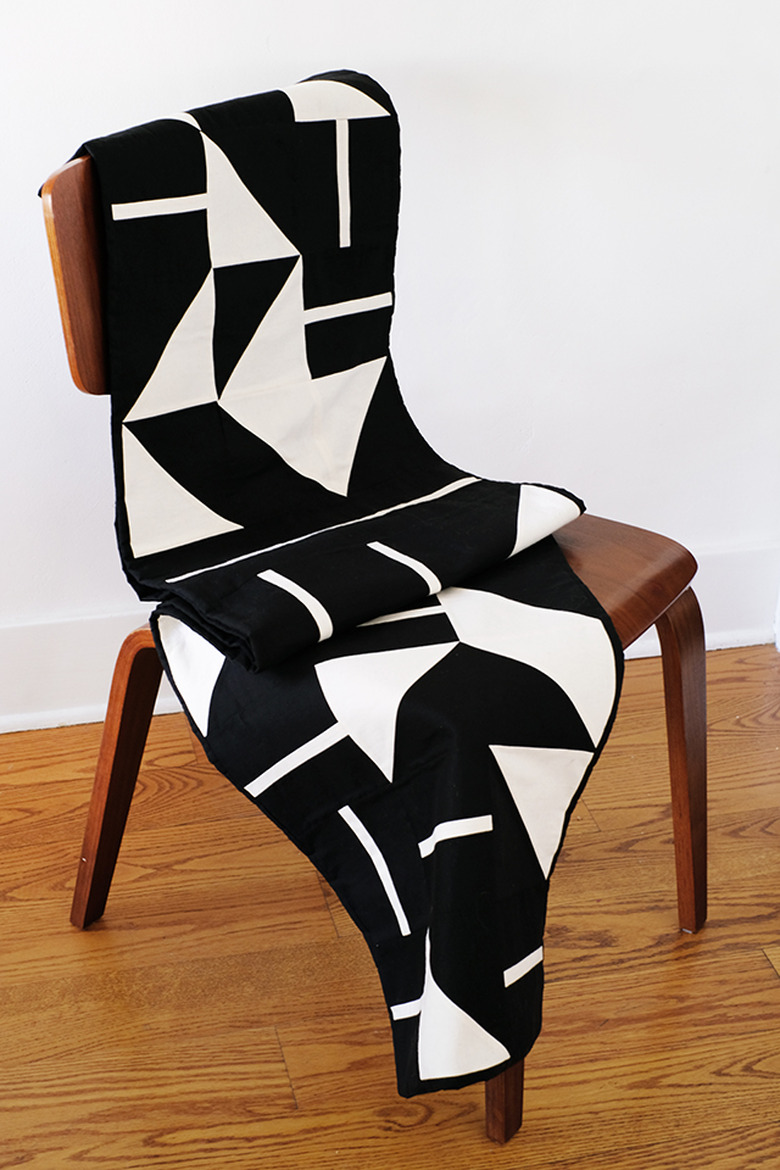
Now my table will never be naked! It looks smart and pulled together with this fun quilted runner.
 Jeran McConnel