How To Install Backerboard
Since it was introduced in the 1970s, cement backerboard has emerged as the number one underlayment for laying porcelain and ceramic tile on floors and walls. It's the only backerboard material that is suitable for floor tile, but on walls, you have two other options: foam board and glass-mat gypsum board. Both are as water-resistant as cement board, but foam board is lighter (and more expensive), and glass-mat gypsum is more like drywall than cement board.
Cement board carries such brand names as Durock, WonderBoard, HardieBacker and PermaBase. All consist of a core of Portland cement, sometimes mixed with cellulose fibers and sandwiched between two layers of fiberglass mesh. Plywood-size 4 x 8-foot sheets are available, but more manageable 3 x 5-foot sheets are more common, and that's what you'll probably find at your local building supply store.
When you buy the sheets for your project, you should also buy the backerboard screws designed for fastening them. These 1 1/4-inch, alkali-resistant fasteners have large threads and a self-countersinking head to make them easy to drive flush to the material. United States Gypsum, manufacturer of Durock, advises that you can also use 1 1/2-inch galvanized roofing nails in a pinch.
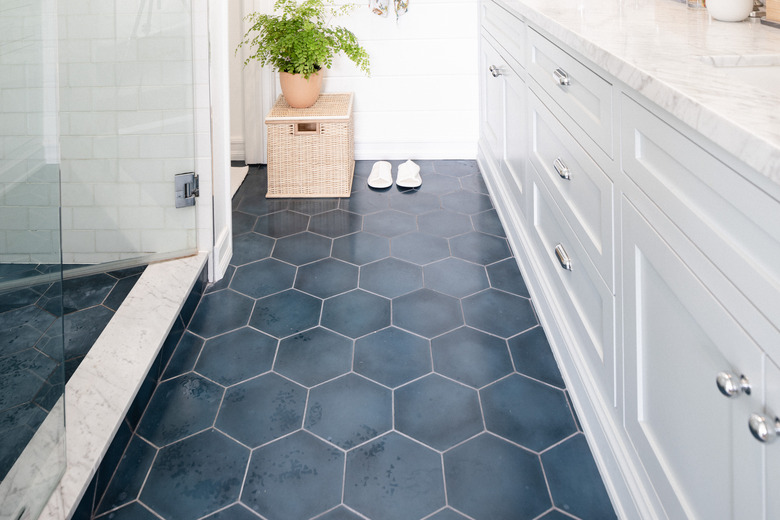
 MonikaBatich/iStock/GettyImages
Preparing Your Floor or Wall for Cement Board
Preparing Your Floor or Wall for Cement Board
When tiling a wall or ceiling in a shower stall or bathroom, you usually have to modify the framing and add blocking because the dimensions of cement board sheets differ from those of drywall, and you need to be able to secure the edges of the cement board sheets to the wall studs or ceiling joists. You also need to staple a plastic moisture barrier to the studs because cement board isn't completely waterproof. Moisture doesn't damage it, but it does allow moisture to pass through.
Read more: What Is Underlayment?
When preparing a subfloor for cement backerboard and ultimately floor tile, the main concern is rigidity because the tiles and grout will crack if the floor has any flexibility. A layer of 3/4-inch plywood in good condition is a good start, but in some cases you may need to reinforce the subfloor with an extra layer of 1/2-inch plywood before adding the cement board. Eliminate all squeaks with extra screws, and caulk the plywood seams for extra moisture protection.
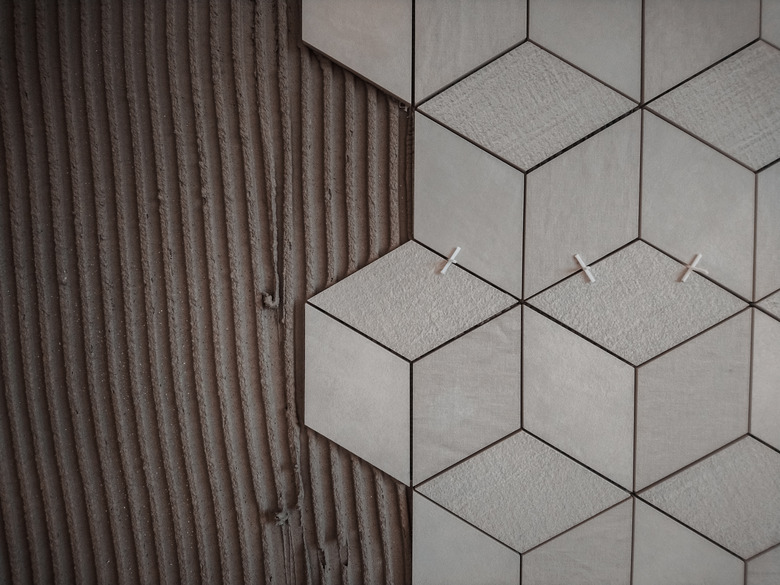
 ANRproduction/iStock/GettyImages
How to Install Cement Backerboard on the Floor
How to Install Cement Backerboard on the Floor
Things Needed
-
Thinset mortar
-
Cement board screws
-
Alkali-resistant fiberglass mesh tape
-
Straightedge
-
Belt sander
-
Vacuum
-
Utility knife
-
Carbide scoring tool
-
1/4-inch notched trowel
-
Drill
-
Drywall knife
1. Flatten and Clean the Subfloor
Check subfloor seams for flatness by placing a straightedge on each one and seeing if it rocks. If so, sand down the seam with a belt sander. Drive in any fasteners that stick up beyond the surface. When you're done, vacuum thoroughly and wipe down the floor with a damp rag to pick up any debris the vacuum missed.
2. Plan the Layout
The joints between the cement board sheets must be offset from those of the underlying plywood by at least 2 inches for stability and moisture-proofing. To make sure this happens, it helps to take some measurements and cut sheets as needed before you start embedding the sheets in thinset. If you cut sheets as you go, the procedure could raise enough dust to interfere with the adhesion of the thinset depending on how you do the cutting.
3. Cut the Sheets
You can cut cement board by scoring it with a utility knife or carbide scoring tool and a straightedge and then breaking along the score line. You can also cut it with a circular saw fitted with a six-tooth concrete blade, which is a method that raises dust. Make curved cutouts and notches with a jigsaw and a diamond-grit blade.
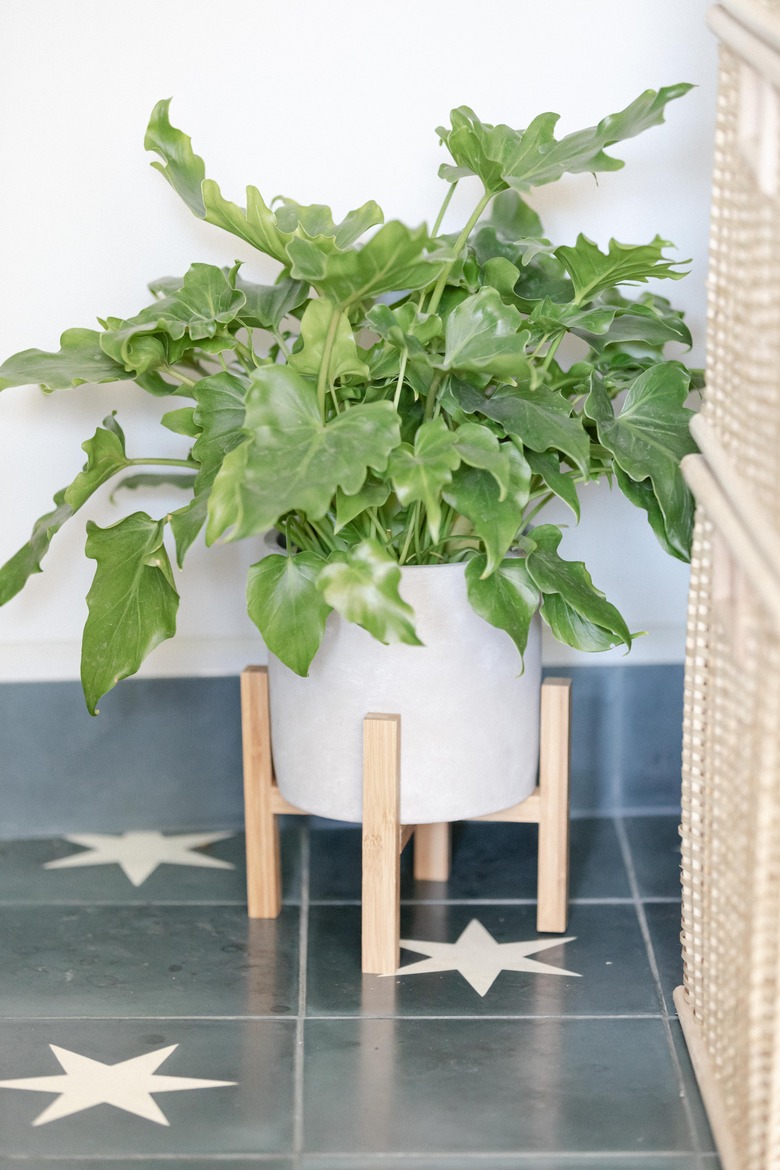 Stephen Paul for Hunker
4. Lay the Sheets and Fasten Them
Mix thinset mortar (preferably fortified with a latex additive to keep it flexible) with water in a bucket, following the manufacturer's directions. Spread a layer of thinset on the subfloor, using a 1/4-inch notched trowel with square notches. Apply it to the depth of the notches and use only enough for the first sheet. Lay the first sheet of cement board onto the thinset and wiggle it a bit to get good coverage on the back of the sheet.
Drive backerboard screws at 6- to 8-inch intervals to hold down the sheets using a drill. Keep the fasteners about 1 inch away from the edges and 2 inches away from corner, to prevent crumbling. Lay all the other backerboard sheets in the same way, leaving an 1/8-inch gap between them for expansion.
5. Finish the Seams
Apply thinset along the seams using a drywall knife and lay fiberglass mesh tape on each seam (be sure to use alkali-resistant tape designed for cement board; do not use standard drywall mesh tape). Trowel a thin layer of mortar over the tape and scrape it flat with the knife. Let the thinset dry completely.