How To Install Cement Board
Cementboard is a building material that serves as the backing material of choice when installing ceramic and stone tiles on floors, walls, and evening ceilings. Cementboard has a lot in common with drywall. It comes in sheets that you can install on the wall or the floor, and you finish the seams with tape and mud, just as you do drywall seams.
The composition of cementboard sets it apart and makes it the ideal backing material for tiles. It contains nothing but inorganic materials, including Portland cement, sand, and reinforcing glass fiber mesh, which makes it completely waterproof. Cementboard won't shrink or warp in damp conditions, it provides no place for mold to grow, and it's fireproof. Installation guidelines are similar to those for drywall.
Products Available
Products Available
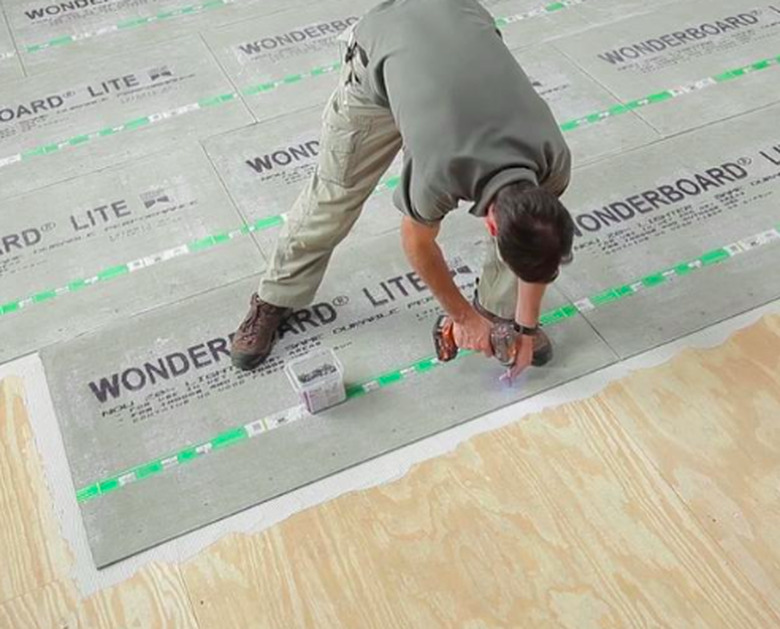
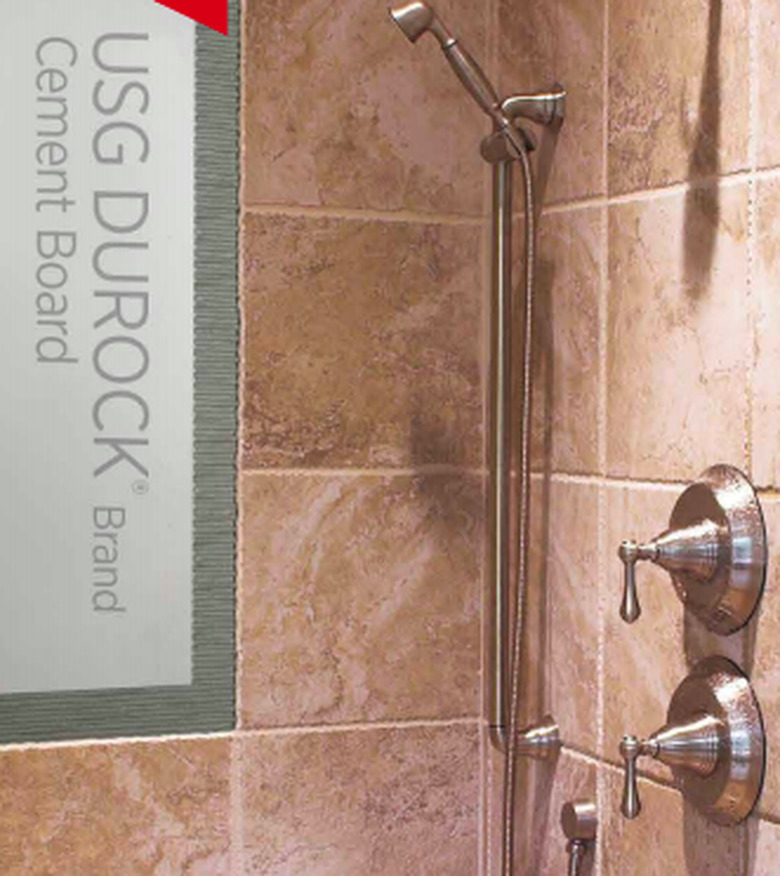
Three manufacturers produce cementboard, and each has its own brand name. Durock comes from United States Gypsum (USG), the company that manufactures the Sheetrock brand of drywall. The James Hardy company, which specializes in fiber cement products, sells HardieBacker, and Custom Building Products markets WonderBoard, which is somewhat lighter than the other two products.
Cementboard is heavy, so full sheets are often smaller than drywall sheets in order to make them more manageable. Full-size 4- by 8-foot sheets are also available, but are usually used only by pros. Thicknesses range from 1/4 to 5/8 inches, with 1/2 inch being the most commonly used. Manufacturers also sell fiberglass mesh joint tape and specialty #8 screws with fluted heads, although you can install cementboard with ordinary corrosion-resistant roofing nails.
Installation on Floors
Installation on Floors
Before laying cement board prior to installation of floor tile, the subfloor must be sound and level. USG specifies a 5/8-inch or thicker plywood or OSB subfloor for proper installation of Durock, and Custom Building Products makes the same recommendation for WonderBoard installation. It's permissible to install cementboard over existing flooring, provided the flooring is flat, in good condition, and unlikely to deteriorate. You can install 1/4-, 1/2- and 5/8-inch cementboard on floors. Cementboard has a smooth side and a rough one; the smooth side should be facing upward in flooring installations.
Things Needed
-
Utility knife
-
Jigsaw
-
Masonry jigsaw blade
-
Circular saw
-
Masonry circular saw blade
-
Goggles
-
Dust mask
-
Fasteners
-
Screw gun or hammer
-
Enamel-coated cement board nails or galvanized roofing nails.
-
Mortar
-
4-inch straight blade
-
Mesh tape
1. Lay Out the Full Sheets
Lay the full sheets perpendicular to the plywood forming the subfloor, if possible. If you have to lay the sheets parallel to the plywood, try to position it so that no seams fall directly over underlying plywood seams. Stagger the ends of adjacent rows by several inches, and avoid having four corners come together at the same place. Leave a 1/4-inch gap between the outside sheets and the walls.
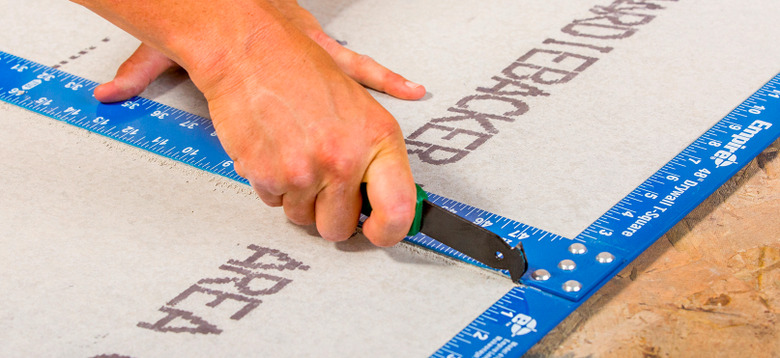
2. Cut Partial Sheets to Fit
Cut cementboard in the same way you cut drywall. Score a line with a utility knife and break the sheet along the score mark. If you have to cut curves, use a jigsaw with a masonry blade. In a pinch, you can make straight cuts with a circular saw, but use a masonry blade, and make sure to wear goggles and a mask. Cutting cementboard this way is dusty business, and cement dust is an eye and throat irritant.
 James Hardie
3. Fasten the Sheets to the Subfloor
Drive fasteners to secure the cementboard sheets to the plywood subfloor, spaced 8 inches apart around the perimeter of each sheet as well as in the field. If you use screws, which is recommended, it's best to use the ones made for cementboard. They are enamel-coated to resist corrosion. If you nail the sheets down, use 1 1/2-inch galvanized roofing nails. Keep fasteners at least 3/4 inches from board edges and 2 inches from corners.
 Home Depot
4. Tape the Joints
Spread mortar along each seam using a 4-inch straight blade, then lay tape on the mortar and press it in with the blade. The process is similar to taping drywall joints except there is no need for topcoats. Scrape each seam as flat as possible, then wait for the mortar to set before laying tiles.
Installing Cementboard on Walls and Ceilings
Installing Cementboard on Walls and Ceilings
The stud spacing must be 16 inches on centers in order to successfully anchor cement board to walls or ceilings. Use 1/2- or 5/8-inch cementboard unless you are installing directly over existing drywall, in which case 1/4-inch cementboard is acceptable. Especially in overhead applications, 1/4-inch thick sheets will be easier to work with.
Things Needed
-
2 x 4 blocking
-
1 1/2-inch roofing nails
-
Hammer
-
1 1/4-inch cementboard screws
-
Drill and screwdriver bit
-
Mortar
-
4-inch blade
-
Mesh tape
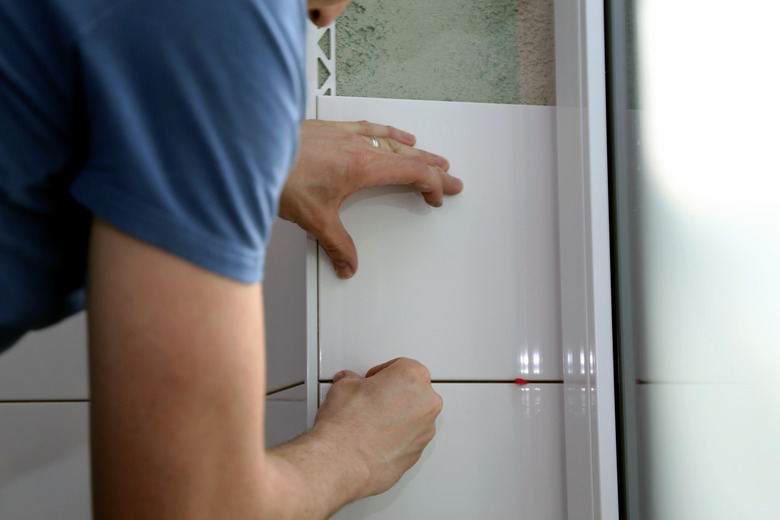
1. Position the Sheets
Ensure that all sheets overlap a stud on each of the edges that are parallel to the framing. If necessary, you can cut sheets so that they fall along studs, or you can add 2 x 4 blocking between studs to provide a surface for nailing or screwing the ends of the cement board sheet. Butt the sheets lightly together, but don't force them. A 1/8-inch gap between sheets is acceptable.
2. Fasten the Full Sheets to the Studs
Secure the cement board sheets to the studs with either 1 1/2-inch hot galvanized roofing nails driven with a hammer, or 1 1/4-inch cementboard screws driven with a drill and driver bit. Keep the fasteners 3/4 inches from edges and 2 inches from corners. Space the fasteners 8 inches apart on walls and 6 inches apart on ceilings. Drive the fastener heads flush with the surface, but no farther. Don't sink the heads below the surface, as you would when installing drywall.
3. Cut and Fit Partial Sheets
Cut cementboard in the same way you cut drywall. Score a line with a utility knife and break the sheet along the score mark. You can also make straight cuts with a circular saw, but use a masonry blade and make sure to wear goggles and a mask.
4. Finish the Joints
Apply latex-reinforced mortar to the joints with a 4-inch blade and embed fiberglass mesh tape into the mortar. Scrape the tape flat with the blade. Allow the mortar to dry completely before continuing to tile installation.
Installation on Countertops
Installation on Countertops
The technique for installing cementboard on countertops is similar to the one for installing it on floors. You can use 1/4-inch material, but if you do, it's best to use shorter nails or screws in order to prevent them from sticking through the underside of the countertop.